Using Column Borders
You may use the Border function from the column Style Tab to create vertical dividers by following the instructions below:
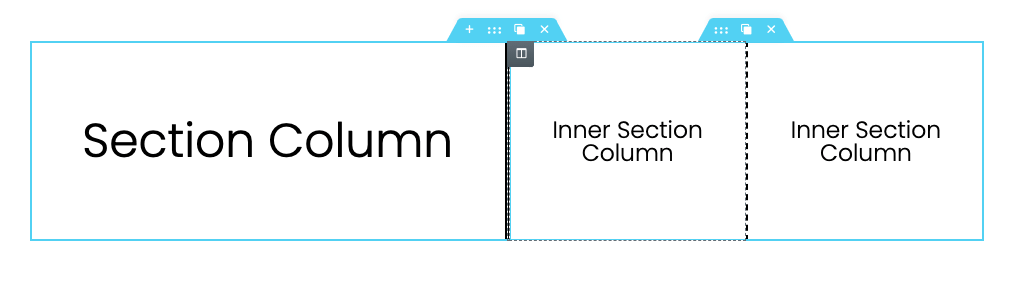
- Create a multi-column layout by using sections or the Inner Section Widget
- In the Style Tab > Border of the desired column, select the style from the dropdown
- Unlink the border Width properties and set the left or right width in PX
- Set the border color of the by choosing it in the color picker
- Change border properties for tablet and mobile breakpoints in the Responsive Controls
Example Resources

Using a Spacer Widget
You may use a Spacer Widget to create a vertical divider in Elementor by following the steps in the instructions below:
- Create a multi-column section (example: 3).
- Set the width of the columns leaving only a minimum allowed space for the divider column (example: 48 | 4 | 48)
- Drag a Spacer Widget to the reserved section.
- Set the desired height of the widget in PX, VH, or EM from the Controls of the spacer widget.
- In The Advanced Tab > Margin, set the left and right margins to near 50% (example: 47%) to create the width of the spacer
- In the Advanced Tab > Background, set the background color of the spacer by choosing it in the color picker
- Adjust the column widths for tablet and mobile in the Responsive Controls