Starting a website requires thought and planning to succeed. Rather than rush into the process, it’s a good idea to take the time to plan out what you want to achieve and how you’ll do it.
For this lesson, we’re going to give you a number of elements that together make up your first WordPress project. Before we get into it, let’s give you some context on what we’ve included.
WordPress Website Planning Checklist
In truth, a website project is vast, and requires an immense amount of planning. In broad terms, you want to have a place to host your site, a way to build it, and a strategy to promote it after launch. This could all come together in a design brief for your site.
In broad terms, you want to have a place to host your site, a way to build it, and a strategy to promote it after launch.
The below consists of a rough collection of elements that will get you over the line, but doesn’t include everything.
As such, we’re going to focus on what you need to build your website here. Let’s start with how your website will be structured.
1. Determine Your Site’s Structure
Your first task is to figure out how your site will be organized. In other words, you need to decide what pages your site will consist of, and the subject matter of each. The best way to do this is through a chart-based drawing. The idea is to start with your home page at the very top, then connect other pages based on how the user will navigate your site.
There are some essential pages that are found on the majority of sites:
- An ‘about’ page. This gives the reader some information about you and your business or site. It doesn’t have to be long, but should give some context as to why your site is live in the first place.
- A ‘contact’ page. If a visitor can’t contact you, your site isn’t doing its job. Your visitors should have a way to send you a message through email, although business addresses and contact numbers are just as valid.
- A ‘services’ page. No business or e-commerce site should be without a list of its products and services. This is where you want to go to town on selling your offerings to the user.
Though, you may have your own idea of what constitutes essential and necessary for your site. As such, grab your paper, and start a hierarchy chart with a box at the top labelled ‘home page’. From here, connect the pages that a user will visit from the home page – these will be the options within your primary navigation.
Once you’ve done this, you can go as deep as you need to in order to build your site’s structure. This will give you a good base to next develop your site’s functionality.
2. Decide Upon Your Site’s Functionality
Once your pages are mapped out, you can decide what they’re going to do. It could be that each page’s purpose is in its name. For example, your contact page will need a form, which is a specific piece of functionality.
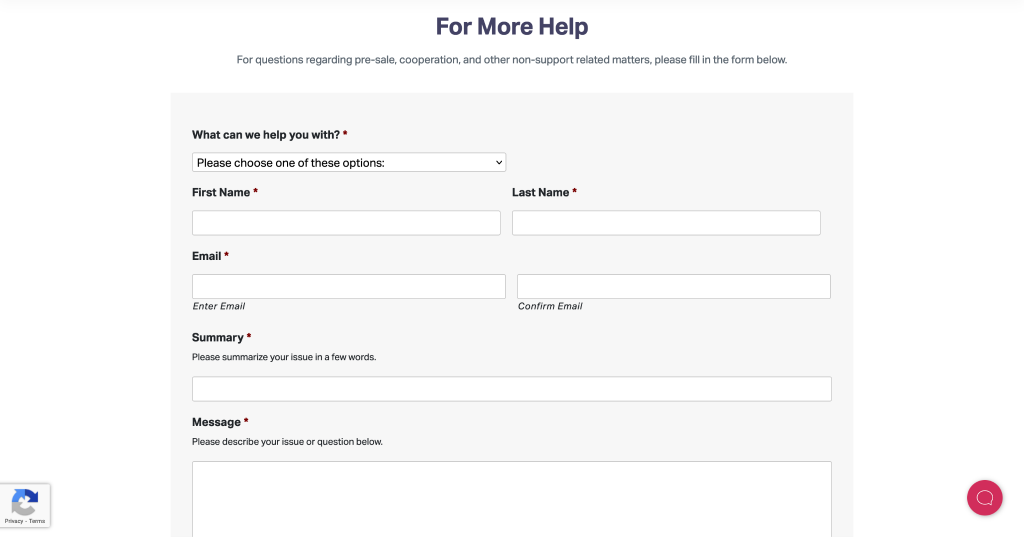
Here, take each page in turn and note down the purpose it serves on your site, and how you’ll think you’ll implement it. We don’t consider it a spoiler to note that this will become the responsibility of your theme and plugins. For example, there are lots of plugins available for creating contact forms, and Elementor includes its own Form Builder:
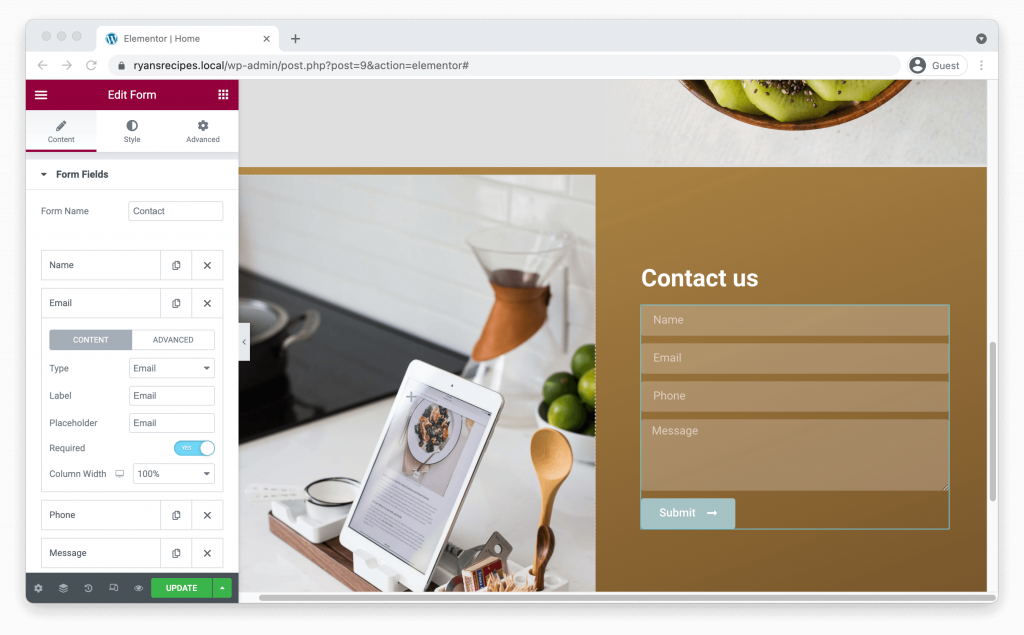
At this stage, you don’t need to carry out deep research on the exact plugin or theme. Though, take a quick look at whether what you want to do is realistic and possible. The structure of WordPress means that you can achieve almost anything, but for your first site, it’s good to keep things simple.
You can achieve almost anything in WordPress, but for your first site – keep things simple.
Also, figure out which pages share functionality. You can also think of this as a ‘site-wide’ concern. Here are a few examples:
- You’ll want to build the layout for each page, so a website builder plugin could be a wise investment.
- Keeping your site secure is vital. While WordPress is already secure, a dedicated plugin or two will help you combat malicious attacks, spam, and unauthorised logins.
- Speaking of which, you will also want to consider how to backup and restore your website. This is a last line of defense in case the very worst happens. You’ll be grateful for a backup on the rare times you’ll need it.
The work you have done here on your structure and functionality is a key part of planning your project. This is because you’ve figured out the ‘shape’ of your site and what you need to pull it off. From here, you’ll get into technical details. First out is your choice of hosting environment.
3. Figure Out Your Hosting and Development Environments
In a nutshell, you need a place to build your site. There are lots of ways to do this, but you’ll go with a local development environment, a dedicated web host, or both.
A local development environment is a simple and risk-free way to begin. This lets you ‘spin up’ and develop your WordPress site from your own computer. As such, you won’t need hosting at this point.
What’s more, there are plenty of free tools to help you. DesktopServer, and XAMPP are both solid choices.
Though, if you want to take the plunge, dedicated web hosting is for you. This is a service that gives you space on a server that you can (depending on your plan) do with as you wish.
If you choose hosting that also comes with a staging environment, you might not need a local environment. This is a way to work on your site without the public seeing it. While a local environment sits on your computer only, a staging site is on your server, and lets you work on your site as it would be when live.
A staging site lets you safely work on your site just as it would be when live.
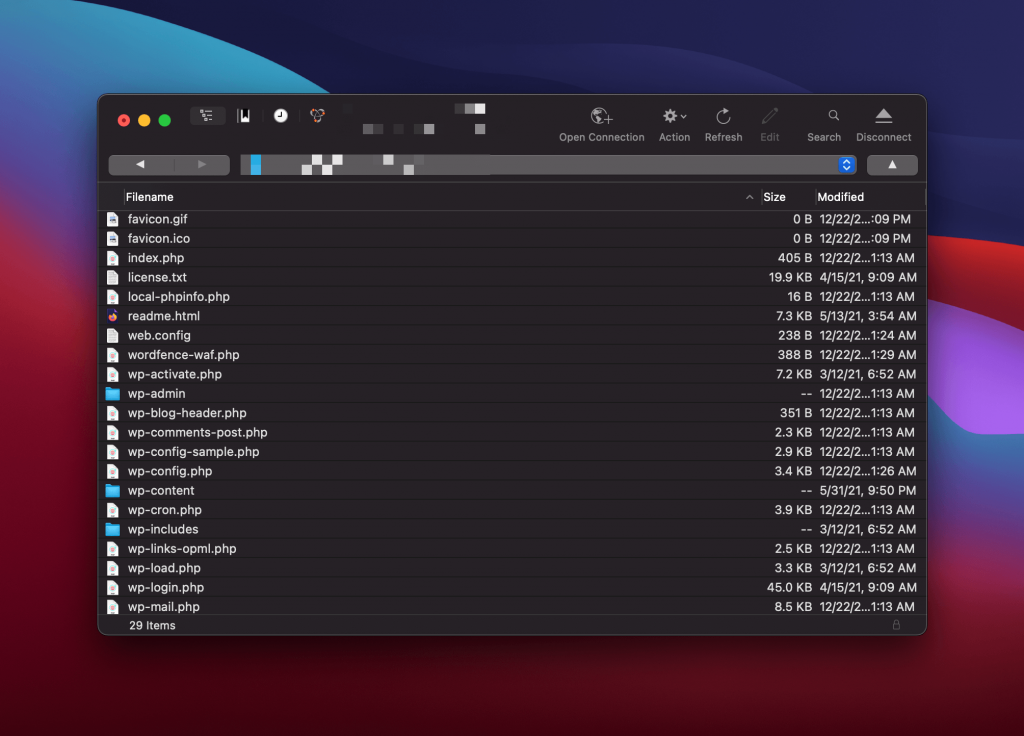
Also, know that with web hosting, you will often need to get onto your server itself, rather than your website’s WordPress dashboard. To do this, you need to use Secure File Transfer Protocol (SFTP).
This uses credentials found within your hosting provider’s dashboard to log into your server and site using an ‘SFTP client’ – In other words, a dedicated app. To keep things simple, FileZilla or Cyberduck are free and straightforward to use:
If you want to purchase hosting now, it’s a good idea to look into a domain name. Let’s take a slight detour to discuss this.
Your Domain Name
A domain name is the address of your website, and it’s what you would type in to get to the Elementor website (and every other one).

A domain registrar is essential here. In short, it’s a directory of domain names available for purchase. You choose a name, your choice of .com or hundreds of others, and pay a yearly subscription for it. Lots of web hosts also have domain registrars too, so it might be worth opting for a combined service at first.
When it comes to the name, you should look to create a domain name based off of your desired branding and design. It’s worth taking some time here, because it’s one of the first elements a user will know about your site.
Summary
Your first WordPress project will take three broad steps – have a way to host it, build it, and launch it. There are more facets involved in a larger-scale project, but for your first, this will finish with you staring at a solid first attempt.
Congratulations – this lesson is complete! We’ll see you at the next one!


