Developing a WordPress website should take as much time as you need to get things right. Building your site on your live server could rush you into making some less optimal decisions, and potentially waste your resources. A local development environment mitigates all of them.
In this lesson, we’re going to show you how to install WordPress on a local development environment. First, let’s give you a quick primer on what a local environment is, and the benefits.
What Is a Local WordPress Development Environment?
In a nutshell, a local development environment is an emulated server on your computer, specifically to develop your WordPress website. In this case, you’ll use a Graphical User Interface (GUI) to navigate around your various environments and manage them.
A local development environment is an emulated server where you can develop your WordPress website.
In this case, you’ll use a Graphical User Interface (GUI) to navigate around your various environments and manage them.
A local environment will often include almost every tool you need to work on your site, such as a database manager, email server, and much more. Depending on the tool you use, you may also have more features and functionality, such as the ability to share a live preview with others using a temporary link.
You still work with your site in the browser as you would online, but the site you develop won’t be visible to the public. Of course, this means you’re not using your live server resources. Next, we’ll examine some additional benefits of using a local WordPress development environment.
The Benefits of Local WordPress Development
In a general sense, there are a number of benefits of setting up a local WordPress development environment. Here are just a few:
- You have as much time as you need to create your site, without worrying about using your live server’s resources. This is a big advantage, as you’re in a no-pressure environment.
- There’s lots of scope to test and experiment on your site. If you don’t like the path you’re taking, you can easily revert your edits..
- You’re able to create as many sites as necessary within your hosting environment. This is beneficial because you have no practical limits here. For example, you could clone sites, import a site from a live server, and much more.
- Some solutions also let you push your local site to a live server. In lots of cases, this will take a minimal number of clicks. For some solutions, you have restrictions on which hosts you can upload to.
To touch on this last point more, of the three leading GUI apps on the market – DesktopServer, Local by Flywheel, and DevKinsta – two have hosting providers as the developers. As such, you can only upload to the specified hosts (Flywheel, WP Engine, and Kinsta in these cases).
This doesn’t represent a big problem, but it does mean that if you choose one of those hosts, working with the relevant GUI app is a good idea.
How to Install WordPress Within a Local Development Environment
Next, you’ll want to install a local environment and WordPress, then work on your content. There are a number of steps in the process, but we’re going to lay them all out for you. Let’s start with the installation process.
1. Install Your Local Development Environment
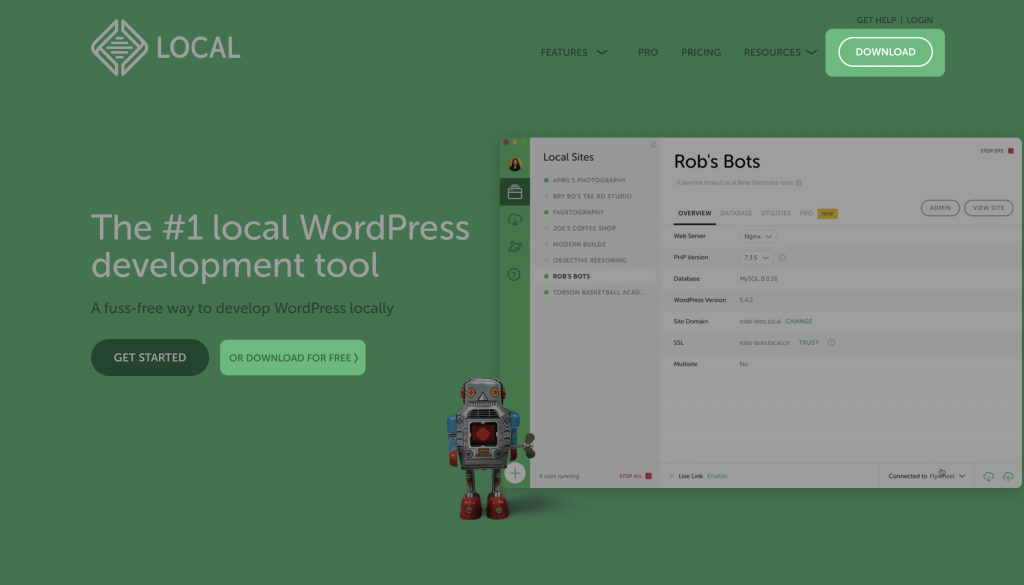
Of course, your first step is to find the right environment and install it on your computer. While there are a number of solutions, for this example we’ll use Local by Flywheel. We discussed why it’s a top app in our previous lesson.
To start, head to the Local by Flywheel site. Here, you’ll see a few different download links. Your first instinct might be to click the Get Started button, but this will take you to the premium version – Local Pro. While there’s nothing wrong with going premium, it’s not a necessity..
Instead, head to either of the Download or Download for free links:
The site will walk you through what you need to do here, and it’s easy to complete and follow along. You’ll need to choose a platform, then fill in the fields (only the email address is required).
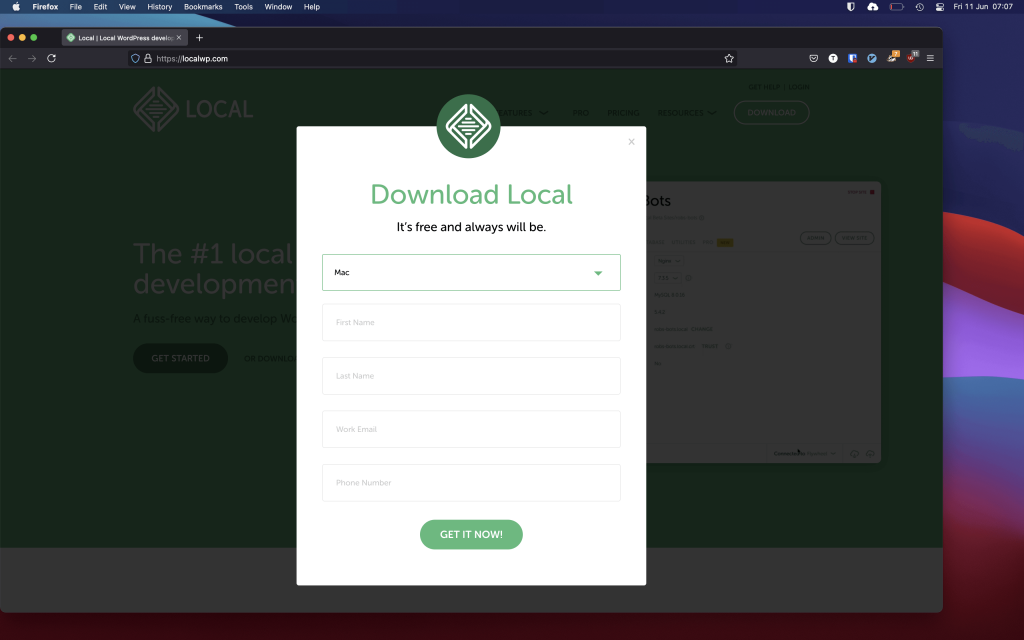
Once you click through, the process is much like any other app you might download: Unzip the packaged file, and install the app onyour computer. From here, you can begin to set up Local itself.
2. Set Up and Tour the Local by Flywheel Interface
Now that the app is installed, you can open it just like any other. When you first launch it, you may have to agree to a terms of service, at which point, you’ll see a welcome or callout screen. For now, you can exit out of this pop-up:

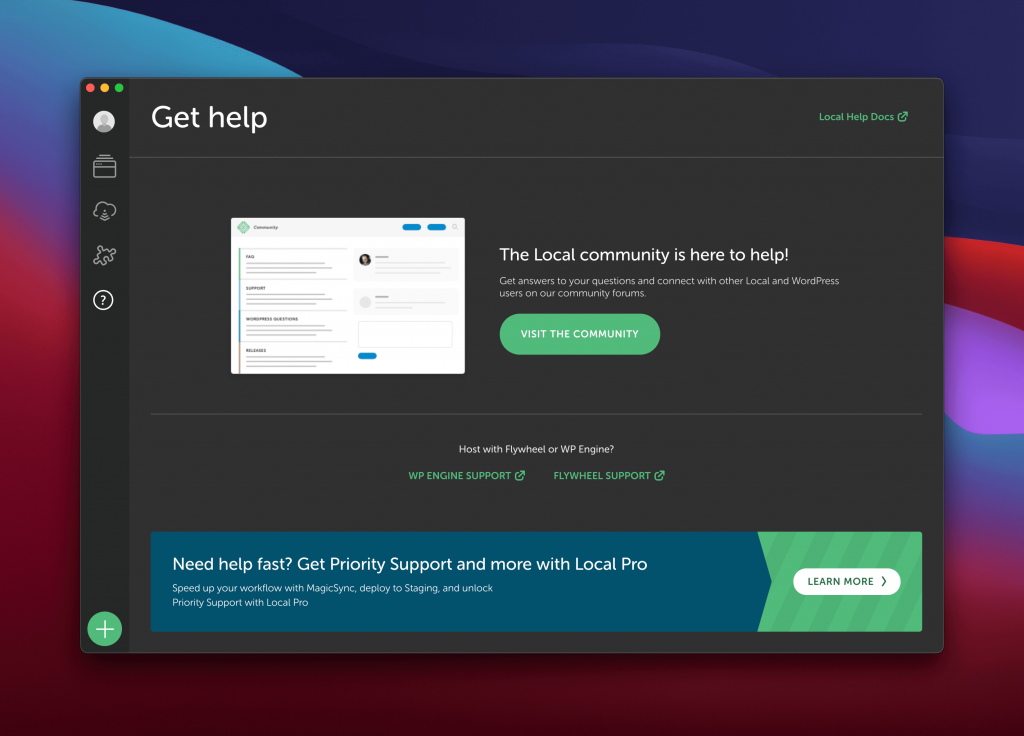
After closing the popup you will be presented with the dashboard. This is where you will be able to manage all of your environments. Down the left-hand side, there are links to your profile, site list, your WP Engine or Flywheel hosting account, add-ons, and help.
In this lesson we won’t look at the add-ons, which extend Local’s functionality – you don’t need them to complete this lesson. It’s worth noting that the having access to the help section can prove to be very useful, as you may need to look up something about the app itself:
Though, despite the extensive documentation, the app comes ready to rock and roll, so there’s no technical setup needed.
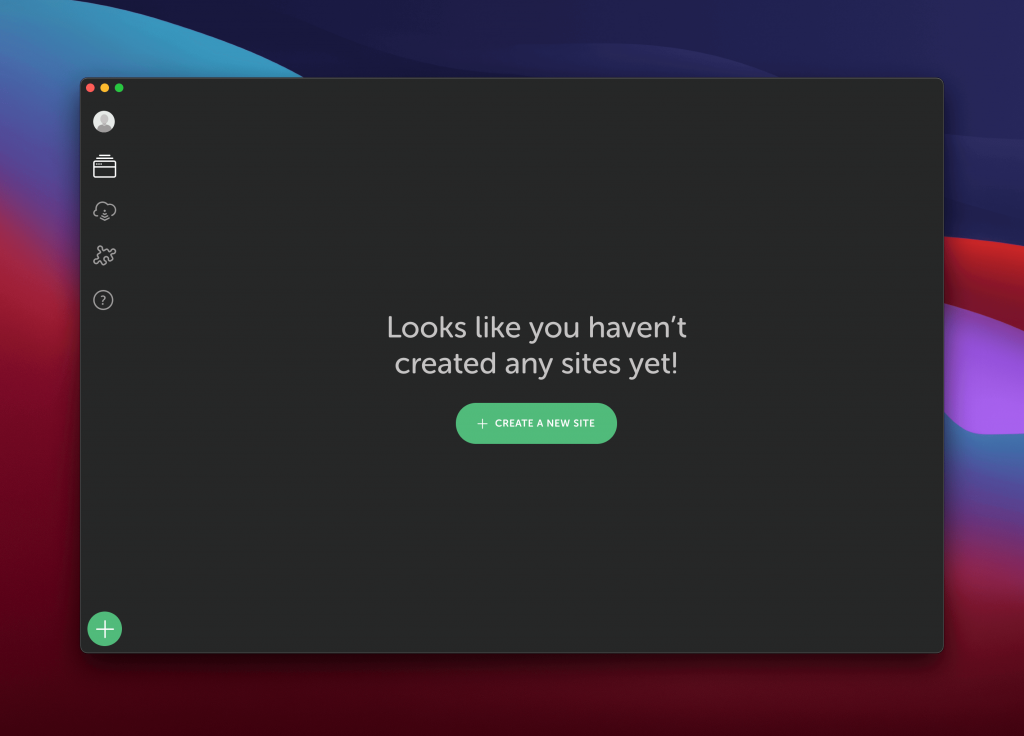
3. Create a New WordPress Install
By now, I’m sure you’ve noticed the big green button in the middle of the dashboard asking you to Create a New Site. The time has come to finally click it!
There are three steps involved. First, come up with a name for your site:
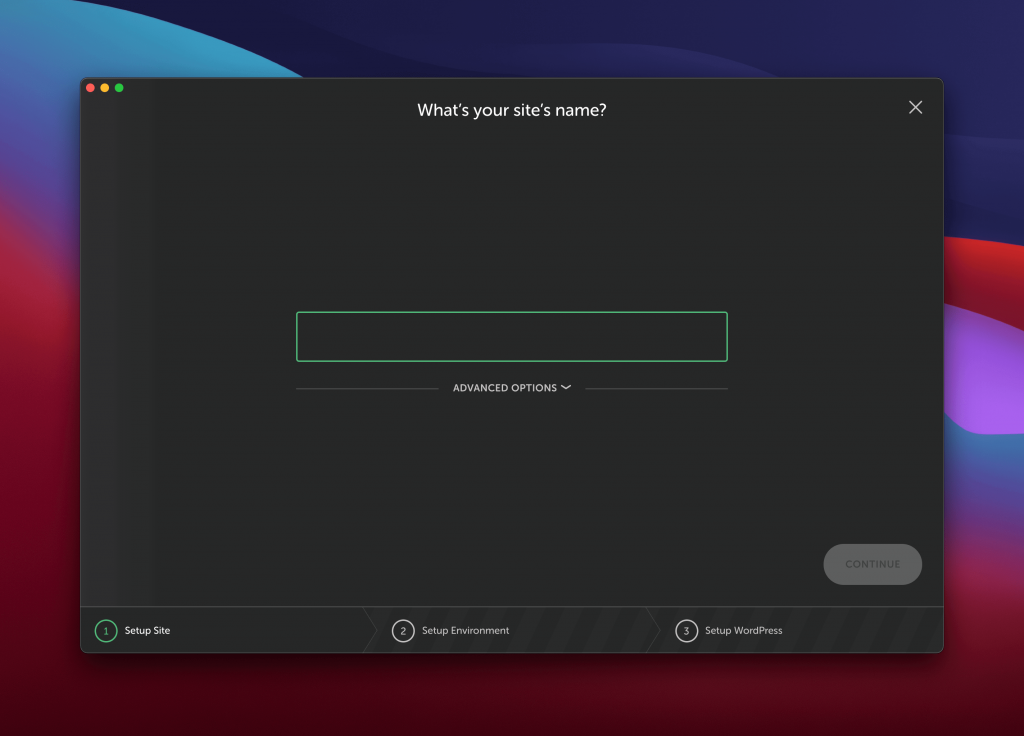
This can be anything you like, although by default this becomes the URL you use to access the site in your browser. If you’re looking to create a custom URL, you are able to do so If you expand the Advanced Options,.
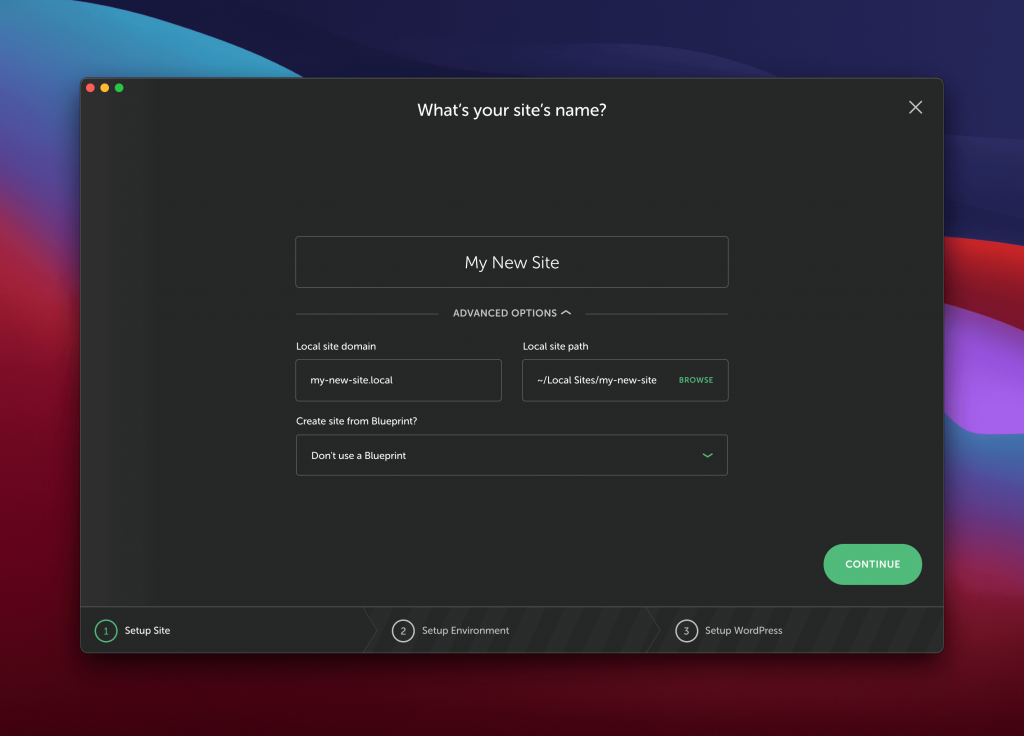
There are also other options here, such as using a ‘Blueprint’ (or a template) to create your site, however, we don’t need these right now.
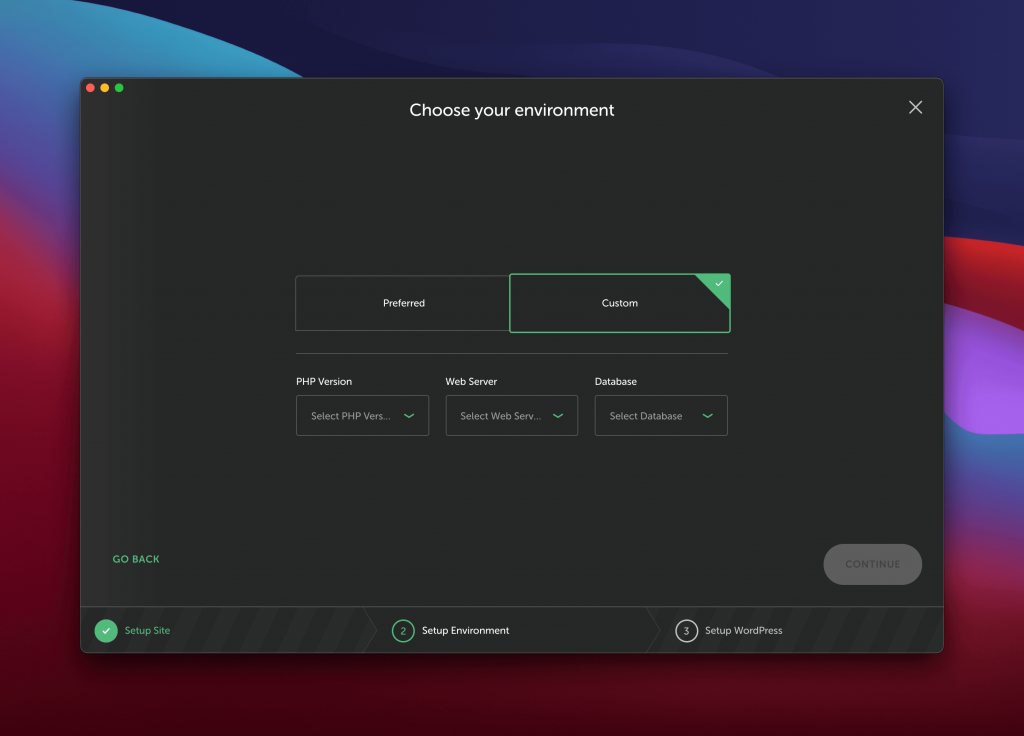
On the next screen, you get to choose your emulated server specifications: Either the preferred setup as deemed by Flywheel…

…or a custom option:
It’s a good idea not to use “admin” as a WordPress username. It’s a key target for malicious users.
The final section refers to your WordPress installation. Here, you have to provide a username, password, and email. Because you’re using a local environment, you can keep the email as the default. It’s important to state that it’s a good idea not to use “admin” as a WordPress username. This is because it’s a key target for malicious users. A custom name isn’t likely to be detected:
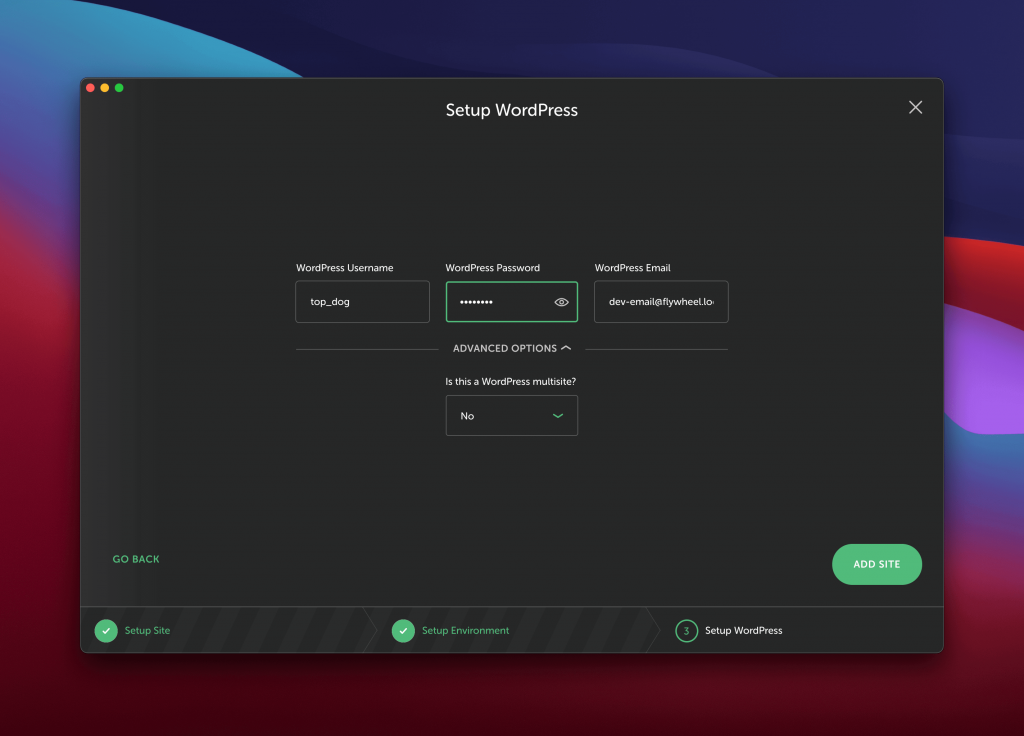
Also, the Advanced Options here ask if you want to set up a WordPress Multisite. For now, this is not necessary. When you’re ready, click the Add Site button. Local will ‘provision’ your site, and you may be prompted to enter your computer’s password during the process.
After a few moments, you’ll see your new site available within the Local dashboard:
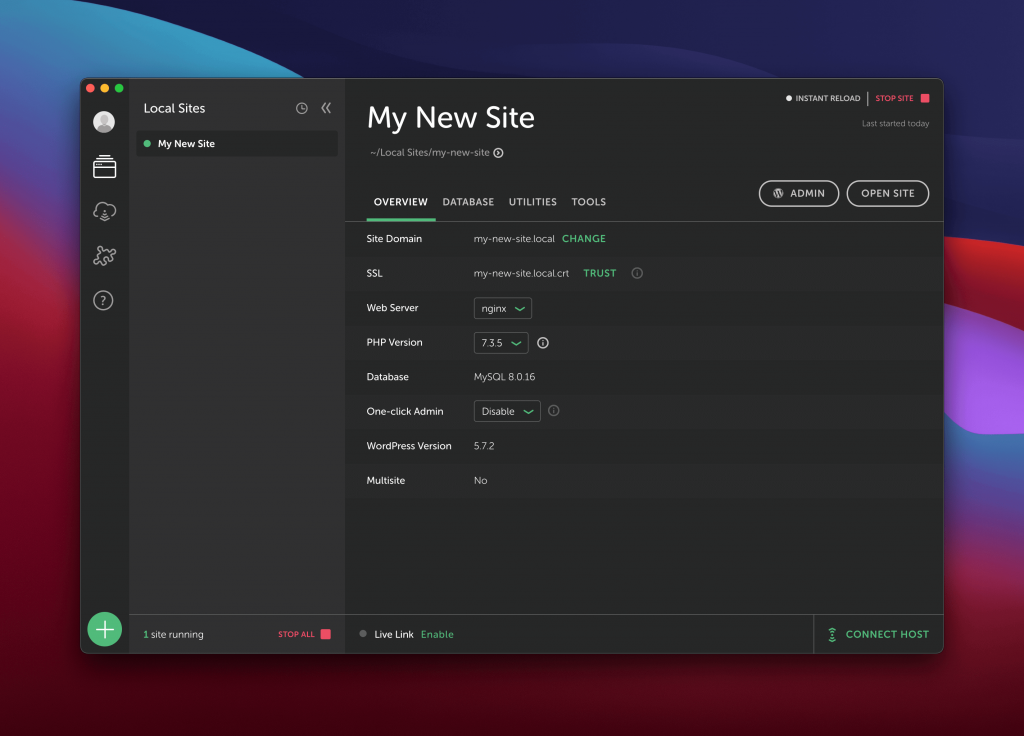
If you click the Admin button in the top right of the app, this will open the WordPress login screen. From here, log into your site, and move onto the next section.
4. Begin to Build Your WordPress Site
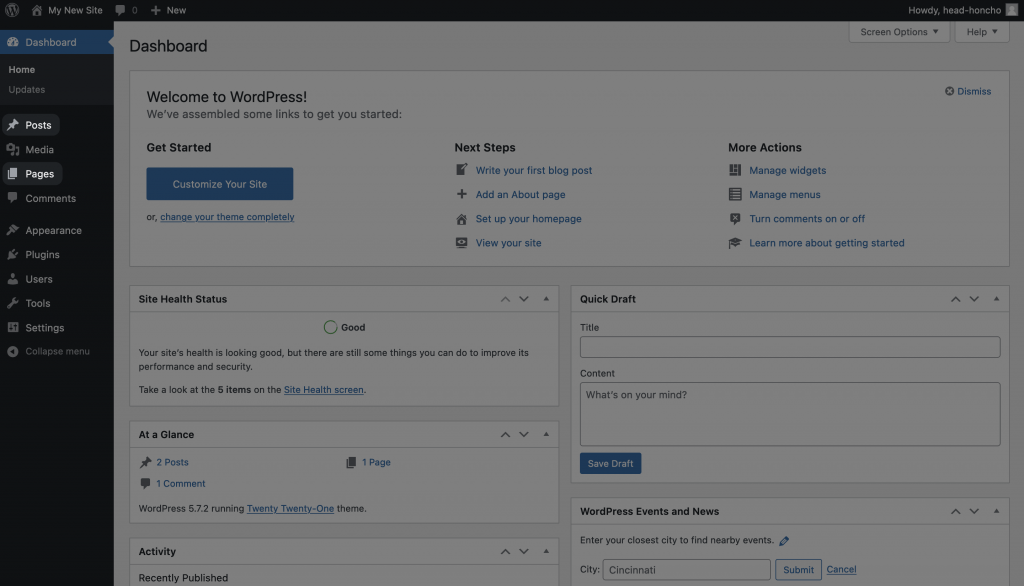
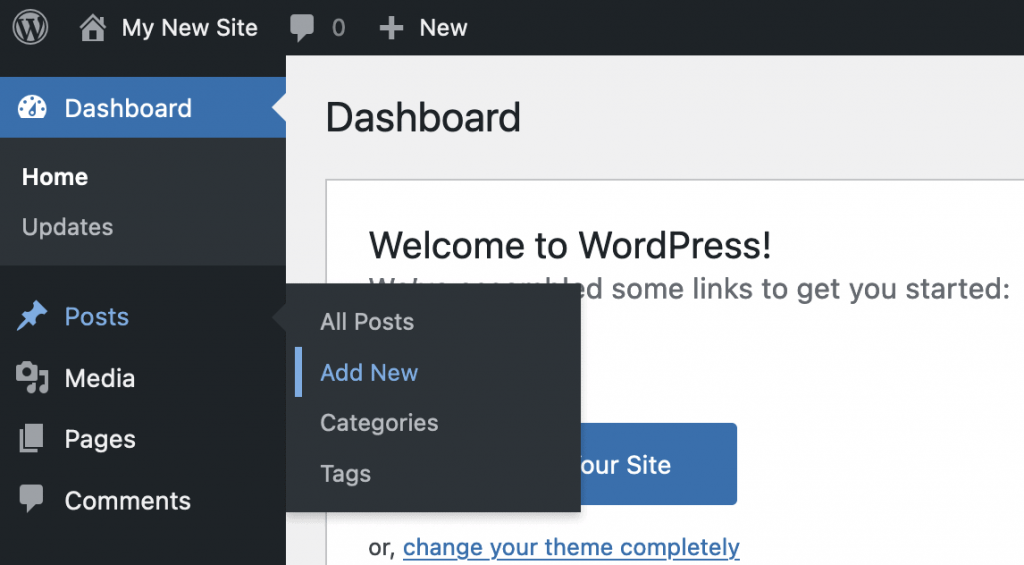
At this point, you’re ready to create posts and pages! We looked at the dashboard itself in another lesson, so refer to this lesson to help you navigate around. In short, you use the left-hand sidebar to navigate around your WordPress dashboard. In its default setup, both Posts and Pages are clearly marked on screen:
For the purposes of this lesson, you may choose either one. You’ll want to click the Add New link by hovering over whichever option you like:
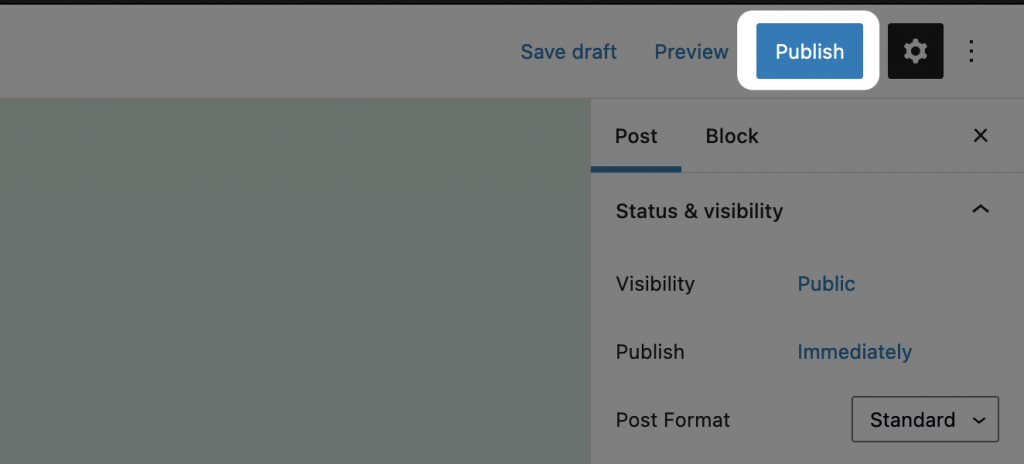
This will bring you to the Block Editor. There will be a later lesson on the Block Editor, so don’t worry too much about what everything on this screen does for now. Instead, focus on where you’re asked to add a title and content:
At this point, give your post a title, enter some text, use the formatting options as you would in any other word processor, and try out some of the Blocks. You can’t break anything here, so experiment and learn about what you can achieve.
You can’t break anything here, so experiment and learn about what you can achieve.
When you’re ready, you can click Publish, which can be found in the top right-hand corner:
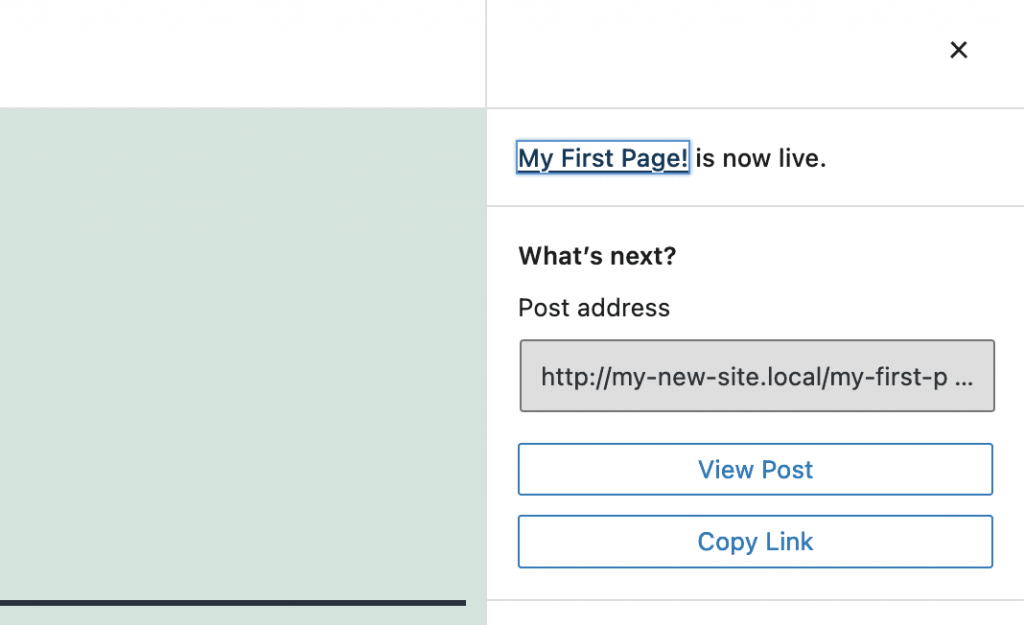
WordPress will then update you that your post is live, so enter the link and check it out!
This is one of the fundamental building blocks of developing a site, and from here you can add more posts and pages as needed.
In Summary
Using a GUI app to create a local development environment is a straightforward and no-fuss way to develop WordPress websites. While we feature Local by Flywheel here, there are other solutions available. Often, they have no cost attached (at least, there will be a free version available). Our advice is to give each one a try to figure out which one suits your workflow the best.
Congratulations on completing this lesson – finally your site is coming together! We can’t wait to see you at the next one!