First Steps
In this unit you’ll start editing your homepage and learn the basics of working with the Elementor Editor- Its structure, main functions, and settings.
This unit will guide you through working with the Editor while focusing on editing specific elements of your homepage content- texts, images, and buttons.
Your Goal
Learn the basics of working with the Elementor Editor by editing some elements of your homepage.
Access your Homepage
How to do it
- To edit, add, or delete a page, go to WP → Pages.
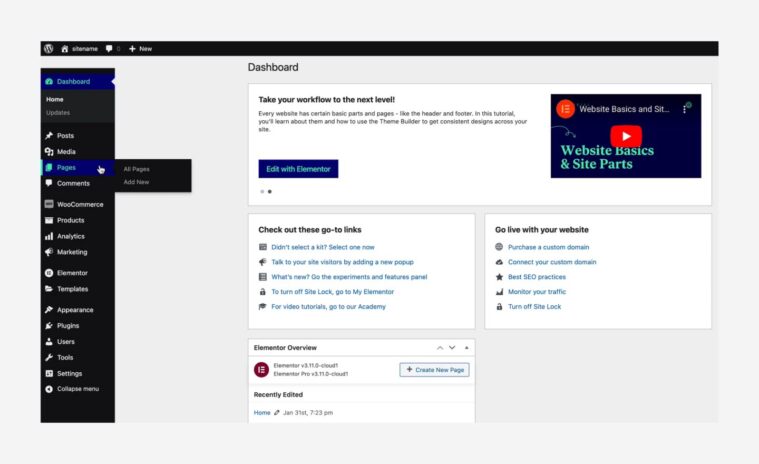
- We recommend to open a new page (WP dashboard → Pages → Add New) you’ll use to play around and try things.
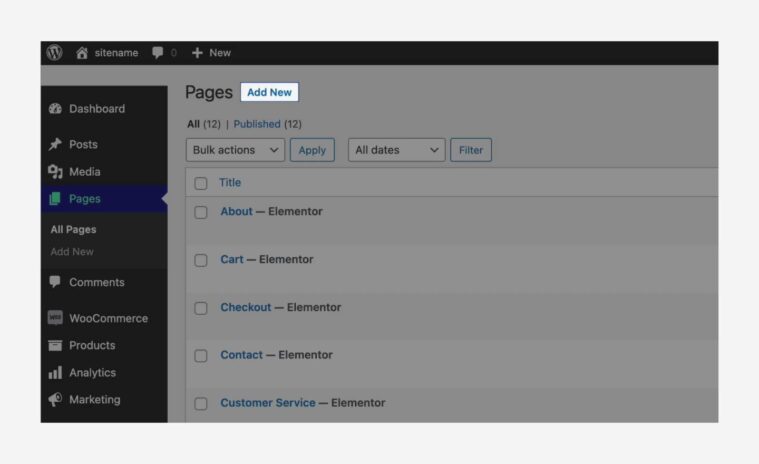
- You can rename the kit’s pages.
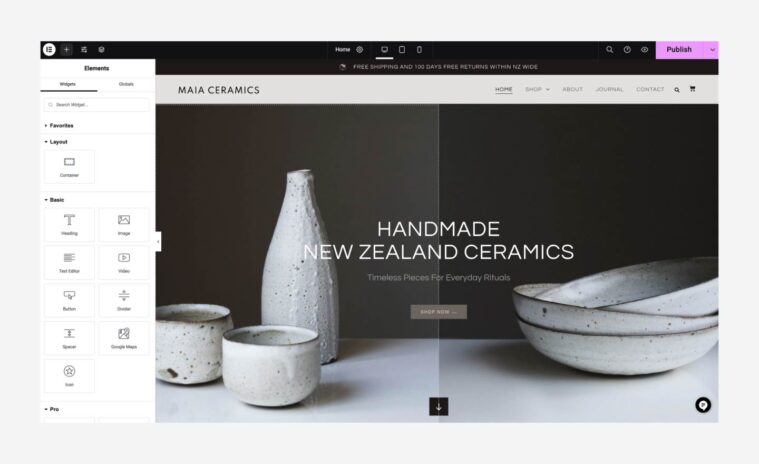
- To edit your homepage, hover on it, and click Edit With Elementor.
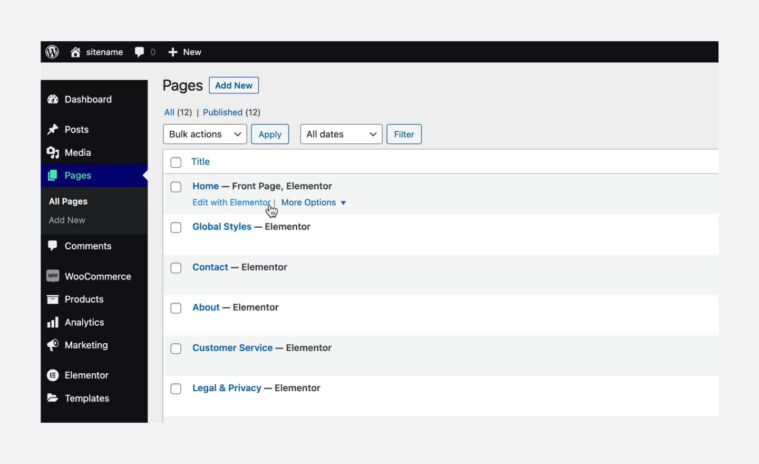
- This will take you to the Editor. Next, you’ll edit your homepage’s content.
More Resources
Playlist
1 Videos
The Elementor Editor
Learn about this topic
- The Editor has two main parts: the Panel, where you access the settings, and the Canvas, where you edit your page’s content.
- The page’s content is created with widgets.
Click on any widget in the Canvas to open its menu in the Panel.
Search for the widget’s title at the top of the panel. This is how you’ll know what you’re editing! - To add content, drag widgets from the Panel and drop them on the Canvas.
- Click on the plus icon to see the full list of widgets.
- The widgets are located inside a Layout which determines the page’s outlines.
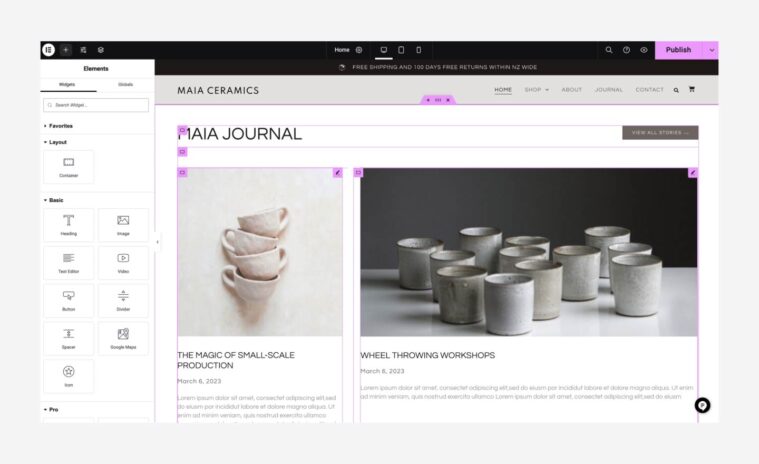
- The layout is created using Sections + Columns or with Containers.
- The default layout structure is Sections + Columns.
[important_note] This guide refers to containers because they have much better functionality. [/important_note] - To activate Containers: go to WP dashboard→ Elementor→ Settings→ Features. Change the FlexBox Container feature to Active and save your changes.
- Once activated, any new layout will be created with Containers, but the content of your kit will remain in Section + Column.
[important_note] You should replace the section+column with containers. [/important_note] - We recommend to remove your kit (see the ‘Orientation’ unit), activate the Containers feature (as listed above), then download your kit again (see unit 1 step 5).
- Alternatively, you can do it manually for each section- Click on a the section handle to open its settings in the panel. A Converter will be available at the top of the panel.
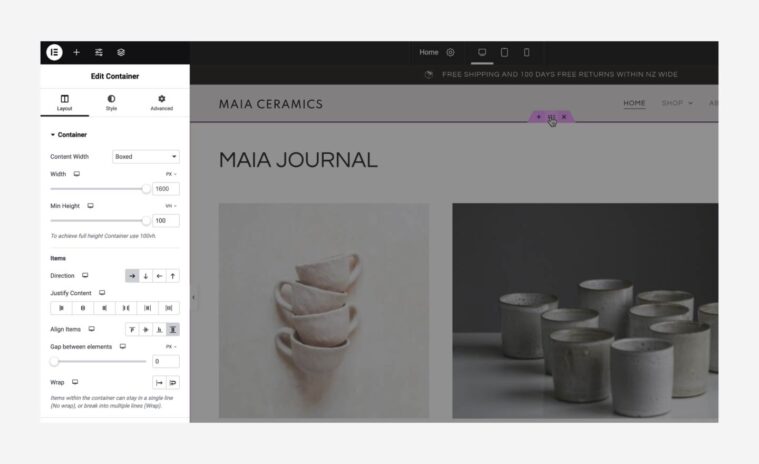
- Click on a Container’s handle to open its settings in the Panel.
- The settings on the Panel are divided into 3 tabs.
- You can move elements by dragging and dropping them.
- When you click on a widget, you’ll see it has an area, and the widget’s content is located in this area. The widget’s area is often bigger than the content it holds.
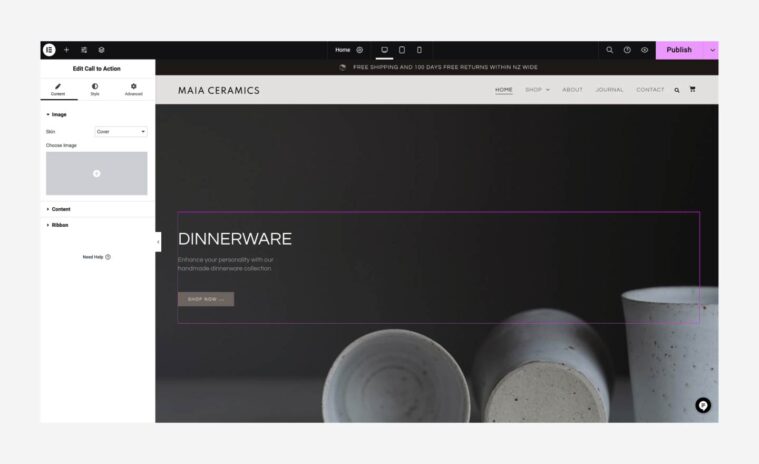
- Right-click any element to open the Quick Actions menu.
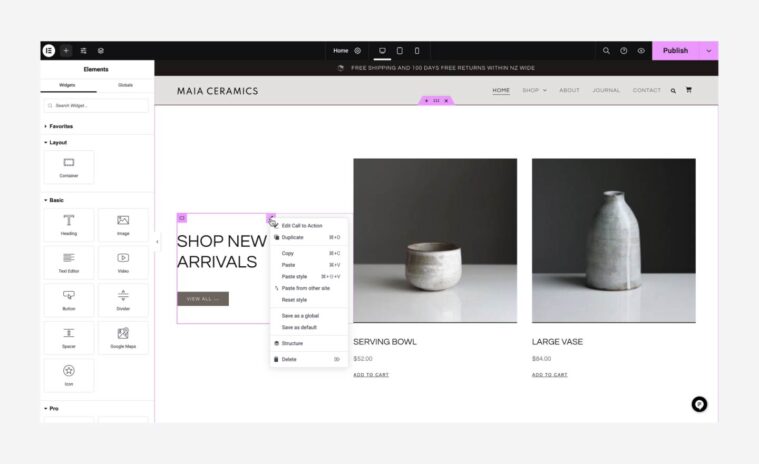
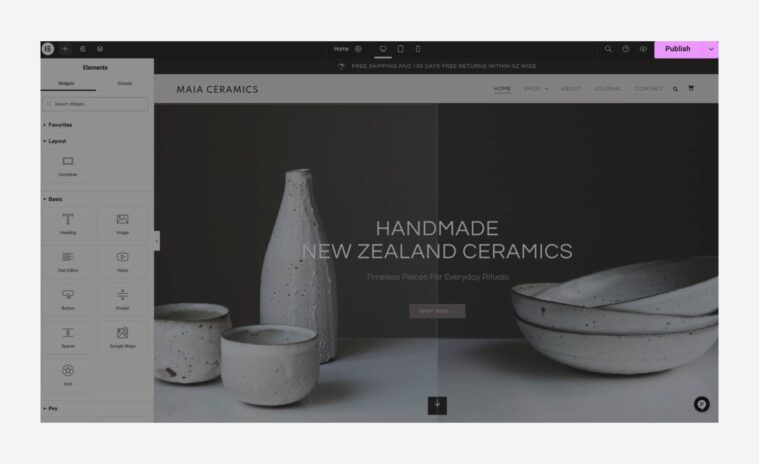
- To view your page from the user’s point of view, click the arrow at the side of the Panel to minimize it or the eye icon on the top-bar.
- When you access the settings, look for the color indication of a setting. If the settings were modified, the color indication will be on. It will help you understand which settings to access.
- Elementor automatically saves your work, but before exiting a page, save your progress by clicking the Publish button at the bottom left menu. You can also save it as a draft by clicking the arrow next to the Publish button.
Edit the text
How to do it
- To edit the headings or text, click on them to open their settings in the Panel.
- Under the Content tab, you can change the widget’s content.
- To edit and style your text, go to the Style tab. You can set the text’s color and typography.
Learn about this topic
- The heading widget and text editor are the main widgets used to display text.
[simple_note] Text can also appear in other widgets. If you encounter other widgets that display text, go to the Content tab to edit it. [/simple_note] - Borders and backgrounds settings are addressed in the next unit- ‘Homepage Content’
- Before editing your text’s style, review the next step, which explains the Global colors and fonts settings that were set for all texts in your kit.
Colors and Fonts- Global Settings
Learn about this topic
- Global Colors and Fonts allow you to save a certain color or font then use it across your site.
Elementor’s global colors and fonts enable you to change your colors and fonts all in one place, and have it update everywhere you placed it across your entire site.
They help in creating a consistent design, for example, it is easier to navigate in a website if all the headlines look the same. - In your kit, many elements are preset with Global Color settings and each text is also predefine with a Global Font setting.
[simple_note] Look for the globe icon next to the color or font settings. If the color indication is active it means a global setting was applied [/simple_note] - If you want to change a text’s color or font you have a 2 options: you can set a new color or font and you can use one of the preset global colors and fonts.
How to do it
- When you want to set a color or font: Go to the Style tab.
To choose a new font, go to Typography and set the font family, size, weight, and more. To choose a new color, click on the color and select a new one. - To set a color or a font to be global, click on the plus icon above it and name it. You will then be able to apply this color or font across your site by clicking the globe icon.
- Another use of Global Colors and Fonts is that they are grouped together and implemented automatically on elements.
- To edit the default global groups and add new groups- go to the Site Setting menu.
- There are 4 default groups: Primary- apply for headings and icons. Secondary- apply for subheadings, animated headlines, and list items. Text- apply for paragraphs and menu items. Accent- apply for links, button background.
Edit images
Learn about this topic
- Images serve various purposes, such as serving as a backdrop for a website’s hero section or functioning as a thumbnail. A hero requires a large image, a thumbnail will require a small image.
- To streamline the process and save you time, when you upload an image on WordPress, it automatically generates four distinct image sizes: Thumbnail (150 x 150 pixels), Medium (up to 300 x 300 pixels), Large (up to 1024 x 1024 pixels), and Full size (the original dimensions of the uploaded image).
- Images can be displayed using the Image widget or as a component of other widgets. They can also be used as a background of a container or a widget.
- To differentiate these different locations, click an image and search for the title at the top of the panel. If the title says Edit Image, then the image was added to the page using the Image Widget and you should edit it according to the following guidelines.
If not, skip the image for now. We’ll discuss background images and other widgets in the next unit.
How to do it
- Once you’ve opened the Image widget settings, click on the image in the panel. You’ll be directed to the WP Media Library to upload a new image.
- The Media Library allows you to manage all your media. You can see each image’s size (quality) and dimensions. You can also add a title, caption, and description, which are important for your site’s SEO.
- In the WP Media Library, you can crop, scale, and rotate your images to match the existing media dimensions. Save your changes, and click Insert Media.
- You can style your image with Opacity, Border, Background, Mask, and Animations. These settings are explained in the next unit.
- To reposition the image widget, go to ‘Layout’ in the next unit.
More Resources
Playlist
2 Videos
Units
Learn about this topic
- When setting the size of elements in Elementor, you can choose different units of measurement.
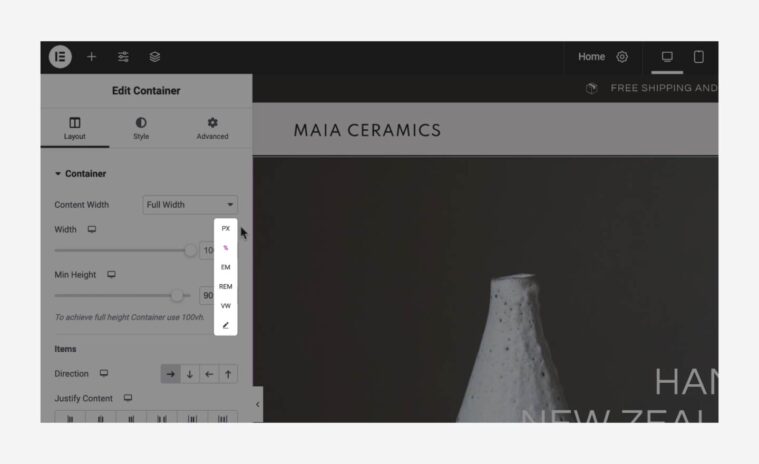
- Absolute Units: Pixels (px) are fixed and don’t change based on any other element. See how
- Relative Units: Unlike pixels, relative units are better suited for responsive design and accessibility. Relative units scale better on different devices because they scale according to another element’s size.
Observe how the image height adjusts in various devices. - EM: Relative to the font size of the parent element.
REM: Relative to the root element’s font size (HTML tag).
%: Relative to the parent element.
Viewport Width (VW): Relative to the viewport’s width (the viewport is what you see on the screen depending on its size).
Viewport Height (VH): Relative to the viewport’s height. - Understanding units and when to use each takes time and practice. Use default units for now. We’ll review the advanced usage of units when discussing Responsiveness.
Edit Buttons
Learn about this topic
- Buttons are an important aspect of most websites.
- They encourage visitors to perform an action, and when used correctly, can boost your design and conversions.
How to do it
- Click on a Button to open its settings in the Panel.
- You can link a button to any URL. Go to the Button content tab and edit the Link setting
- You can also link it to any of your site pages by typing the page’s title in the Link setting.
- To style your button, go to its Style tab.
- Buttons can be a component of other widgets but the link setting is always under the widget’s Content tab. The button’s style settings are under the Style tab.
More Resources
Playlist
1 Videos
