Table of Contents
Web creators continuously seek website perfection: visual design, user experience, functionality, usability, the list goes on. Whether your objective is customer onboarding, lead generation, an e-commerce platform, or using advanced, interactive storytelling techniques — usability and user experience are key indicators of your web creation success.
Creating, testing, and preparing for your website launch is no small feat. Developers and designers alike use so many resources when testing website speed and performance and collaborating with UX experts to implement beautiful, user-friendly design. Among the many website features and functionalities to evaluate, usability testing is one of the most critical.
Between QA testing, performance improvements, design revisions, and so on, we strive for streamlined workflows that eliminate technical glitches by spotting and correcting every bug and bottleneck. The smartest, most efficient way to do so is to test your websites and prototypes with real users: Can they use your website smoothly, without interruptions? Why or why not? What improvements can be made?
Table of Contents
What Is Website Usability Testing?
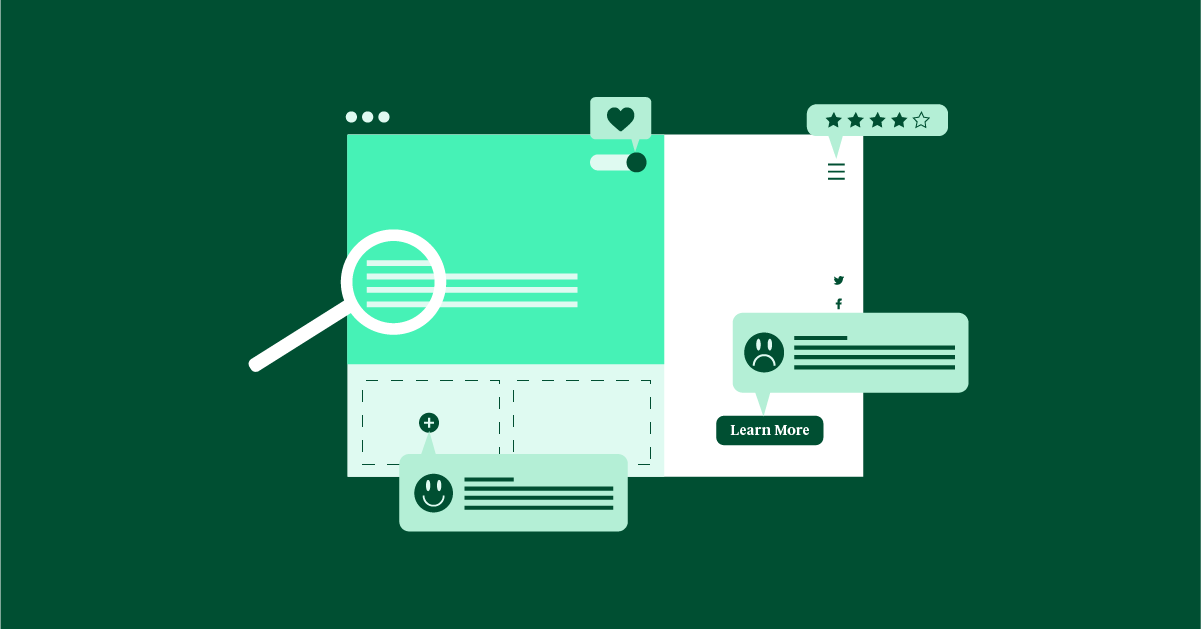
Usability testing is a user-centered design technique that evaluates a website, product or app, etc. by testing it on a group of people who’ve never seen it before.
The tests can range from remote tests with automated surveys and recorded user sessions to extensive laboratory testing with a usability and user psychology experts crew.
In a usability testing session, a researcher (called a “facilitator” or a “moderator”) asks a participant to perform tasks within one or more user interfaces. In a moderated usability test, the researcher solicits feedback and observes the participant’s behavior as he completes the task. In an unmoderated test, participants complete the usability test alone, which is why this method is better for testing a few specific elements, such as an individual widget or any minor change.
Your different options for testing formats and methods become a lot clearer and easier to choose once you identify your testing goals and the user tasks to include.
The Goals of Usability Testing
Usability testing’s underlying goal is to measure how intuitive your design, user flows, and content are for your target audience.
Individual testing goals vary by scenario, but usually include:
- Identifying problems in the user interface
- Learning about the target user’s behavior and preferences
- Determining the participant’s satisfaction with the product
- Analyzing test performance to see if it meets your usability objectives
- Uncovering opportunities to improve
The Importance of Usability Testing in Web Design
Usability testing is an invaluable tool for businesses who want to know how people interact with their website.
Observing and analyzing these interactions lets you identify issues and deficiencies you may not have noticed otherwise. You’ll also be well-informed to replace assumptions with real data on the UX of your app, website, or product.
Data provides the evidence, but only interviews and authentic feedback can explain the motivation behind usage. Even the most innovative site architecture can include a user journey that confuses or disorients the user, thus diminishing the impact you’re looking to achieve.
User Testing Expedites Workflows and Boosts Conversions
Usability tests benefit development teams tremendously — allowing them to identify and eliminate problems prior to coding. The earlier issues are addressed, the less resources needed to fix them.
Before you create a task for your busy (and often flooded with assignments) web developers, it helps to qualify the validity of your request and how it will determine your website’s success. If your developer understands how the usability testing outcomes will help his workflow, time management, and overall performance, he’s likely to prioritize user experience and usability testing.
But how can you prove the website’s user experience impact on your ROI considerations? These include website performance, lost sales revenue, demands on support personnel, and time spent revising pre-existing code.
Validity Makes a Difference
Backing up your claims with quantitative UX Studies always makes a difference. Studies have shown that an e-commerce website form with poor usability can prevent its purchases from generating as much as $300,000,000 a year. Straightforward design changes like changing one button and adding a tooltip have increased customer purchasing by 45%.
Imagine if you identified a problematic button before your final website launch, thereby avoiding a situation where users weren’t clicking a CTA due to its confusing user flow. Then imagine another scenario: you have to approach your developer weeks after your website launch and ask him to rewrite the code for your form submission process.
You’ve now deepened your understanding of how usability tests dictate a website’s success. Let’s dive into the “how to’s” so you can finally put your usability testing knowledge (UAT) into action.
How To Perform Usability Testing
You have many choices for how to conduct your usability test: in-person, remote, formats, moderated, unmoderated, etc. You’ll also have other decisions to make: what type of prototype you’ll use, how many user flows and tasks you’ll be testing, and how many participants to involve in the test (experts recommend no more than five).
Before you start the official preparation for your usability test, you’ll need to do some background work to make confident decisions about your testing.
Phase 1: Preparing Your Usability Test
Step 1: Identify Testing Objectives
Your usability test’s purpose or goal should be clearly defined before you begin planning the stages that follow.
Some possibilities of your goals or objectives could be:
- To validate a prototype.
- To find issues with complex flows.
- To gather unbiased user feedback.
- To gain insights that improve the overall UX.
If it sounds challenging to think of what to identify or look for, here are some examples to get you started:
- What’s the main reason people visit your website?
- What are they trying to achieve?
- What’s convincing them to take action?
- What, if anything, is stopping users from (action)?
- Do they find the wording or navigation confusing?
- What can they not find on the page?
- What did they like most about their experiences on your site?
- Does the user understand the point of your site?
- Would they use your website again?
- Which other websites might they visit before or instead of yours?
Step 2: Decide What To Test
Designating a set of tasks for your user adds clarity, consistency, and efficiency to your test. User tasks can be as comprehensive as “set up a new account and complete a transaction” or as simple as “navigate to the About Us page.”
Step 3: Choose a Testing Method
Many usability experts consider the “think aloud” method to be the most authentic and effective approach. Regardless of your testing method, all you want users to do is think out loud, without any hesitations or sugarcoating — even if it means awkward silences.
Finally, once you know what to test, what to ask, and what material you’ll need, you can start the official stages of usability testing.
- Moderated or Unmoderated?
Moderated testing sessions can be conducted either in-person or remotely. In these sessions, the tester introduces the test and generates a dynamic conversation by asking participants questions (preferably open-ended) and answering their queries.
Unmoderated tests are entirely different, done without direct supervision. Participants complete the test individually and will often provide more generic, non-specified feedback.
The direct researcher-to-participant interaction allows moderated testing to produce more in-depth results. Ultimately, this method is the best fit for investigating user behavior and its reasoning. Unmoderated testing is better suited to testing a very specific question or observing and measuring behavior patterns.
- Remote or In-person?
Remote usability tests are done over the internet or by phone; In-person testing, as the name suggests, means the test takes place in the physical presence of the researcher/moderator.
In-person tests are often the ideal choice, as they provide extra data points (body language, facial expressions, etc.). That being said, in-person testing can be expensive and time-consuming. Remote testing doesn’t go as deep into a participant’s reasoning, but can test large numbers of people from a wider range of locations.
- Explorative or Comparative?
Explorative tests are open-ended, performed in the early stages of product development.
You’ll ask participants to brainstorm, express opinions and emotional impressions about ideas and concepts. The overarching goal is to pinpoint gaps in the market, identify potential new features, and workshop new ideas.
Comparative research means comparing a website with primary competitors — asking users to share which they prefer and why. You’ll often find that participants prefer individual features from each site, rather than one overall websites over the other.
Step 4: Prepare Your Questions
The questions you choose and how you phrase them are undeniably critical. Above all else, test participants must be told:
- There’s no right or wrong answer.
- They’re not being tested on anything — you’re testing the website itself.
- You want their general feedback on what you’re presenting; All they have to do is think out loud about what they’re seeing and trying to do.
Phase 2: Testing
As we mentioned earlier, no more than three or five participants are needed for a usability test. The logic here is that the more users you add to your testing, the less you learn — actions and feedback will be repetitive among participants. Fewer participants means less interviews and testing sessions to arrange, and shorter testing processes.
Remember that your overarching goal is to collect data that explains why users make specific choices during tasks. To facilitate this, aim to gain an understanding of their train of thought throughout each user flow.
Step 1: Choose Test Participants
This is where you decide how many and what type of users to test. These could be general audiences, user personas, or even specific use cases — such as: “People who shop online from a mobile device.”
It’s always best to remember:
- Don’t resort to testing random, conveniently available people. If a person doesn’t shop online or only shops from a desktop, their level of insight about a mobile shopping experience will be limited.
- Avoid asking too many questions when verifying that your participants fit your criteria. You just want them to casually share some personal information and their experiences with websites similar to yours.
Step 2: Present Your Prototype
Your choice of prototype for testing should be based on the information or feedback you’re looking for. Ultimately, you can choose a simple hand-sketched prototype, wireframe, high-fidelity mockup (static or interactive), or even a staging website; the choice is yours.
Other less obvious testing methods include presenting a competitor’s version of your site and seeing what users like and dislike (comparative research). When you’re looking to redesign an existing version of your website, you can show participants a current/previous version, ask what they find helpful, what confuses them, what they would change, etc.
Step 3: Ask Your Questions
It’s finally time to get down to business and ask your users about their experience with your site. This is where the “think out loud” approach should be at the forefront of how you phrase your questions and input.
Some standard usability questions that can be helpful to ask or focus on:
I noticed you did ____. Can you tell me why?
Did you notice whether there was any other way to ___?
Which of these two options do you find best? Why?
How did you find the experience of using the website to complete this task?
Make sure to thank your users for their participation. If you are considering publishing your findings in any way, you’ll need to ask for their consent.
Phase 3: Analyze Test Results
Step 1: Identify What You're Looking For
This is where you backtrack and review your usability testing goals, remind yourself of the “problem” areas of your site, the user pain points you’re looking to address, and what you’ve been looking to evaluate all along.
You can then streamline the user feedback process and derive the most relevant, useful information. This will allow for more focused, poignant inferences.
Step 2: Organize Your Data
It helps to organize user feedback according to category and align those categories with the tasks you’ve tested. For example, if you are testing your website accessibility and have included visually-impaired participants in your study, you can devote one category to “accessibility”.
In each category, you’ll include information like:
- Issues or errors that came up during the test.
- The user’s courses of action.
- General feedback.
Step 3: Derive Your Takeaways
Identify your usability testing takeaways by aligning them with your goals and see if your results have addressed them. Assess whether or not you’ve checked what you were looking to find out, and if you can derive conclusions from your discoveries.
Backing up conclusions with your findings (whether qualitative or quantitative) helps prioritize what to fix or change. Prepare your takeaways for your follow-up conversation with your website developers; List any bugs or issues your users experienced and specify what needs to be fixed or modified.
Step 4: List Your Action Items
Test results that include proposed action items will fortify your overall analysis — whether you’re presenting your test results to stakeholders, or prioritizing the most critical findings. Proposing action items increases the likelihood that the weaknesses you have identified in your design will be fixed rather than fall through the cracks.
Examples of action items for your testing results can be:
- Add a stronger element of color contrast to make texts more legible.
- Use dynamic content to organize and tag your blog categories in a clearer way.
- Look to current website design trends to add a more modern, up-to-date vibe to your site.
5 Common Usability Mistakes
1. Not Conducting Usability Testing Often Enough
Testing the usability of your website design once a year most likely won’t suffice. Conducting tests around every six weeks is a realistic, preferred time frame for continuously improved web design.
2. Testing Too Many People
Testing too many people not only wastes resources (multiple users will list the same issues), which can reveal more “problems” than can be fixed.
3. Not Testing the “Right” People
Testing a website’s usability means testing “real-life use cases”. Testing unlikely website users can’t be a helpful resource for issues or problems you are looking to identify.
4. Soliciting Opinions and Not Thinking Out Loud
The essence of usability testing is not to find out if people like your design. You want to know whether or not they can carry out the tasks, and whether they find it intuitive, possible, or difficult to do so.
5. Disregarding Emotional Responses
You want to know how the tasks make users feel. If they get stressed by a specific user flow, we can infer that something about it is overwhelming or even unfriendly. If they are enthusiastic about how simple a task was, you can understand that this element probably doesn’t need to be worked on further.
Usability Is Bliss
We now understand the importance and benefits of investing in usability testing during our web design process. If a design isn’t usable, it’s unlikely that your website will meet its potential and meet your business or design goals.
Usability testing is a clear, coherent process that doesn’t need to require many resources at all. For this reason alone, our duty as web creators is to incorporate the importance of usability into every step of our design workflow: ideation, research, design, QA, all forms of testing, revisions, and all that follows suit.
* We had the privilege of participating in {DECODE} 2021, where our Director of UX led a talk on “Usability Testing for Developers”. Our content is still available for viewing (and will be indefinitely!).
Looking for fresh content?
By entering your email, you agree to receive Elementor emails, including marketing emails,
and agree to our Terms & Conditions and Privacy Policy.


