
Why exactly is it that clients or employers are going to hire you to be their web designer? First and foremost, they want to leverage your creativity, ingenuity, and design acumen. But those traits alone won’t guarantee that you’ll be an efficient or effective contributor — and that matters, too.
Clients of course want you to design something amazing for them. But you know what else they want? They want everything to go smoothly.
One of the best ways to do this is to create a structure for how you work.
To learn how to create your own repeatable and optimized web design workflow, keep reading. We’ll cover what a web design workflow is, why you need one, and what you need before you kick it off.
We’ll also break down the 10 steps that should be included in your workflow, from hosting the first kickoff call with your client to providing website maintenance after handing it over.
Table of Contents
What Is a Web Design Workflow?
A web design workflow is a detailed framework that lays out all the phases, steps, and tasks needed to create a website. It covers all aspects of the process, from planning through to execution and post-launch.
This structured approach to web design frees the designer up from the stress of managing projects as the entire process is well-documented, easy to follow, and optimized for success.
While the web design workflow may differ from designer to designer and agency to agency, they all generally use the same phases:
Phase 1: Research
In this phase, the web designer uses a variety of resources — including the client — to collect information on the:
- Company
- Website objectives
- Target audience
- Industry
- Competition
- Design and content trends
The designer also gathers whatever they need from the client at this point, like logo files, images and other brand assets.
Phase 2: Planning
After the information gathering is done, the designer plans out the website. During this phase, they come up with the website information hierarchy, UX concept (the website wireframes for the main pages) and the visual design concept.
These tools along with the initial research will be used in the execution steps to ensure that everyone involved in the project — e.g. designers, writers, developers, and SEOs — use the same project framework.
Phase 3: Execution
During this phase, the designer and their team (if they have one) will pull all the pieces together to create a fully functioning website.
They’ll create all the content, graphics, as well as a fully responsive design for the website. In addition, they’ll implement the UX strategy to ensure that the website doesn’t just look good, but also feels good to visitors.
In addition to implementation, several rounds of QA and testing will be done to ensure there are no bugs or errors within the website and content. The client will also be looped in to review what’s been done, provide feedback and ultimately sign off on it.
Phase 4: Launch
With a finalized and approved website, the web designer will move it to a live server and officially launch it.
The client will then be provided with all their website deliverables. If further maintenance work is to be done on the site, it will be discussed and kicked off at this time as well.
Why Do You Need a Web Design Workflow?
Here are some things a web design workflow can do for you:
A Stress-free Way to Work
Your workflow accounts for everything — from onboarding your client to launching a bug-free website. With a complete plan laid out, you’ll experience less stress when working on new projects.
Create More Accurate Timelines
When you create a repeatable workflow process, it won’t take long before you come to learn how long each step and task takes to complete. With this data, you’ll be able to more accurately lay down timelines for your jobs so you can complete them on time, every time.
In addition, this information will allow you to be transparent with your clients about your process, so they’re not kept in the dark or waiting around wondering when you’ll be in touch again.
Work Quicker
Another benefit to having a repeatable workflow is that it becomes second nature. While you’ll still want to refer to your workflow checklist to ensure that everything gets done and in the right order, you’ll be able to zip through all of your tasks much more quickly.
Spend Less Time Backtracking
Without a documented process, it’s too easy to lose track of those small but essential steps. What’s more, you’re more prone to errors and misfires when you work from memory instead of a process. Your workflow process should reduce the amount of time you spend backtracking and revising.
More Easily Attend to Fires
A well-documented web design process will greatly improve your productivity. As you discover better and faster ways to get your tasks done, that’ll give you more “free” time to address client emergencies or personal matters — and you won’t have to compromise your timeline to do it.
Deliver Better Results
When you work without a process, there are going to be a ton of things competing for your attention. Trying to remember what to work on next. Answering emails from clients who want to know how things are coming along. Figuring out the best approach for the website you’re working on. The workflow brings structure and order to your job so you can focus on creating instead of coordinating.
Increase Profit Margins
With improved productivity and fewer errors or issues, you’ll be able to work faster and smarter. As you get projects done more quickly, that’ll free you up to take on more work which gives your profit margins a big boost.
What You Need Before You Kick Off Your Web Design Workflow
Ideally, you’ll be able to create one web design workflow template that can be used on every project you work on. Since every job will be a little different, you’ll need a few things in order so the details of your workflow can directly reflect it.
To customize and finalize your web design workflow before you start, you’ll need the following:
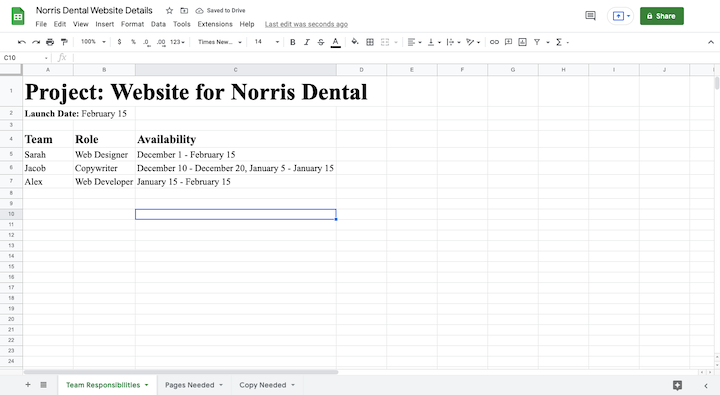
1. List of Available Resources and Team Members
If you’re working on the website alone, then you won’t have to worry about this one. However, if you’re collaborating with team members or contractors, then jot down who’ll be involved, what their role will be, and confirm their availability so you can schedule their tasks accordingly.
You don’t need anything fancy for this. A spreadsheet will do:
2. Project Management Software
The best way to document and manage your web design workflow is to set it up in a project management platform where it will be digitized and easy to duplicate.
Not only will this give everyone involved in the project clear visibility into what needs to be done, but you can automate some of the stuff you’d otherwise have to hand-hold. For instance:
- Assign tasks to stakeholders
- Add due dates to each task
- Set up reminders so stakeholders are reminded ahead of time about deadlines
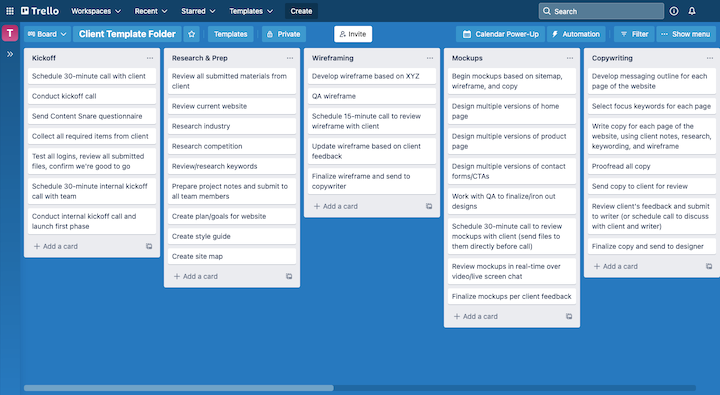
There are tons of other great project management tools out there for web designers — like Trello, monday.com, and Asana.
Here’s what your workflow template might look like in Trello:
3. Web Design Technology
The last thing you want is to have to figure out which web design technologies to use after your project starts. Instead, you should already know which tools you’ll be using. That’ll be much easier to figure out if you use the same tools from job to job.
For instance, some of you may prefer to design in a platform like Sketch or Photoshop and then develop everything in WordPress.
On the other hand, if you prefer a more streamlined way to design and develop websites, you might choose to work entirely in WordPress to create your:
- Site structure
- Wireframes
- Custom design components
- Global styles
- Mockups
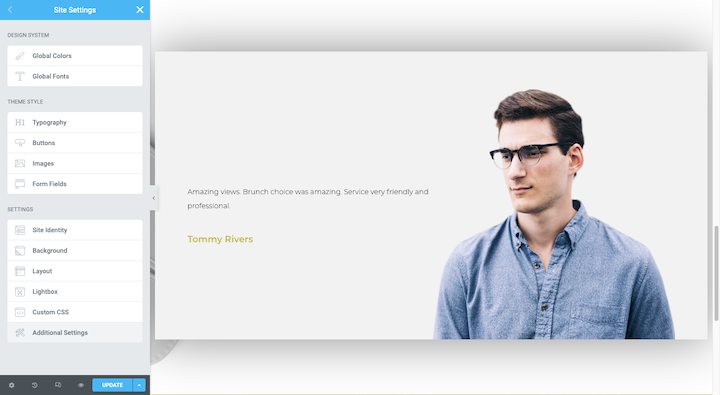
What’s more, Elementor makes it easy to manage your entire design and development workflow.
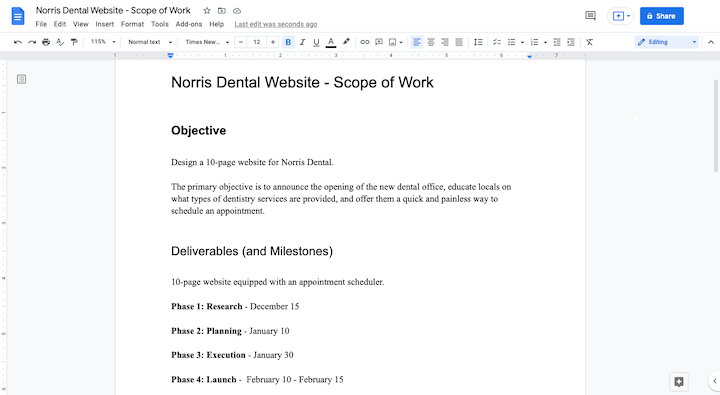
4. Scope of Work
When you put together the website proposal for your prospective client, you also had to map out the scope of work (SOW). It’ll include the following sections:
- Introduction
- Overview and objectives
- Scope of work
- List of phases and tasks
- Timeline and milestones
- Budget
- Deliverables
- Technical requirements
- Inclusions
- Exclusions
This document is going to play an important role in the first phase of your project as you set things up. Make sure you have it saved in the project’s folder and that the web design workflow reflects its idiosyncrasies.
You can easily generate one of these in a word processor and then save it to PDF.
5. List of Design Elements To Create
Take a look over the signed client contract and SOW. Then write down what you’re responsible for creating. It might not be the same from job to job.
For instance, for Client A, you might have to create:
- Logo
- Style guide
- 10-page website
- Contact form with conditional formatting
- Lead magnet pop-up
For Client B, though, you might be creating:
- 5-page website
- Sales funnel landing page
- Stripe-enabled checkout
By creating a list of everything you’re designing, you’ll know which steps to add or remove before kickoff.
Add this list to the same spreadsheet where you listed out your resources:
6. List of Content To Create
In some cases, you might not be creating any content. Instead, you’ll get it from your client. Regardless, this is still an important step to go through.
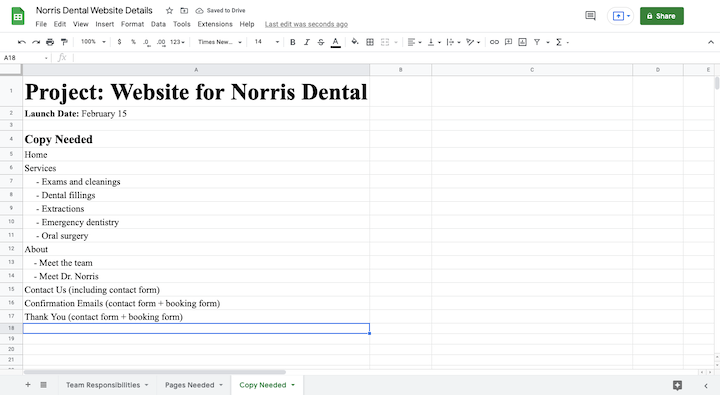
Write down which pages you’ll need copy for. Then make a note of who’s responsible for providing the content.
This is something you’ll be referencing in the first phase either with the client or your copywriter. Go ahead and add this list to the same spreadsheet where you listed your resources:

What To Include in Your Web Design Workflow
The following steps will provide the foundation for your web design workflow.
Step 1: Host a Client Kickoff Call
The client onboarding process sets the stage for how the rest of the project will go. Your goals during this live kickoff call should be to:
- Set realistic expectations related to the project goals, timeline and outcomes.
- Interview the client to find out more about their company and needs and document it all in a website brief.
- First, gather everything you need from
There are a few tools you can use to make the process go smoothly:
1 – Video conferencing software like Zoom or Skype where you can talk to the client in real-time, share your screen and record the kickoff call.
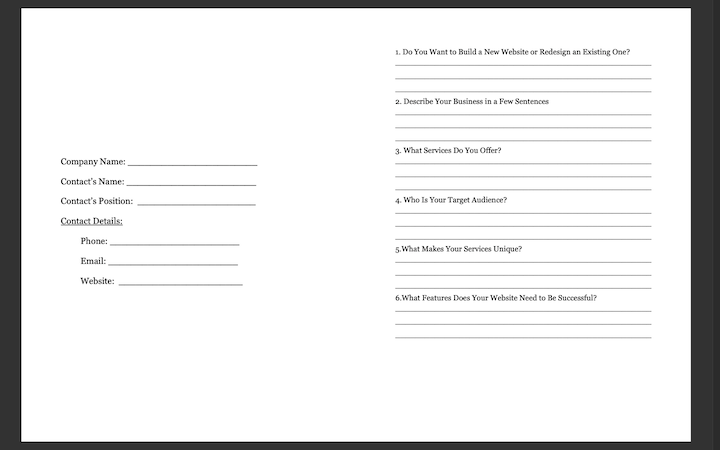
2 – A questionnaire with all of the questions you need to ask them about their company, project goals, design and content tastes, and so on. Use this website design questionnaire template to create your own.
3 – Assets and logins you need in order to create and complete the website. This may include:
- Brand logos
- Style guide
- Premium theme or plugin licenses
- Image assets
- Copy
- Logins for web hosting and domain
Streamline this process with a tool like Content Snare or FileInvite.
Step 2: Do Your Research and Prep Work
While it’s important to get first-hand information about the company from your client, you’ll also need to conduct outside research.
Regardless of what type of website you’re building, there are a few types of research you’ll do every time:
Industry analysis – This kind of research will clue you as to what’s happening within the industry as well as the direction it’s moving in. It’ll also give you a good sense of what the trends are in terms of industry-specific web design.
Competitive analysis – This kind of research will help with positioning. If you can identify where the trends are amongst competitors’ websites, you can design a website that competes on the same level. Then, look for gaps in their strategies that you can fill when you build your client’s site.
Target audience research – Your client will be able to tell you who they’re targeting. It’s going to be up to you to learn more about them — their demographics, needs, fears, and motivations. Then, create accurate user personas that you can design for and your copywriter can write for.
Depending on the scope of the job, you may also need to do research related to search engine optimization so you can formulate the right strategy for their site.
In addition to these reports and the user persona profiles, you’ll also need to create either a style guide or design system if your client doesn’t already have one.
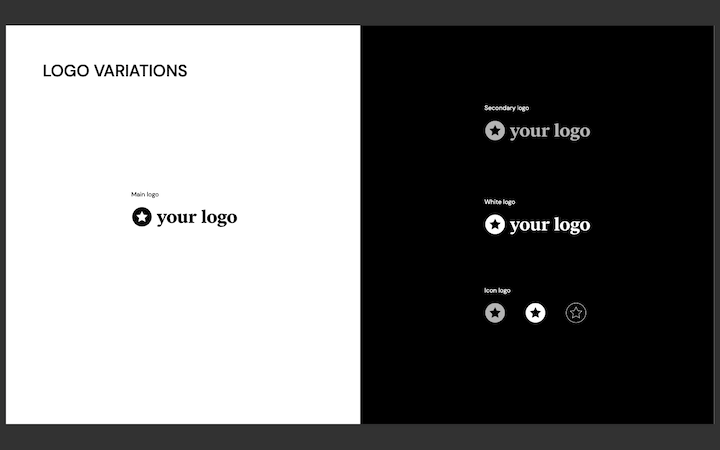
These documents give you and your team a clear visual language to use going forward. They also make updating or redesigning a website down the road much easier to do.
Step 3: Plan Out the Site Structure
The first thing to do is to create a sitemap. You might have a good idea of which pages are needed and how they should link together based on what your client told you.
However, be sure to reference the research you did in the previous step to make sure you’re not missing anything. There may be extra pages the competition has included that perform well. Or perhaps even how they name them or the order in which they appear to differ from what you originally planned.
Then, use the information you gathered on the target audience to determine how best to optimize the sitemap.
In terms of sketching out the sitemap, use a free tool like GlooMaps to set everything up:
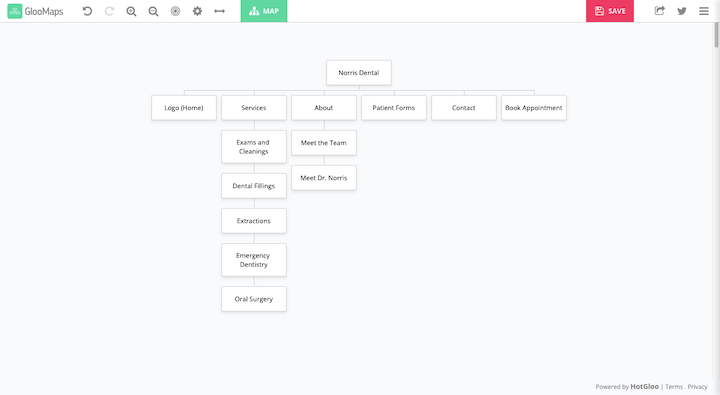
It’s an easy solution if you’re working with a relatively small set of pages.
If you want to do something more advanced, like for an ecommerce store or one that shows how your wireframes connect to one another, FlowMapp is a good option:
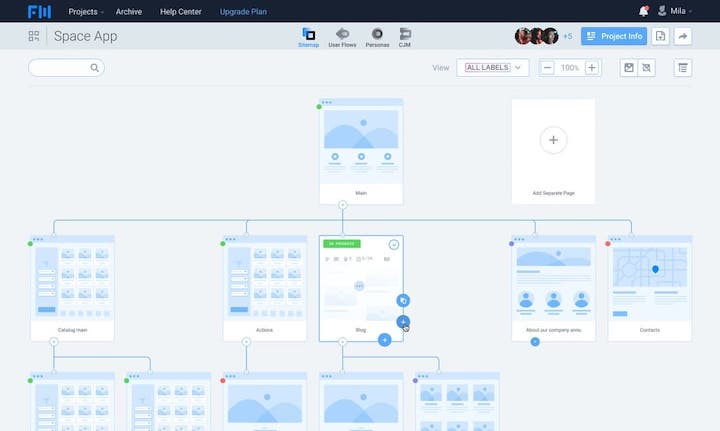
Speaking of wireframes, that’s the other thing you’ll have to sort out at this stage.
Wireframes are very basic sketches that show how each page will be laid out. You’ll use placeholder content to demonstrate how everything will fit together and flow.
One way to create your wireframes is with a tool like Balsamiq or MockFlow. Another option is to create your wireframes with Elementor.
What’s so great about this option is that you can quickly build out a complete wireframe simply by using Elementor’s black-and-white templates. So, rather than spend your time laying down the structural foundation for the page, you can instead focus on tweaking the layout and design.
Step 4: Write the Content
This step all depends on who’s writing the content.
If you’re getting content from the client, you’ll ideally get it during the onboarding phase. If you don’t, you risk having to put your project on hold if they don’t get it to you on time.
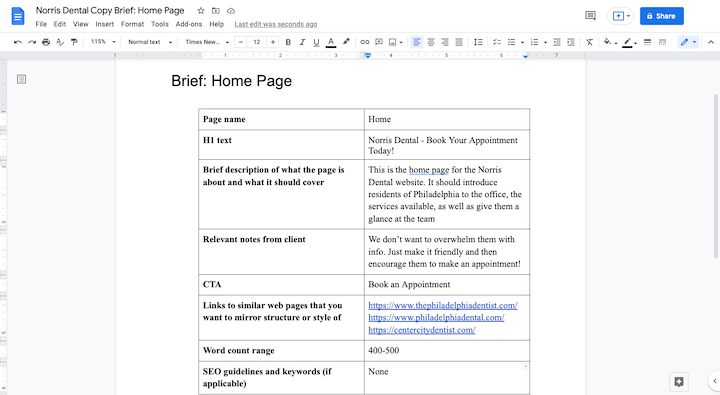
If you’re getting content from a third-party copywriter or you’re doing it yourself, then you should spend some time writing up briefs for it first.
Your content briefs should include the following details for each page:
- Page name
- H1 text
- Brief description of what the page is about and what it should cover
- Relevant notes from the client
- Call-to-action
- Links to similar web pages that you want to mirror structure or style of
- Word count range
- SEO guidelines and keywords (if applicable)
Make sure the writer is also provided with all the relevant research and wireframes so they can write the copy to fit the allotted space.
Step 5: Design the Website Mockups
There are two approaches when it comes to handling the copy and design of a website.
Option 1: Get the copy written first and then work on the mockups once the content is done so you have something to design around.
Option 2: Create the copy and design simultaneously — in conjunction with one another or not. Either way, you and the copywriter will be depending on the same reference material, so you should more or less reach the same result. That said, it’s better to collaborate when possible.
When you’re ready to get started, take all the research and planning you’ve done and translate it into a modern, attractive, and effective web design.
Again, you have options. Some designers prefer to design websites away from the live server (and the client’s prying eyes). In that case, you can create static mockups in your preferred design software, like Adobe Photoshop or Sketch. If you go this route, it’ll require additional development work.
Another thing you can do is set up a staging environment on your own server or use a tool like Local by Flywheel to do it. Then design the mockups on an actual WordPress installation:
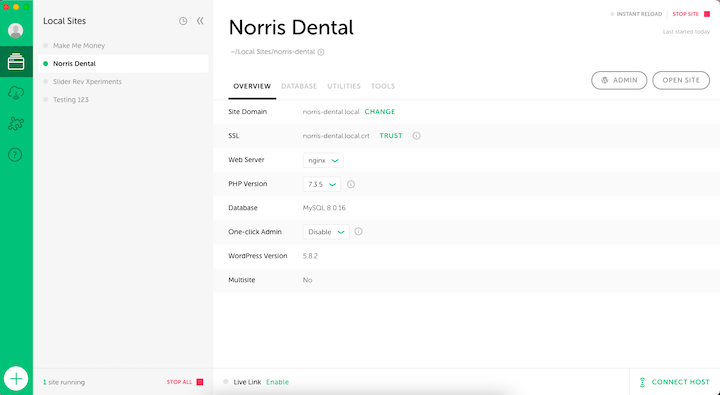
If you’ve created your wireframes using Elementor, then it only makes sense to design your mockups in Elementor, too.
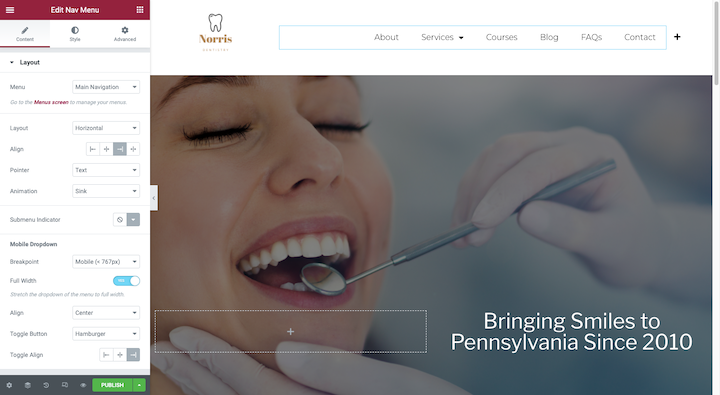
The benefit of doing this isn’t just saving time, though that’s a huge win. You can also add functionality to your mockups (turning them into working prototypes), so your client will have something more realistic to review and approve when you give it to them.
Step 6: Review the Website With the Client
Speaking of client review, this is the point when you should loop them into the project to review everything you’ve created — both the content and design.
It’s always best to take a structured, hands-on approach to the client review stage. Otherwise, client feedback may end up being vague, irregular, or unwieldy.
There are a few things you can do to ensure that you get the right kind of feedback:
Host a live walk-through over Zoom or Skype.
You can even hand over screen sharing controls to the client, give them the link to the prototype and invite them to look over it, and ask any questions that come up in real-time.
Give the client a chance to leave feedback on their own.
One way to do this is to install a visual feedback tool like BugHerd on the website. Your client will then drop their notes and questions onto the relevant parts of the page.
If you want a bit more control over what kind of feedback they provide, a user testing tool like UsabilityHub probably makes more sense.
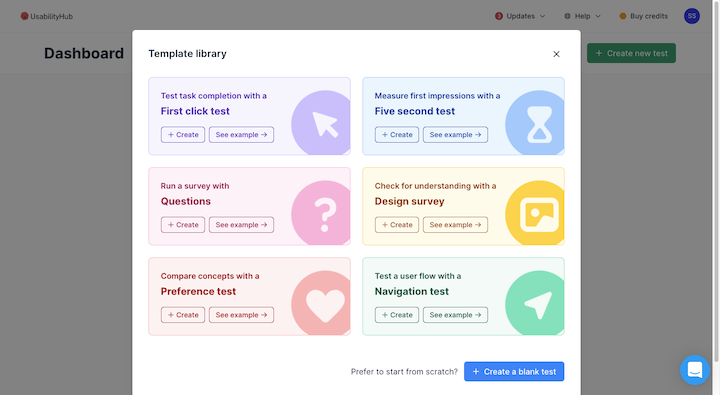
That way, you can ask questions within the context of the site and guide your clients towards providing good feedback.
Something else to keep in mind during this phase is how many people you’re going to allow to give feedback.
Your client may have numerous department heads that they want to weigh in. Depending on the size and scope of the job, that might make sense. However, for a smaller website, you can either give them the option to choose one person to do the review and feedback or for them to work internally to come up with consistent and consolidated feedback.
Step 7: Complete Website Development
With your client’s go-ahead on the copy and website design, the next step is to move the site into development.
If you created your designs outside of WordPress, then you or your developer are going to need a much longer development step to recreate or custom-code the designs in WordPress.
If you designed your prototypes in WordPress, then this step is going to go much faster. You’ll skip right over the development work and move onto all the extra stuff that needs to get done.
For example:
- Flow in the copy (if it’s not already there).
- Fix internal links.
- Add any relevant SEO.
- Optimize for speed.
- Harden your site security.
If your client had any feedback that has yet to be implemented and is within the scope of the project, implement it in this step.
Step 8: Conduct Your Quality Assurance Tests and Finalize the Site
If you work on your own, find someone else — perhaps a fellow designer or maybe your copywriter — to give the site a look through. It’s good to have a fresh set of eyes looking at something you’ve been working on for weeks or months on end.
If you work with a team, it’s not a bad idea to delegate different types of QA based on their roles. For example, the copywriter should review all of the content and SEO implementation. Another designer or developer should do a walk-through to check for bugs, errors, broken elements, etc.
You can then use tools to perform your technical checks:
Responsive tests with BrowserStack:

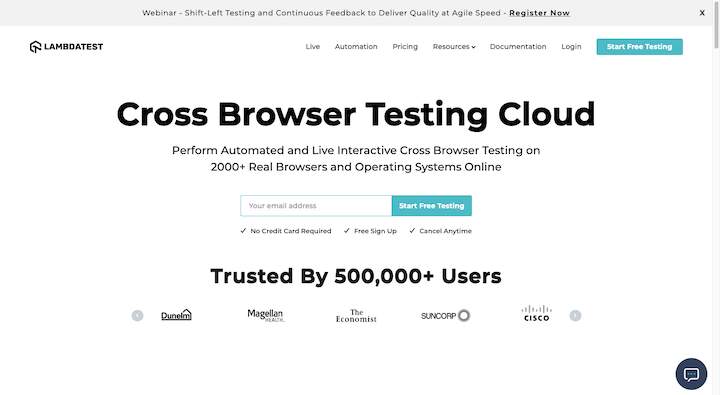
Cross-browser tests with LambdaTest:
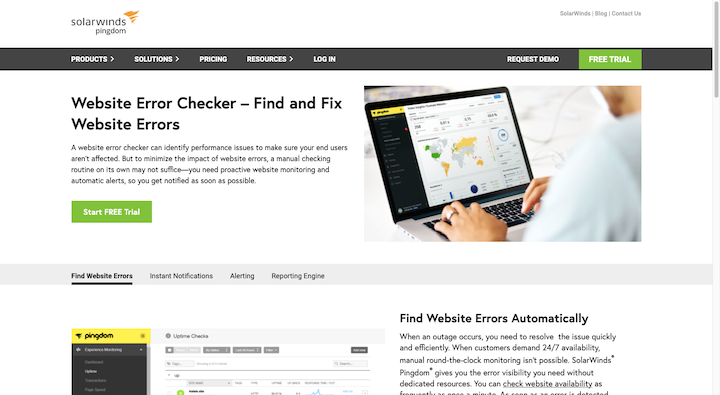
Website error checks with SolarWinds:
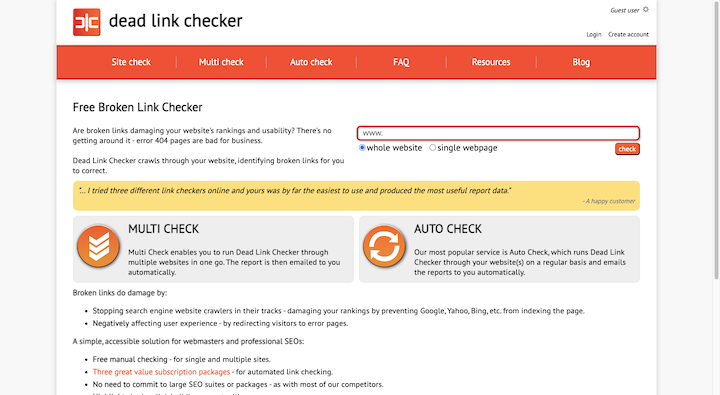
Broken link checks with Dead Link Checker:
Accessibility tests with WAVE:
You’ll eventually have to test for speed, security, and SEO. However, you won’t be able to do that until the website is live.
Make sure to schedule time after launch to assess the site for potential issues in those areas. You can use your WordPress security plugin to monitor for issues. For SEO and speed, use Google’s Core Web Vitals tool.
Get more tips on how to perform a comprehensive website QA test here.
Step 9: Launch the Site and Hand Over the Deliverables
With the website finalized and your client happy to sign off on it, it’s time to push the website live.
If the site was created on a live server and you have an Under Maintenance page blocking visitors from seeing it, simply disable the setting.
If the site was created on a staging server, move it over to the client’s web hosting server and connect it to the domain name. Here’s a quick tutorial that shows you how to push a website from staging to live.
With the website up and running on the live server, do one more full walk-through and make sure no bugs appeared during the switchover.
When you’re done, connect the website to Google Analytics. If you’re going to manage the site going forward, it’s okay to set up the account under your own and then give your client access to the data.
If you’re handing the site over to your client, provide them with instructions on how to create a Google Analytics account and to add you as an admin. Then, you can set up tracking on their site.
One last thing to do in this step is to provide your client with the deliverables you owe them. This will differ based on the original scope of work as well as your specific web design process.
Refer to this guide to determine which project deliverables to deliver.
Step 10: Provide Website Maintenance (Optional)
This step is only applicable if you’re providing website maintenance. If you are, then this step will be ongoing. For some websites, that may require only monthly check-ins. For others, you may need to be involved on a weekly or daily basis.
It all depends on the size and purpose of the website. For instance, a 10-pager for a local law firm will probably only need the basics in terms of:
- Backups
- Updates
- Security monitoring
- Performance monitoring
- Error checks
However, an ecommerce site might need a more robust maintenance plan, whereby you also have to manage new product uploads, redesigns, SEO, performance optimizations, and more.
Use this 16-point checklist to ensure that you perform all necessary website maintenance.
Conclusion
While you might be able to design an amazing-looking website for your clients, their satisfaction with it and with you can easily be soured by the many issues that arise from a lack of a workflow.
With a solid web design workflow in place, you’ll have a step-by-step action plan that enables you to effectively translate your client’s objectives into the perfect website. Every. Single. Time.
What’s more, having a solid workflow can greatly improve your productivity and, in turn, your profit margins.


