Header and Footer
If your kit includes a header and footer, they will be visible on multiple pages, but they are separate from the page’s actual content.
They are created using the Theme Builder and are part of other site parts. In this unit, you will learn how to access and edit them.
[simple_note] The site menu is usually located in the header. More information on editing the menu will be provided in the next unit. [/simple_note]
Your Goal
Edit your header and footer
Website structure
Learn about this topic
- A website is a combination of several features:
- Pages: Display your site’s fixed content (content that isn’t updated regularly), like the Homepage you’ve been editing.
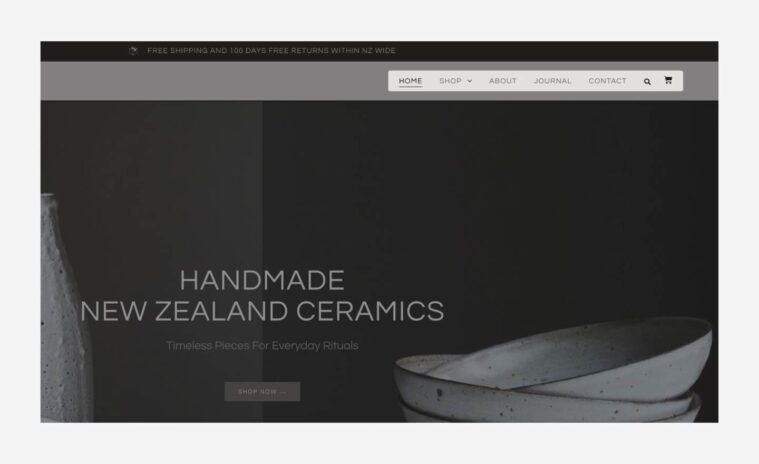
- Header and Footer: Appear at the top and bottom of pages. They’re part of the theme, not the page’s content, and will usually appear on more than one page.
- Posts/Products: Display content that updates regularly.
They’re created using a different method than Pages.
Usually, they’re displayed on a special page. They’re only relevant to kits with Blog (Posts) or Store (Products).
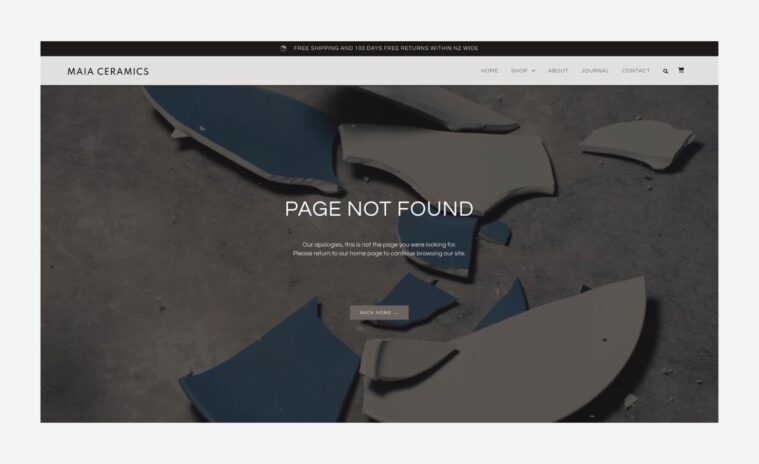
[simple_note] Posts and products will not be covered in this learning path [/simple_note] - 404 Page: This page displays if your site encounters an issue and informs the user that there’s an issue.

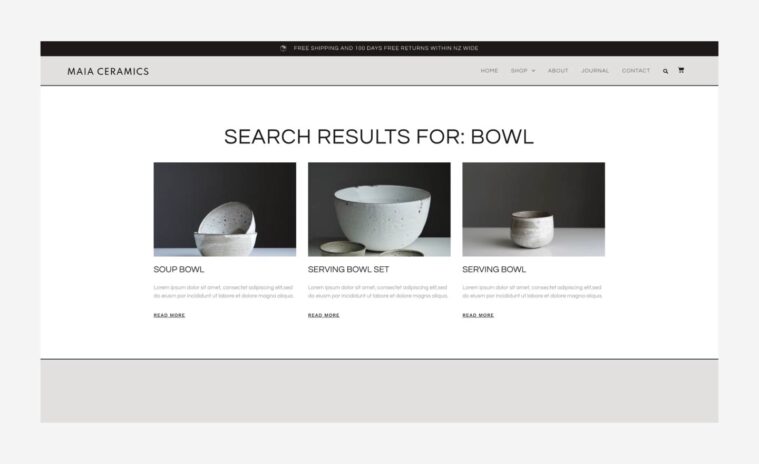
- Search Results: The page that shows the results of a search made by a site visitor.

- Menu: Used to navigate the different pages of your site.

- Popup: A page that appears under certain conditions set by you.
- You need to edit all the above features that are part of your kit.
In this unit, we’ll review Header and Footer.
Menu will be discussed in the ‘Navigation’ unit.
404, search results, and popups will be discussed in the ‘Site Parts’ unit.
Site identity
Learn about this topic
- Site Identity includes your site’s logo, favicon, name, and description.
- To edit your site identity, go to the Editor → click the site settings icon → Site Settings.
- Once set, your site identity is used across your site.
- Example: After uploading your logo, you can add a Site Logo widget (in many kits, you’ll find that this widget is already located in the header). The widget automatically displays the logo you upload in the Site Identity settings.
- This useful, time-saving method is called Dynamic Content. You set an item once; then, you can ‘pull’ this item from different places across your site.
Edit header and footer
Learn about this topic
- Header and Footer are site parts that can appear on more than one page. Most kits have both but some have only a header and some have neither.
- The header usually contains the Site Logo widget and Nav Menu widget. Other elements can also be added.
[simple_note] When editing the header, you can edit the menu’s appearance, but its content (which pages are displayed) is set in the WP dashboard under ‘Appearance’. [/simple_note] - The footer usually contains information your site’s visitors might find useful, such as your contact details, social icons, and location on a map.
How to do it
- You can edit the header and footer from two places:
- The first is through the page itself:
When hovering on the header or footer, they have a green (or yellow) border and handle. When hovering on the page’s content, it has a pink (or blue) border and handle.
Click the pink handle to edit the header. - You can also edit them through the Theme Builder. Click the Elementor icon on the Top-Bar or go to ‘Templates’ on your WP dashboard.
- The edits are done using the Editor.
You can create any layout and add any widget you like.
Remember to save your edits. - You can set where your header and footer appear by editing their conditions. Click the drop-down icon next to the Update/Publish button.
More Resources
Playlist
5 Videos

12:19
![How to Create a Header Template With Elementor Theme Builder [PRO]](http://img.youtube.com/vi/HHy5RK6W-6I/maxresdefault.jpg)
5:29

11:12
![How to Create a Footer Template With Elementor Theme Builder [PRO]](http://img.youtube.com/vi/xa8DoR4tQrY/maxresdefault.jpg)
4:51
![Create a Color Changing Sticky Header Without Code in Elementor [PRO]](http://img.youtube.com/vi/PJp87rmeLcI/maxresdefault.jpg)

