Add and Delete Content
It’s likely that your kit may not perfectly meet all your needs. In this unit, you will learn how to delete existing content from your kit and how to add new content to it.
Your Goal
Modify the content of your homepage by adding or deleting elements.
Add content- Template Library
Learn about this topic
- Templates are pre-design assets you can reuse across your site. They’re a great way to speed up the design process.
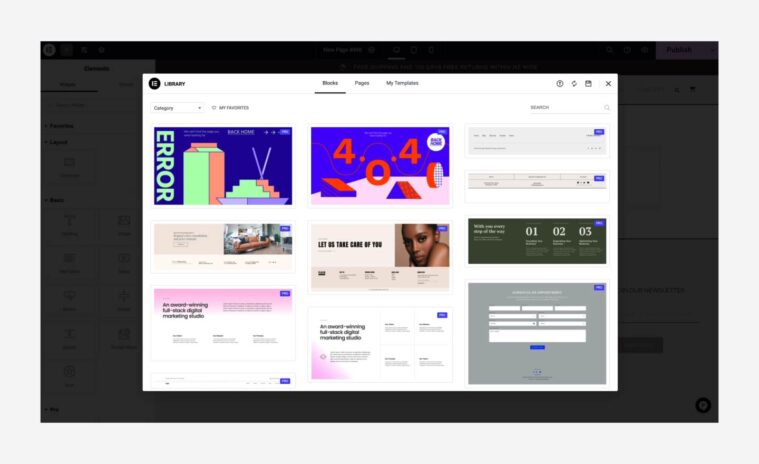
Add an entire page or a block, which is part of a page. - To access the Template library, click on the Library icon.

- You can choose from two types of templates: Elementor designs and your designs.

- Elementor templates are professionally designed and help you create a polished website quickly.
- Creating your own templates allows you to reuse your designs, speeding up your work, and helping you maintain consistency.
You can create new templates by right click on any container, select ‘Save as template’ and name it.
How to do it
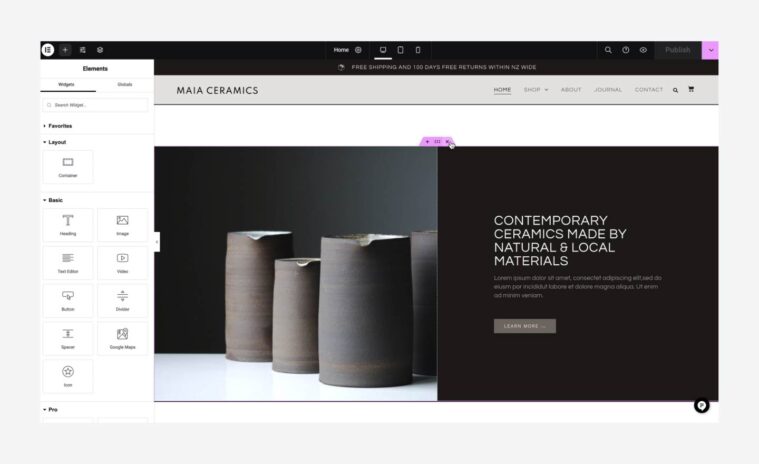
- To add a Block or a Page, choose the desired Block or Page and click insert.
The template will be added to your page. - After adding a template, you can edit it how you want.
Add content- From scratch
How to do it
- To add content from scratch, you need to follow these steps: build your layout using containers, add widgets that provide the desired functionality, and modify their content and style as needed.
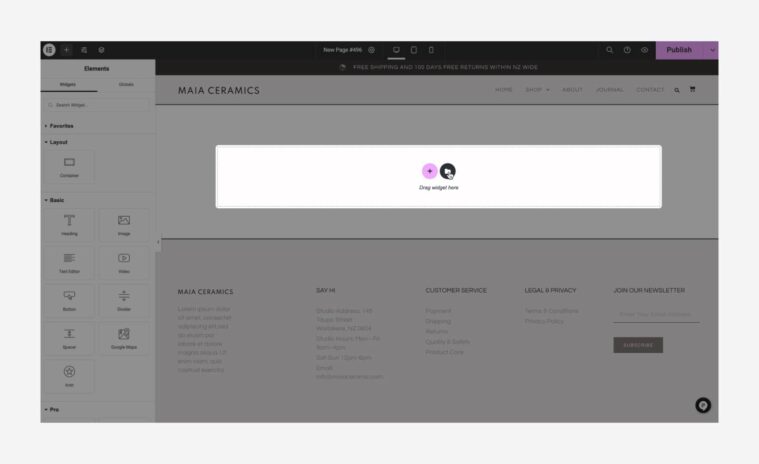
- You can create your layout in 2 ways: Use the predefined layouts (plus icon on the canvas) or drag the Container Widget from the panel.
- Once your layout is ready, locate the widgets you want to add to the page, drag and drop them to the canvas, and edit them.
[important_note] For more information on containers, you can refer to the “Layout” step within the “Edit your homepage” unit. [/important_note]
Delete elements
How to do it
- To delete a parent container, hover on the container and delete it through the container handle (top of the container).

- Right-click any element icon to open the quick actions menu, then delete the element.
- You can also open the Navigator and right-click any element to open the quick actions menu and delete the element.

