Table of Contents
Initially, website menus are a navigational tool to help users find what they’re looking for on our websites. Because of their basic functionality, and because we know how users rely heavily on them, what was once a mundane optional feature is now a crucial piece of design that is vital to the success of any website.
What Makes Navigation Menu Design so Important?
Understandably, both web builders and search engines have invested interest in how menus work, and how users engage with them. Knowing this not only helps us create better user experience, but also helps us use navigation menus to our advantage.
To misquote John Donne: “No site is an Island.”
We don’t build sites in a vacuum. We build sites to draw traffic and it’s no secret that the way to draw traffic is by anticipating the behavior of our target audience.
However, when designing websites in general, and menus specifically, we must remember that we are targeting two equally important types of audiences: Humans and Bots.
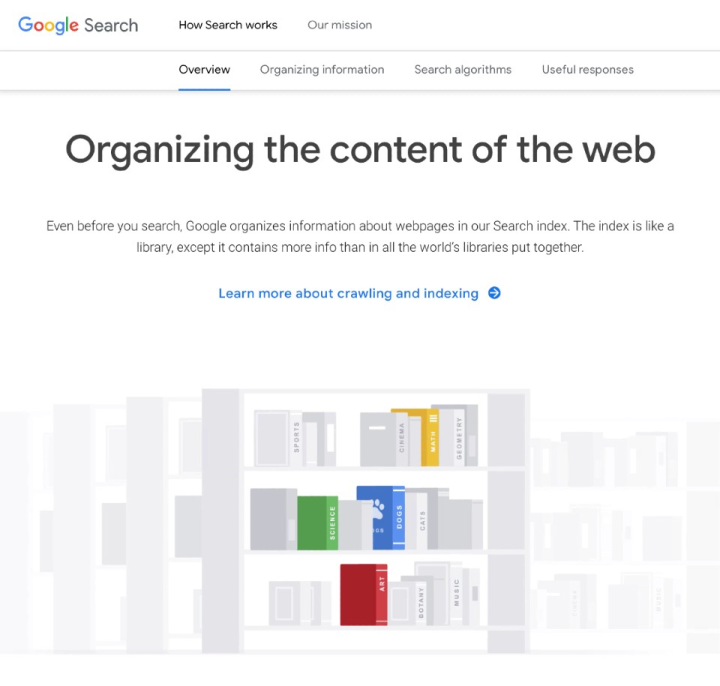
These bots are known as spiderbots or web crawlers, and their job is to roam around the Internet, visiting sites, indexing the content that they find, and reporting back to Search Engines on levels of user experience and content.
It’s true that bots are designed to mimic human behavior when visiting sites. This is in order to gather more accurate data that then helps search engines point human users to sites most likely to offer them the best experience, and most reliable information.
I suppose that you could say that it works a bit like word-of-mouth among human visitors.
We see a site that answers certain needs, and tell others about that site when we come across someone with similar needs.
As such, having too many options in a menu makes it difficult for web crawlers to do their job and systematically browse and index everything they find on our sites.
This is why “ease of navigation” is one of the most valuable contributors to this user experience, and consequently vital to our SEO ranking, boosting traffic, and perhaps even rewarding us with rich snippets.
Having understood the importance of custom navigation menus, we’ll review the primary styles of navigation menu on WordPress websites, understand when to use them, and go over the important Do’s and Don’ts, while we’re at it.
5 Primary Styles of Navigation Menu
It’s important to see these primary styles the same way that we think of primary colours. They are the basic components or ingredients that we can combine, mix and match, in so many ways to eventually create a vast array of variety.
I always feel the best place to begin is with the classics.
1. Classic Navigation Menu
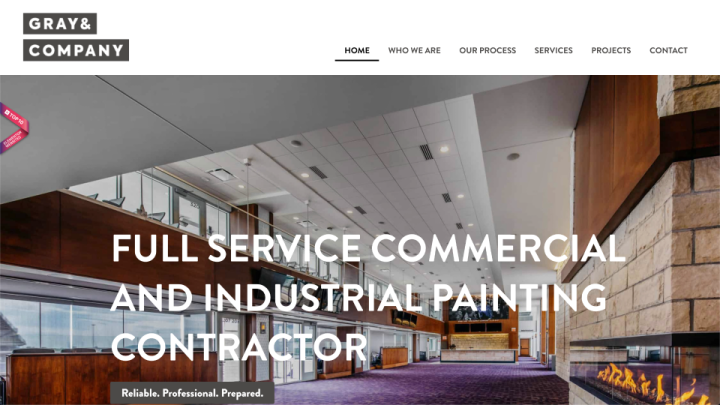
A classic nav-menu will typically appear in the site’s header. On one-page sites, it could appear as a part of the top section of page itself.
We usually classify a nav-menu as Classic when it is static, remaining anchored at top (or bottom) of the page, the only place that we’re going to see it. A more practical characteristic of classic menus is their level of simplicity.
There’s nothing complex about the classic nav-menu’s layout, or the design.
We’ll see category labels in the top level, each leading to drop down or cascading sub-levels.
The main advantage of the classic style menu is that users are extremely familiar with it, and therefore it will make life very easy for them and for our web crawlers. As such, this makes it a great choice for marketplace websites, or websites with lots of categories of information.
One downside to the classic nav-menu is the amount of information that this style is usually synonymous with. Some users may find these menus tedious, perhaps overwhelming, and prefer to use the search option, or even bounce altogether.
This is especially true of a variation of the classic style navigation menu, the supersized classic menu, commonly known as a Mega Menu.
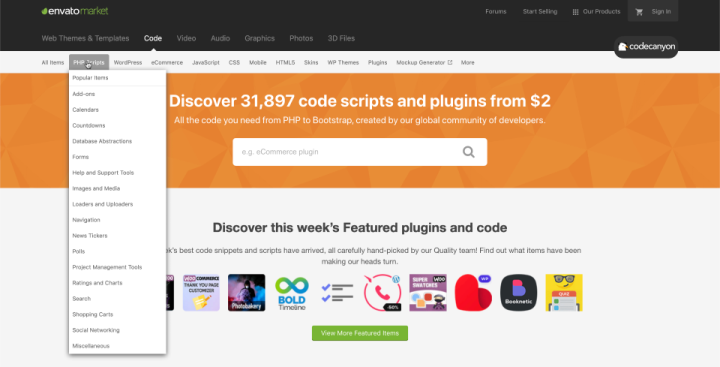
The main downside to this style is that it’s not mobile responsive. Whatever style of menu we choose, we must always consider the mobile version of the site.
In previous masterclasses we’ve spoken about the importance of responsive design – especially now that Google has shifted its preference and higher ranking to “Mobile first” sites.
These are sites that are initially designed for mobile, then adapted for desktop rather than the other way round.
What most web-building experts do to solve this problem, is create two types of menu in Elementor for their website. Then, using the responsive settings, the classic menu will be hidden when viewing the site on mobile, and only the purpose designed mobile menu will be visible in responsive mode.
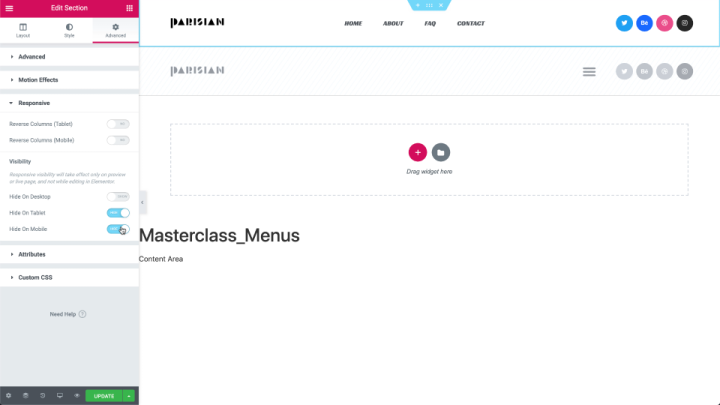
2. The “Hamburger” or Icon Navigation Menu
A very popular style of menu for responsive views is hiding a collapsable menu behind a menu icon, fondly known as a Hamburger icon.
As users and designers, we love this style of nav-menu. It takes up an absolute minimum of screen space, it doesn’t dominate the page.
Moreover, it hides all the clutter of categories when all we want to do is focus on the content of the page, at least until the menu is needed. Then it’s merely a matter of clicking or tapping on the icon to reveal a clear dropdown.
Using a hamburger icon is a great way to go if you’re designing a nav-menu to contain lots of category labels. If you only have 2 or 3 categories, each leading to minimal or no families, you might want to consider a different menu style.
Some designers like to stylize their hamburger icon. I’m sure that you’ve seen this as a hand-drawn icon, or made up of several colors.
This is fine, so long as it’s recognizable as a menu icon.
Remember, most users are not you, and their job isn’t to figure out the way that we think.
3. The “Sticky” Navigation Menu
If we are tasked with designing a menu that is always visible no matter where we are on the page, then what we need is a sticky menu.
These are menus that seem to stick to the screen, floating above the pages as they scroll past.
This makes them perfect for long pages. The user will always have the navigation options right in front of them instead of having to scroll back to the top of the page.
Turning a static menu bar into a sticky is easy. In Elementor, it’s just a matter of checking a box in the advanced settings.
While these are a very popular style of nav-menu, for both desktop and some mobile sites, there are some down sides to sticky menus. Most obviously, a menu bar that travels down the page will continuously conceal a chunk of screen real estate. Some designs solve this issue by placing the menu in a section with a low opacity, full transparency.
Unfortunately, this solution is not always perfect. We must make sure that we contrast the colors of the menu bar with the colors of the page. Otherwise, our menu will disappear. Also avoid creating the opposite extreme by using colors that clash. Again, we don’t want to draw too much attention away from the page and towards the menu.
Then again, sometimes the goal of our design is just that, and steer the user to the menu.
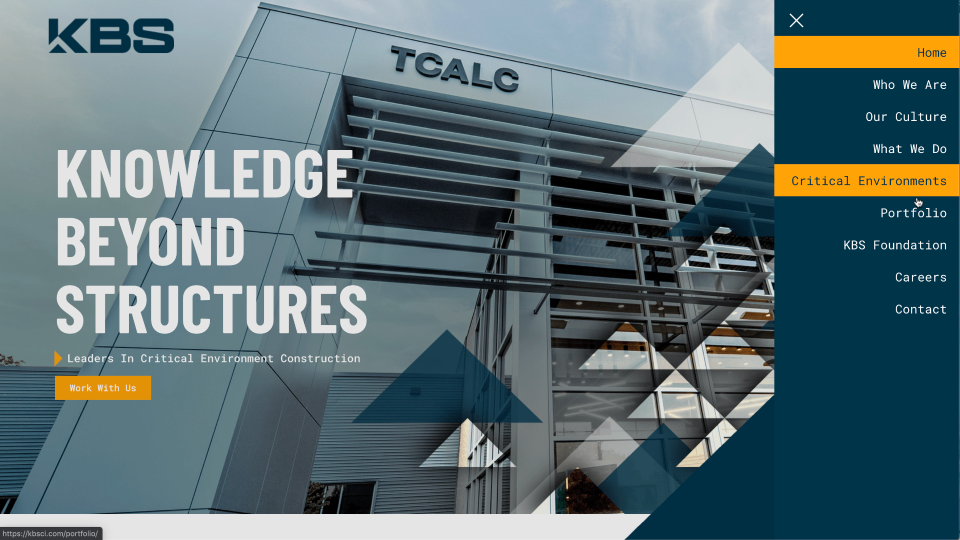
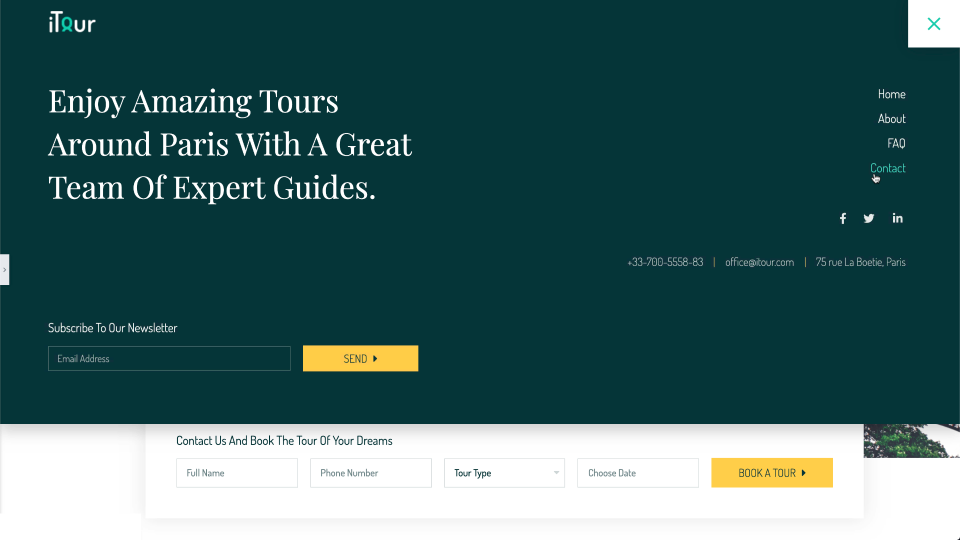
4. The Popup Navigation Menu
If there’s one style that has the best chance of upstaging the rest of a page, that style of nav-menu is the Popup.
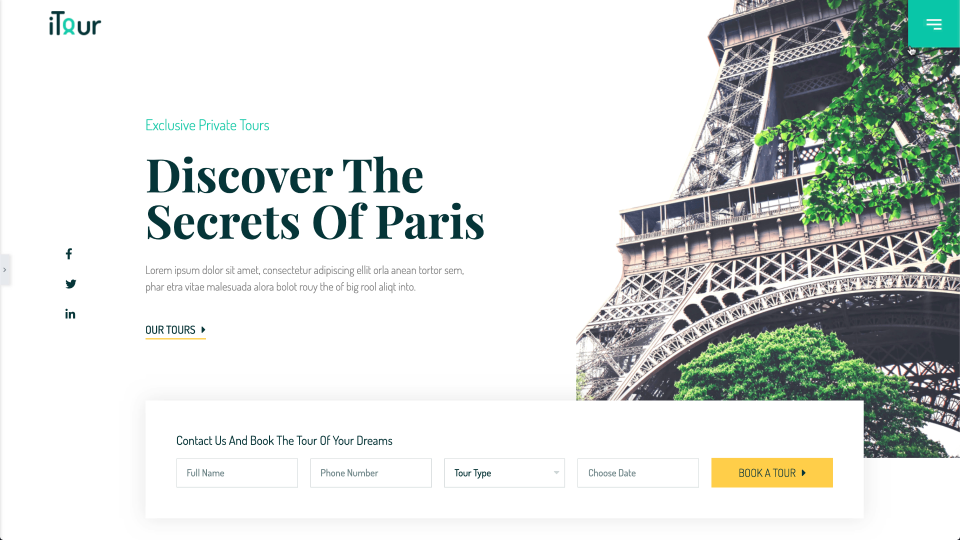
Many of you will remember that we used this style in our recently released Travel Agent template kit.
The simple way that we create these in Elementor by placing our nav-menu widget in a popup, and in the popup’s conditions, set the trigger to On Click, and save. Then we add a button or icon on our page, or header. In the button/icon widget’s settings, we use the dynamic options to set the button’s action to Open Popup, and select the popup that we dedicated as our menu.
Closing the popup is, of course, something that we define in the popup’s settings, in the Elementor edit panel. This would be a good time to mention that if you’re using this style, make sure that the close icon or button is clear and easy to use, especially in responsive mode.
As you might have realised, all of these styles of navigation menu can be used both horizontally (across the screen, top or bottom), and vertically (down the side of the screen), equally.
There is of course a debate among UX experts as to whether or not vertical or side screen menus should be used. Those in favor of them, will point out that we use them all the time, we even have one in WordPress.
Those opposing side-screen menus, make a point that they are detrimental to mobile user experience.
However, there are some great uses of popup menus that slide in from the side in responsive mode. Unfortunately, they are also less fashionable these days. Though they still appear in sites that are designed to be viewed or scrolled through horizontally, like some portfolio sites.
5. The Two-Tier Navigation Menu
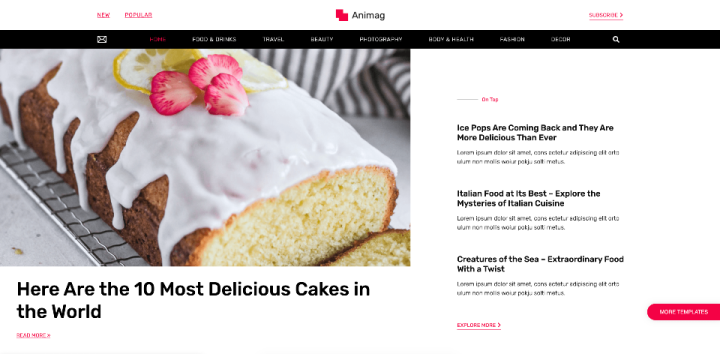
The Two-Tier nav-menu appears in two, usually contrasting, tiers, rows, or sections, so to separate two or more menu widgets, or groups of categories. As such, at least to my knowledge, this menu style only appears horizontally in either headers or footers.
We would use the two-tier style if, we were designing an online store for example, and wanted to create one menu for clothing and accessories (by gender, age and occasion, etc.), and another for our about, FAQ, pages and so on.
We would create the two menus on the WordPress dashboard (Appearance>Menus). Then, in the Elementor editor, we then build a header with 2 sections. Into each section we drag a nav-menu widget, and assign one of the menus to each widget.
You can achieve the same result just as easily using only one menu in one tier, and adding button widgets or an icon list to the second.
Again, there are those who feel that this style of menu is confusing to users. Personally, I find this style very convenient. In fact, if you’ve had a chance to check out the template kit we released last week, for Online Magazines, you can see what I mean
Important Do’s & Don’ts When Designing Nav-Menus
- Don’t have too many top-level labels in your menu. This will most likely overwhelm users, and appear too complex. Avoid this by having just a handful of categories that expand to large families.
- Make sure that all your categories are well labeled, organized and intuitive.
- Don’t make the font in your sub-level labels too big or too small. A good rule of thumb is to keep the label text the same size as the body text or slightly larger.
- Create visual differences between category labels and cascading sub-levels by using contrasting colors and typography.
- If you’re considering designing a mega menu, make sure that you have a large enough number of categories and sub categories to justify using this style.
- When considering using a “Hamburger” or Icon Navigation Menu style, we need to remember that we still need this little icon to be easily noticeable. Don’t keep it tucked away. Make your menu icon easy for users to locate and use. That means that within the collapsible menu, make sure that there is a clear indication of which segments expand into sub-categories. This is equally true of the exit button or “close” icon. Keep it noticeable so that users can exit or close the menu easily.
The Future of Navigation Menus Is Ours
If our websites are there to draw traffic, then (if you’ll permit the metaphor) Navigation Menus are a giant flashing signpost on the information highway, pointing in our direction. We need them not only because of their ability to bring visitors but also to better the user experience once they’re there.
Now that we recognise their relevance, and can distinguish between the five different practical styles that we discussed above, we’ll not only regard nav-menus differently, we can now take one leap further and create nav-menus that we’ve never seen before.
All of which could probably be summed up in one indisputable rule:
Keep it Simple.
As always, if you have any advice, tips or insight that could help other users, please share it in the comments below. If you’d like to share examples or sites that have inspired you, this is the place.
If you have any criticisms, we are equally interested in your thoughts. This is because we consider you, readers and community members, to be a valid part of the journey that we set out upon with each Monday Masterclass.
After all, our goal is to be the best at helping others excel in their craft.
Looking for fresh content?
By entering your email, you agree to receive Elementor emails, including marketing emails,
and agree to our Terms & Conditions and Privacy Policy.
