Table of Contents
Connect visitors to WhatsApp, Waze, Google Calendar & more apps with one click using #Elementor's new Action Links feature
Websites are built to get visitors to take action. In today’s world, this is not just about getting them to click on links or fill out a form.
There are many more actions you can encourage your visitors to do.
Meet Action Links
With Action Links, your site visitors will be able to connect with your business in various ways.
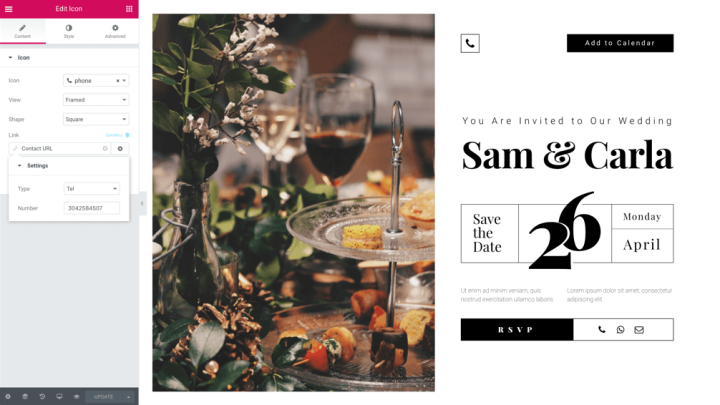

Click-to-Call: Call your business with one click, through phone links
Add phone links without having to deal with any code. With phone links, mobile visitors can call your business with ease. This is especially relevant for mobile traffic.
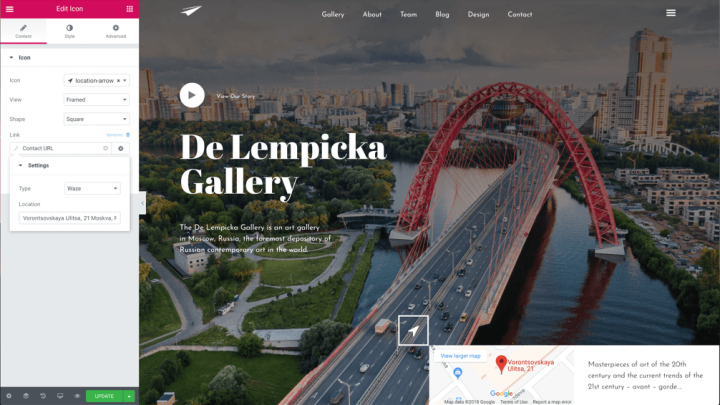
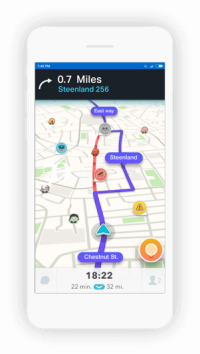

Click-to-Navigate: Navigate to your business via Waze
Add a button that opens Waze and help your visitors quickly navigate to your business. This is perfect for location based businesses like hotels and restaurants.
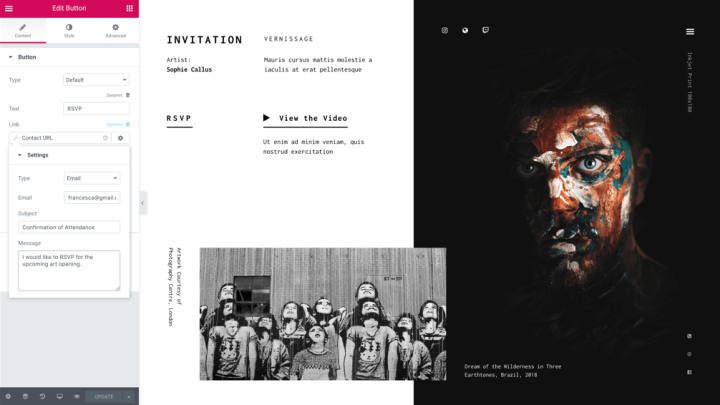
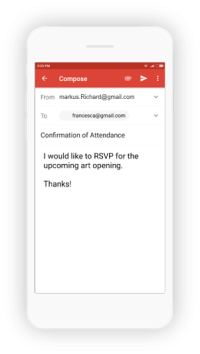
Click-to-Email: Send emails with subject and body pre-filled
Create email submission buttons that are written in advance. This can be handy, for example, when building submission buttons on your website’s Career Page. Visitors can submit their job application email with one click.
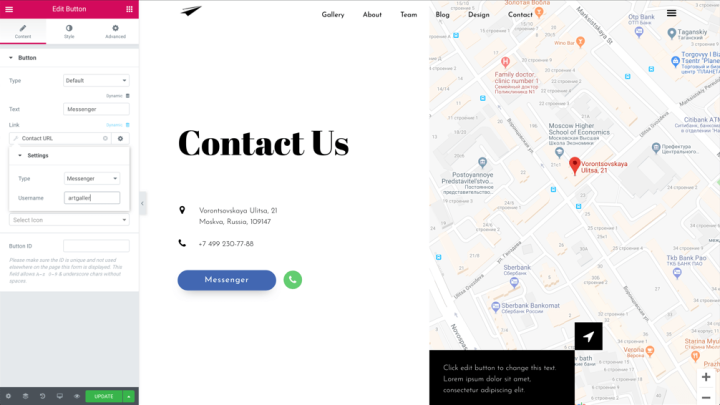
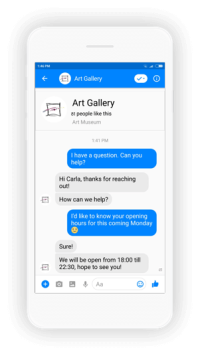

Click-to-Message: Text with visitors via WhatsApp, Messenger, Viber or Skype
There is no better way to get leads and conversions than starting message conversations with your visitors. Add these buttons to connect through all the popular messaging apps.
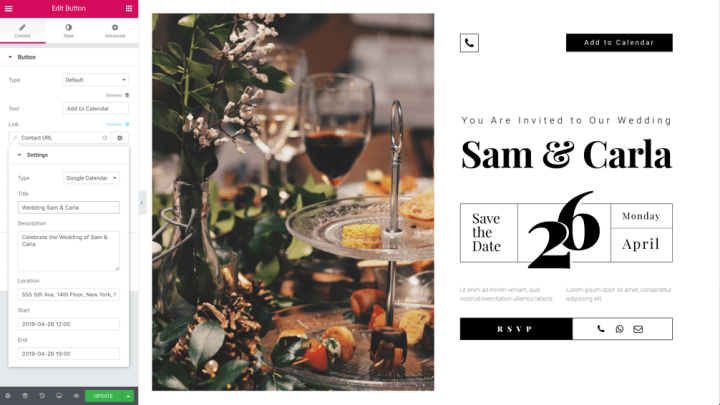
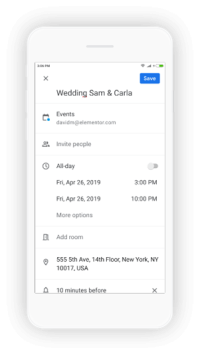

Click-to-Calendar: Add your events to your visitors' calendar
Running an event? Let your visitors add it to their Google, Yahoo or Outlook calendar with one click using the Calendar link.
How it works
To setup these links:
- Open the link fields on any Elementor widget
- Click on the dynamic icon
- Under Actions, choose Contact URL
- Click on the Contact URL and choose the type of link
- Add your details and you’re done!
Now, any time your visitor clicks on the link, the relevant action will take place.
Lightbox Links
While Action Links are helpful connections to external services, sometimes, you want to keep your visitors on the same page, and not have them transfer elsewhere.
This is where the new Lightbox Links come in handy.
Elementor’s Lightbox feature was released a while back, and offered a way to open lightboxes when visitors clicked on videos and images.
Now, we are expanding Lightbox to cover links, so you can set video and image lightboxes when visitors click on any link across widgets. It works on buttons, headings and any other type of widget links.
How it works
To setup a Lightbox Links:
- Open the link fields on any Elementor widget
- Click on the dynamic icon
- Under Actions, choose Lightbox Link
- Click on the Lightbox Link and choose video or image lightbox
- Add the video URL (YouTube, Vimeo or Dailymotion) or upload image, and you’re done!
Now, your visitors will get a neat lightbox overlay when clicking on the button you set up.
Request Parameters - Pass User Data Through Elementor
Every marketer knows how important it is to monitor and track user information every step of the sales funnel, as well as to personalize the user experience throughout that funnel.
Until now, this process was far from intuitive, and often required custom code and a developer involved.
Our solution: Request Parameters.
- Running a campaign? Add a hidden field to your form and group your leads according to the campaign source, campaign or other metric.
- Personalize your thank you page with a custom message
- Pre-populate form content when sending out an email
Request Parameters makes it easy to step in and handle these types of tasks code free.
How it works
To setup a Request Parameter:
- Under an Elementor widget field, click on the dynamic icon
- Under Site, choose Request Parameters
- Choose request type – either Get, Post or Query Var
- Enter the parameter name and you’re done!
Connect with your visitors using Action Links & Request Parameter by #Elementor.
Go Above and Beyond Your Average Site
All these new features share the common goal of providing a more personalized user experience.
Whether it’s getting a more direct communication channel with the user through tools like Whatsapp, opening a lightbox through a link, tracking user information or personalizing your contact, there’s never been a more intuitive tool to improve your visitor’s engagement with your site.
Looking for fresh content?
By entering your email, you agree to receive Elementor emails, including marketing emails,
and agree to our Terms & Conditions and Privacy Policy.
