Introduction
The Elementor Theme builder is used to create site part templates. These templates append and override the current WordPress theme’s page hierarchy, layout settings, and CSS styles.
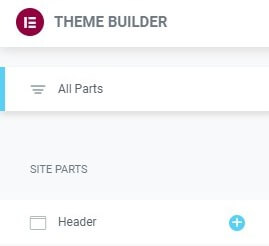
From the Elementor Website Theme Builder main screen, you can manage everything from one place. You can view every site part of your website, and ensure it has all the page templates it needs.
You may ask: If I am building a theme, can I export this theme to a zip file and install it on another site as a theme?
The answer is, not directly, in the same terms as hand-coding a traditional WordPress theme. You can, however, use the Import/Export Tools and migrate the Theme Settings or complete content.
What is the Theme Builder in Elementor?
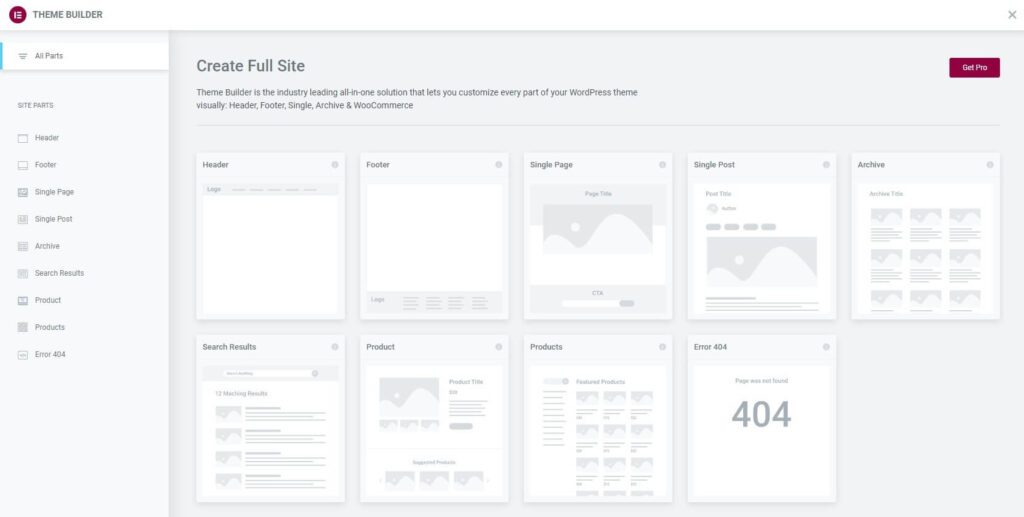
Elementor’s Theme Builder lets you customize every fundamental part of your WordPress site without coding including your Header, Footer, Global Pages and Posts, Global Archives and WooCommerce Products and Product Archives.
The Theme Builder provides a visual overview of the site elements of your site, helping to guide you through each of the site parts you need to create in order to achieve a complete website.
Using the Theme Builder, you can add new site parts (e.g. add a new Header), edit existing site parts, or delete site parts. Existing site parts include a visual indicator to inform you if a condition is applied to that site part. For example, a Global Post site part template may have a condition to only show for a particular category. A green indicator will let you see at a glance that this site part has a condition. A gray indicator is an indication that a site part has no condition set.
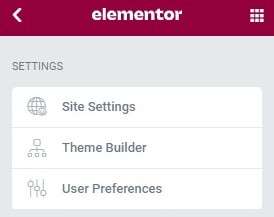
How To Access The Theme Builder
There are several ways to access the Theme Builder. Choose whichever is most convenient for you.
METHOD ONE: Go to Elementor > Theme Builder from the WordPress admin menu.
METHOD TWO: From within any page or post’s Elementor Editor screen, click the hamburger menu in the upper left corner of the Widget Panel, then select Theme Builder in the Settings tab.
METHOD THREE: Get quick access to the Theme Builder from any screen by using its keyboard shortcut hotkey combination. On a Mac, click CMD+SHIFT+E to immediately jump to the Theme Builder. On Windows, click CTRL+SHIFT+E to immediately jump to the Theme Builder.
Theme Builder Main Dashboard
For Free users, you can see which site parts would be available with Elementor Pro.
For Pro users, your existing Site Parts will be shown, if any have been built. Thumbnails for each site part will be auto-generated for you.
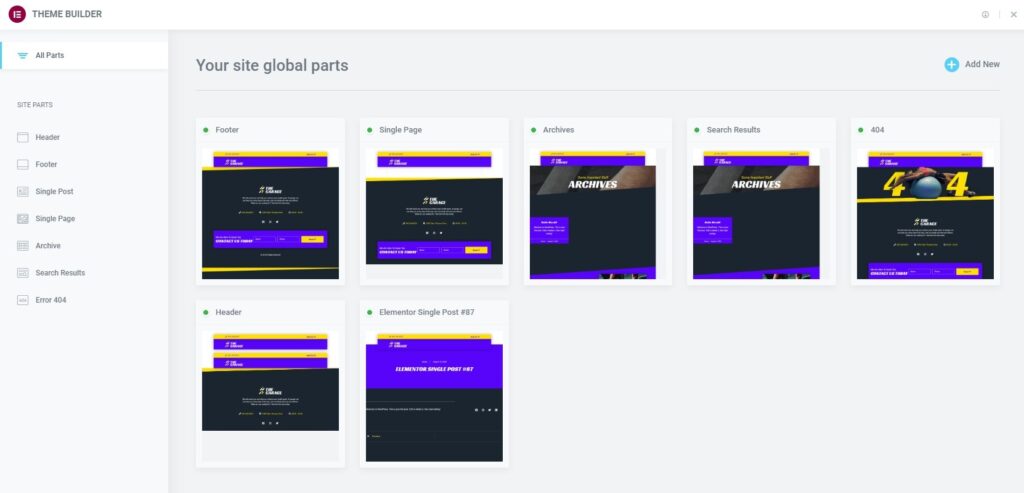
Note: Any featured image assigned to a site part will be used as the site part’s screenshot. This enables you to use a thumbnail of your choice, rather than an auto-generated thumbnail, if you prefer.
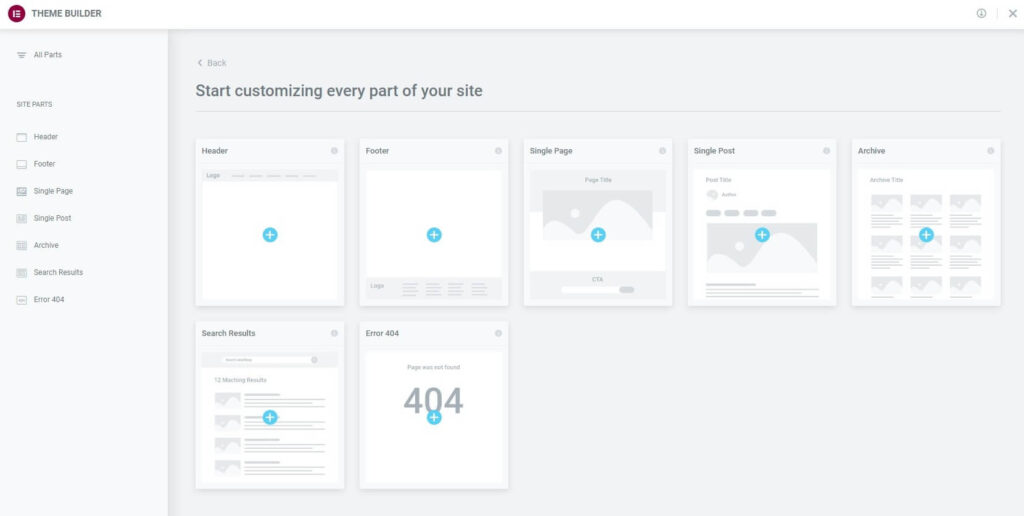
If no site parts have yet been built, the default thumbnails will be shown for all available site parts.
Add A New Site Part
- To add a new Site Part, click the Add New link in the upper right corner of the dashboard, or the PLUS sign that appears when hovering over a site part’s sidebar label, or the PLUS sign on its thumbnail.
Or you can add a new Site Part by importing a template.

- Click the Import icon in the upper right of the Theme Builder.

- Drag and drop or select a .JSON or .zip file that contains the template you wish to import.
- The template will now be added to your Site Parts dashboard.
Important: In order for templates to import correctly, unfiltered uploads must be enabled. To enable these, navigate to Elementor > Settings > Advanced and toggle the option to enable unfiltered uploads.
Edit An Existing Site Part’s Design
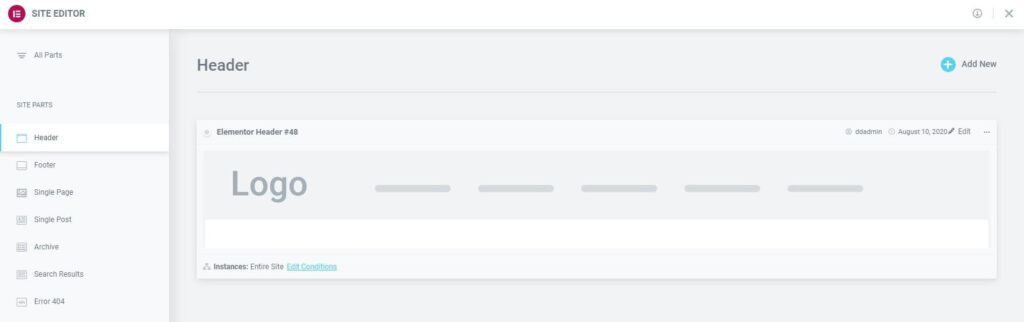
- To edit an existing Site Part, click the Site Part’s label in the sidebar. This will open the site part’s details dashboard.
- Click the Edit link in the upper right corner of the site part you wish to edit. This will open the Elementor editor for that site part.
Edit An Existing Site Part’s Conditions
- Click the Edit Conditions link in the bottom left corner of the site part you wish to edit. This will directly open the Display Conditions editor for that site part.
Note: The Dot Display in the upper left corner of the Site Part indicates which site parts are live (has Display Conditions assigned to it), and which are merely drafts (no Display Conditions have been assigned). A Green Dot indicates a live site part, while a Gray Dot indicates a draft site part.
Note: The Instances label in the lower left corner of the Site Part displays the specific instances in which this template is being used on the site.
Export A Site Part
- Click the Three Horizontal Dots in the upper right of the site part you wish to export.
- Choose Export to open a Save dialog which will save a .json file to your computer.
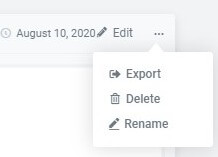
Delete A Site Part
- Click the Three Horizontal Dots in the upper right of the site part you wish to delete.
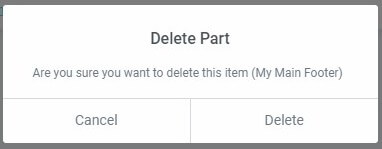
- Choose Delete which will open a Delete Part confirmation dialog box.
- Click Cancel if you change your mind and decide you don’t want to delete the site part, or click Delete to confirm that you do wish to delete this site part.
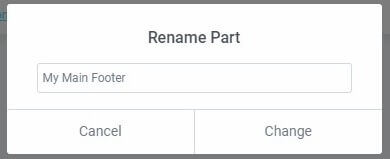
Rename A Site Part
- Click the Three Horizontal Dots in the upper right of the site part you wish to rename.
- Choose Rename which will open a Rename Part dialog box.
- Enter the new name and click Change to complete the rename process, or click Cancel if you change your mind and decide you don’t want to rename this site part.
Important: Elementor is gradually moving from the traditional Ajax (using admin-ajax.php) mode for fetching data into the Elementor platform to the WordPress REST API system and this is used inside the new Theme Builder. If a website has disabled the WordPress REST API then the new Theme Builder will not work and the content such as templates or anything will not be displayed. An error will be appearing saying “Error: you are not allowed to do that”.

