
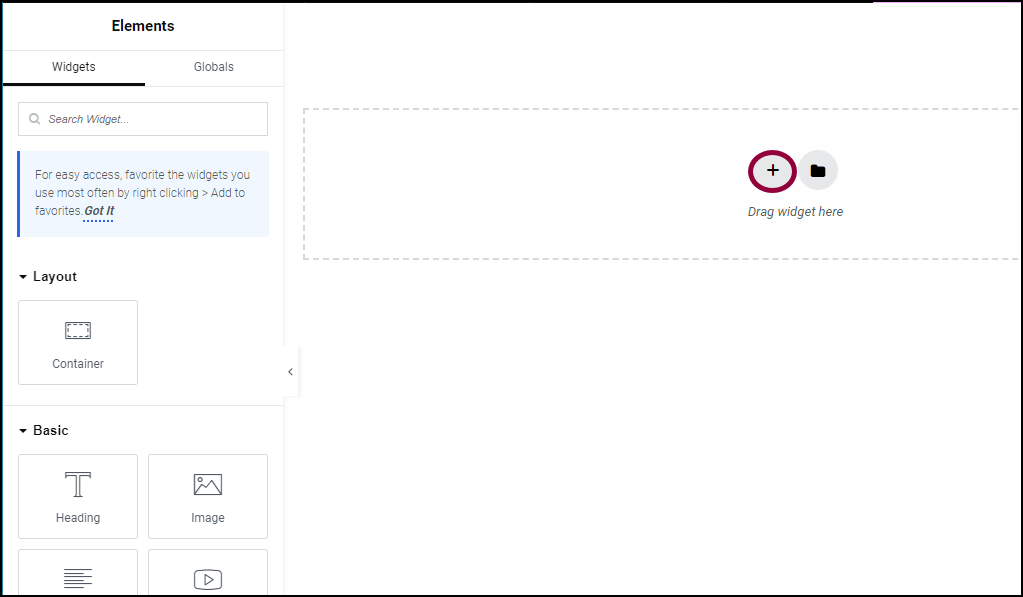
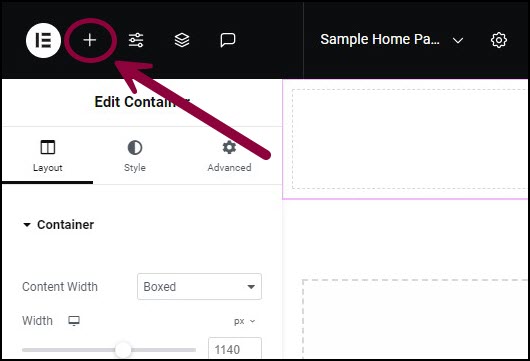
- On the canvas, click the + icon.
You can now select a container layout.
- Choose the first container layout. This will create one container with a vertical layout.
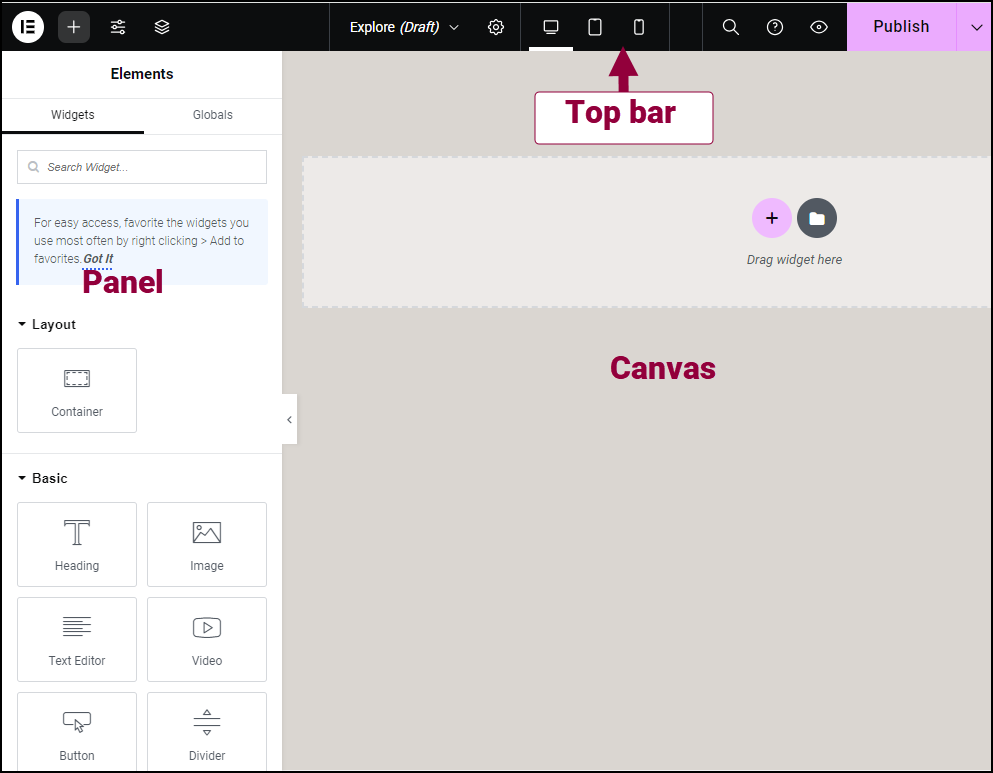
- On the top bar, click the plus icon.
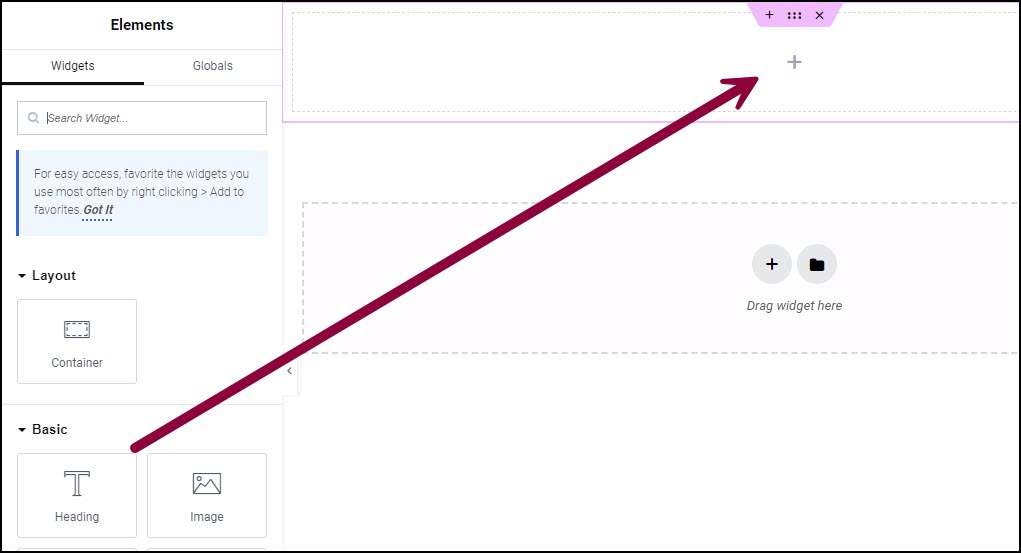
- From the panel, drag the Heading widget to the new containers.
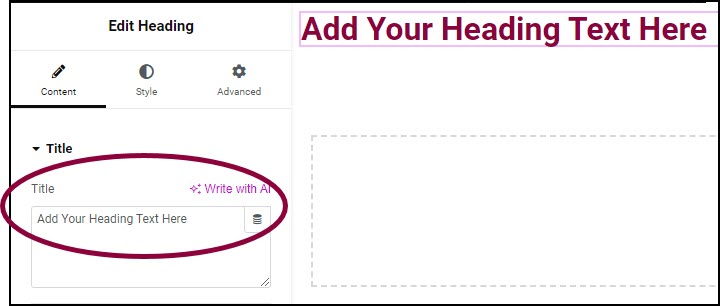
- In the panel, in the title field, add the text; My first container.
To edit a container:
- Click the settings icon
 in the container tab.
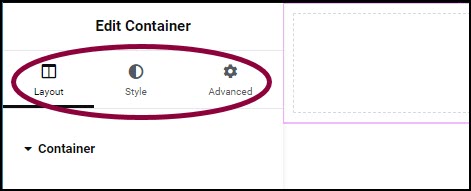
The container settings menu opens in the panel with three tabs: Layout, Style and Advanced.
To edit a widget: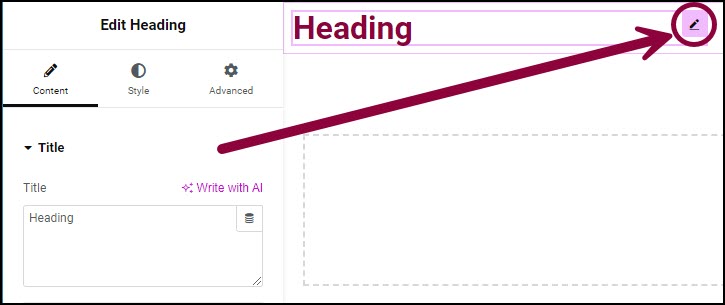
Click the widget handle.
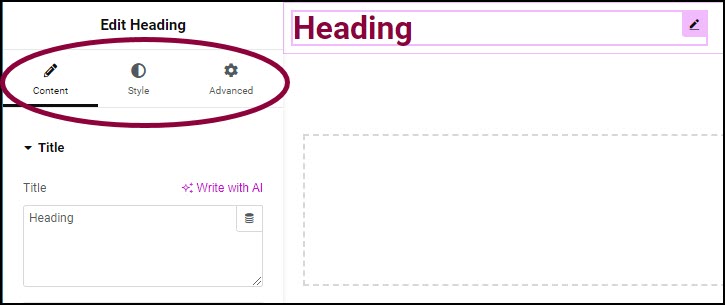
The widget settings menu opens in the panel with three tabs: Content, Style and Advanced.

