AI is a great tool for speeding up website design and content creation. By using Elementor Site Planner, you can use AI to create a detailed first draft sitemap and wireframe of your entire site, saving you hours of tedious work.
Start building your site
Site Planner starts with you describing your business and vision for your website. This is called a brief and The AI will guide you through this process by asking you a series of questions. While you don’t have to fill out the entire brief, the more information you provide Site Planner, the better it can create a wireframe matching your vision.
To start creating your sitemap and wireframe:
- Go to the Elementor Site Planner page.
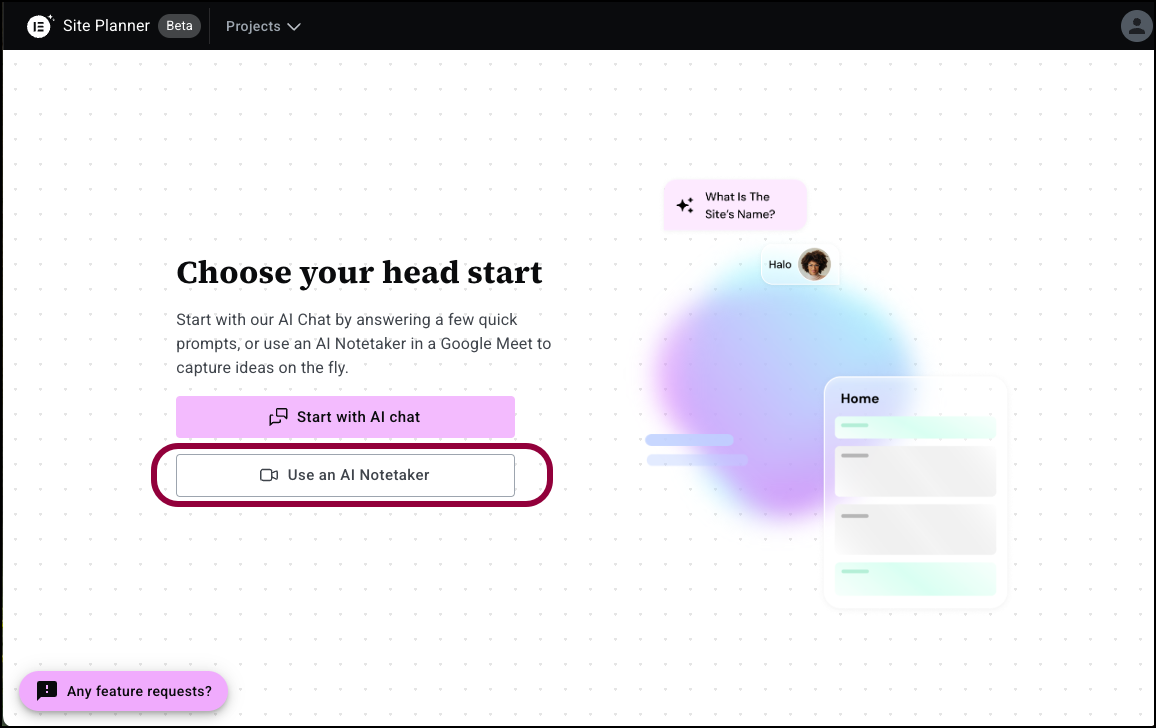
There are two ways to prepare your brief: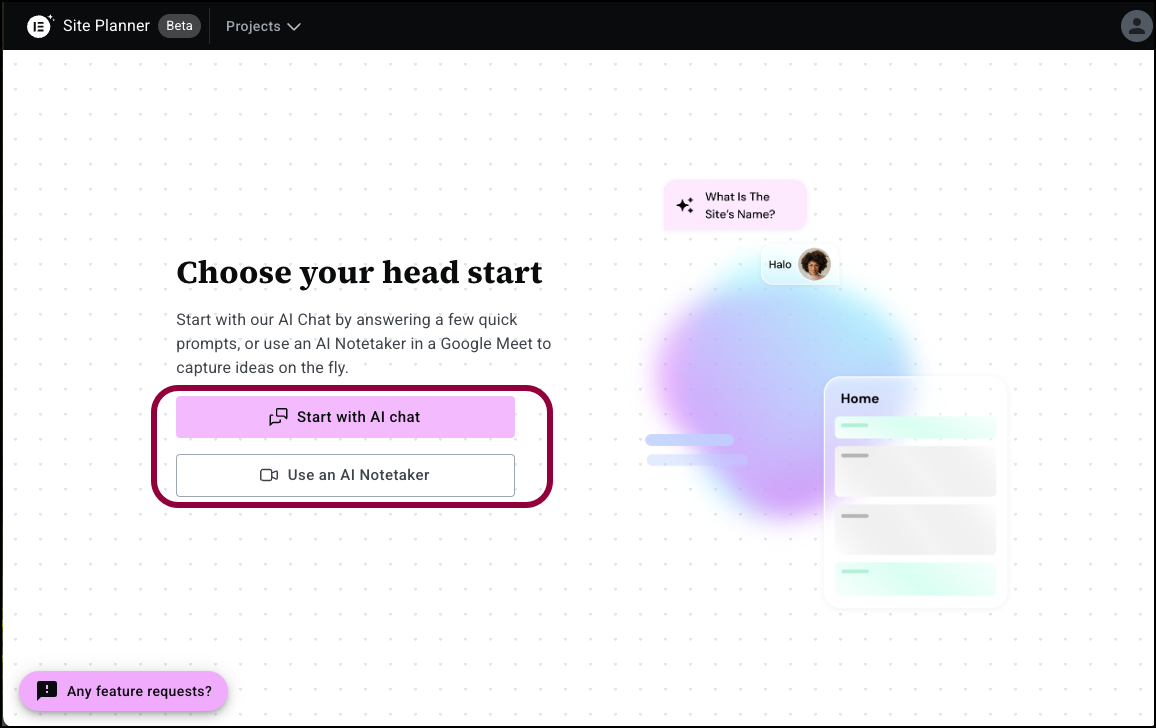
- AI chat: The AI will walk you through the process of creating the brief.
- AI Notetaker: Record a Google Meet meeting with your client or team. Notetaker will analyze the conversation and create a brief based on that meeting.
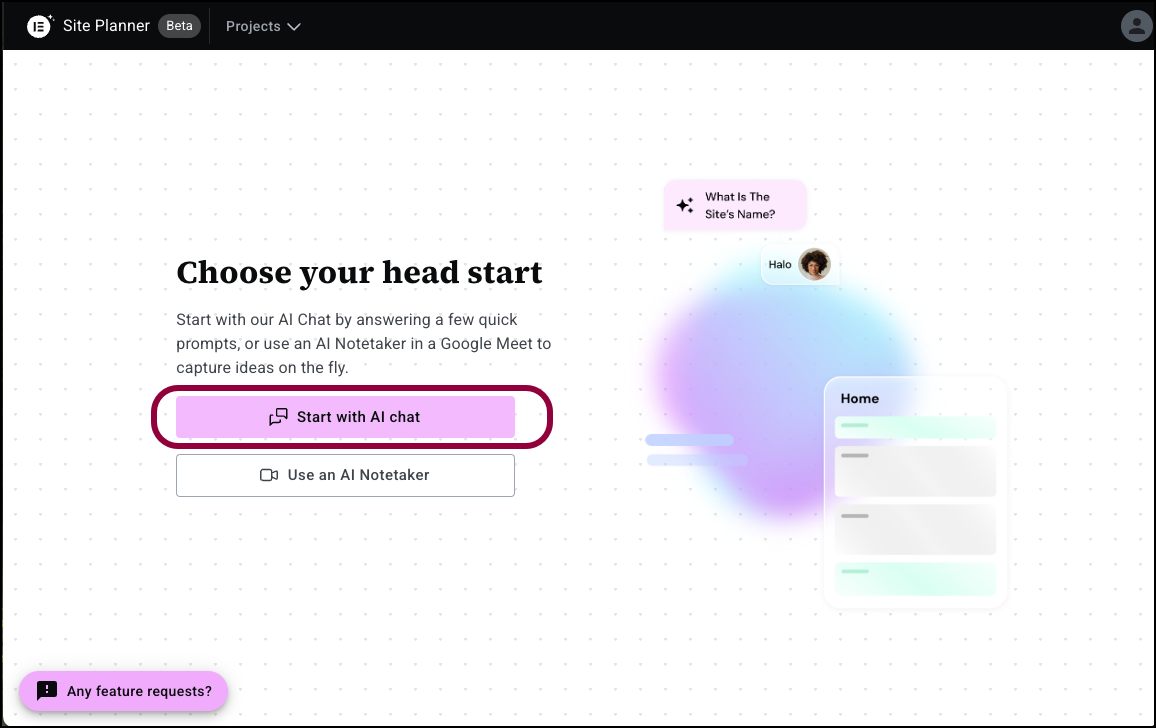
Start with AI Chat
- Click Start with AI Chat.
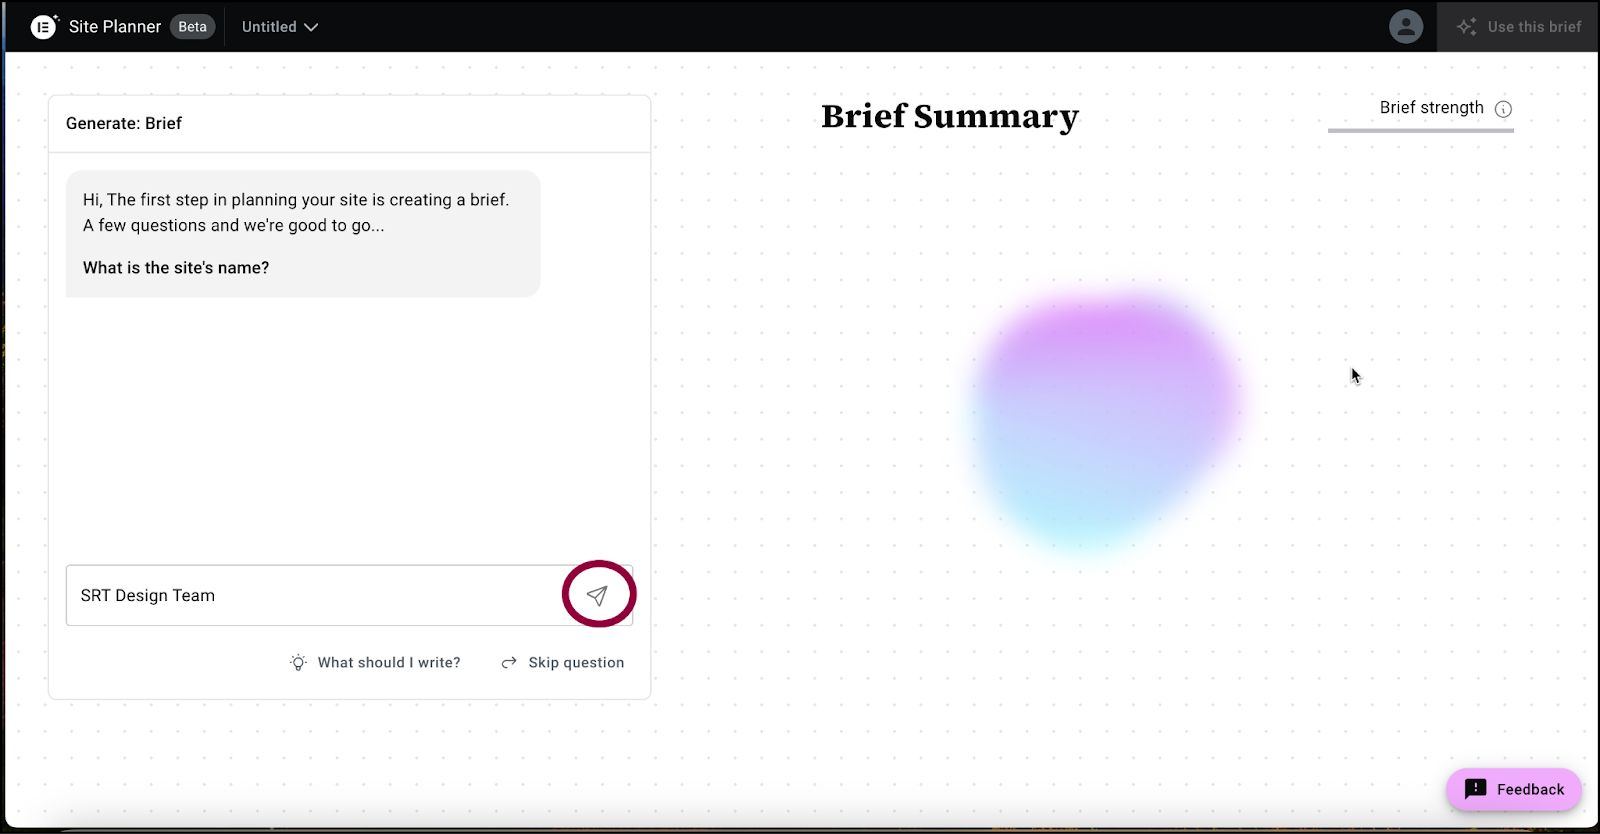
This begins the design process. - In the panel, name your site.
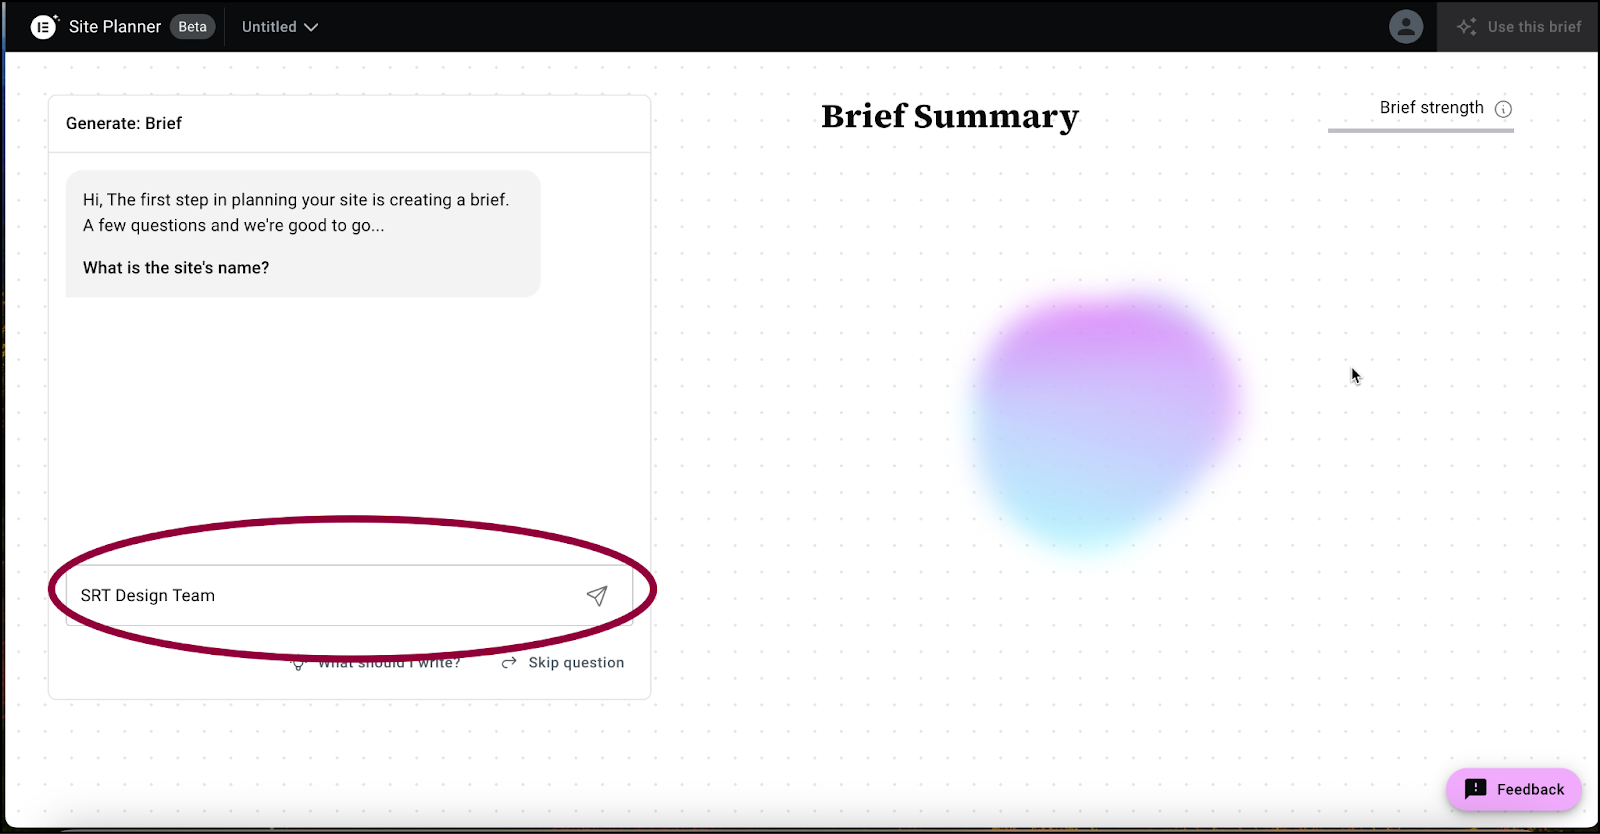
- Click the submit icon.
 NoteThroughout the process, if you have difficulty answering any questions, click What should I write? to ask the AI for help. The AI will guide you, helping you create the perfect prompt.
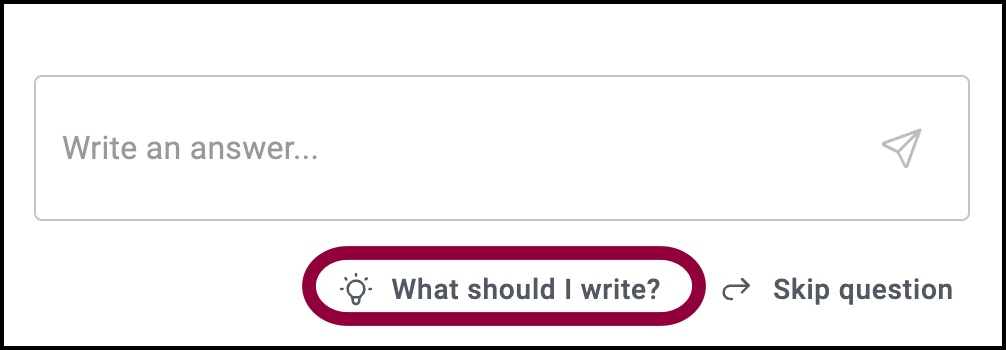
- Enter your type of business. The AI will offer you a few options for business types, but if they are not relevant, you can enter whatever text you want. NoteThroughout the site planning process, Site Planner offers suggested answers but you are always free to enter your own text.
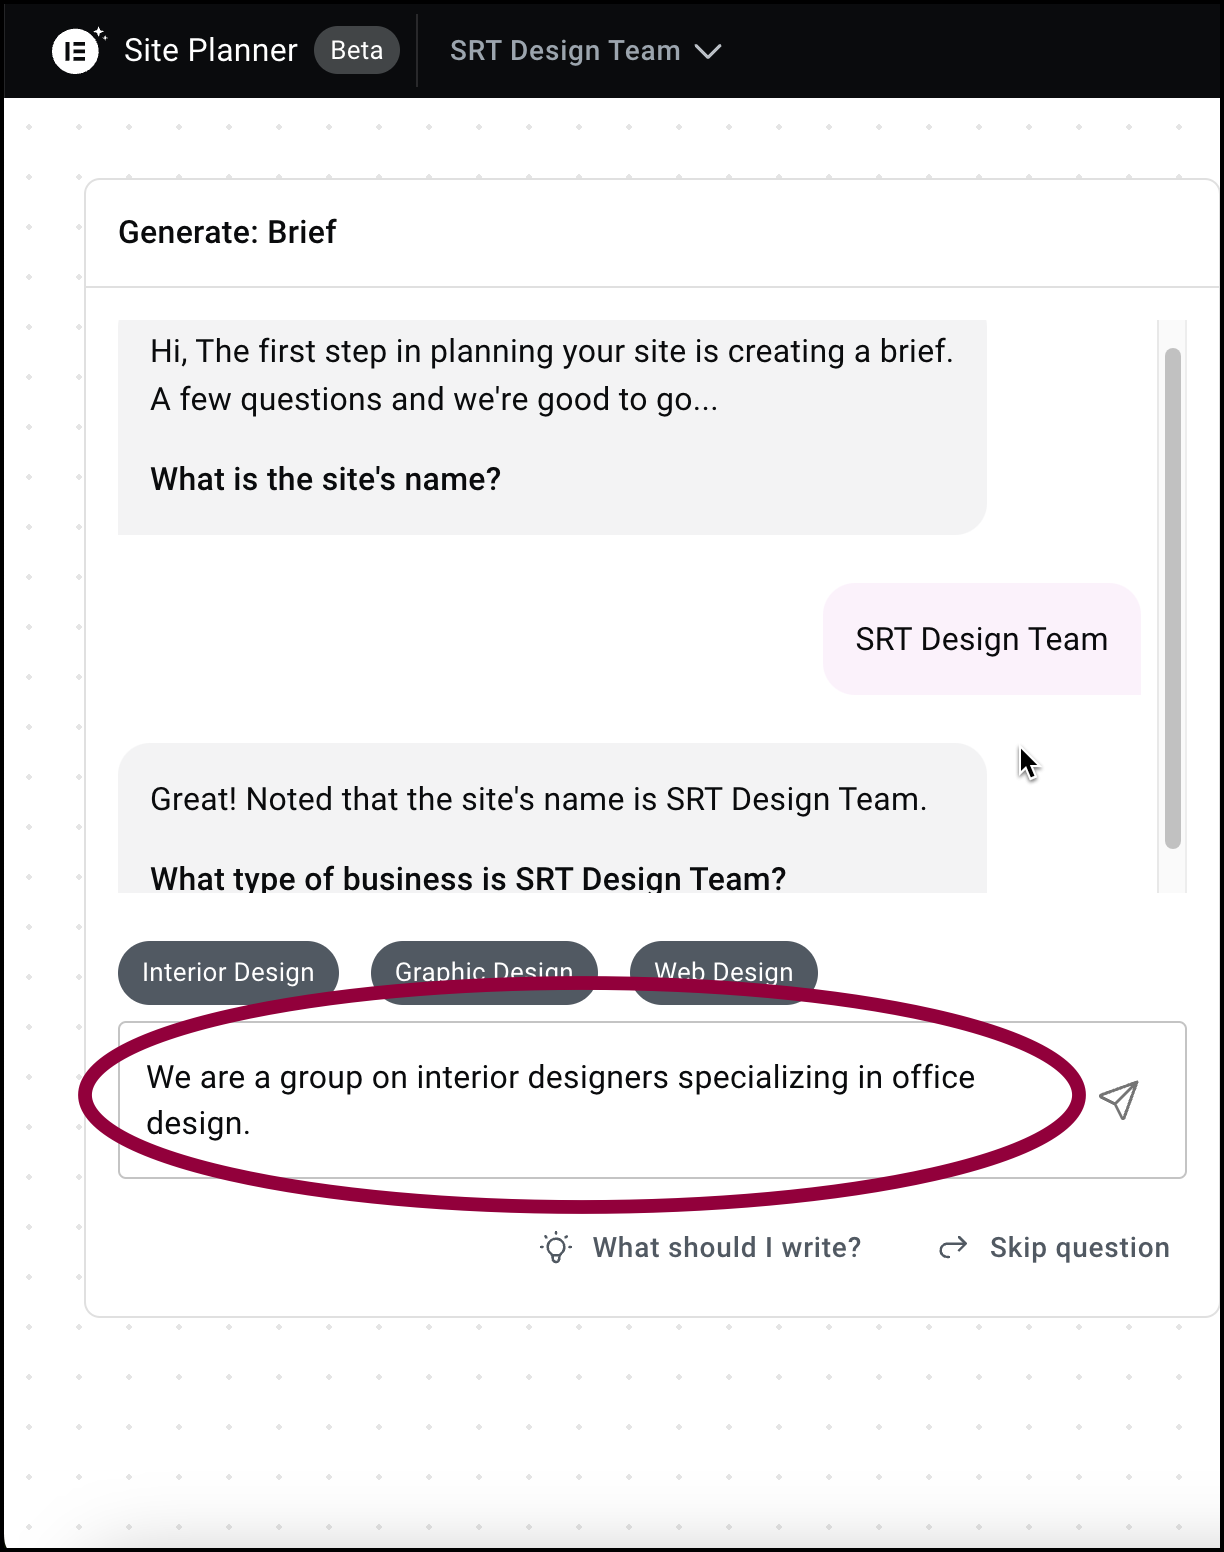
- Click the submit icon.
- Now, enter what your business does. Remember, everything you list here will be given equal weight, so only list things you want to emphasize.
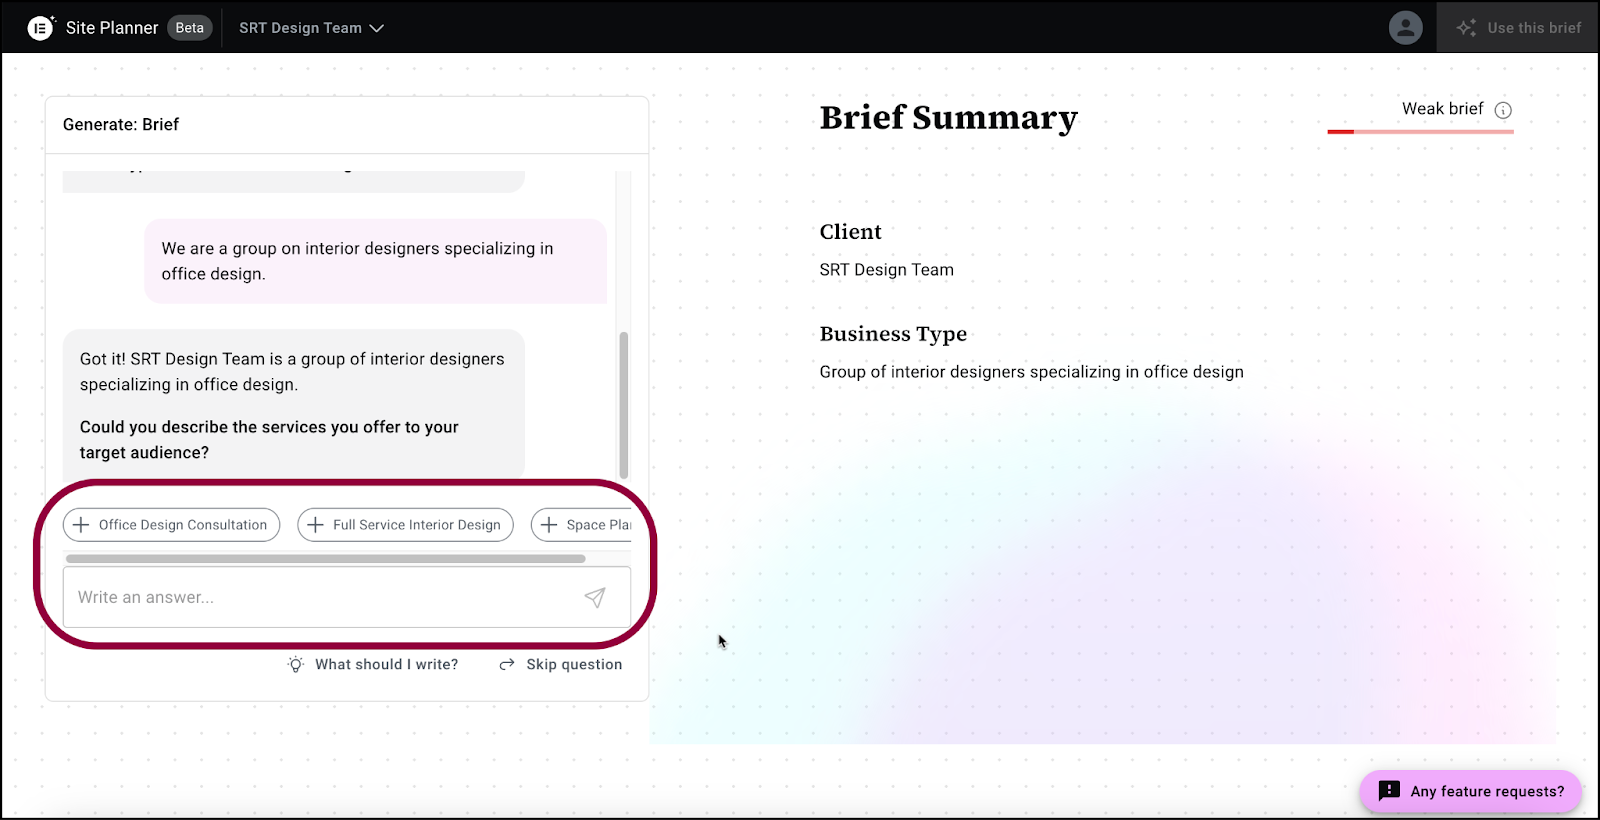 NoteAgain, the AI will offer several suggestions which you can choose to use or not. Note that some suggestions have a plus sign before them. That indicates you can use as many of these suggestions as you want. Suggestions without a plus sign will take you to the next step.
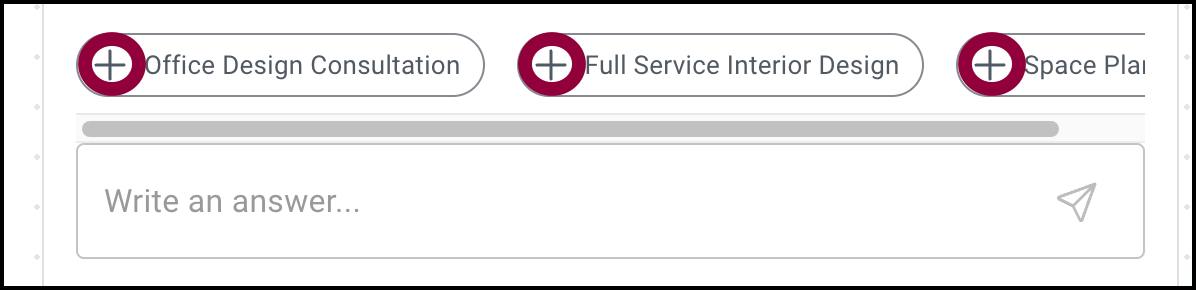
- Click the submit icon.
- Enter the services or products offered by the business.
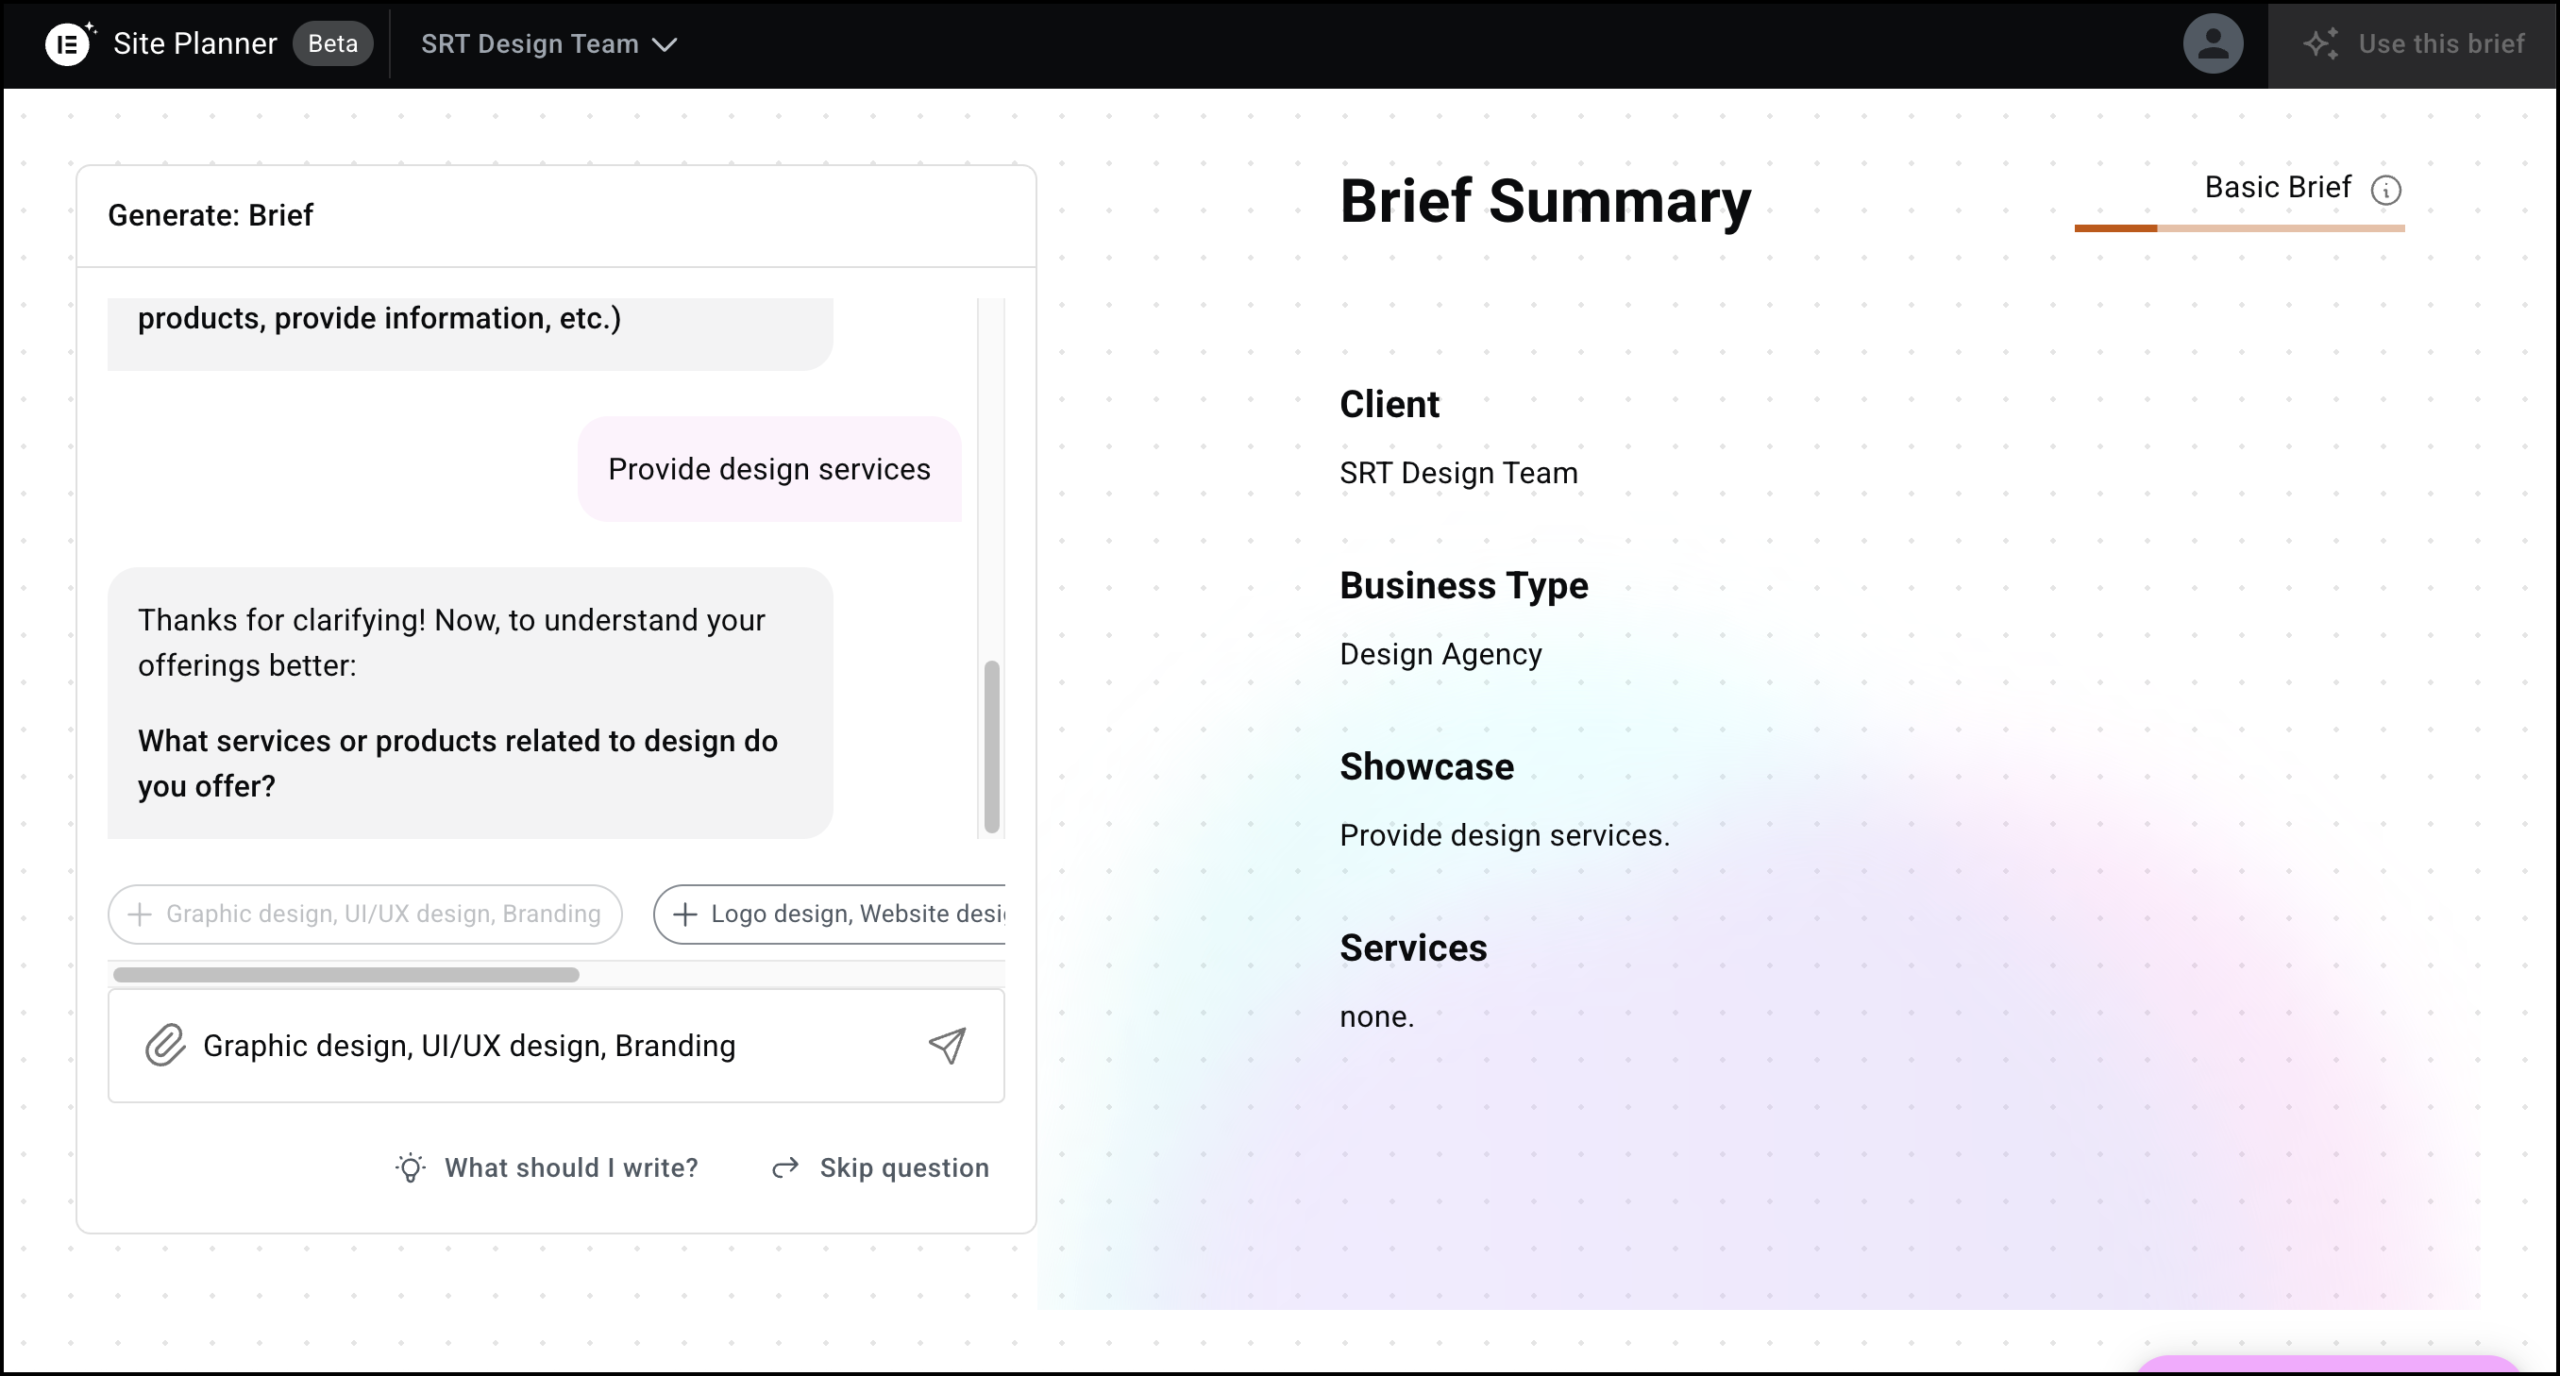
- Click the submit icon.
- Enter your website’s primary goal(s). For example, do you want to increase online sales, build brand awareness, sell premium subscriptions, or a combination of any of these?
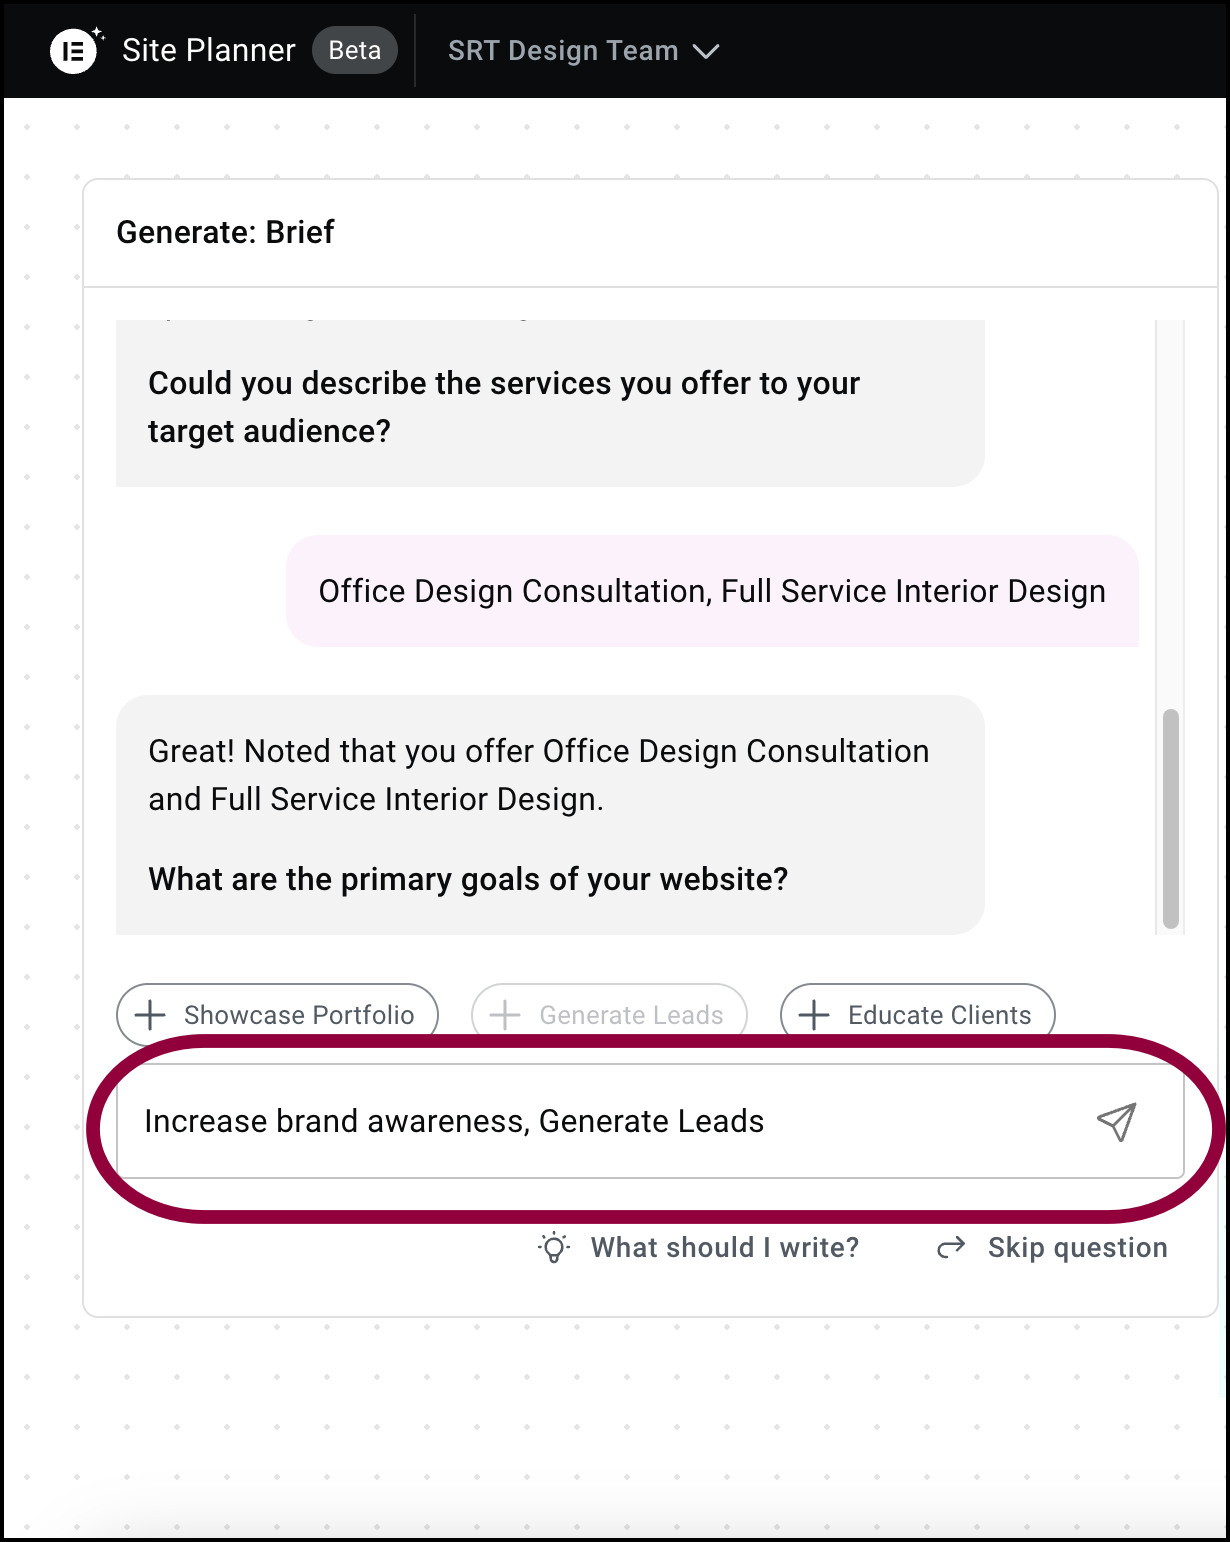
- Click the submit icon.
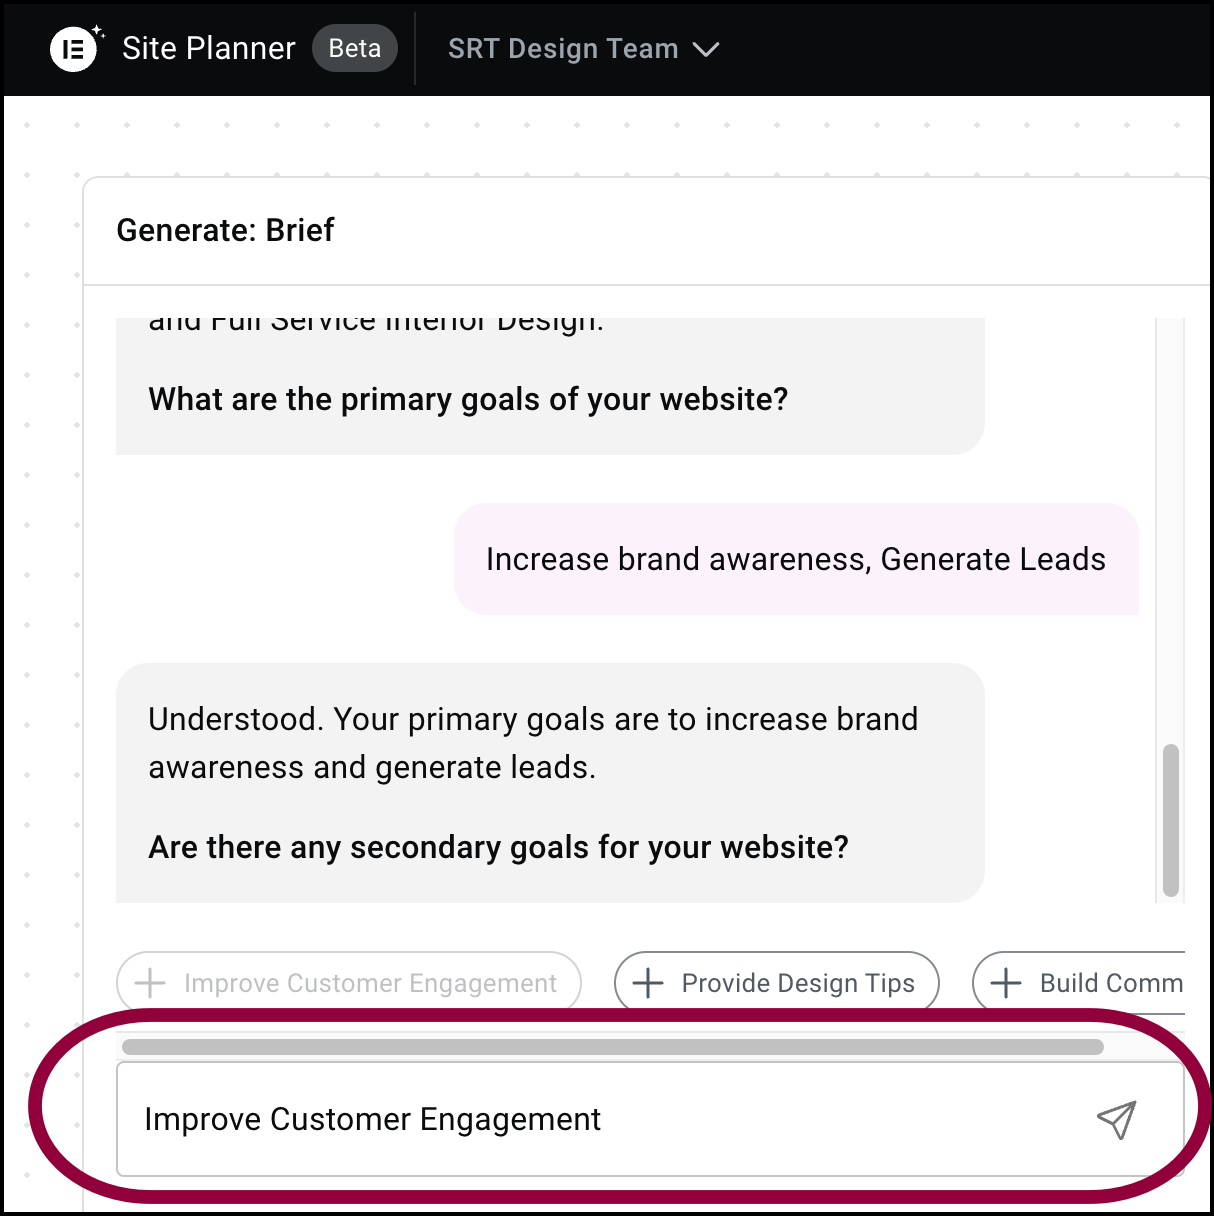
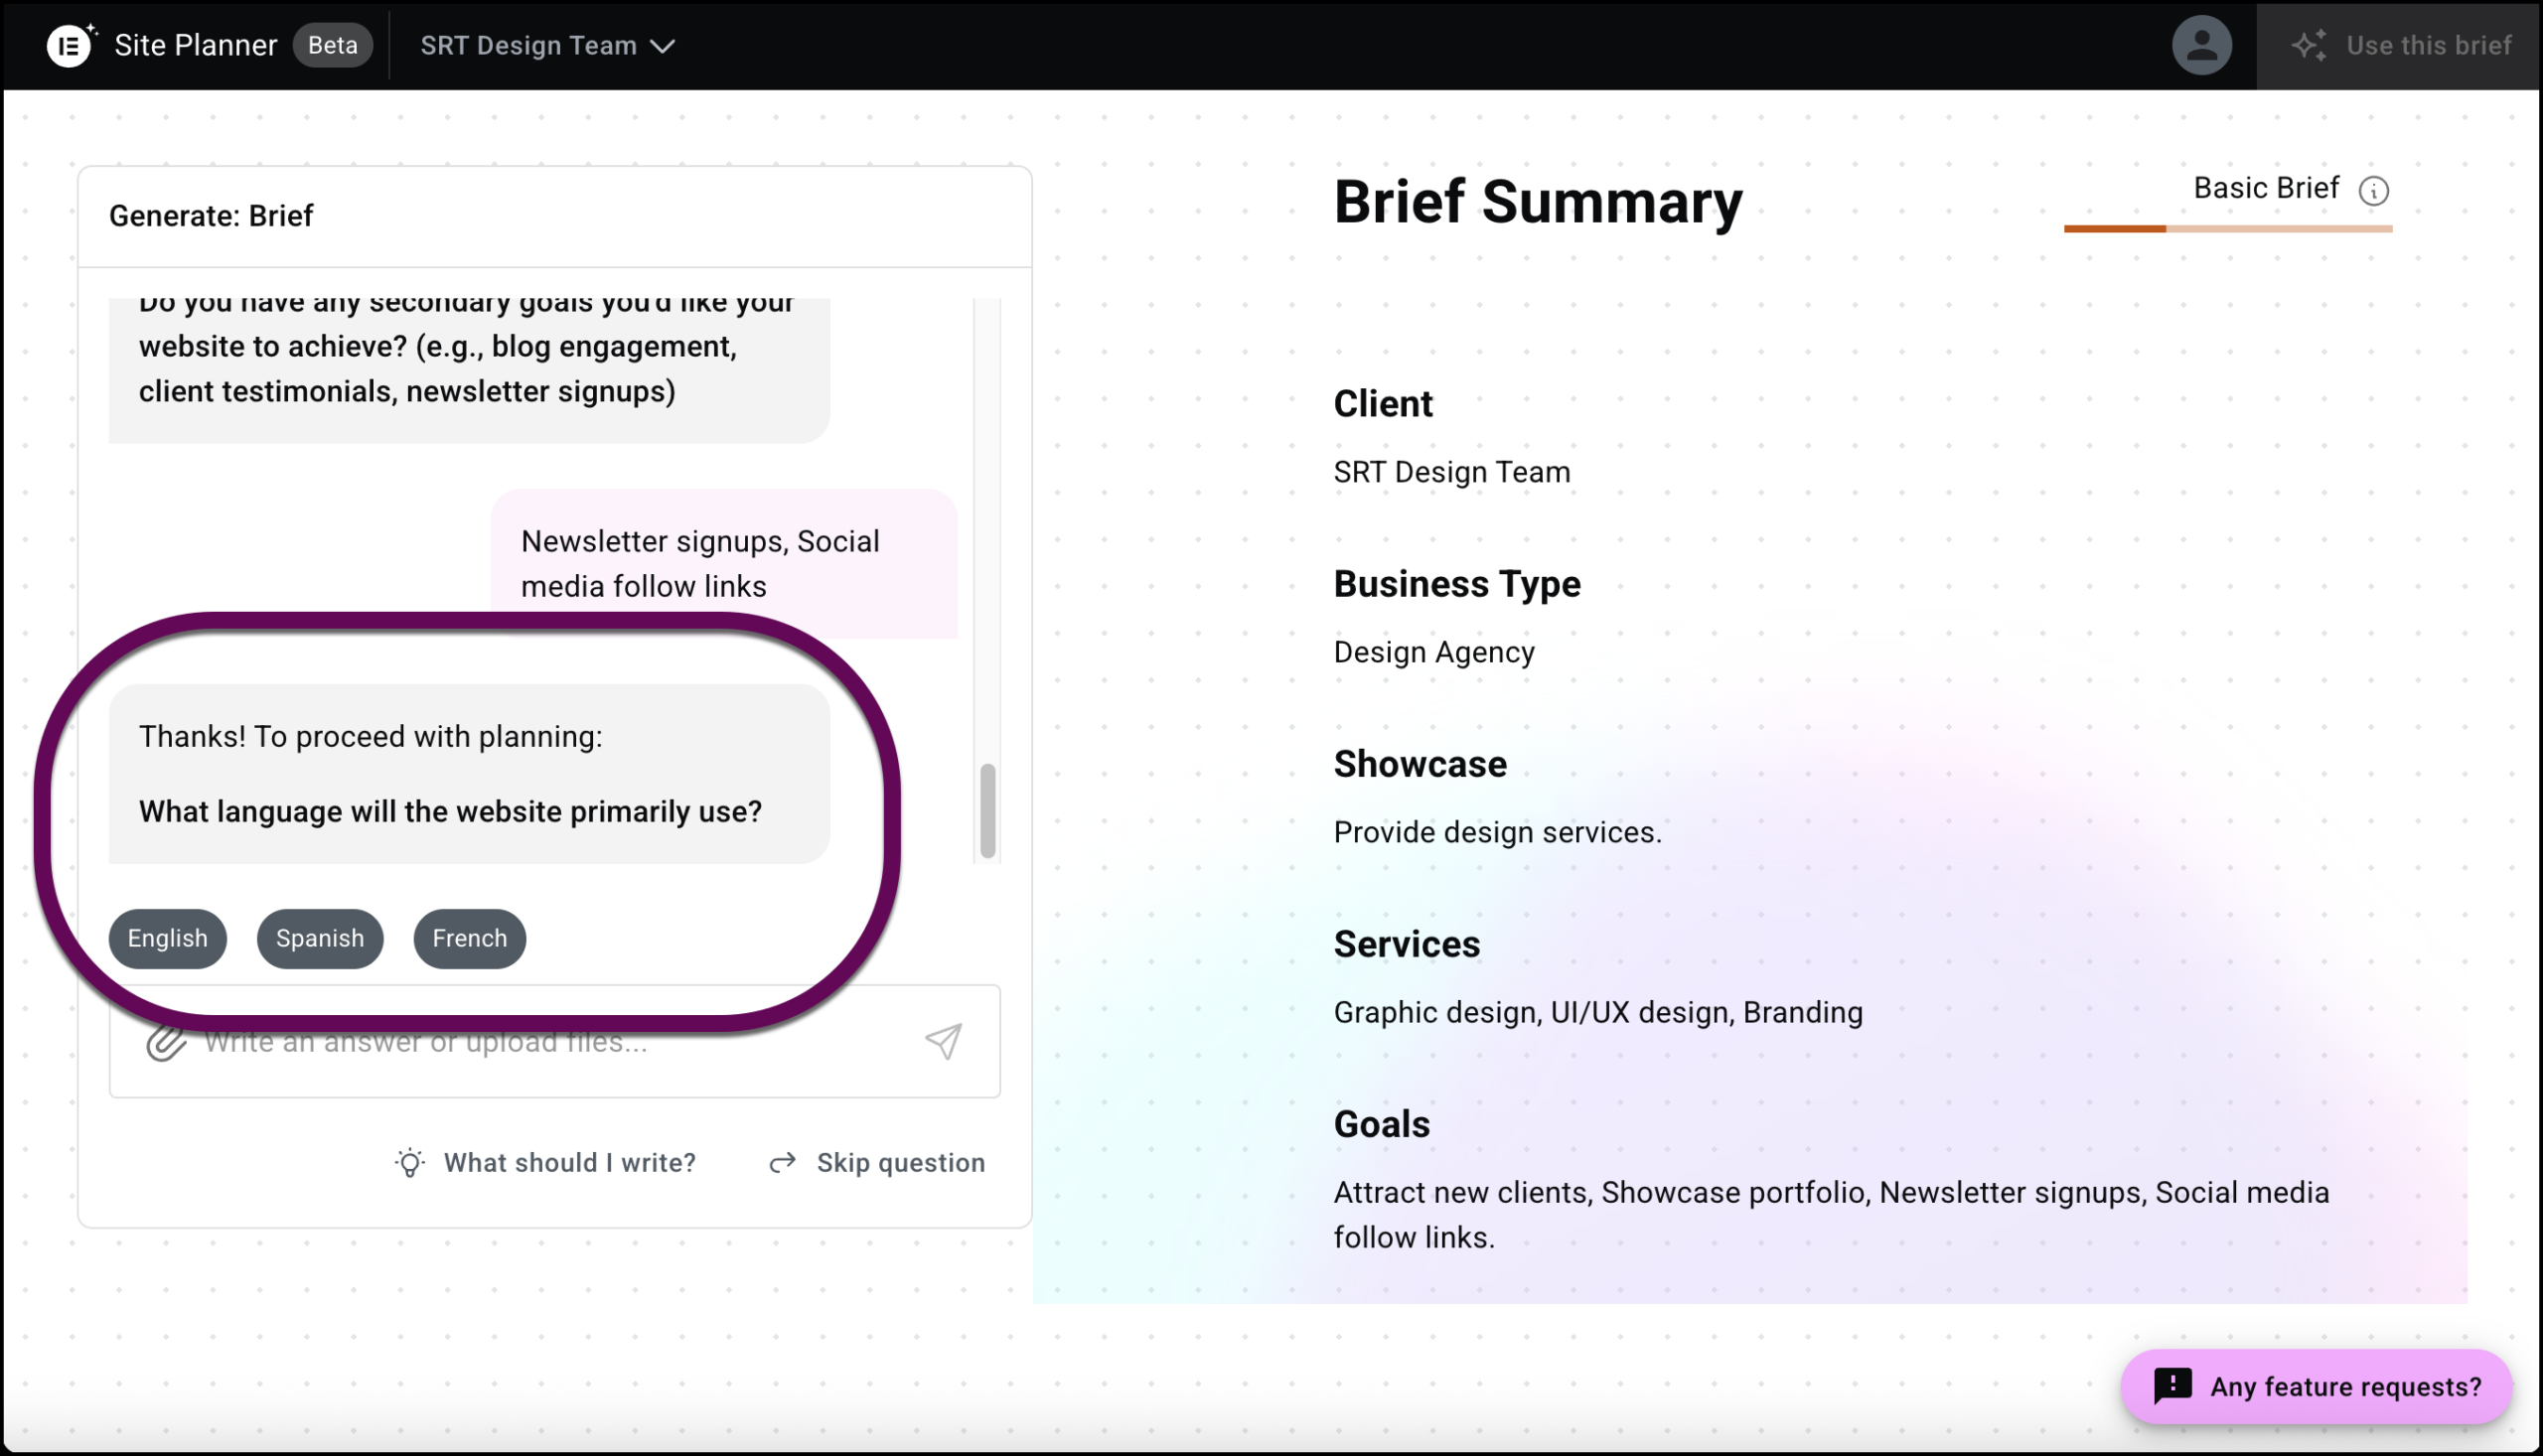
- Enter your secondary goal(s).
- Click the submit icon.
- Enter the website’s primary language.
- Add the most important things your website should do, such as receiving online orders, gathering subscribers, directing visitors to your social media pages.

- Click the submit icon.
- Decide what tone you want for your website, such as Professional and Authoritative.
You’re ready to structure your website.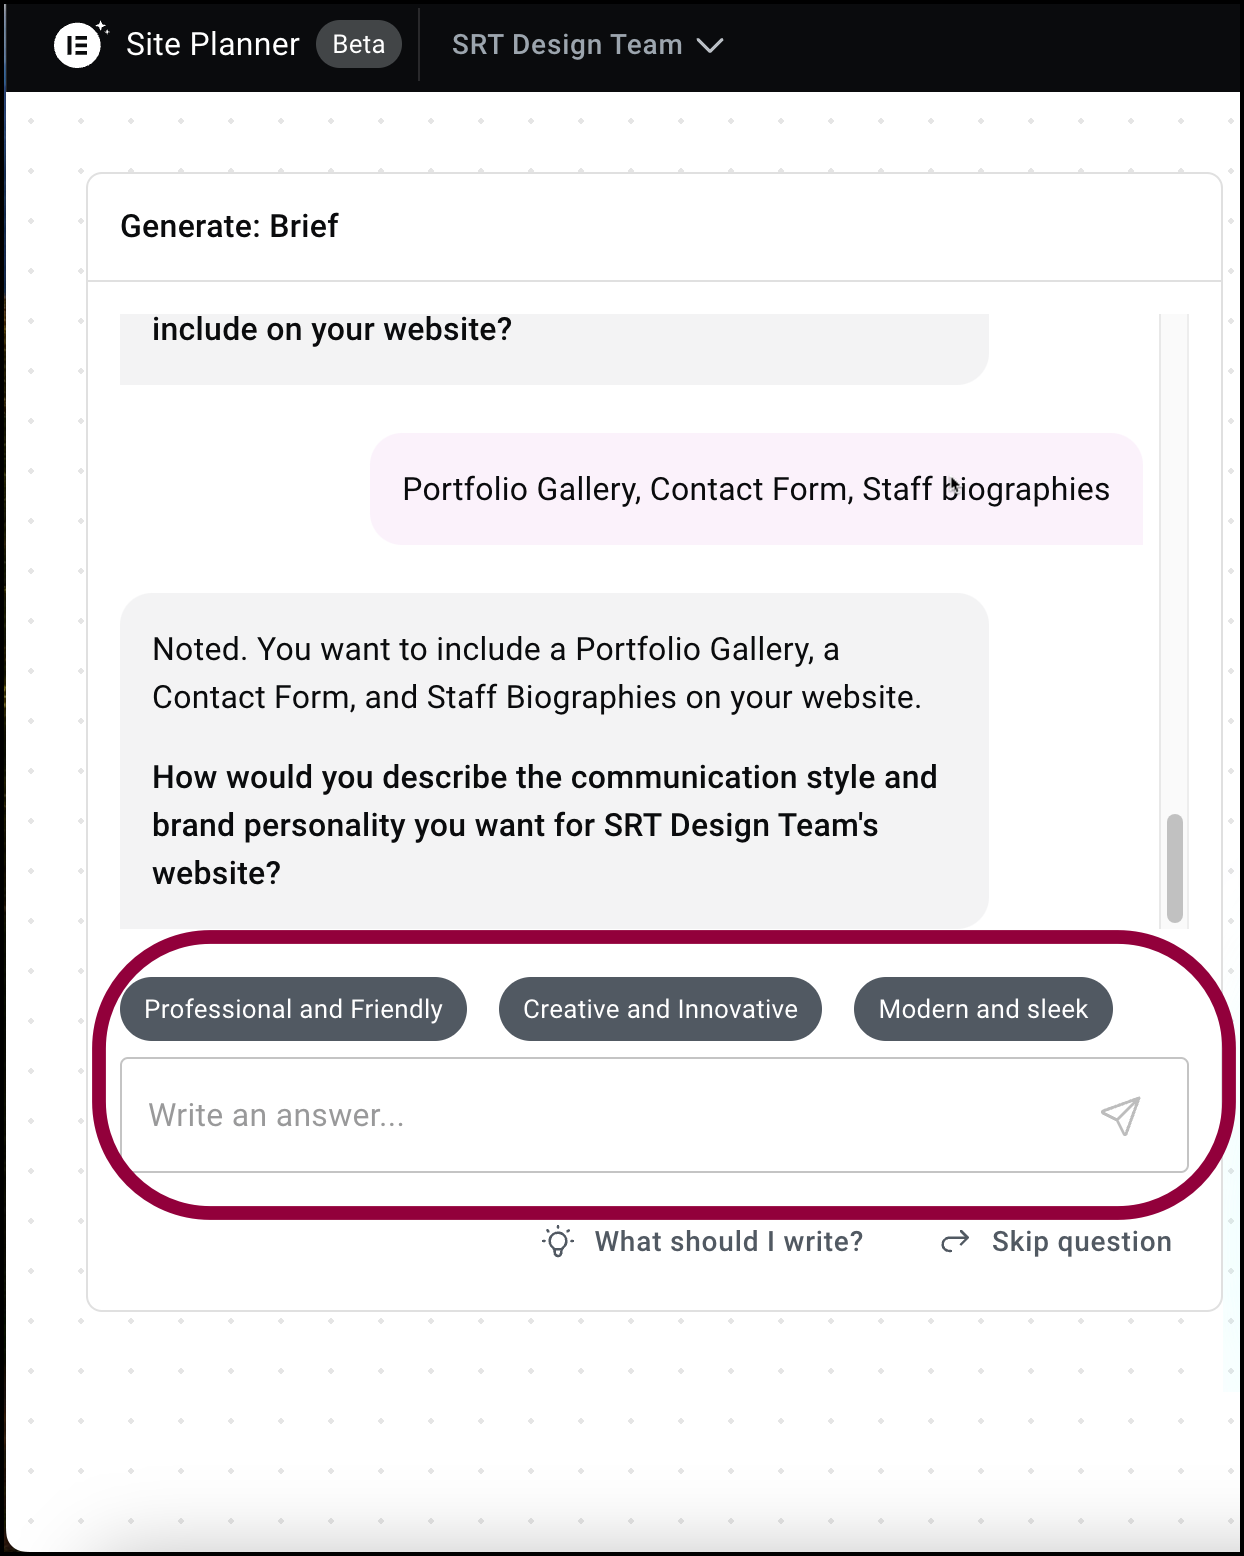
- Enter the pages you want on your site. Some of these pages may include:
- Home
- About Us
- Contact Us
- Blog
- Our Store
- Our Team
As with all suggestions, feel free to add anything relevant for your site.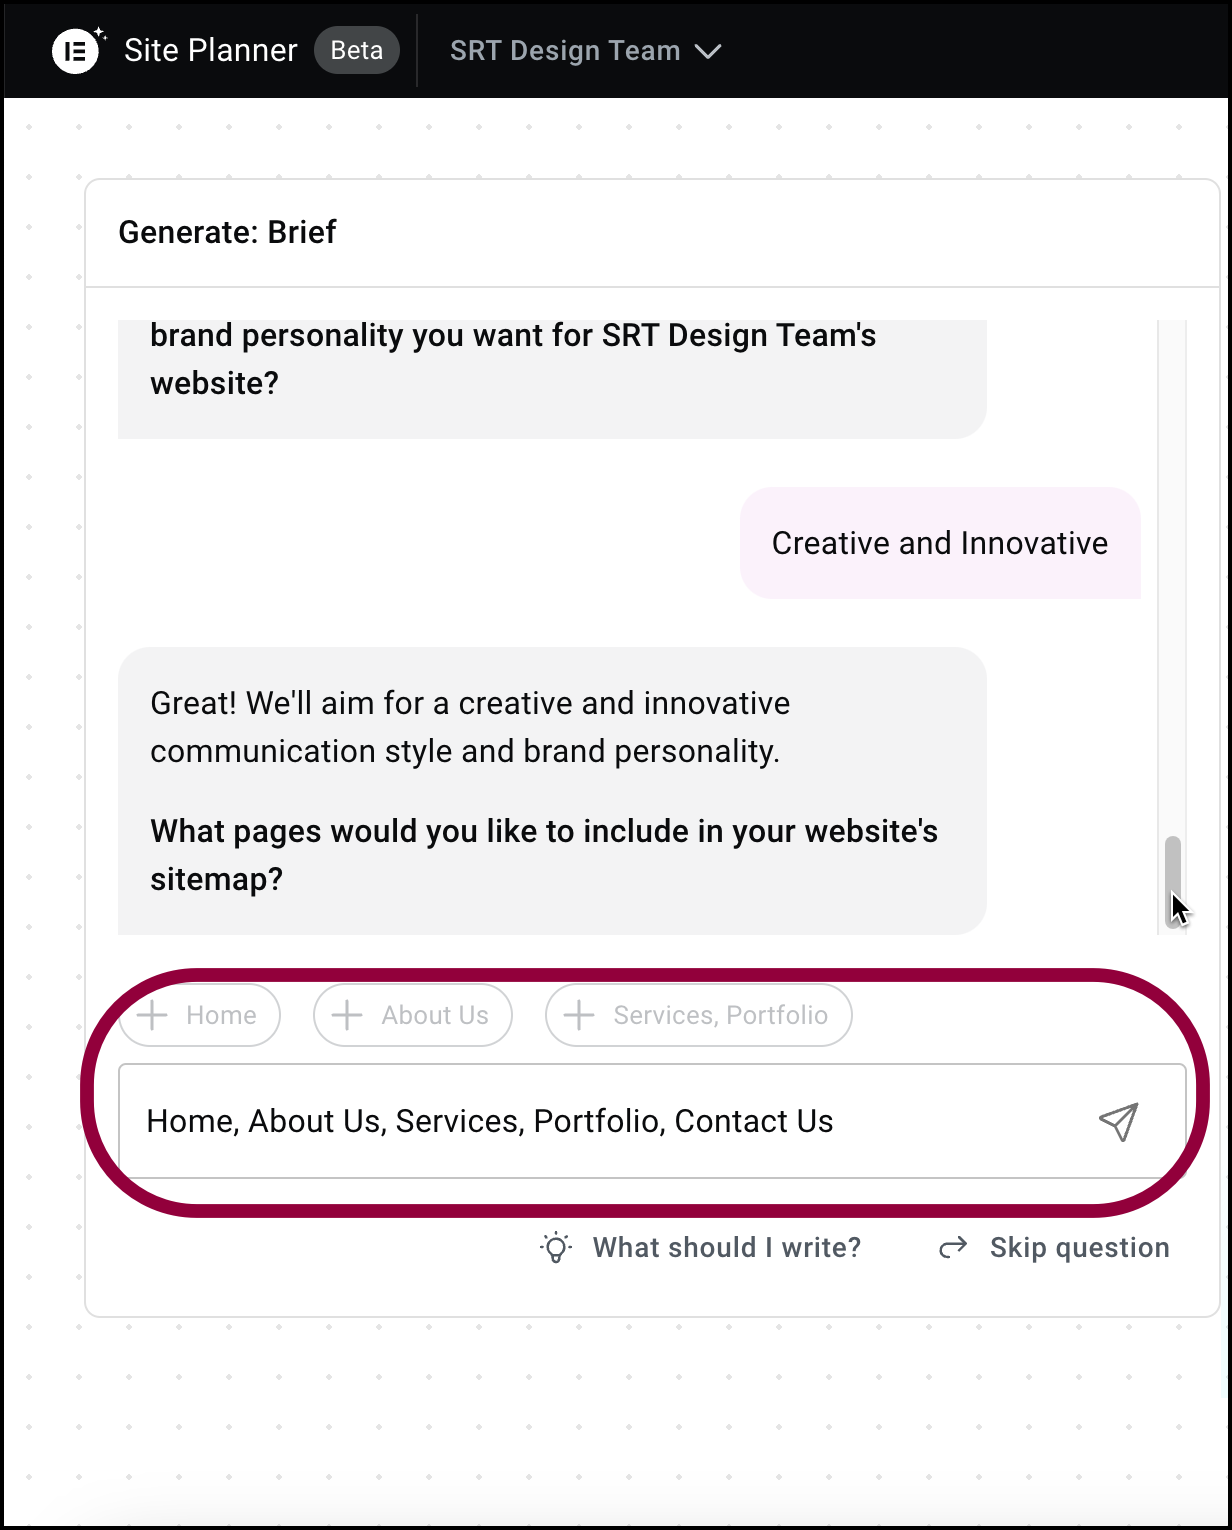
- Click the submit icon.
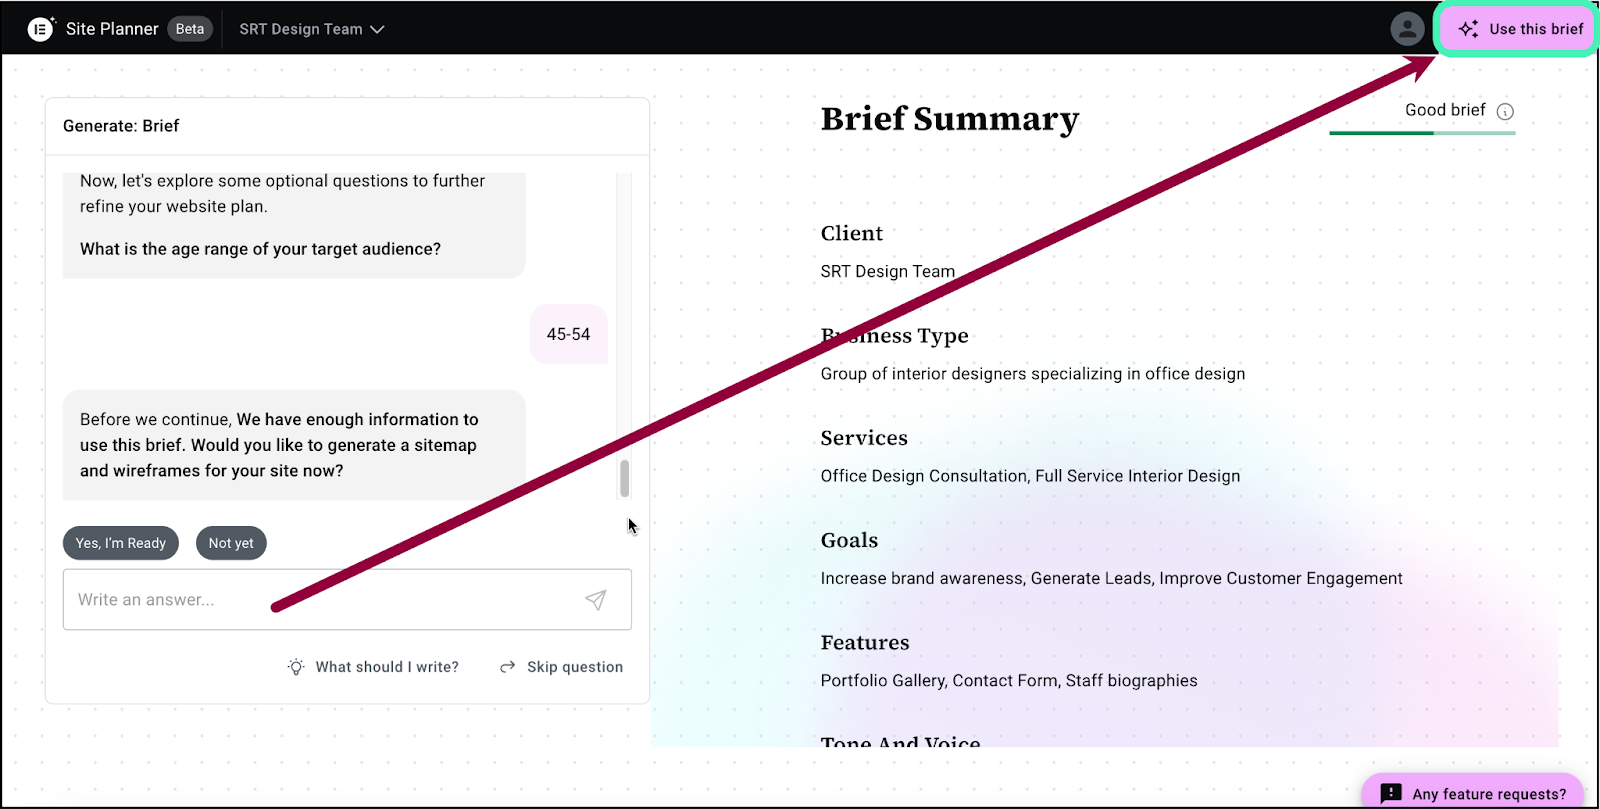
- At this point, you can click Use this brief, and Site Planner will create a sitemap and wireframe layout for your site. However, you also have the option to add more details for Elementor AI to work with.
- Answer the questions Site Planner asks you.
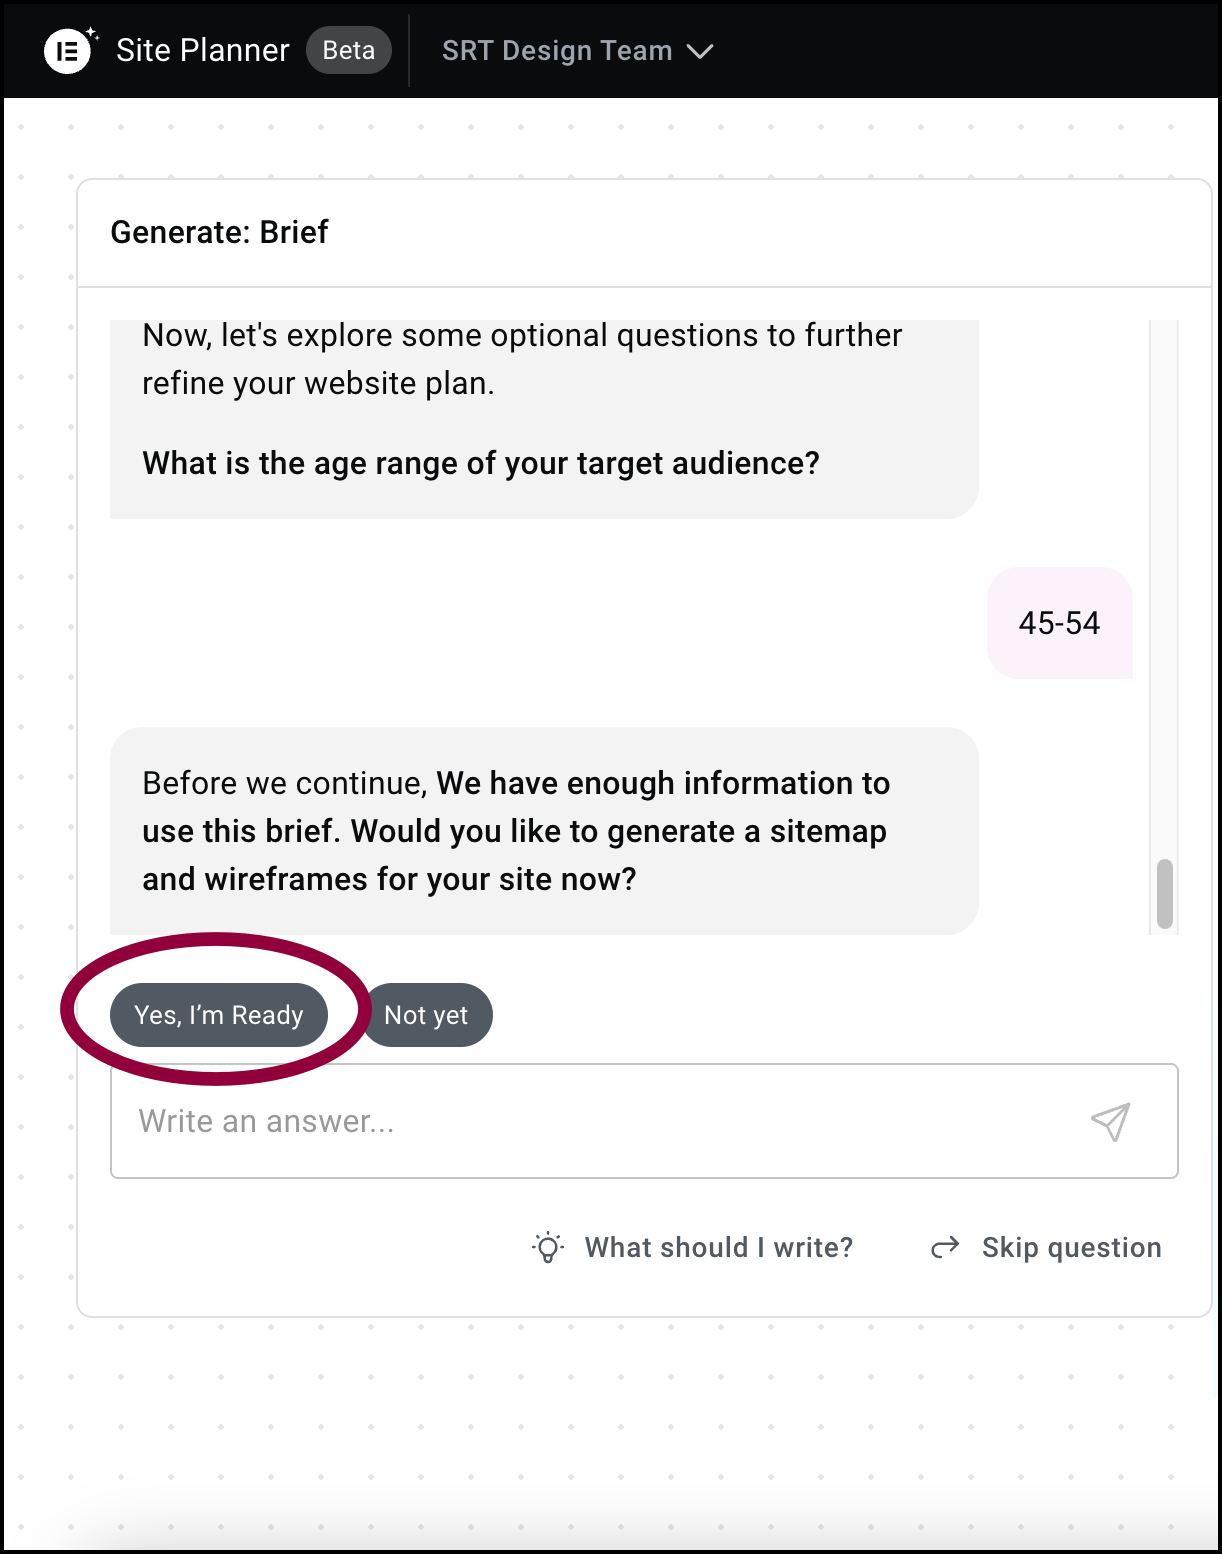
- When Site Planner has enough information, click Yes I’m ready.
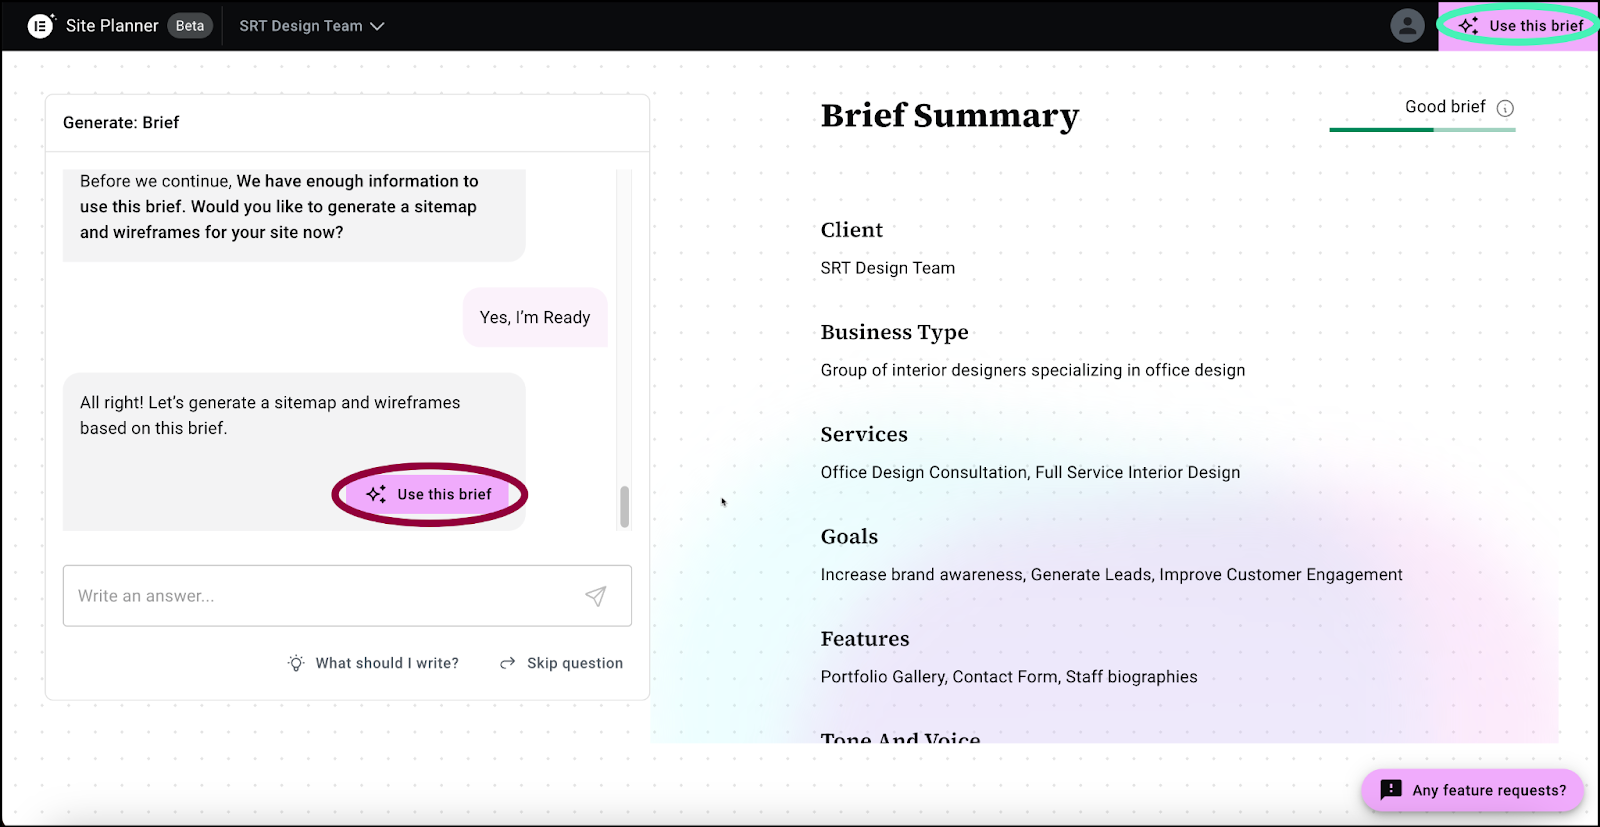
Site Planner drafts a sitemap and wireframe layout for you. You can now edit the site as detailed below.
Work with your draft layout
Site Planner drafts a sitemap and wireframe for your site which you can then customize to your needs.
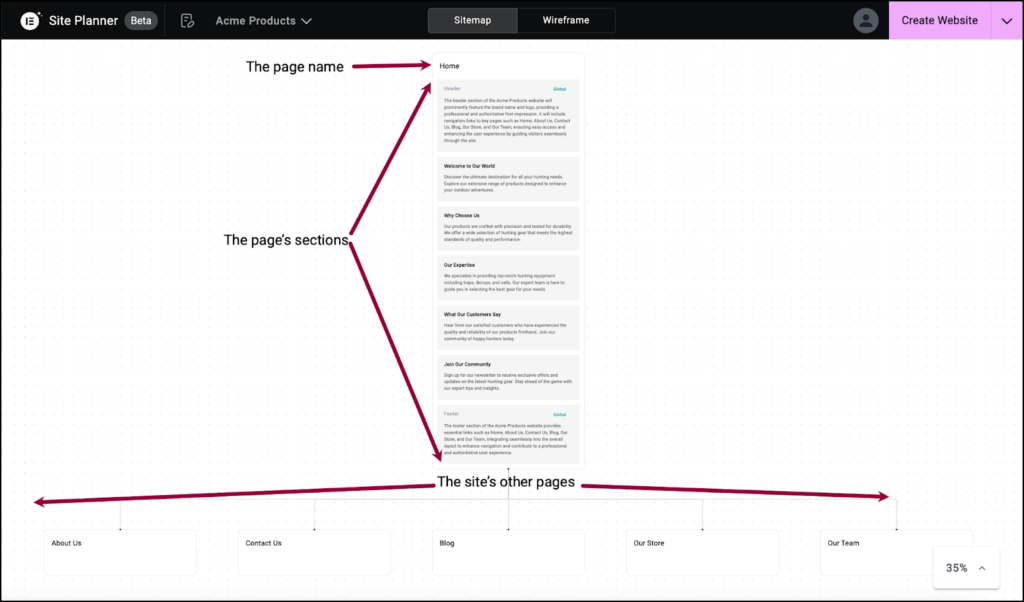
Site Planner presents the sitemap one page at a time, listing the different sections of the page.
- Click a page name to see the map of that page.
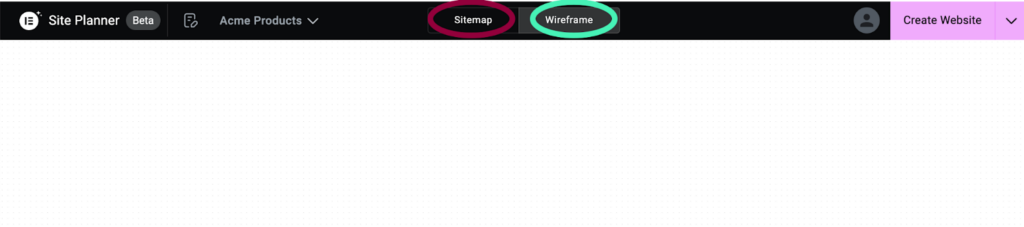
You can customize the site layout using either the sitemap or wireframe, although some features are only available from either the sitemap or the wireframe.
Use the Sitemap and Wireframe buttons to switch between the two views.
You can examine and edit the layout using the following features:
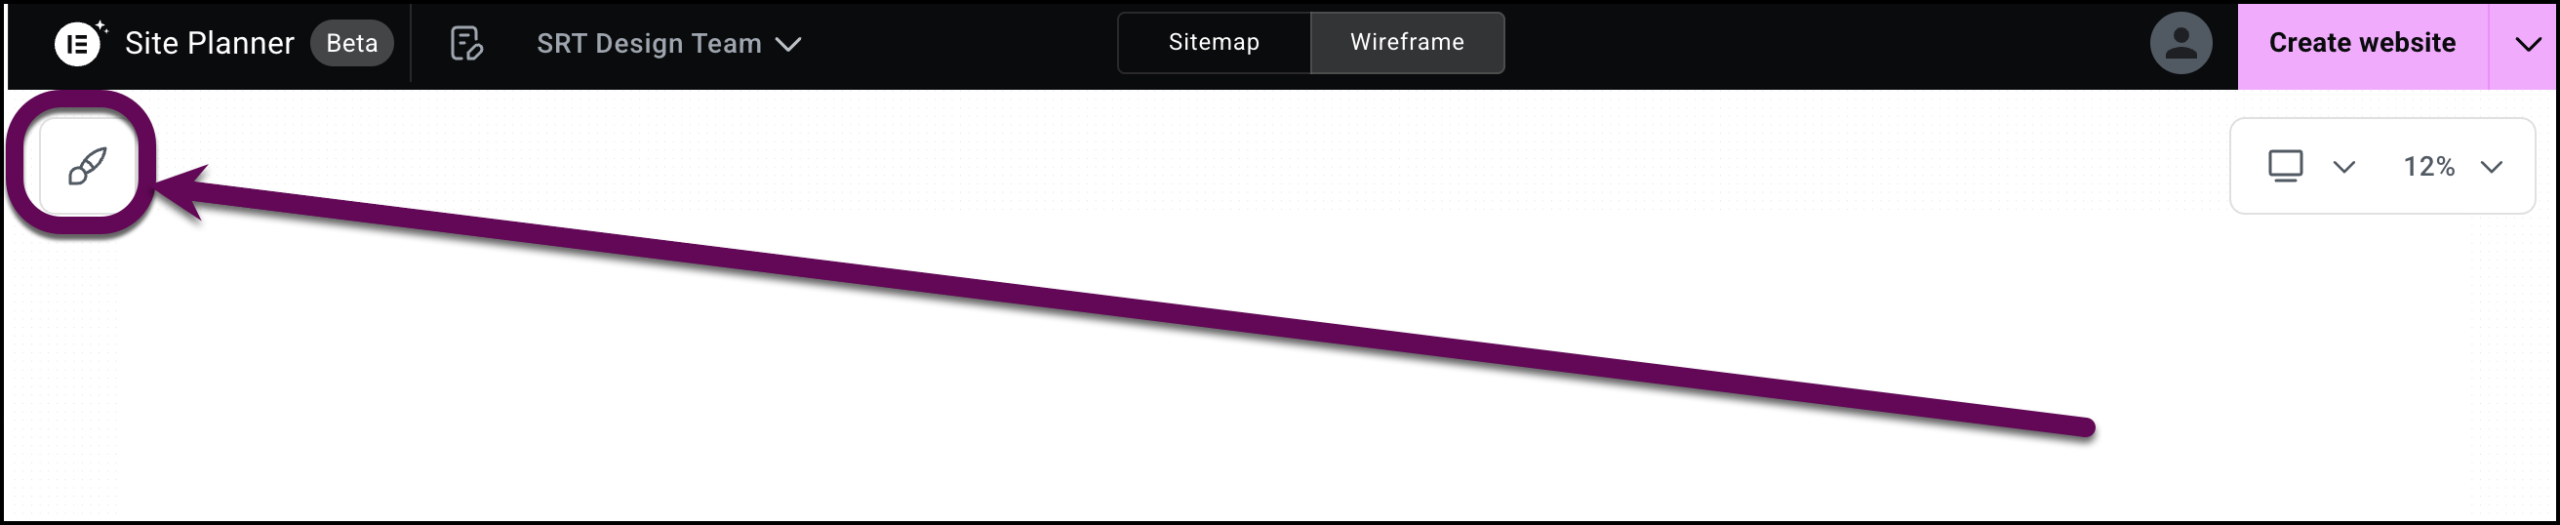
Zoom in on a page
Use the View dropdown menu to zoom in and out.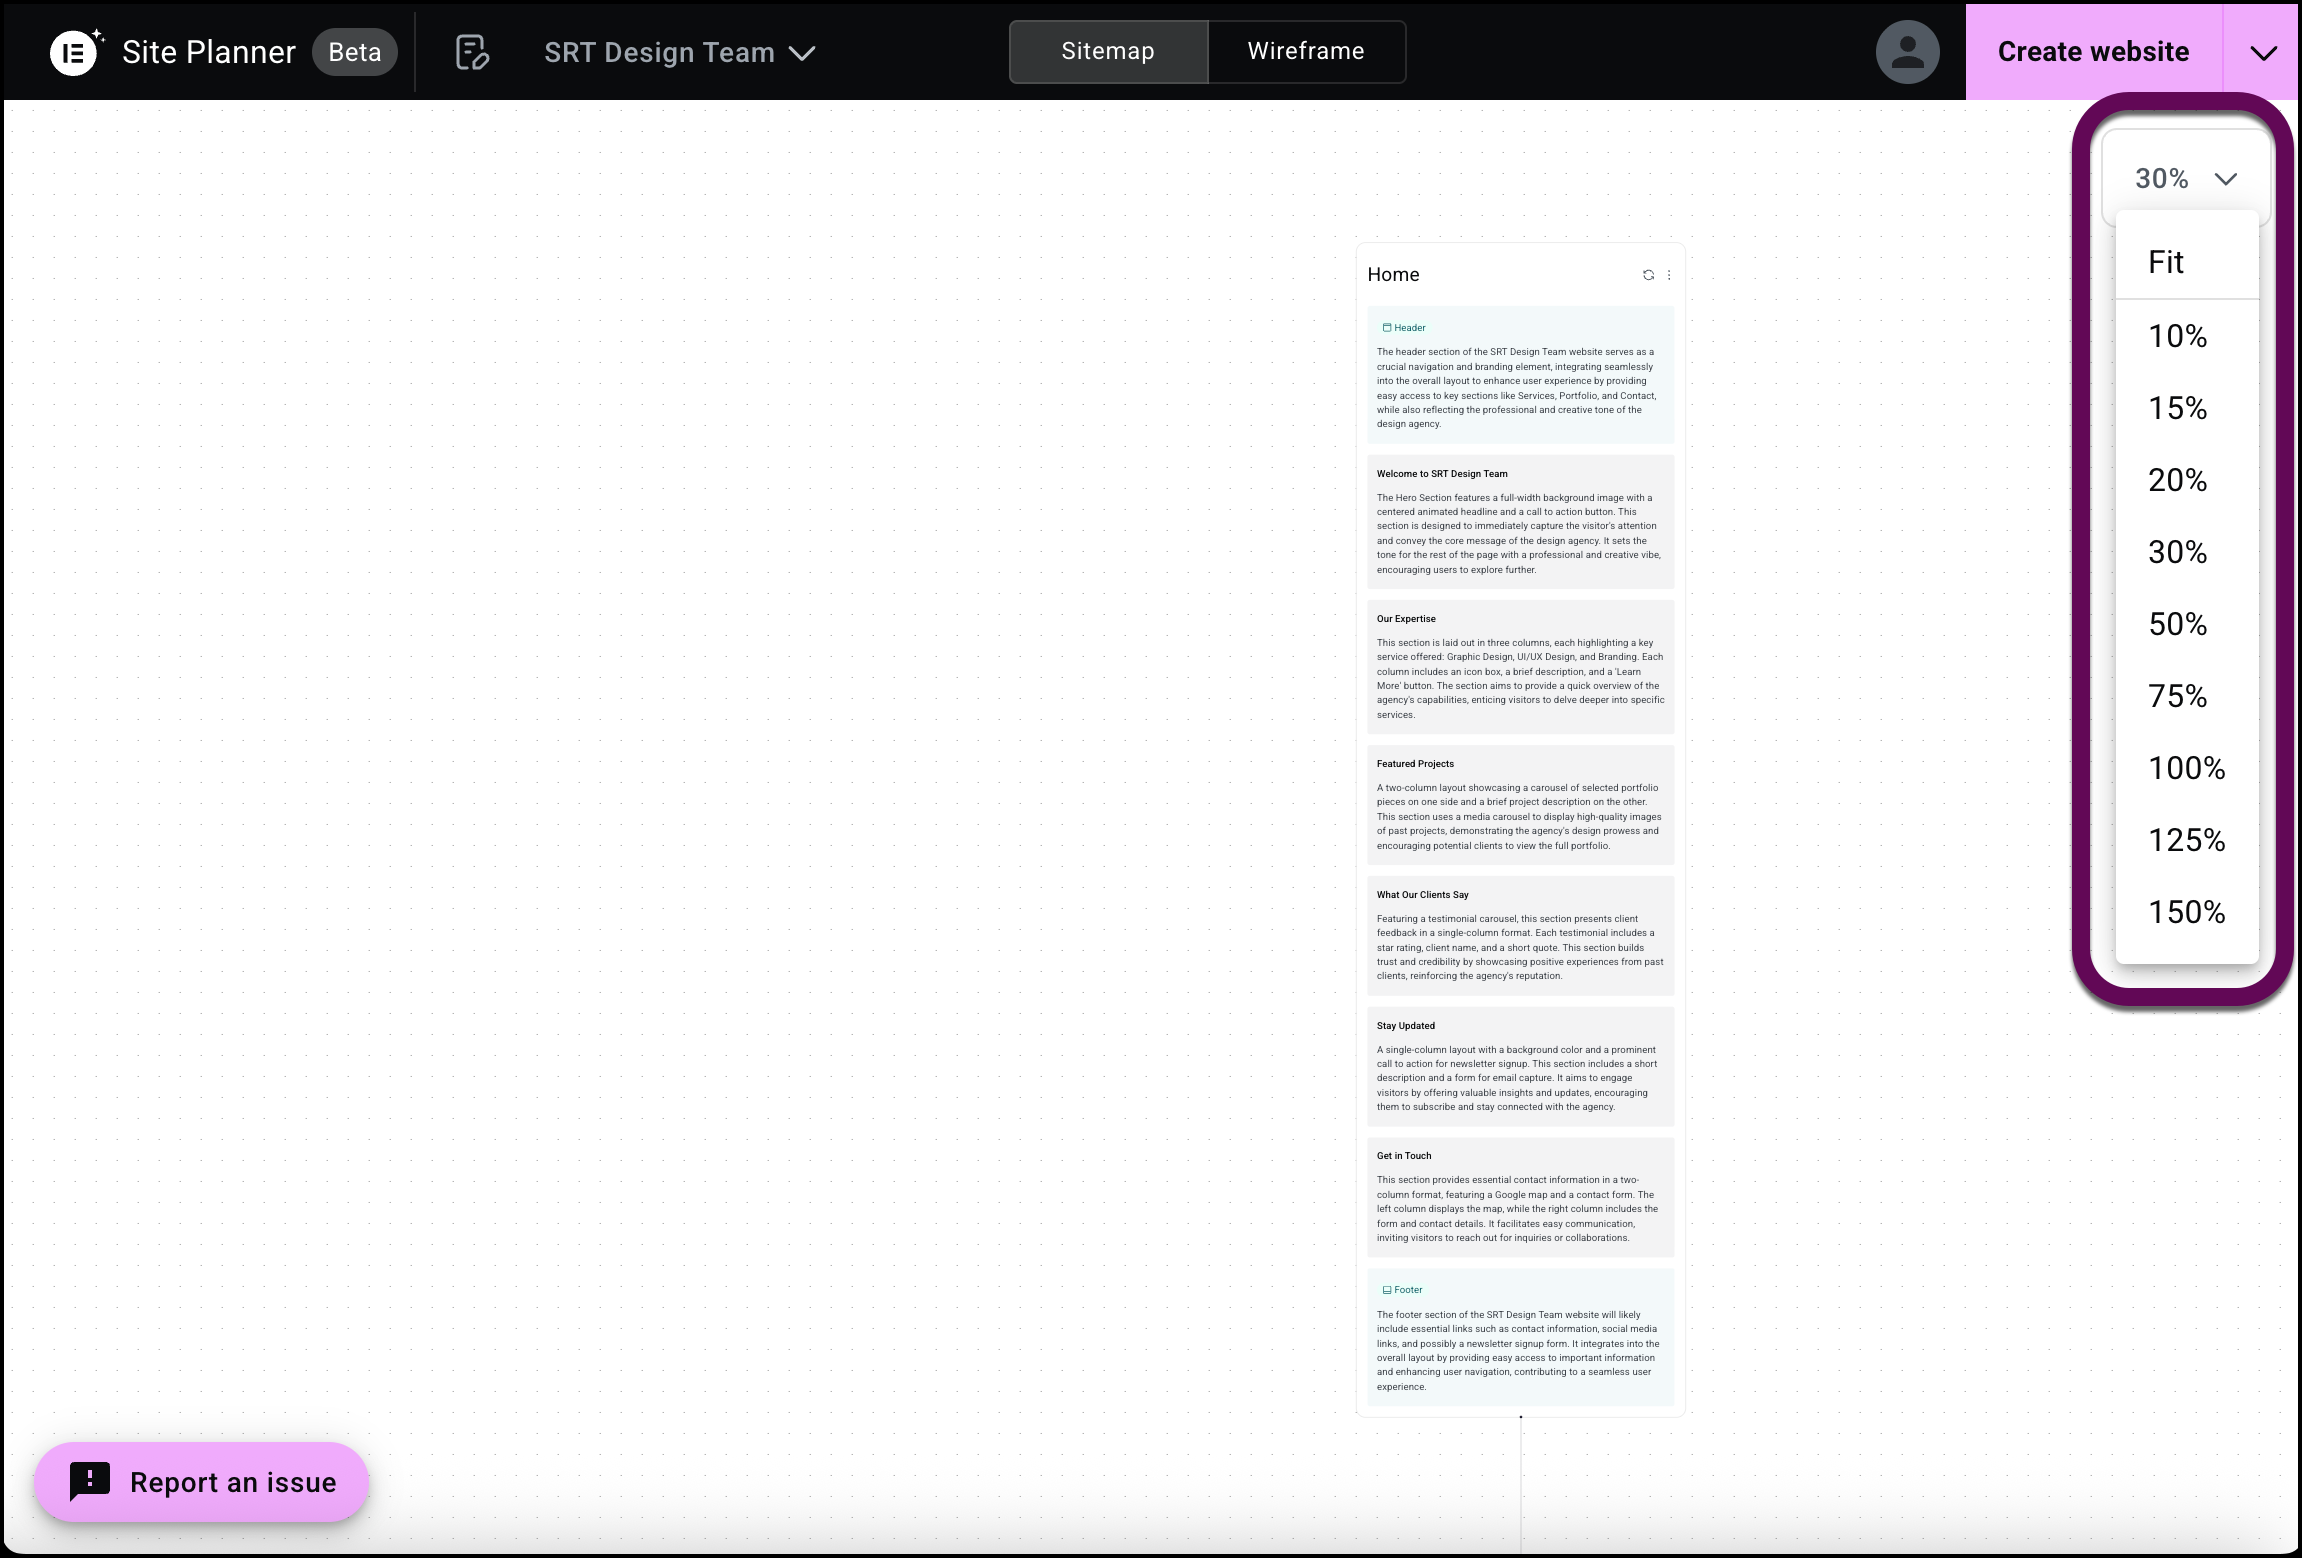
Add a page
Adding a page can only be done from the sitemap.
If there’s a page missing from the layout, you can add it from the sitemap.
To add a page:
- Hover your mouse over the space between two pages.
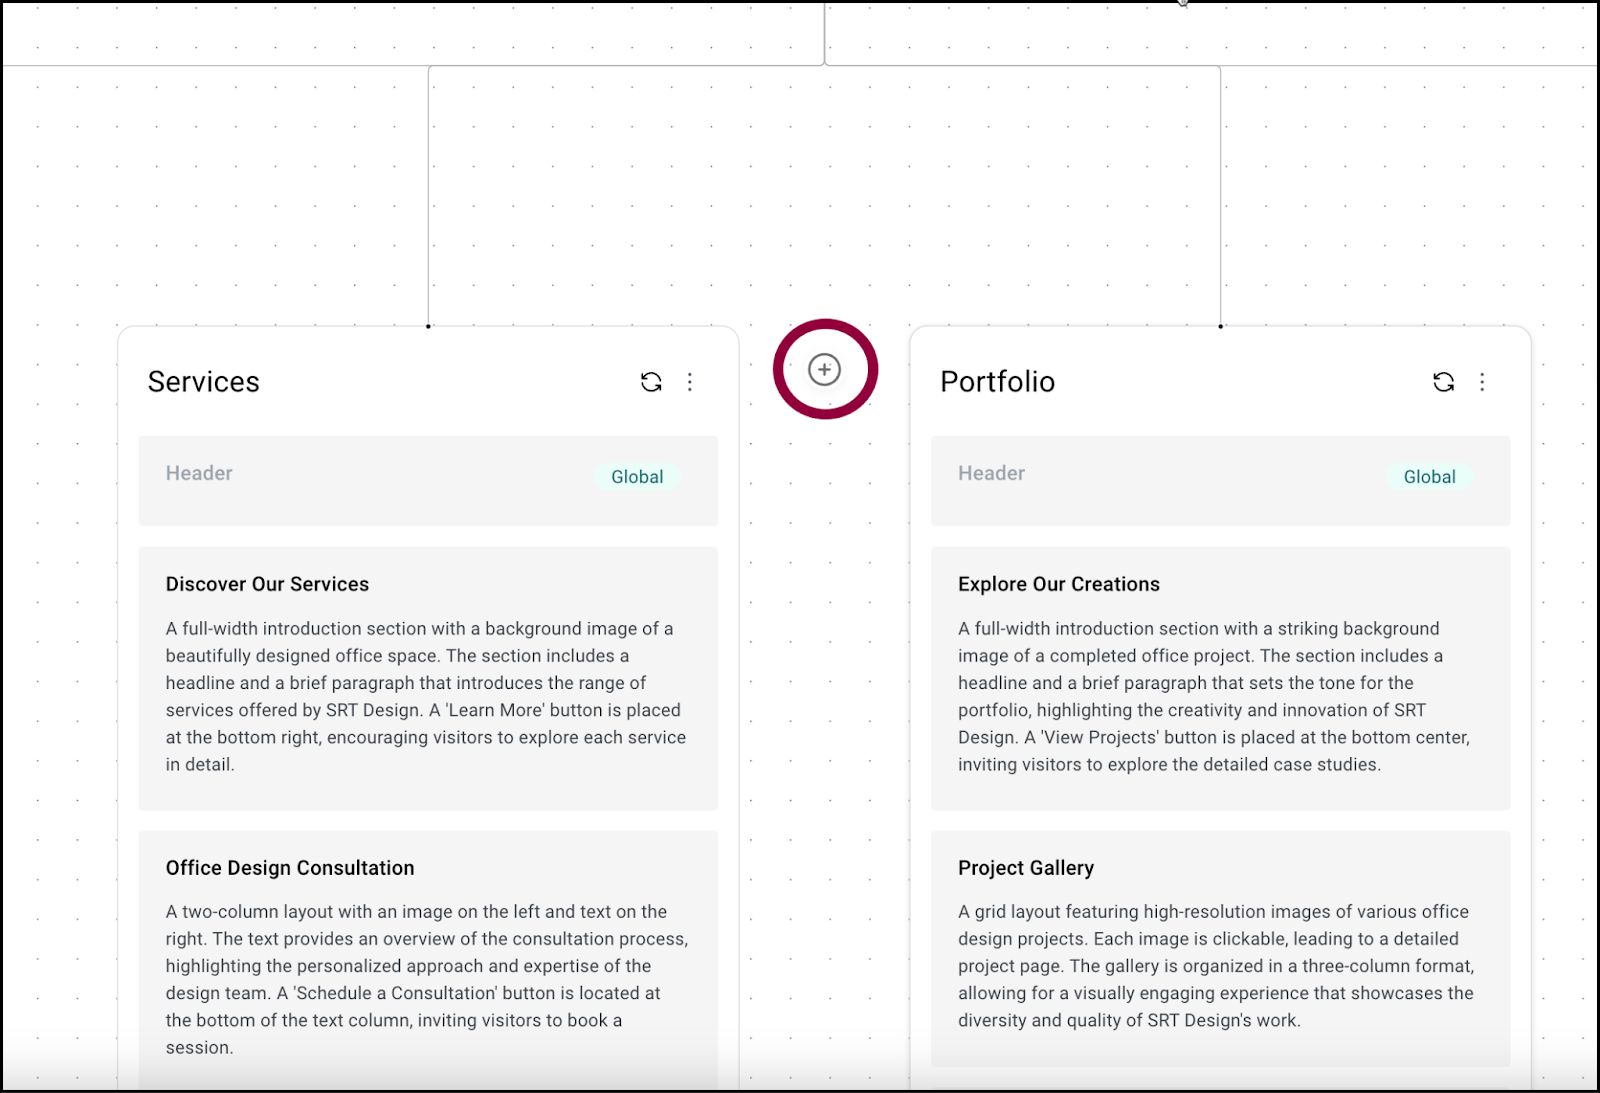
- Click the plus symbol.

- (Optional) Add a page name.
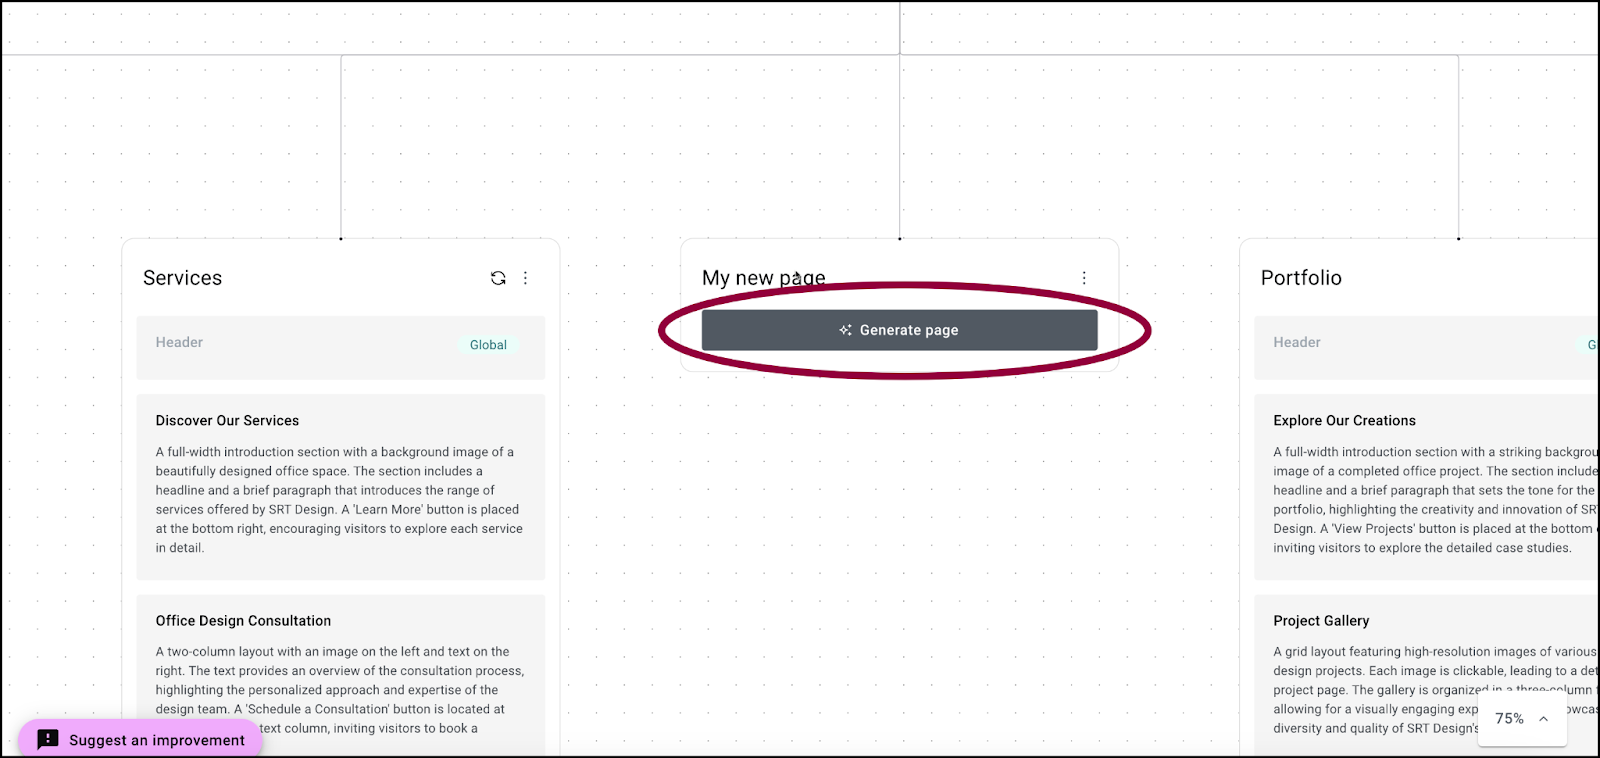
- Click Generate page.
Site Planner will generate a new page using the page name and the other information you provided in your brief. For instance, a page titled “Our Products” will yield different results than a page titled “Meet our staff”.
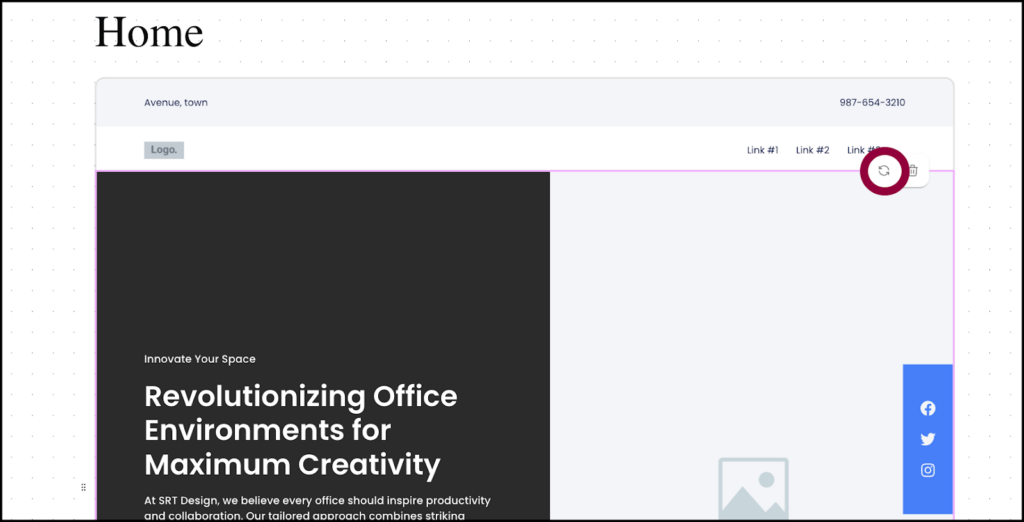
Regenerate a page or section
If you don’t like the layout of a page or page section, you can have Site Planner regenerate it until you get a result you like.
To regenerate a page (Site Map only):
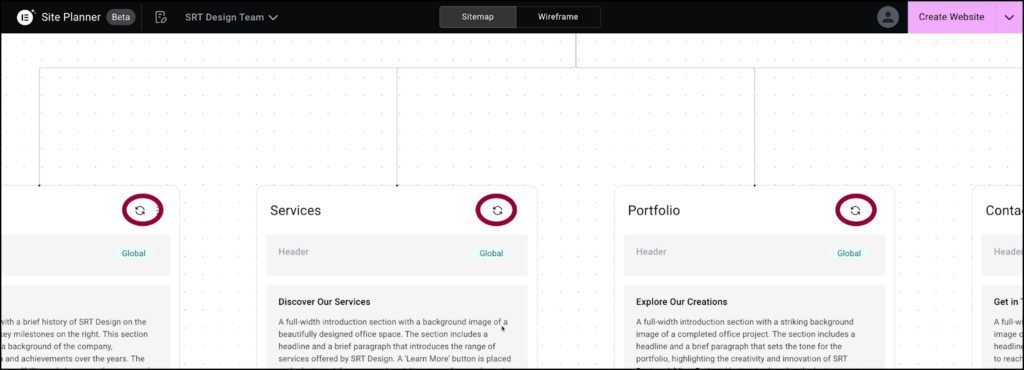
Hover over the top of the page and click the regenerate icon.
To regenerate a section:
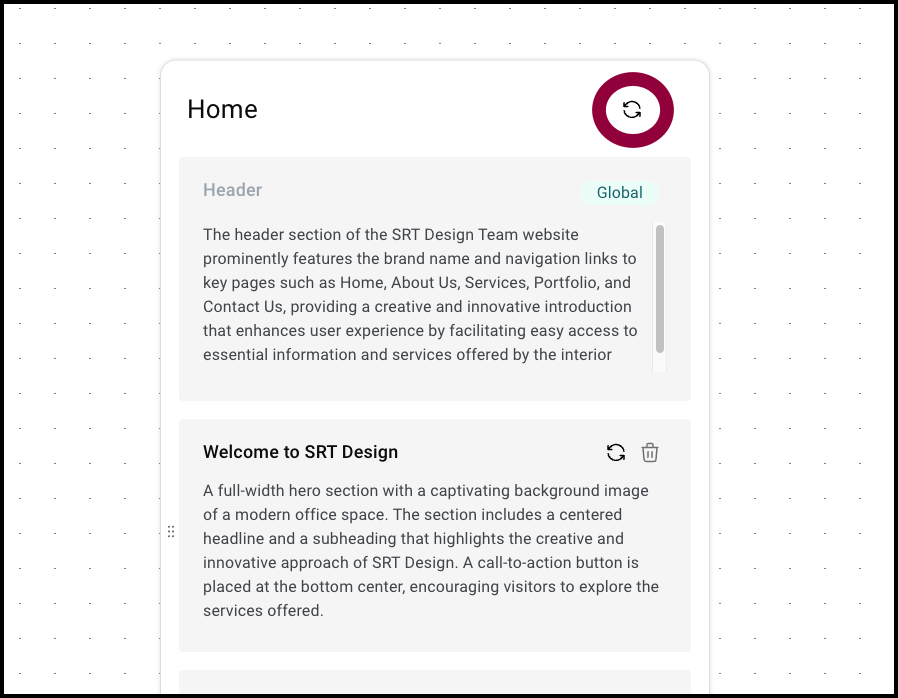
Hover over the top of the section and click the regenerate icon.
Delete a page or section
If you decide a page is unnecessary, you can delete it, if your page is too long, you can delete a section.
To delete a page (Sitemap only):
- At the top of the page click the ellipses.
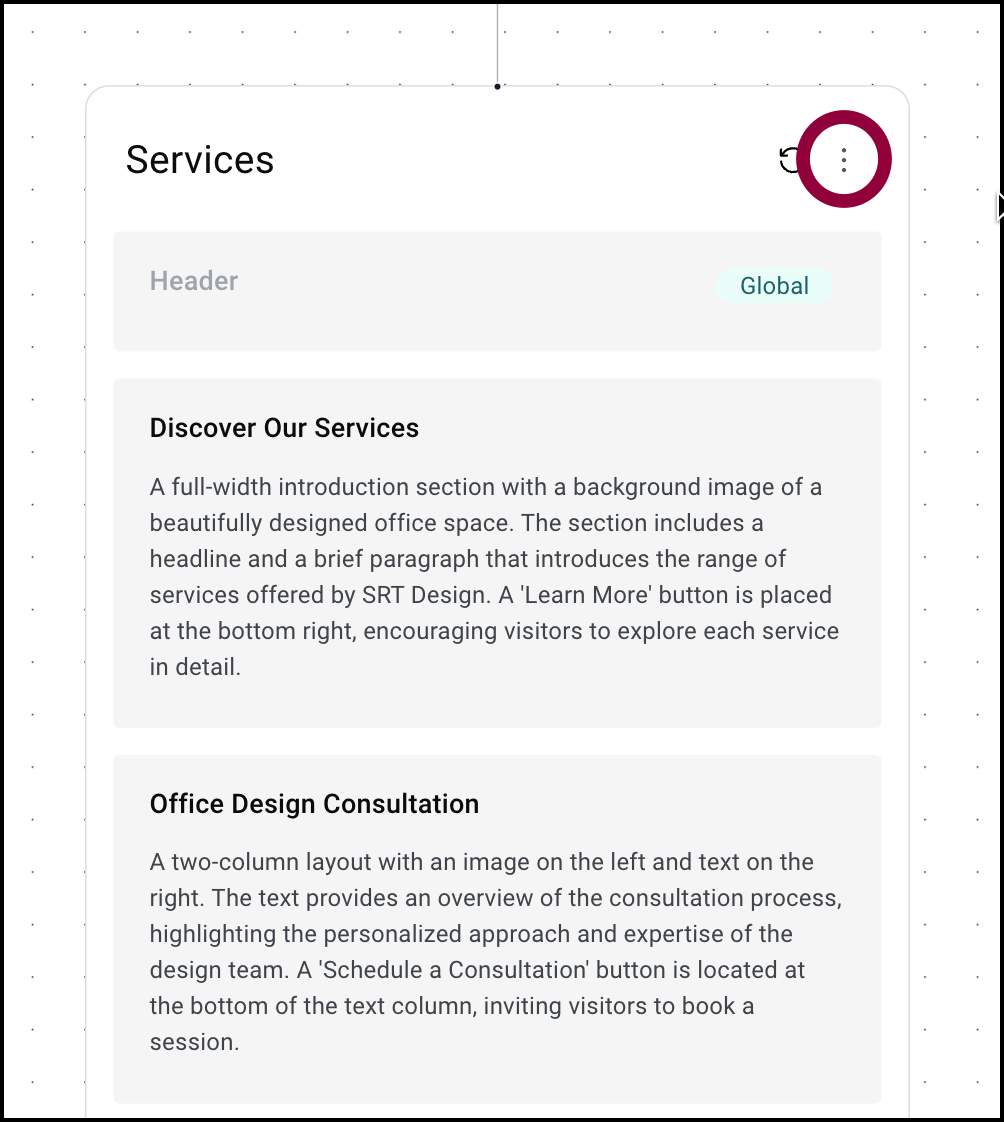
This page menu appears.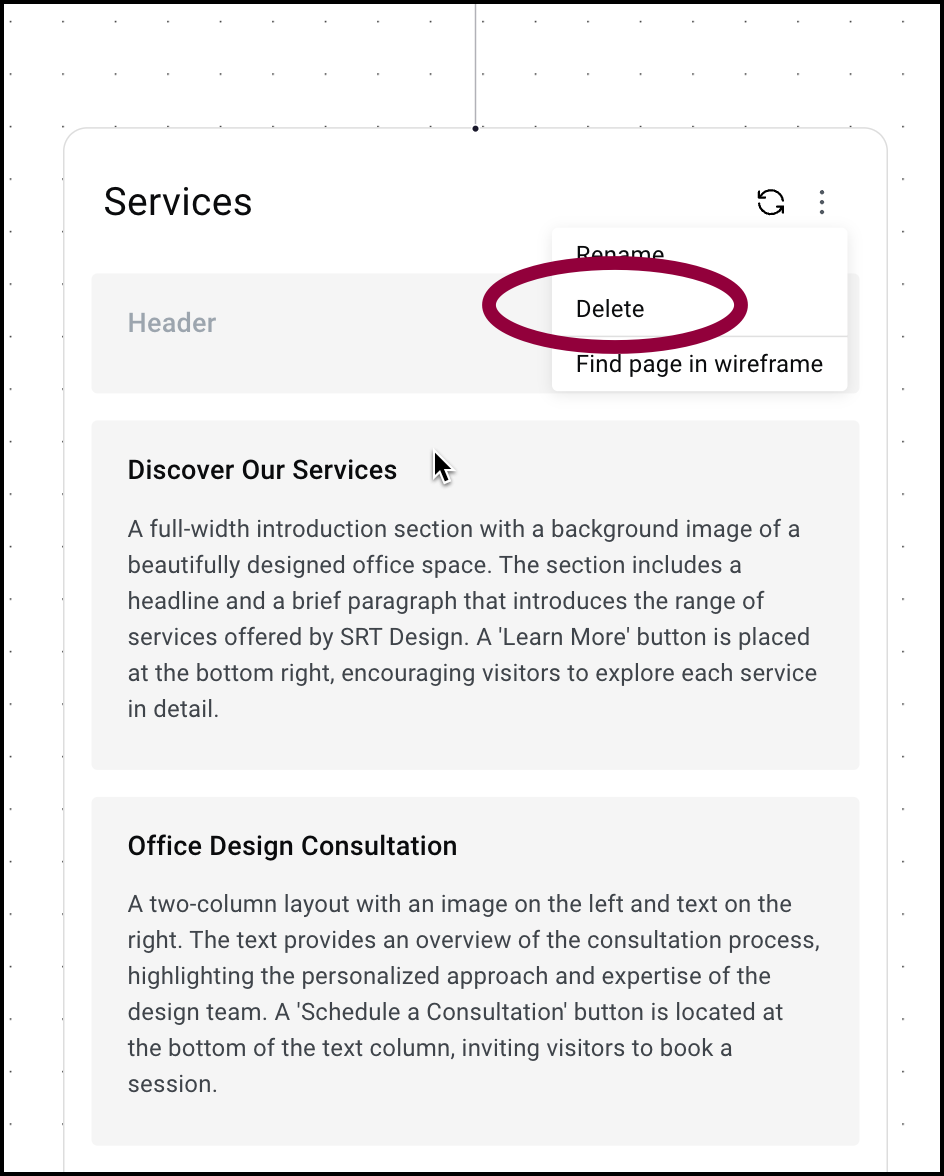
- Select Delete.NoteYou cannot delete the Home page.
To delete a section:

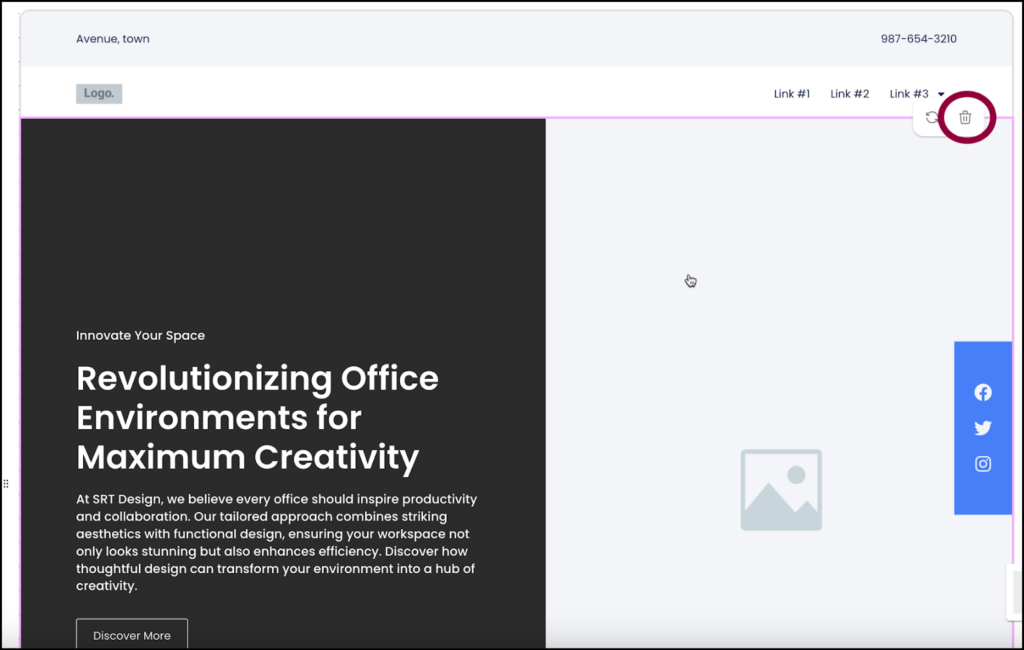
Hover over the section and click the delete icon.
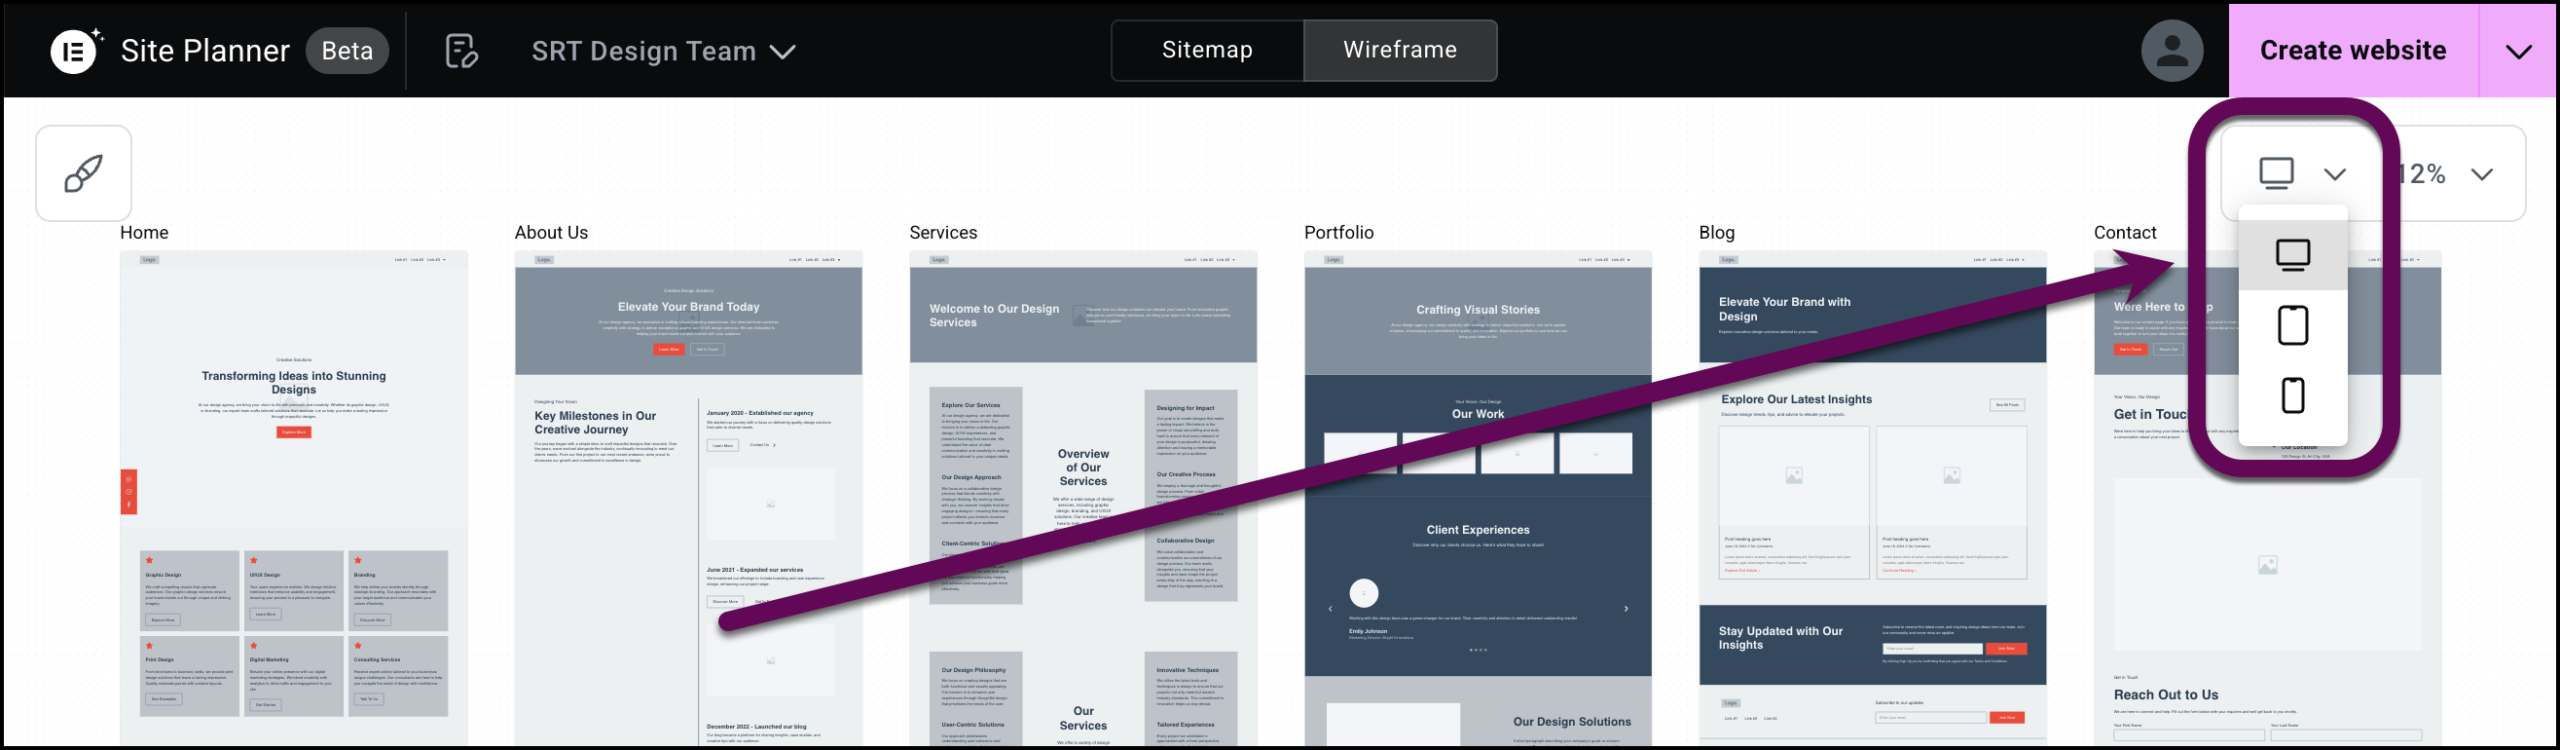
Layout responsive views
Responsive views are only available from the wireframe.
You can see how your site will look on different devices by using responsive views.
To see responsive views (Wireframe only):
- Click the responsive device dropdown menu to see how the site will look on a desktop, tablet or mobile.
Set your site style
The style section directs site builder to create your site using your brand colors and fonts and logo.
To set your brand colors, fonts and logo (Wireframe only):
- Click the style icon.
- Click one of the chevrons to select:
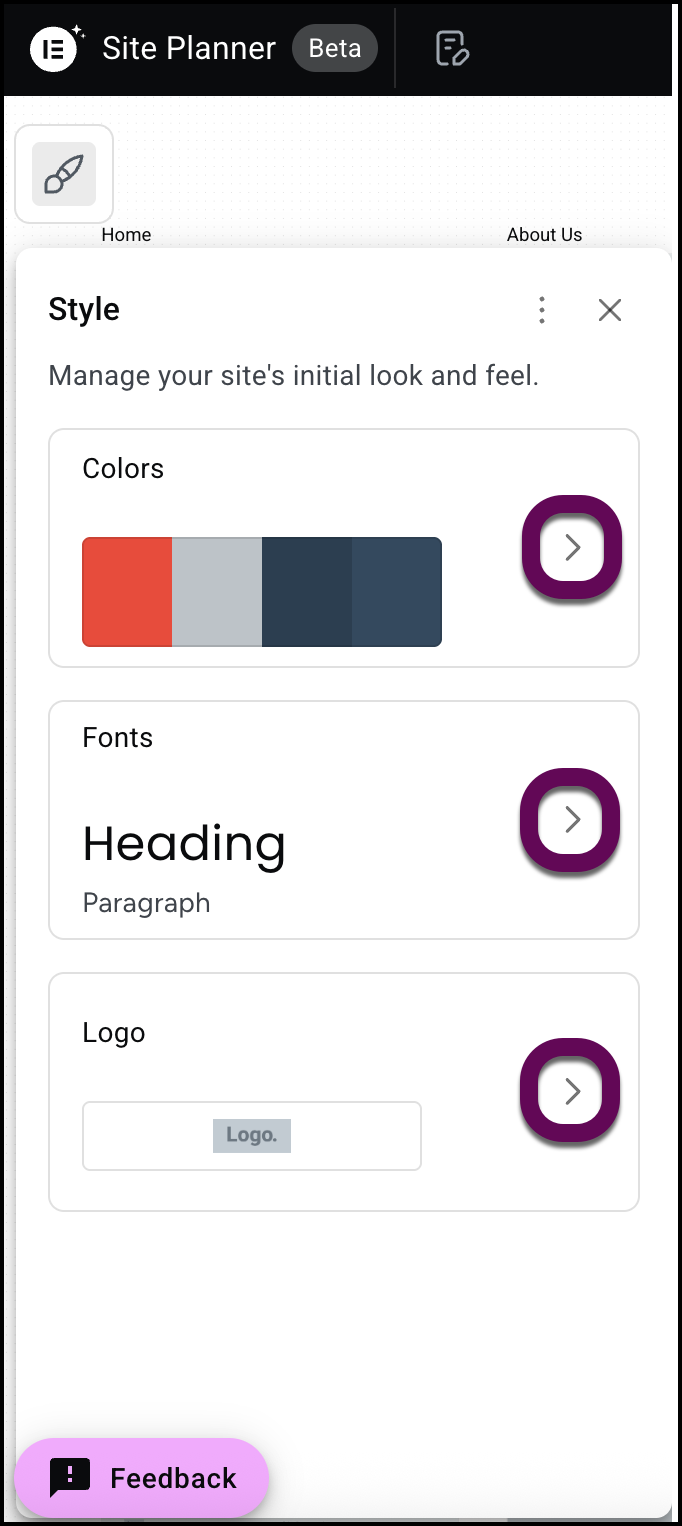
- Site colors
- Site fonts
- Site logo
Share your design
You can share your design by using a dropdown menu to create a shareable brief describing your site or a link that will allow others to see your design.
Share your design brief
To share your design brief:
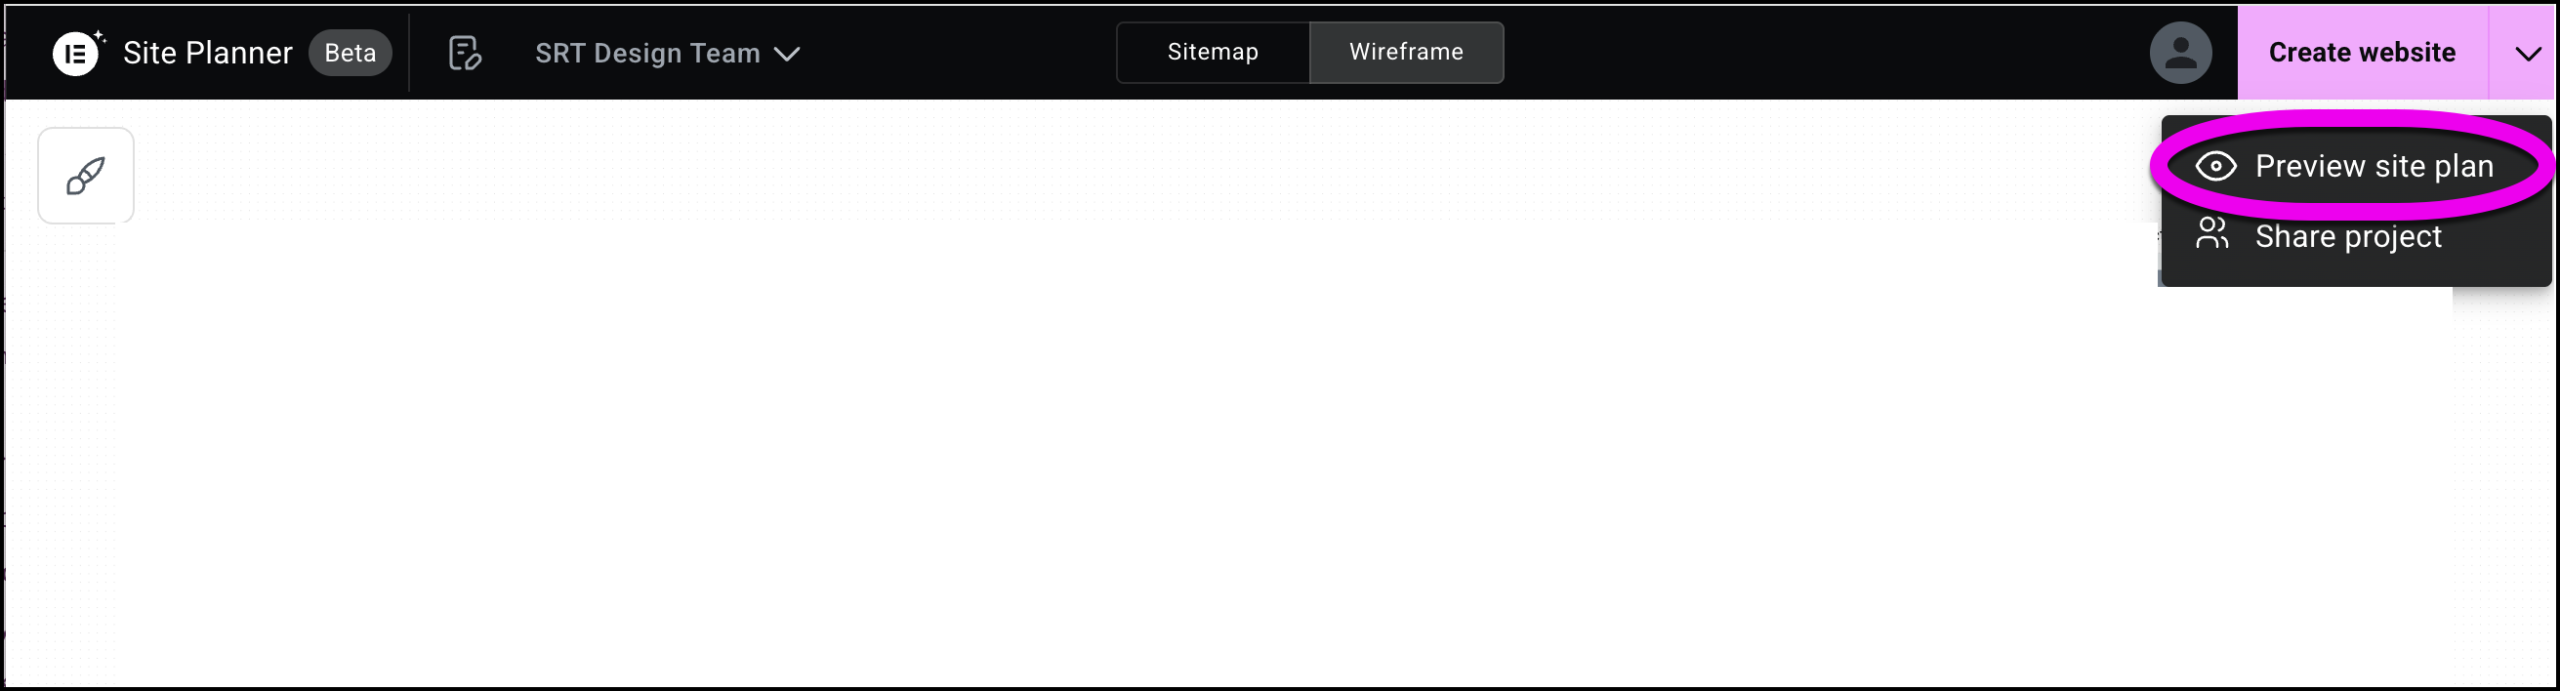
- Click the chevron on the right corner of the top bar.
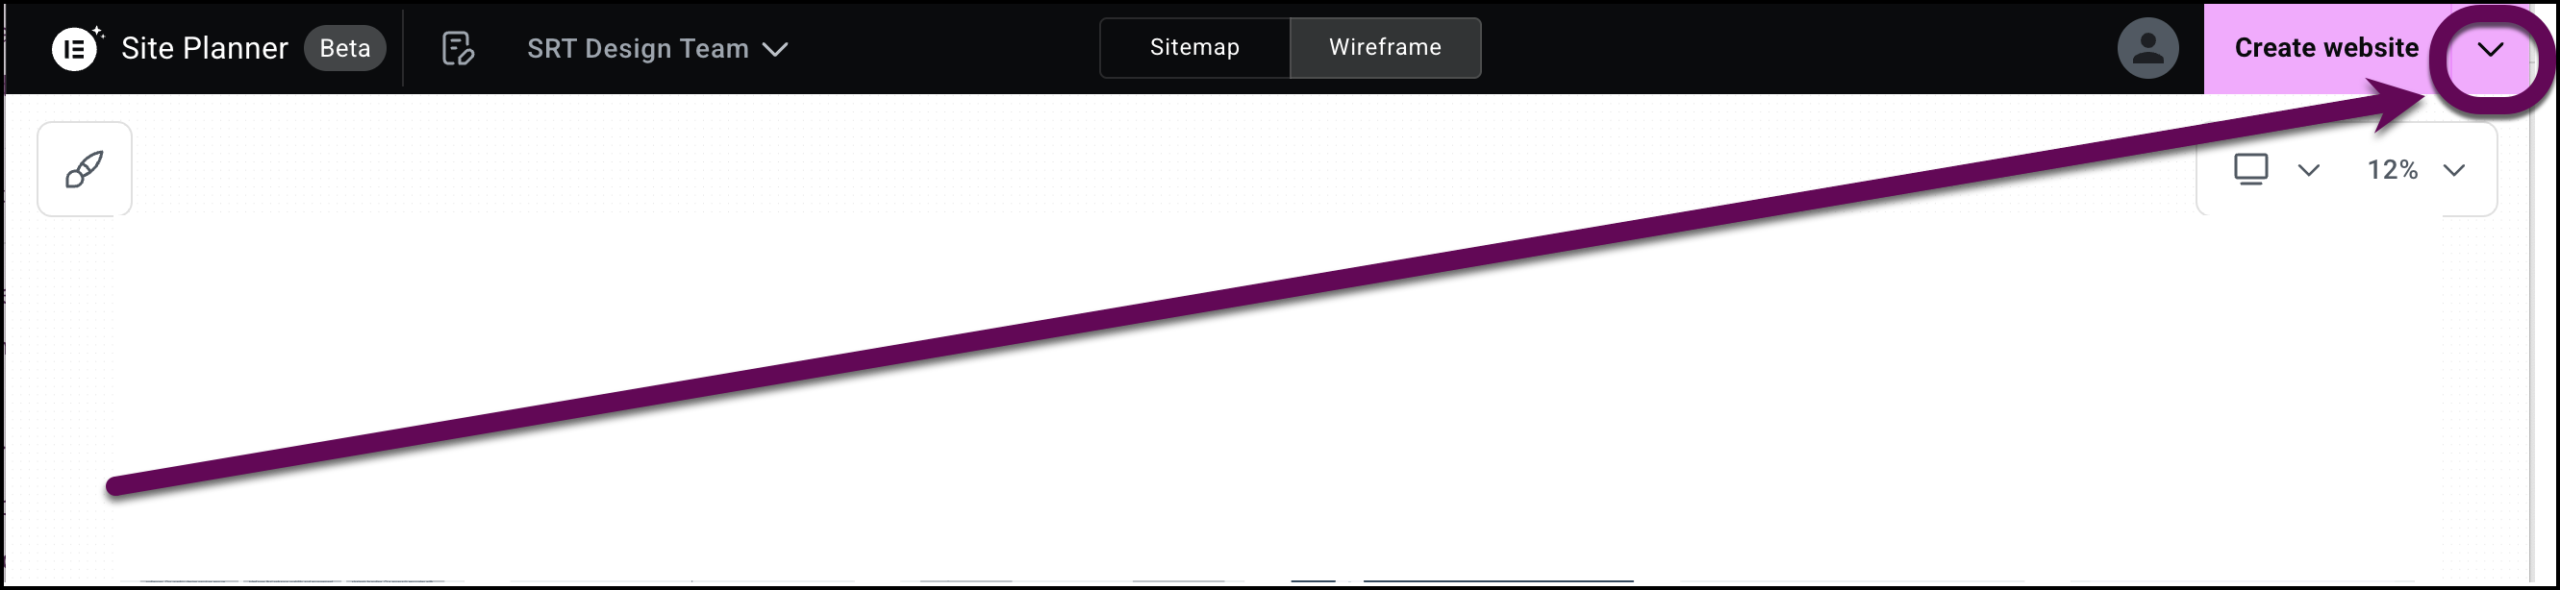
- Select Preview site plan from the dropdown menu.
This opens a copy of the website brief which you can download or copy.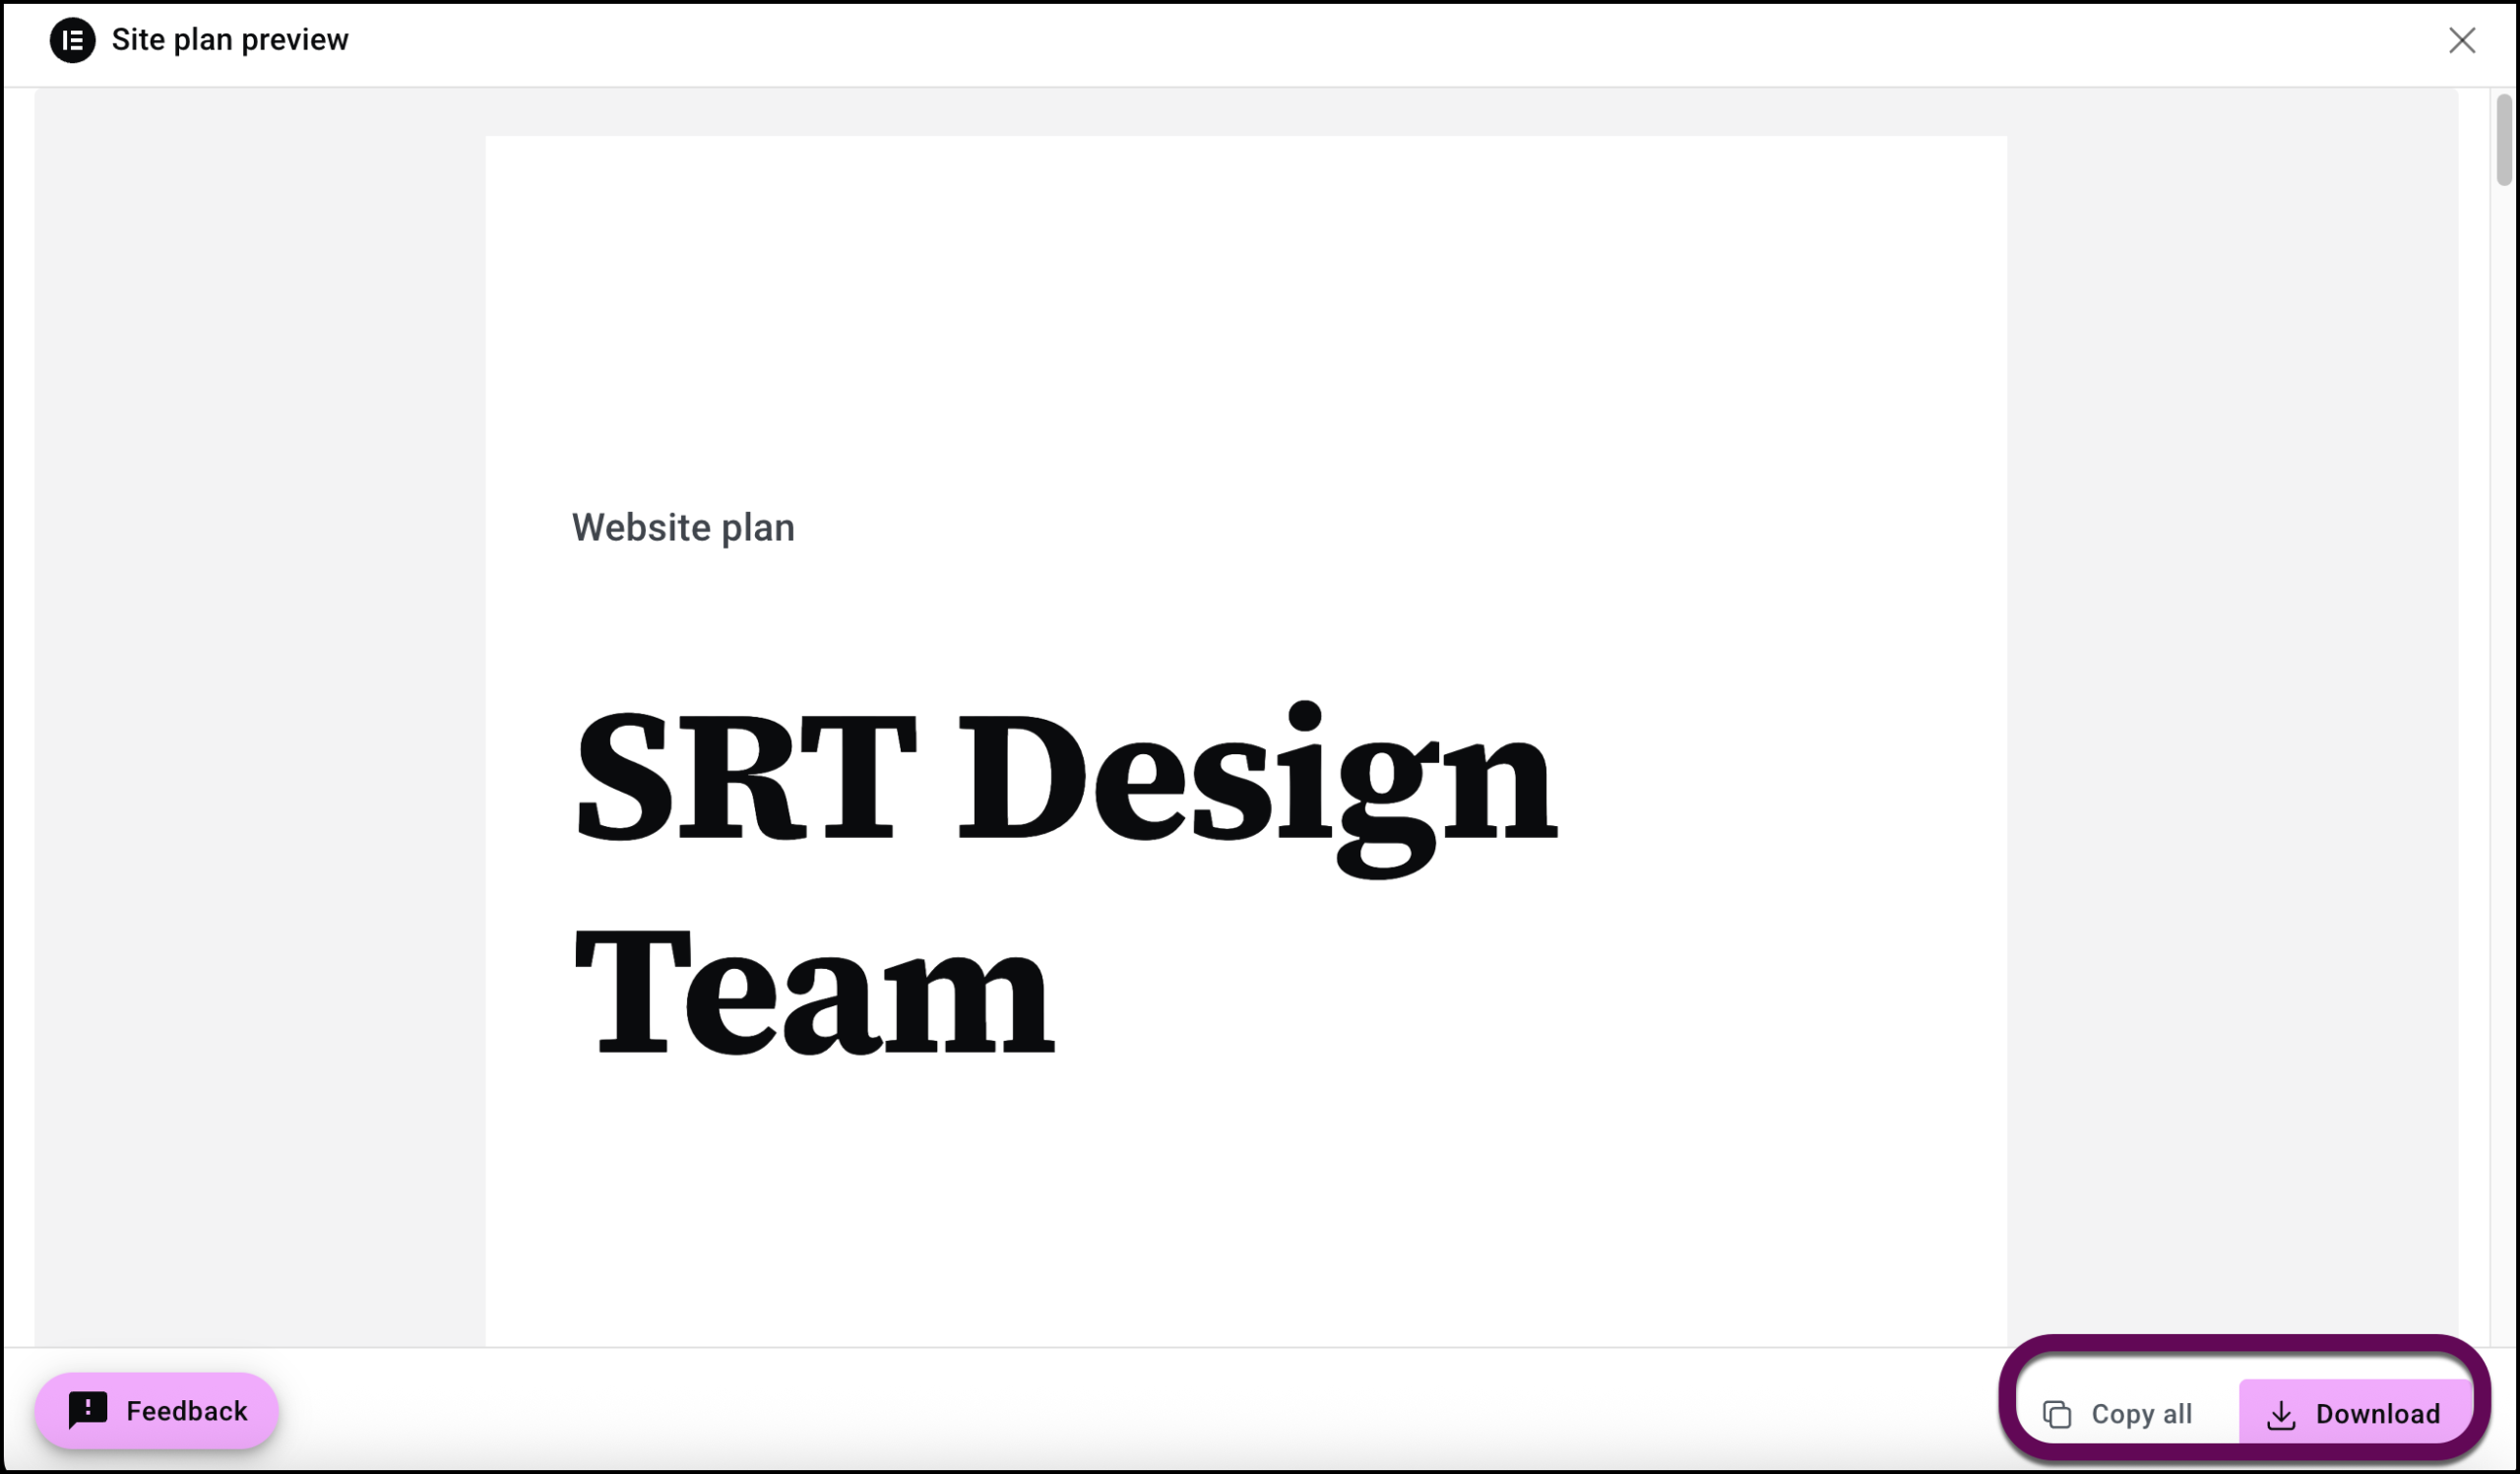
Create your site
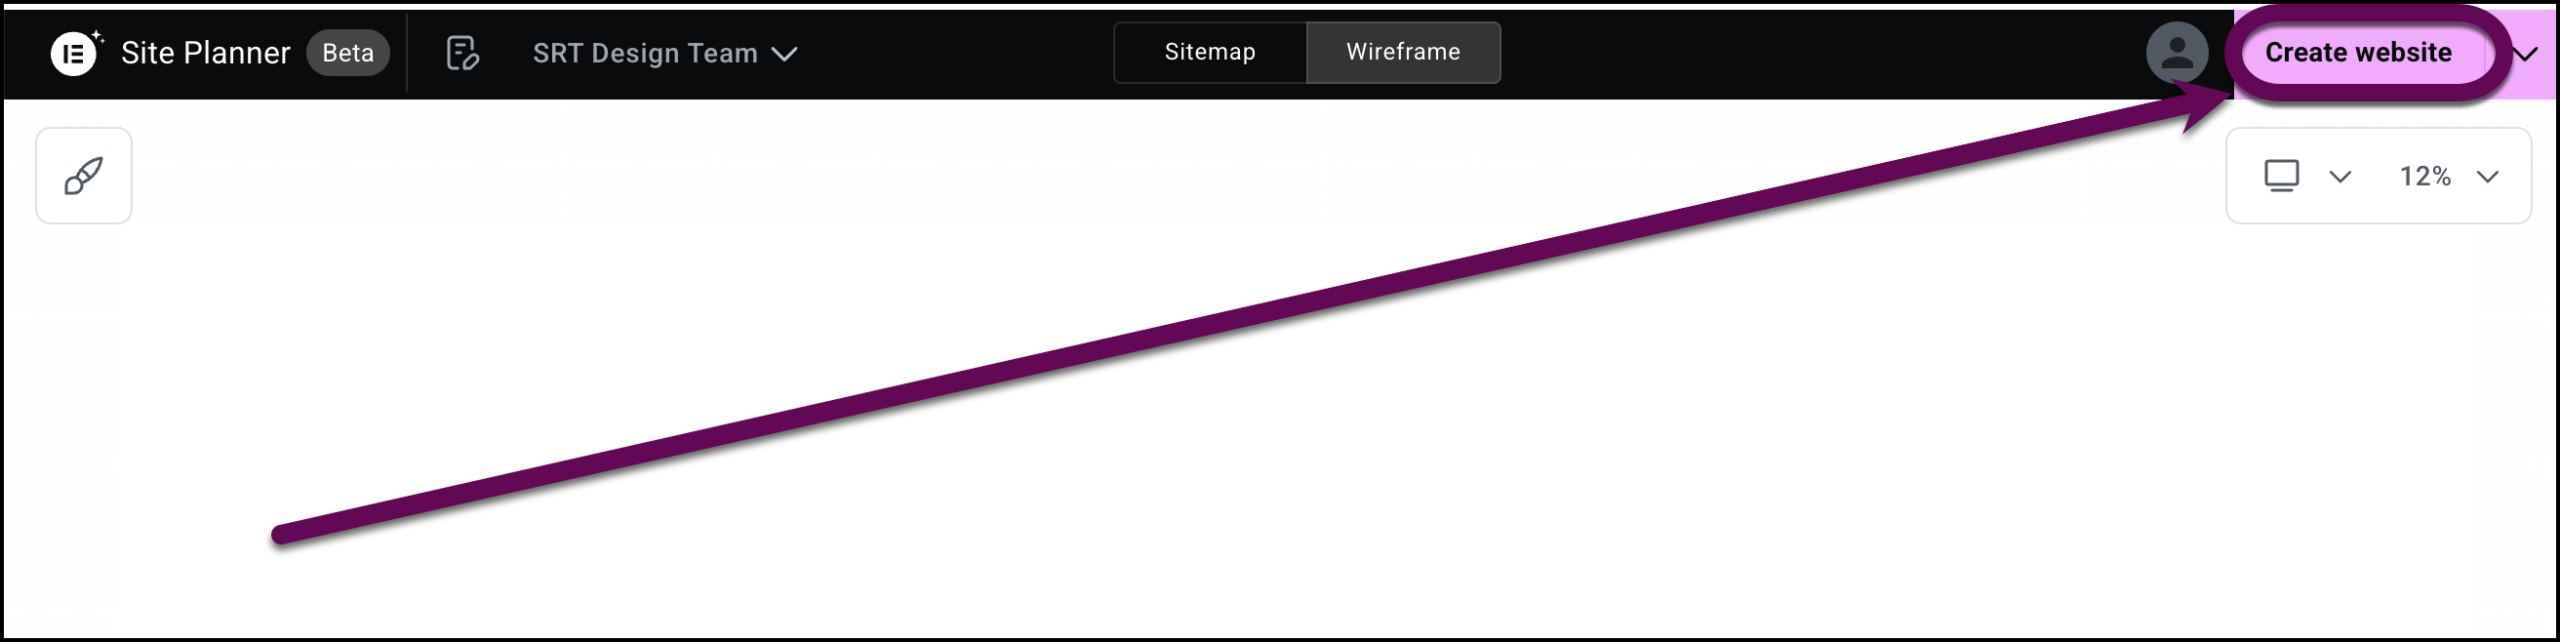
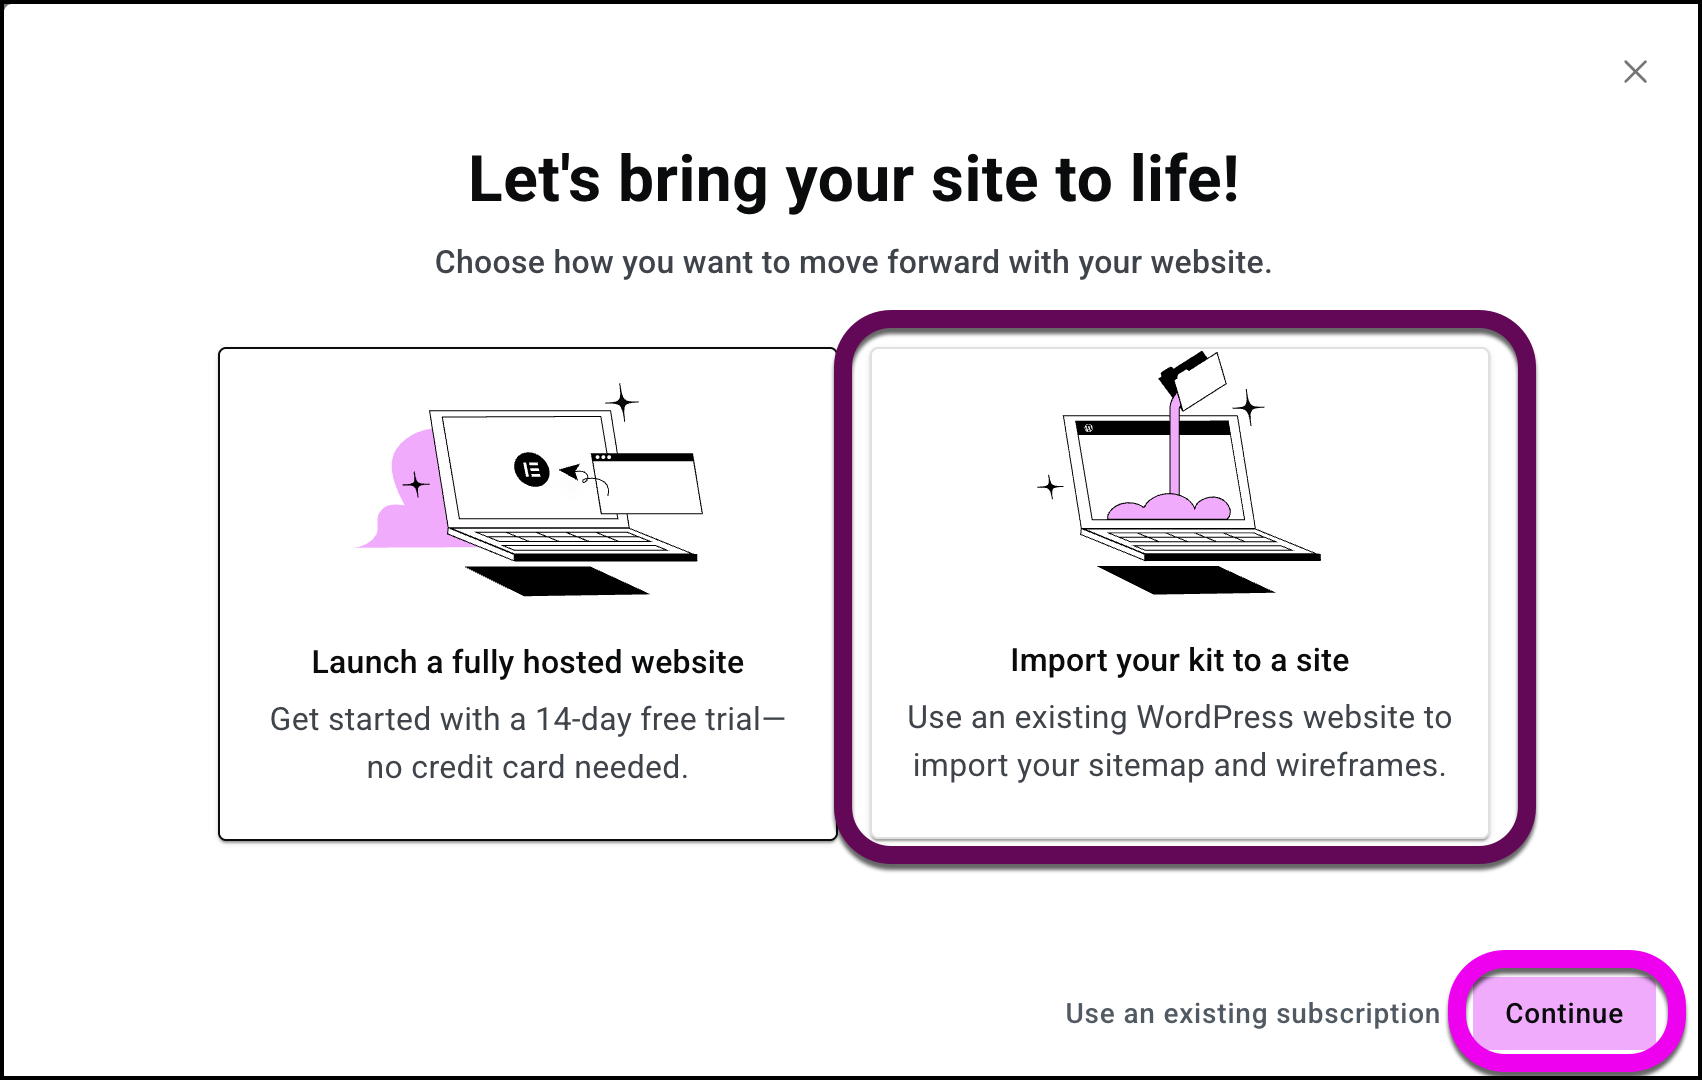
To create your site you need to click Create Website and either launch the site with Elementor Host or create a downloadable website kit.
After reviewing the wireframe, you’re ready to generate your website. To do this you’ll be able to create a temporary Elementor Host site using the design or export the site to another host.
To create a temporary Elementor Host site:
- Click Create Website in the upper right.
- In the popup window, select Launch a fully hosted website and click Continue.NoteIf you already have an Elementor Host subscription, you can use that by clicking Use an existing subscription.
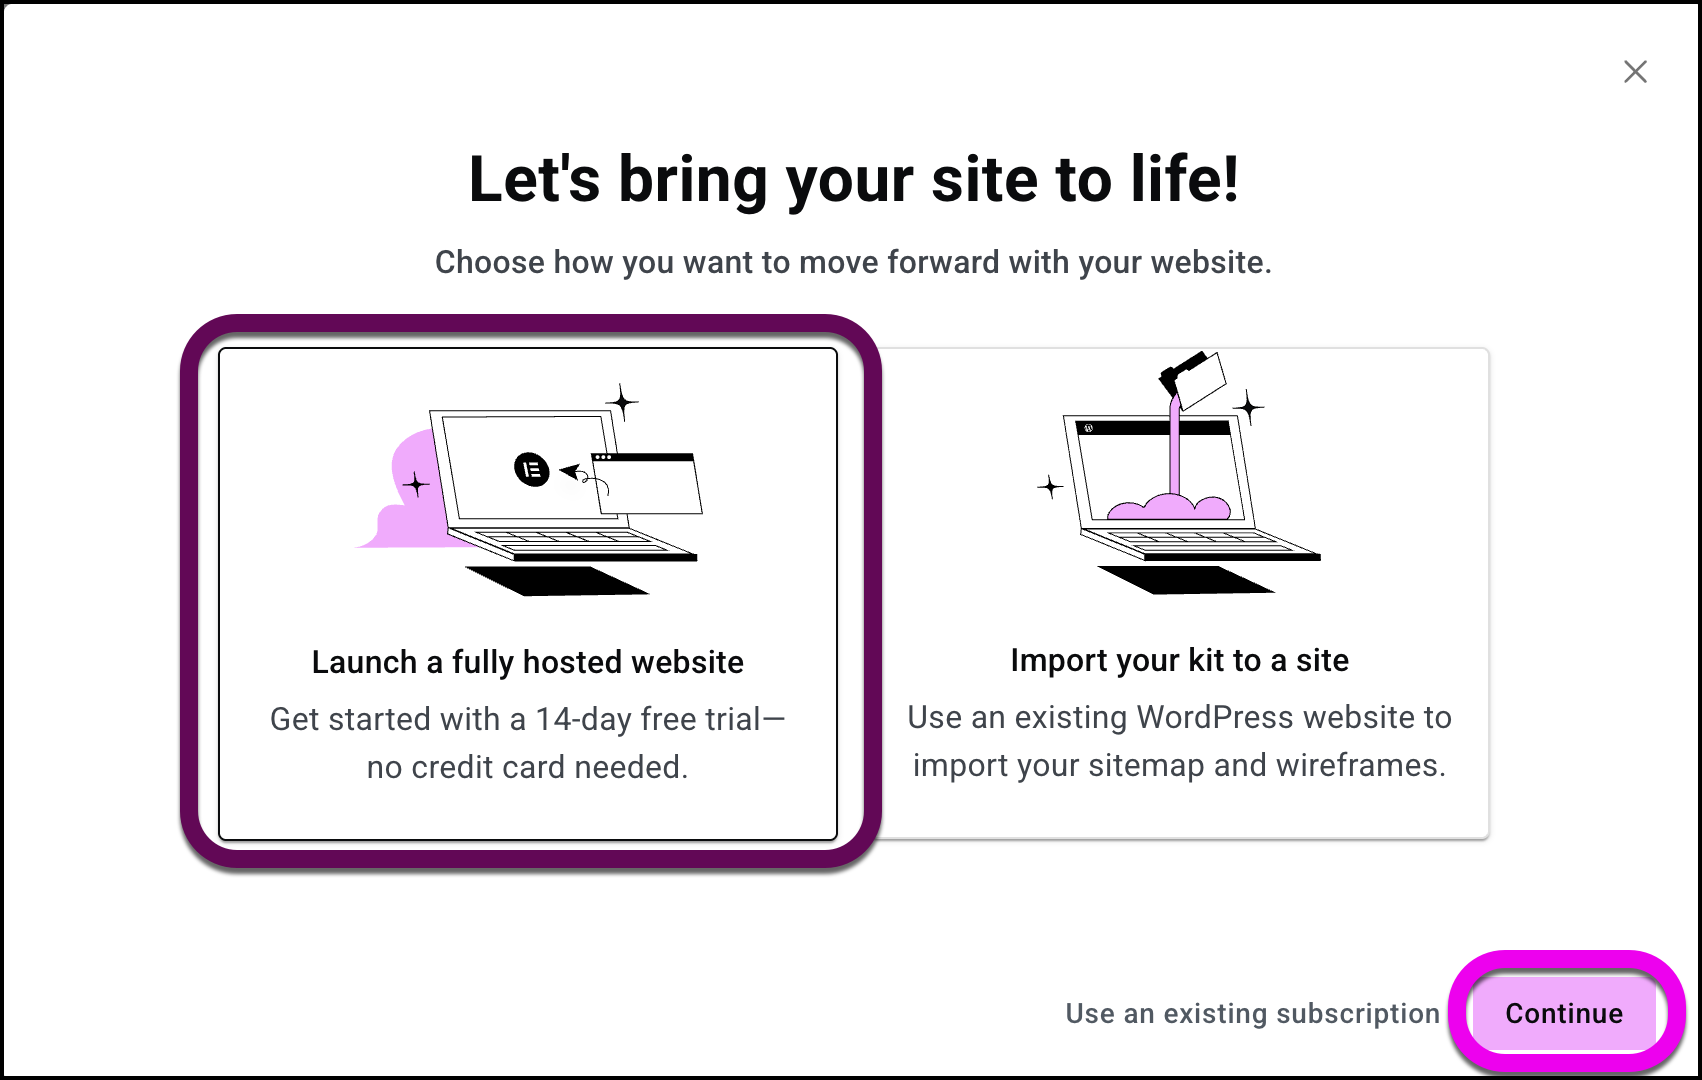
Elementor Host uses your design to create a site. This site will exist for 14 days.
To export your site to a different host:
- Click Create Website in the upper right.
- In the popup window, select Import your kit to a site and click Continue.
- Fill in your domain address and click Continue.
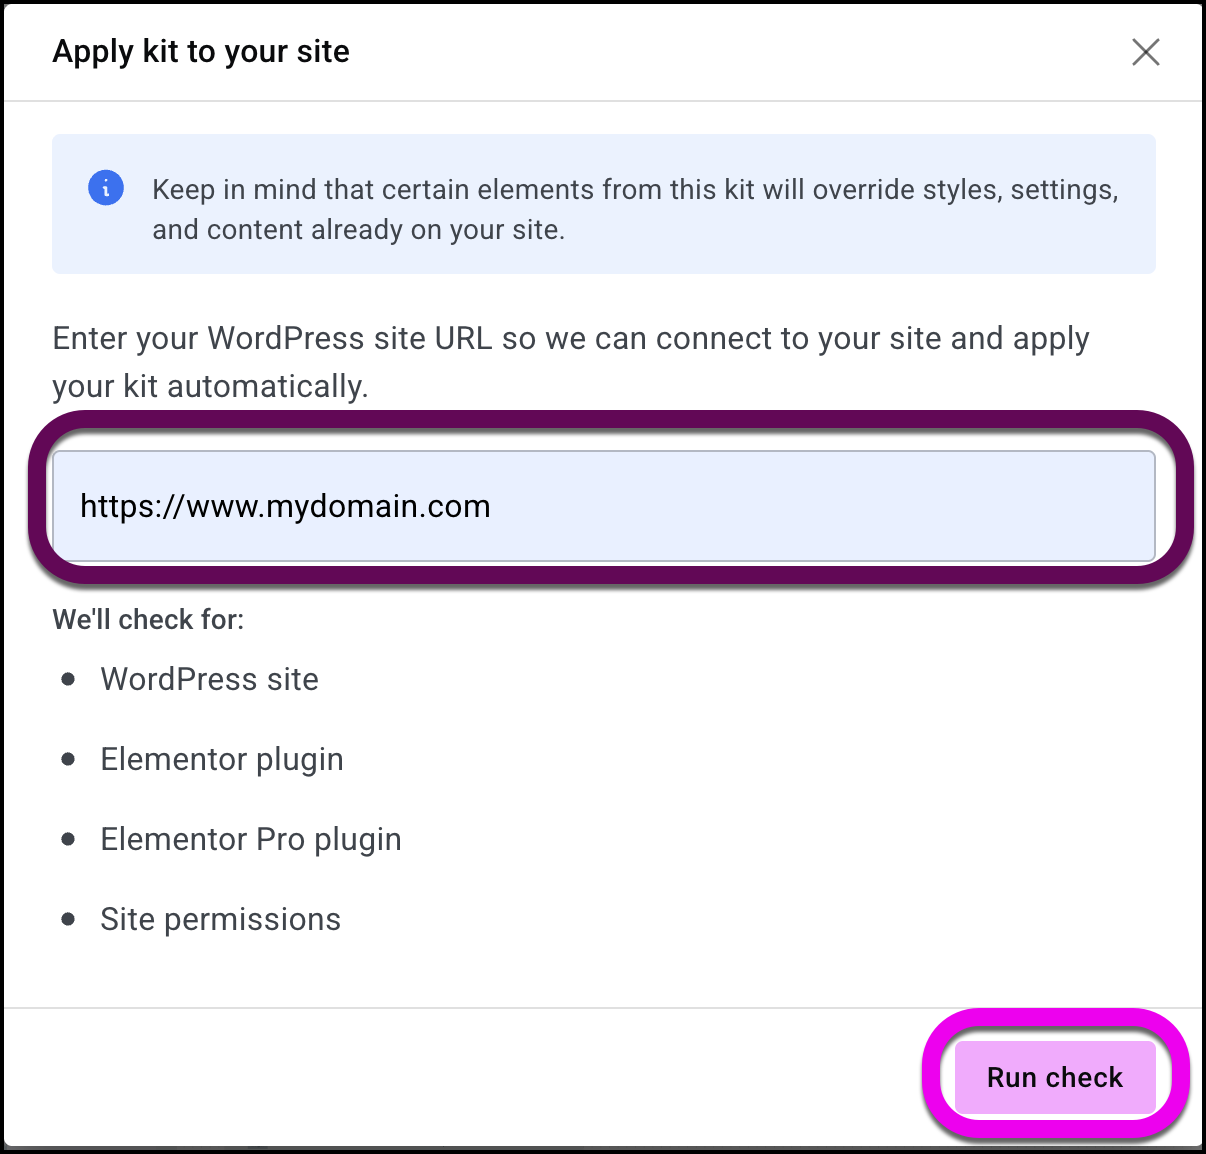
Site planner checks the destination to make sure it has the features needed for the site. If the domain is set up properly, your site is built using your domain.
To create your site, you’ll need some basic infrastructure:
- A website host with a WordPress website. For background information about WordPress, see What is WordPress? For details about website hosting, see What is website hosting?
- The Hello Theme. For details, see What is the Elementor Hello theme?TipIn most cases, you’ll want to choose the disable page titles option in the theme settings. To find out how, see Edit the Hello Theme settings.
- The Elementor plugin. For details, see Install & activate Elementor Core.
- (Optional) Elementor Pro. We recommend Elementor Pro, as it ensures compatibility with Pro elements and simplifies the process of creating your website. Without it, you may need to replace some theme parts and Pro features.
- For details about purchasing Elementor Pro, see Purchase an Elementor Pro plan. For details about installing Elementor Pro, see Install and activate Elementor Pro.TipTo learn more about Elementor Host sites, see Purchase and create an Elementor Host site.
Once your website is set up, you’ll need to import the zip file to create your site. To learn how to import your website, see Export and Import Elementor sites.
After importing your site, you need to edit the site using the Elementor Editor. For information about the Editor see:
- Explore the My Elementor dashboard
- Access WP Admin
- Understanding WP Admin
- Create or open a page
- Explore the Elementor Editor
- Use containers to build your first page
Start with AI Notetaker
- Click Use an AI Notetaker.
This opens the AI Notetaker window. - In the text box, enter the URL of the Google Meeting.NoteEnter the URL 10 minutes or less before the meeting starts.

- Click Invite AI Notetaker.
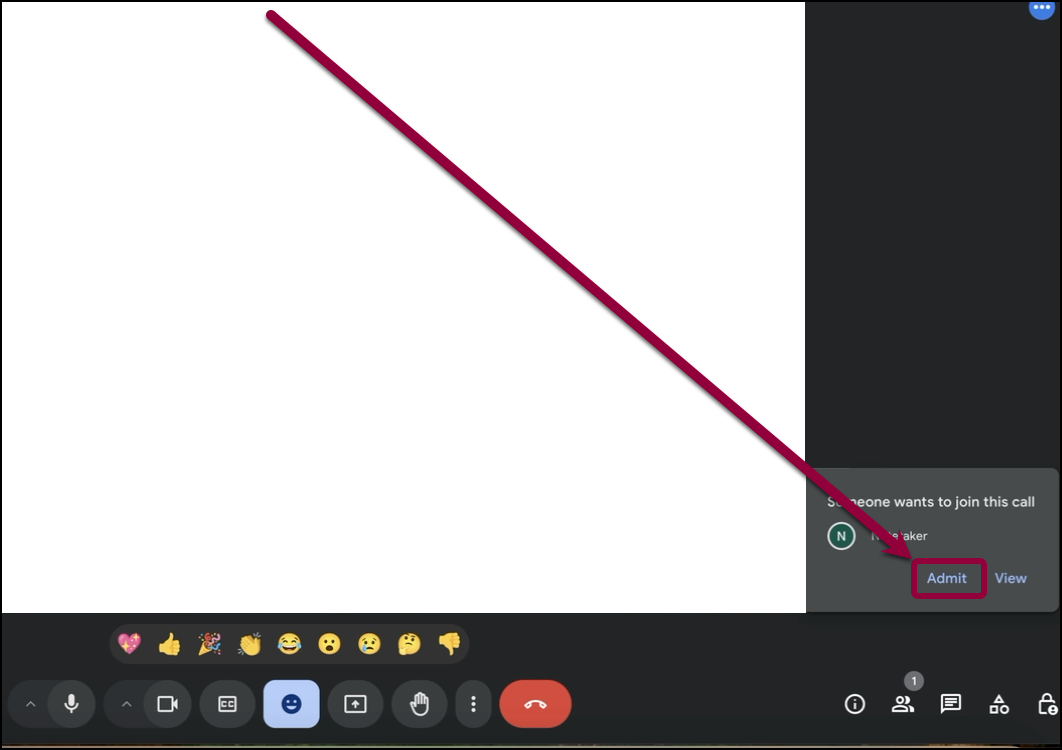
- After your meeting starts, Admit Notetaker to the meeting.
AI Notetaker will record and analyze the meeting. These results are used by AI Site Planner to create a brief for your site. - Go back to the Site Planner window.
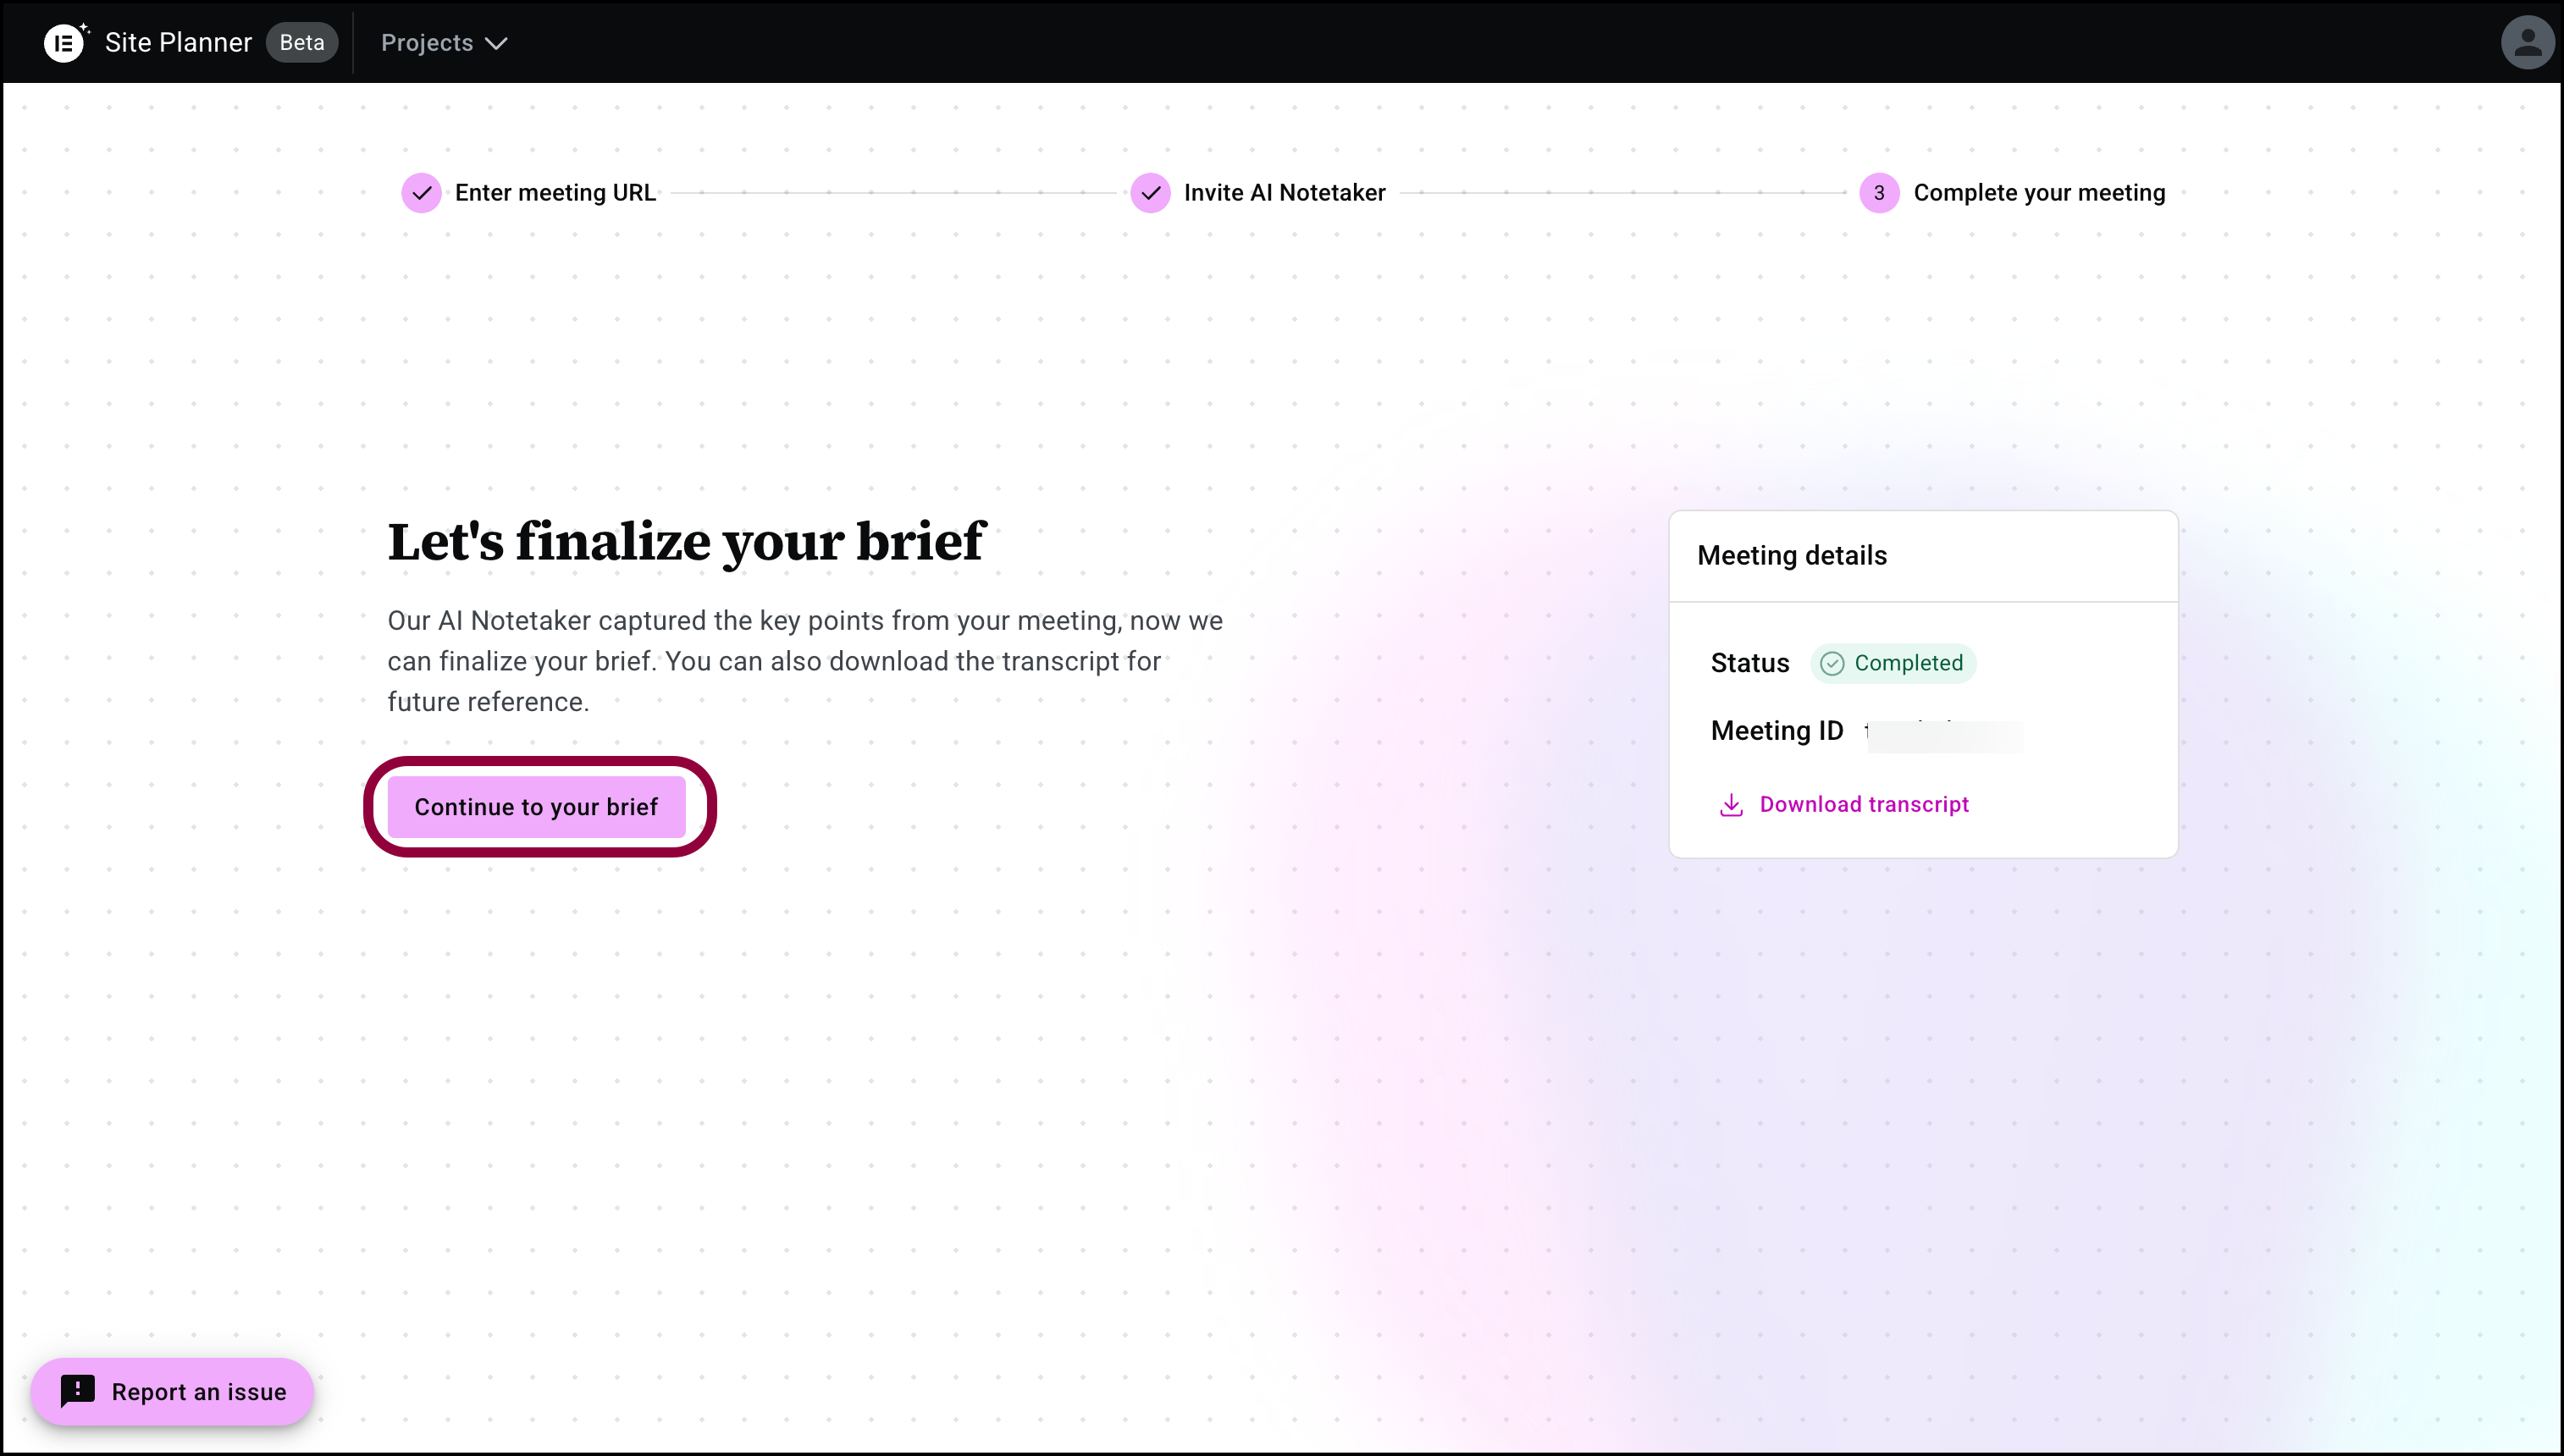
- Click Continue to your brief.
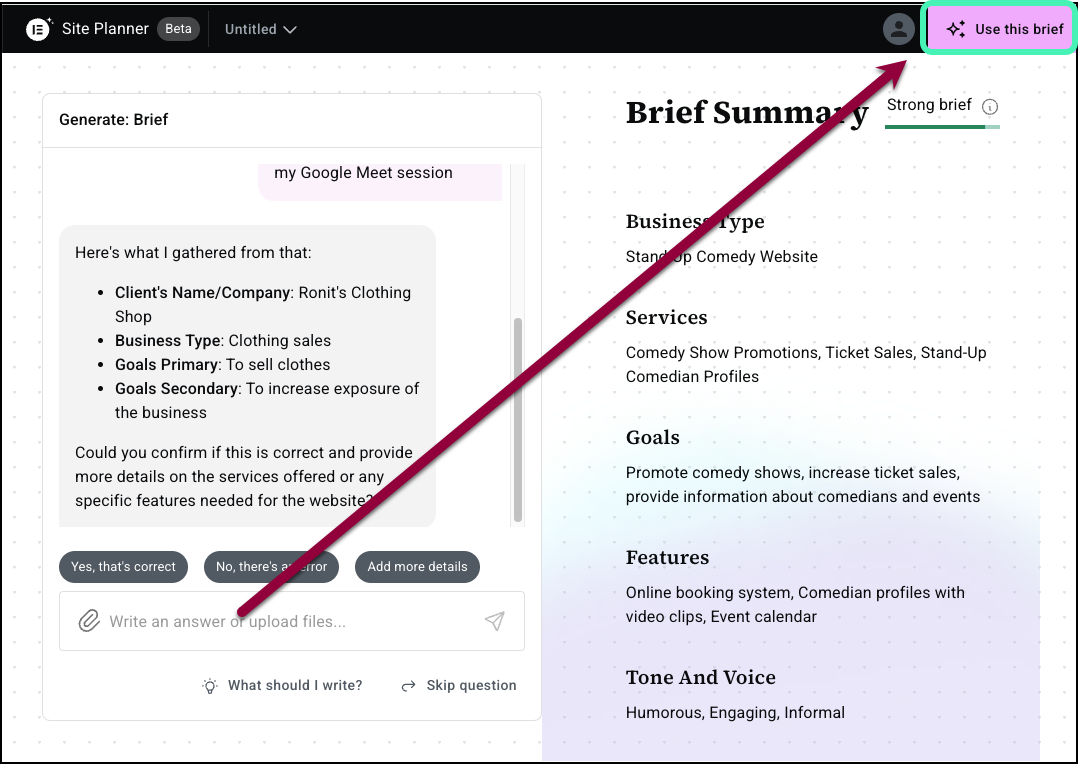
- If the recording contains enough information for a brief, and you’re happy with the brief, click Use this brief in the upper right corner.
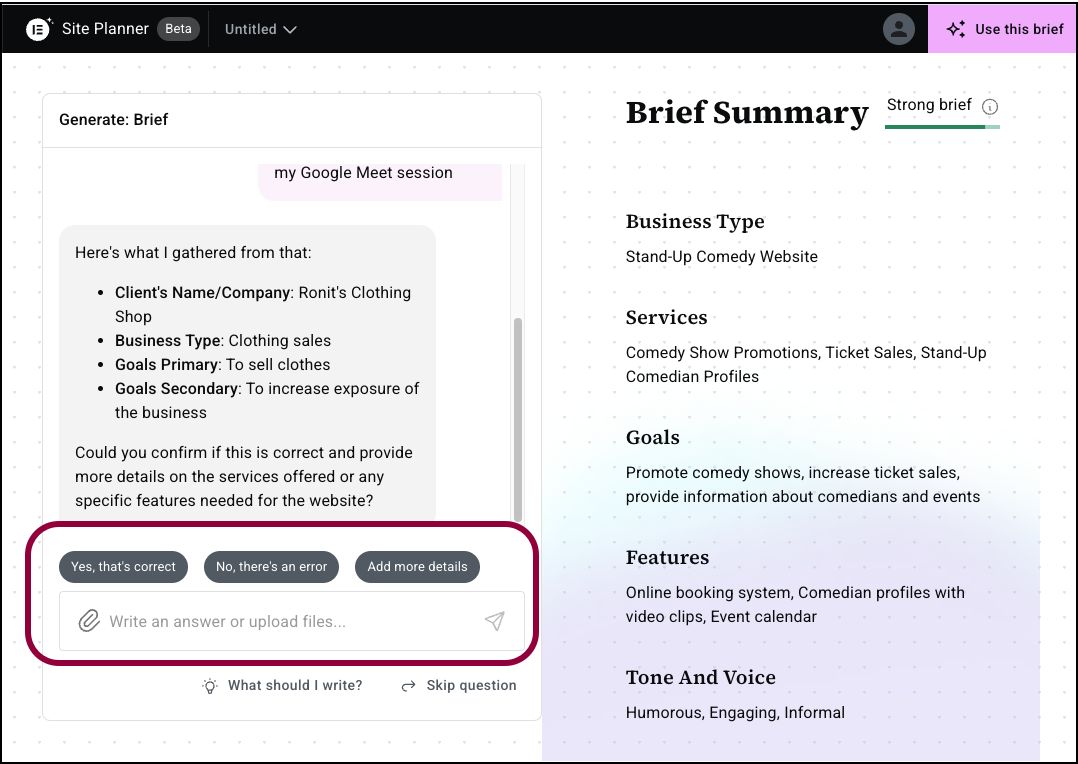
- If information is missing or you want to add something, use the panel to enter more information and then click Use this brief.
From here, create your draft website as detailed above.

