
Table of Contents
Your website’s homepage is the first experience many of your customers will have with your business, so you want it to be awesome.
In this tutorial, we’re going to show you how to build a great homepage for your business with Elementor. Beyond a stylish design, your homepage will have lots of unique and helpful features like:
- Custom positioning
- Motion and scrolling effects
- Flip boxes
- Forms
To see how to configure every little setting and style option in Elementor, you can check out our full tutorial video below. Otherwise, keep reading for the text version as I follow along with the video and take you through the high-level steps.
How to Create a Homepage for Your Business With Elementor
To get started, create a new page in your WordPress dashboard and click the button to Edit with Elementor. Then, change the page layout to Elementor Canvas to create a blank slate for your homepage without any of your theme’s elements.
Then, you’re ready to start creating your business website.
Create Your First Section: Hero
To get started, create a new section and choose a one-column layout. Then:
- Set the Content Width to full-width
- Set the Columns Gap to no gap
- Choose Min Height for the Height and then set it equal to 140 VH
Go to the Style tab and choose the image for the background of your section. Then, you can use the options below to change its position.
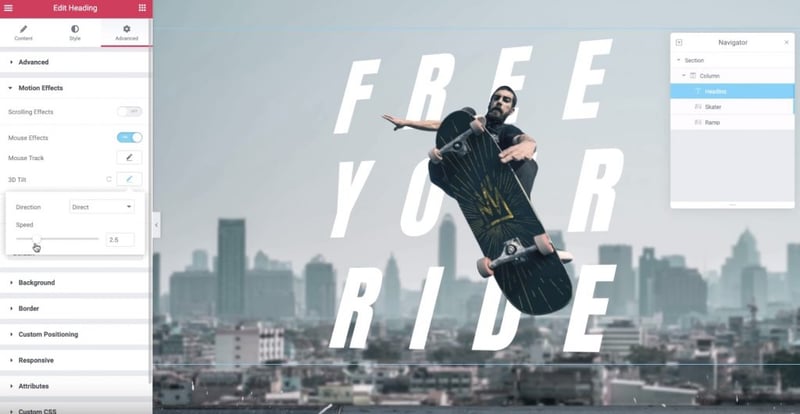
Add a Heading widget and click to edit your text. Then, you can use the Style options to change how your Heading looks.
Then, you can add an Image widget below your Heading and set a negative top margin to move it up the page. For our example, that’s the flying skater. You can then add another image for the ramp.
Now, to add motion effects as a visitor scrolls down the page, go to the Motion Effects settings in the Advanced tab and turn on Scrolling Effects. You can then tweak the settings to achieve your desired effect.
Then, you can edit your Heading text and add Mouse Effects in the Motion Effects section. Then, turn on 3D Tilt so that the heading will “tilt” when a user hovers over it.
Side note – to keep track of all your page’s elements, you can use Elementor’s Navigator feature. It’s really helpful for staying organized and finding different sections and widgets.
Create Your Second Section: Build Your Board
Next, add another section with a one-column layout and make it full-width.
Then, use the Style tab to add a solid background color and add a Heading widget. Then, you can align your widget in the center and configure its colors and typography.
Next, add a Text Editor widget underneath the header and configure its typography and colors.
To create your CTA, add a Button widget below your text widget and configure its style. You can make the button more interesting by adding a Float Hover Animation.
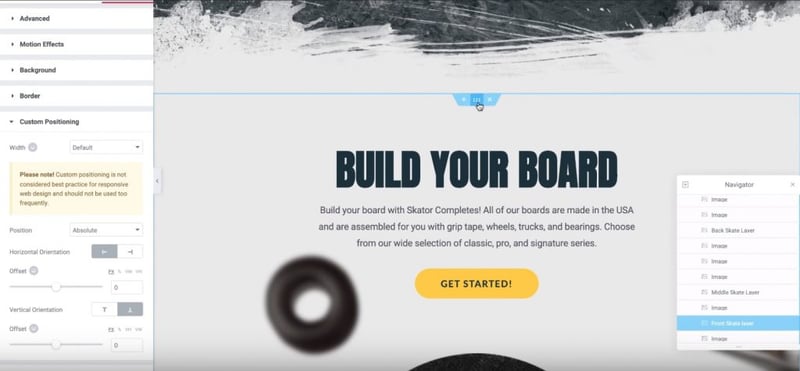
Below that, add three skateboard images and use the Navigator to name them “Front,” “Middle,” and “Back.”
Then, use the Custom Positioning section in the Advanced tab and set all three images to Absolute positioning with a vertical orientation at the bottom. This creates a neat “stacked” effect.
Finally, add images for the wheels and other accessories and use Custom Positioning to position each image. Then, you can use Scrolling Effects in the Motion Effects settings to make the wheels, and other images “move” as users scroll down the page.
Create Your Third Section: Products
For your third section, create a new section with a one-column layout and set the content width to 1600 and minimum height to 100 VH. Then, add a background image and configure its positioning.
Next, add a Heading widget and configure its typography and colors. Below that, add a Text Editor widget, insert your text, and align it in the center.
Below the Text Editor widget, add an Inner Section widget and set its width to 1600.
Then, add a Call to Action widget to highlight your products. Make sure to edit the text and image as needed. Then, set the minimum height to 500 px and the vertical position to bottom. You can also play around with the other style options, like changing how the animation works.
Once you’ve finished configuring the widget, duplicate the column twice and delete the empty column on the right so that you have three columns, each with a Call to Action widget.
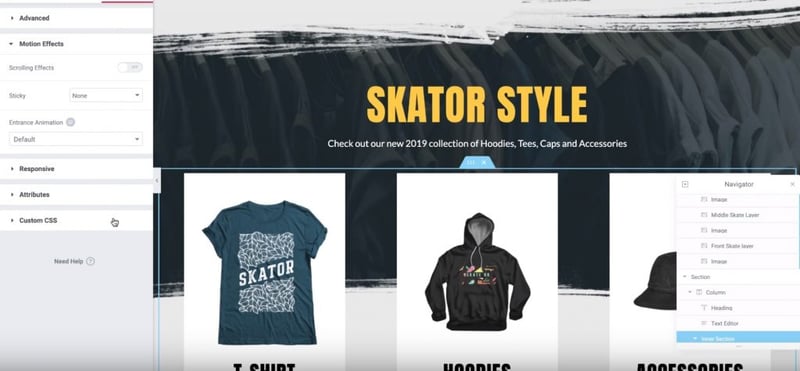
To add some interest, you can add an Entrance Animation to the Inner Section widget in the Motion Effects settings. Fade in Up is a good option.
Create Your Fourth Section: Meet Our Team

To create your fourth section, once again, create a new section with a one-column layout and make it full-width, with a minimum height of 100 VH. Then, add a solid background color.
Next, add a Heading widget and configure its typography.
Below that, add an Inner Section widget and make it full-width. Then, duplicate the column in the Inner Section widget so you end up with four evenly-spaced columns.
Inside the first column, add a Flipbox widget and edit the text and images to add your first team member. For more interest, you can add the 3D Depth effect. You should also adjust the spacing and alignment as needed.
Once you’ve finished, right-click the column and copy it. You can then right-click and paste the already-configured widget into the other three columns. Then, all you need to do is edit the text and images for each column, which saves you a ton of time.
Create Your Final Column: Email Opt-in and Social Follow
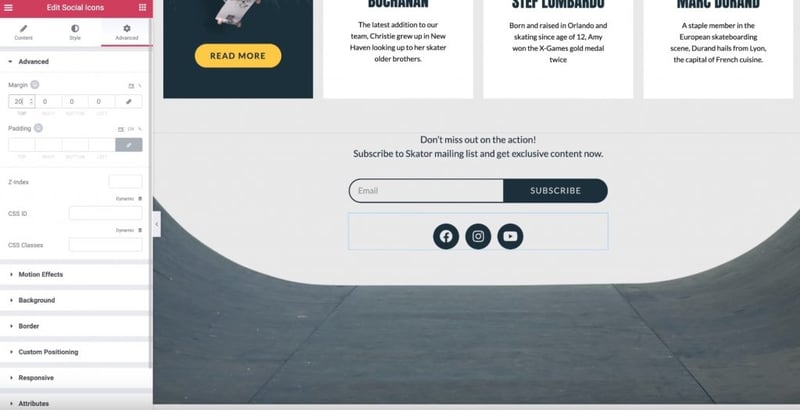
To create the fifth and final section, add a new section and use a one-column layout. Then, set the width to 500 px and the minimum height to 60 VH. Then, add a background image and configure the image.
Then, drag in a Text Editor widget, add your text and configure the typography and alignment.
To create an email opt-in form, add the Form widget underneath the Text Editor widget. Then, edit the form fields and delete unnecessary fields. You can also configure the form’s styling to match the rest of your design and connect it with your preferred email marketing service.
Finally, to add your social follow buttons, add a Social Icons widget underneath your opt-in form. Choose which social networks you’d like to use and edit the icons if desired.
And that’s it!
Congratulations, you just created an awesome homepage for your business with Elementor. Remember, if you want a more detailed look at all these settings, check out the full video tutorial at the Elementor YouTube channel.
Ready to get started? Install the free core Elementor plugin and grab your copy of Elementor Pro to start building today.
Looking for fresh content?
By entering your email, you agree to receive Elementor emails, including marketing emails,
and agree to our Terms & Conditions and Privacy Policy.


