A blog is a regularly updated website or online platform where individuals, groups, or organizations share their thoughts, ideas, experiences, or expertise on various topics. Typically, a blog consists of written entries called posts, which are often accompanied by images, videos, or other multimedia content. Blogs can cover a wide range of subjects, including personal interests, hobbies, professional insights, news, reviews, tutorials, and much more. They often encourage interaction through comments, allowing readers to engage with the content creator and each other.
WordPress, was originally created as a blogging platform and by default, allows you to begin writing and publishing content right away.
When you install a Word\Press website, a default post titled Hello World is automatically created. This post serves as the initial content displayed on your website’s front page, functioning as an archive entry. You can click the title to read the full post.
While you can create a blog site just using WordPress, in this example we’ll create the site using Elementor and Elementor Pro.
Before proceeding, you should:
- Install and activate the Hello Elementor theme
- Install and activate Elementor
- Install and activate Elementor Pro
WordPress blogging terms
Following are the definitions for some of the terms used in WordPress blogging:
Post
Posts are like articles on your website, similar to what you might see in a newspaper or magazine. They play a crucial role in attracting visitors and keeping them coming back for more
Following are the key benefits of posts:
- Fresh Content: Posts provide regular updates for your visitors, encouraging them to return for new information.
- Increased Traffic: Well-written posts can attract organic traffic through search engines. Visitors often discover and enter your website by clicking post links shared on search engine results pages or social media.
- Enhanced User Engagement: Engaging posts keep visitors interested and coming back for more.
By consistently creating high-quality posts, you can attract more visitors to your website thus improving the SEO rating.
Archive
WordPress uses Archives to automatically display lists of posts created on your website. You can filter these lists by various options like categories, tags, authors, or even dates.
Archives provide a convenient way to organize your website’s content and present it to visitors in a structured and searchable manner.
Key features of archives:
- Dynamic Content: Unlike Pages or Posts, which are single pieces of content, Archives pull information directly from your website’s database to create a dynamic list. This means you don’t need to manually edit the Archive page itself.
- Customization: Your website theme can control the layout of the Archive page. This allows for displaying posts in grids, lists, or other formats that best suits your website design.
Category
Categories are used to query posts of similar content in the archive template. You can name them and add them to your menu for easy navigation by your visitors. (Example: News, Sports, Lifestyle, Events, Weather)
Permalink
Permalinks, also known as slugs, are the permanent web addresses for your WordPress posts. They provide a clear and consistent way for users and search engines to locate your content.
In general, the default permalinks should be fine. For more information about permalinks, including how and why you may want to customize them, see Customize Permalinks.
Create your site
Create categories and tags
For this example, we’ll be setting up a travel blog. To make things easier for visitors to find relevant posts, we’ll categorize and tag posts.
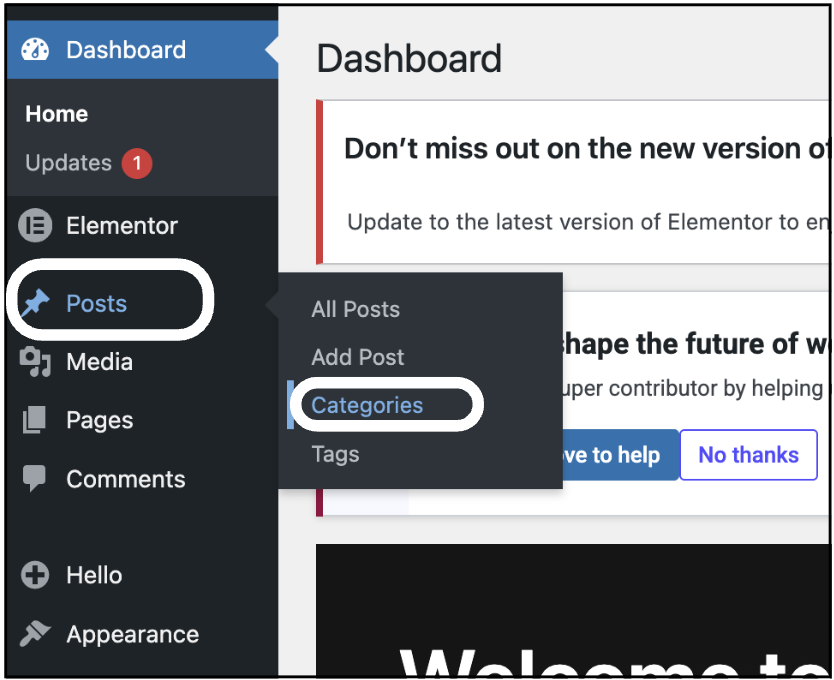
To create the categories:
- From WP Admin, navigate to Posts>Categories.
- In the Name text box, enter Europe.
- Click Add Category.
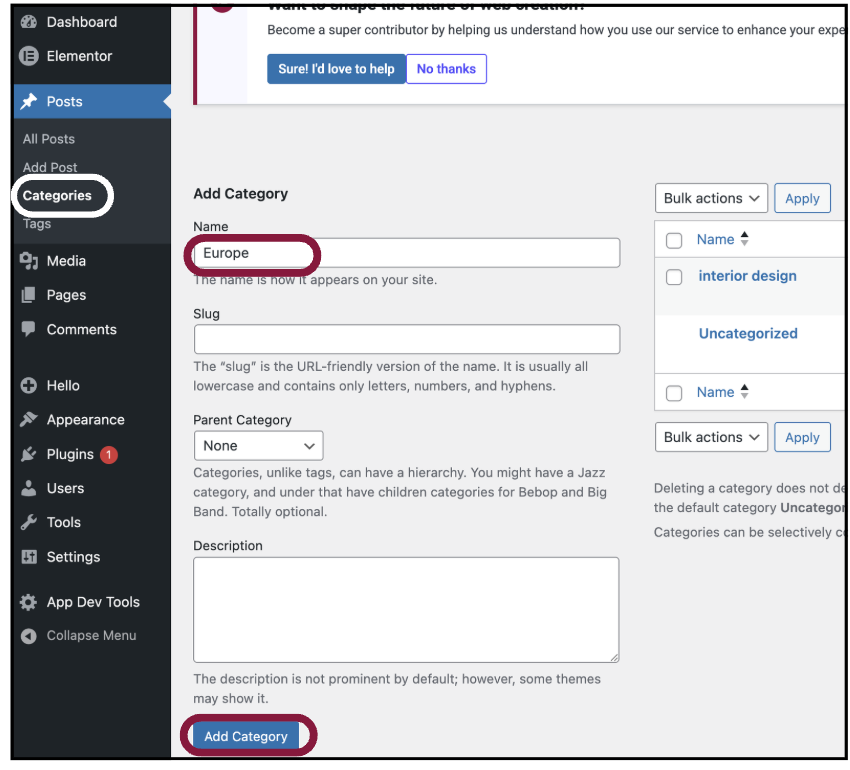
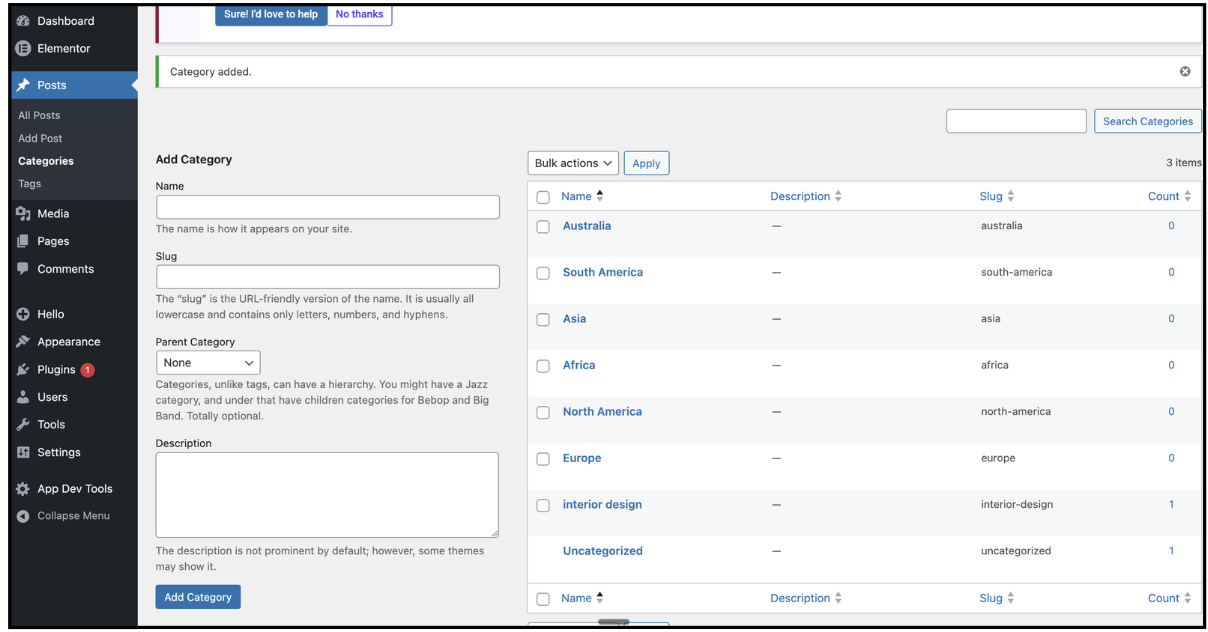
- Repeat this process to create the following categories:
- North America
- Africa
- Asia
- South America
- Australia
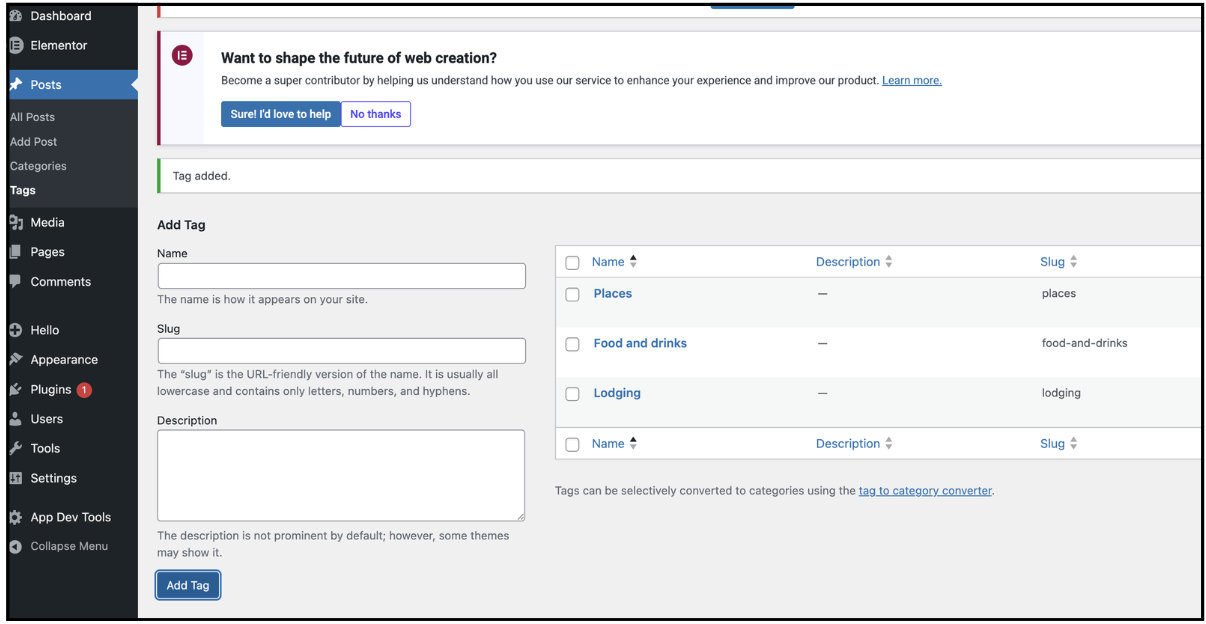
- Now got to Posts>Tags.
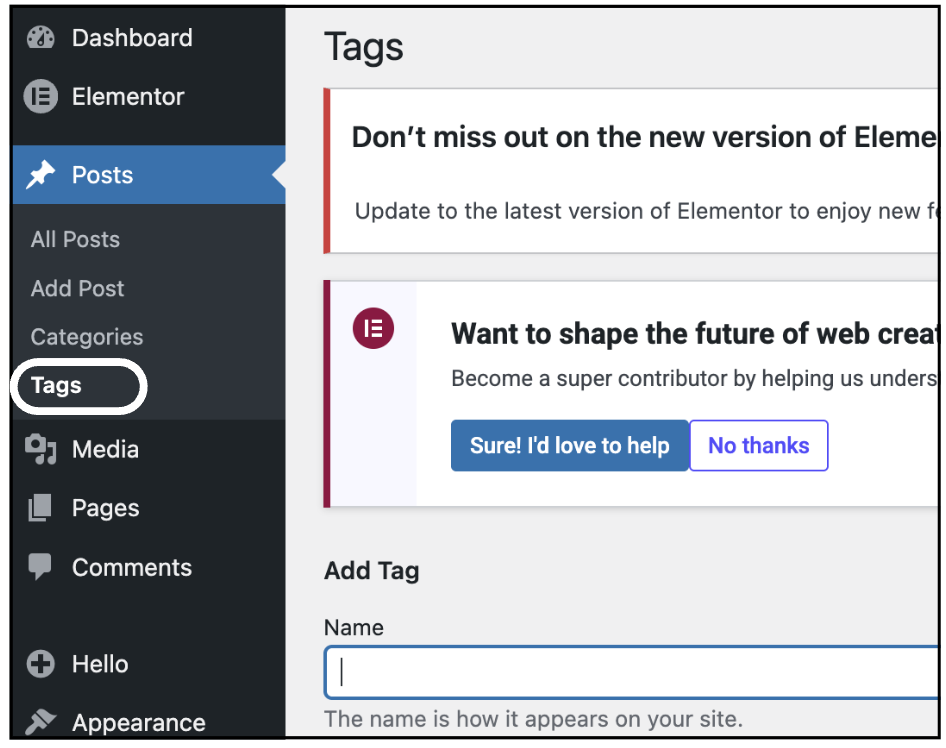
Tags further help visitors find relevant posts. - In the Name text box, enter Transportation.
- Click Add Tag.
- Repeat these steps to add the following tags:
- Lodging
- Food and drinks
- Places
Create a Single Post template
Templates are used to create a consistent way of preventing your posts. Any posts you create using this layout will look the same.
To create a single post template:
- From WP Admin, navigate to Elementor >Theme Builder.
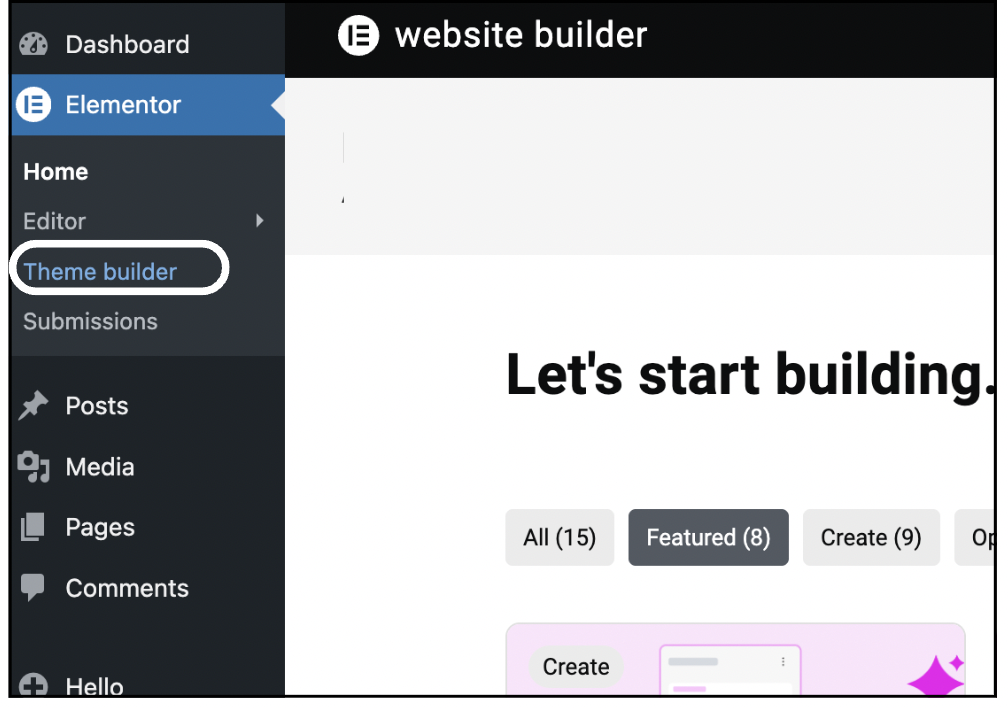
- In the panel, hover over Single Post and click the plus sign.
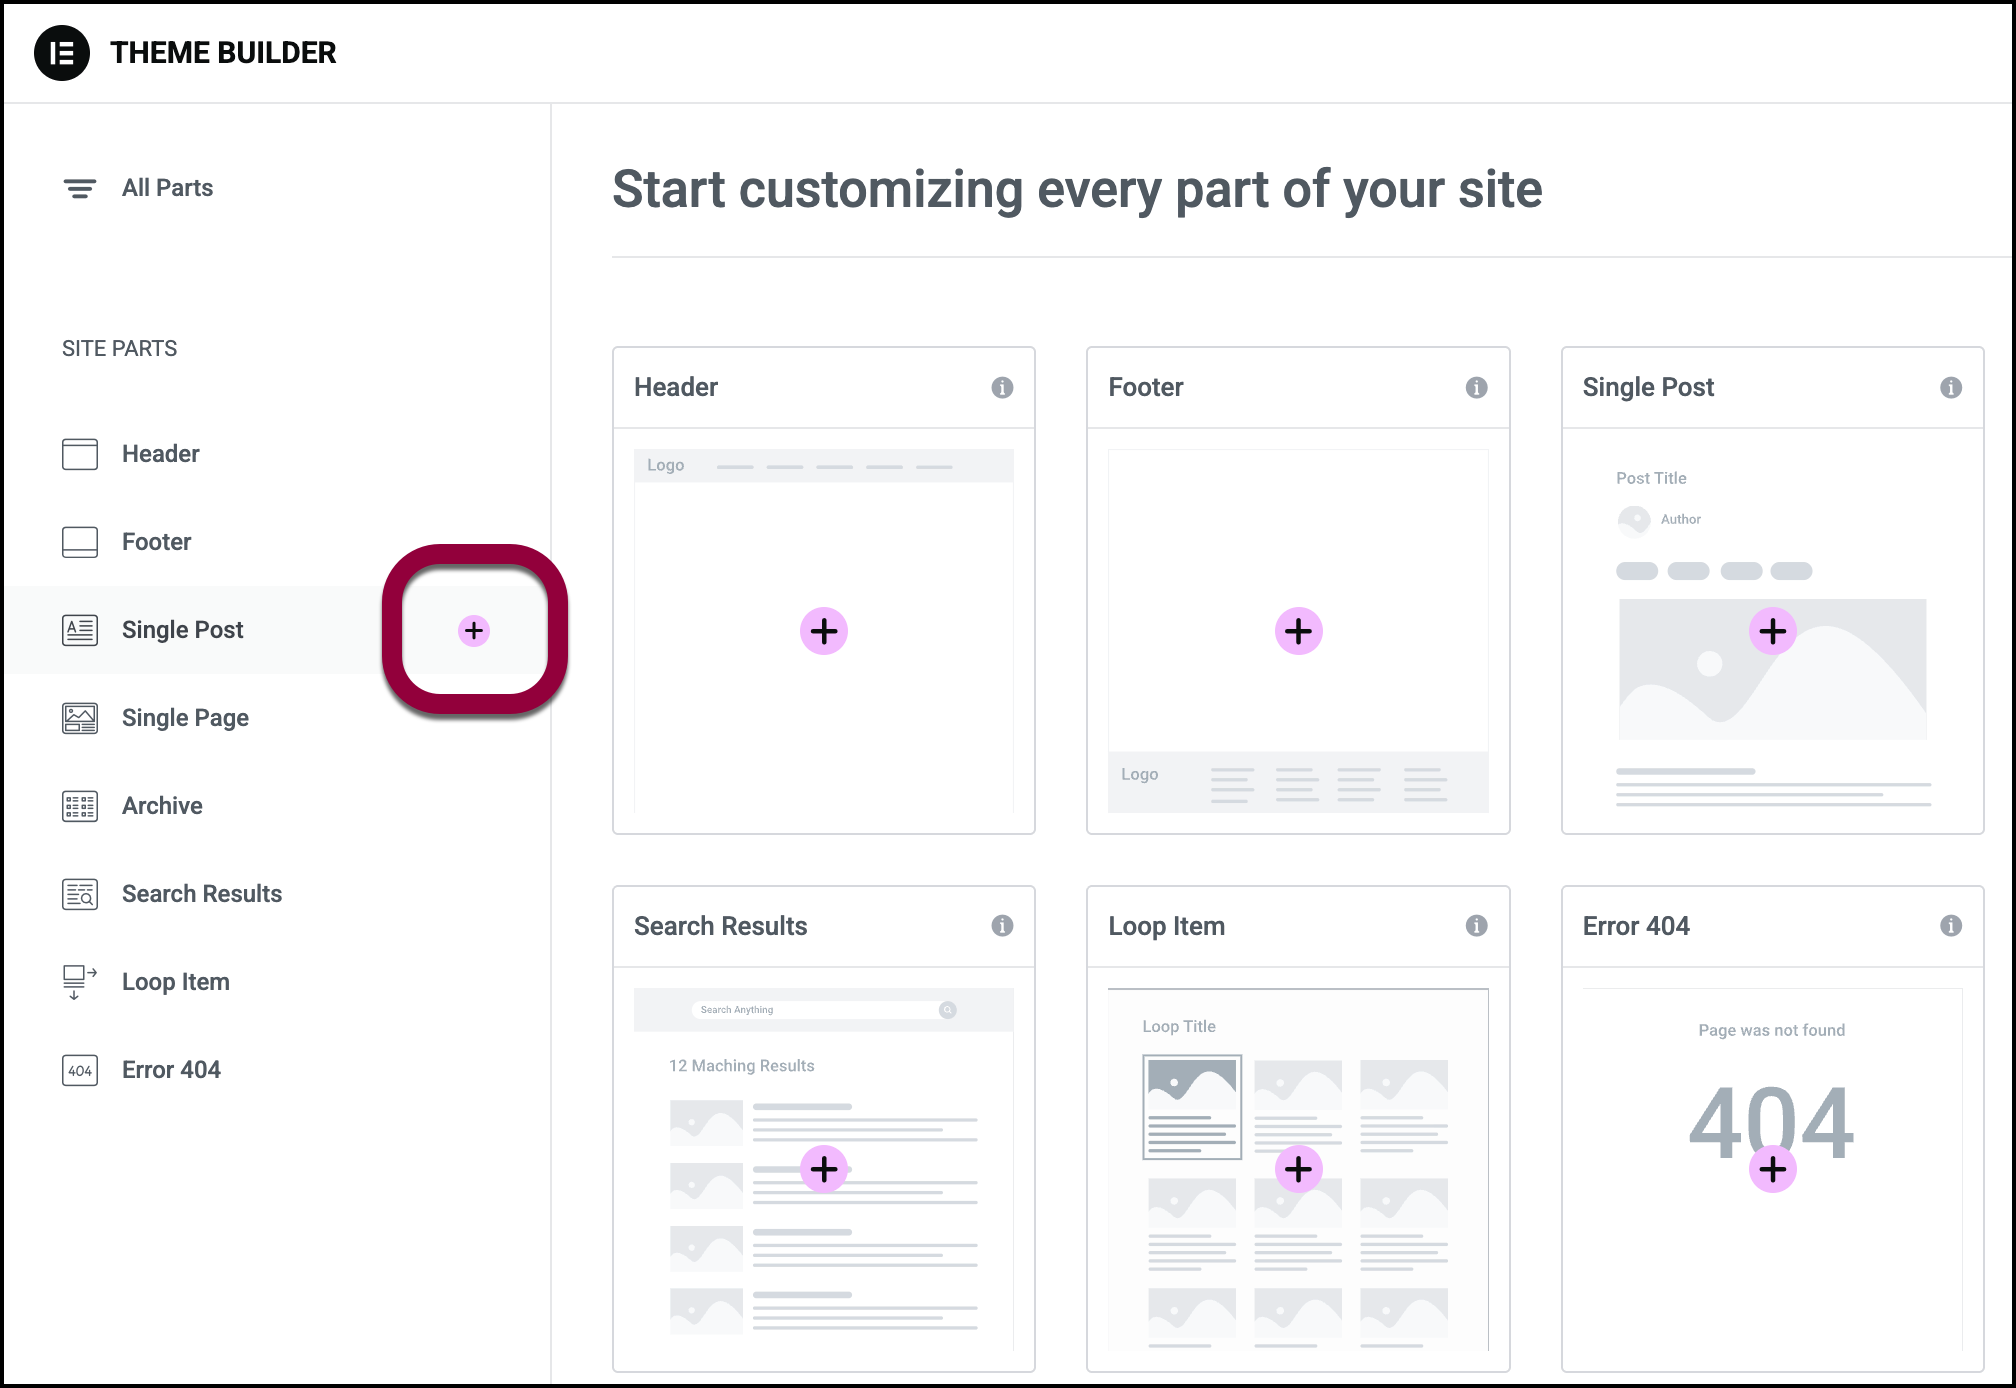
- This opens up the template library.
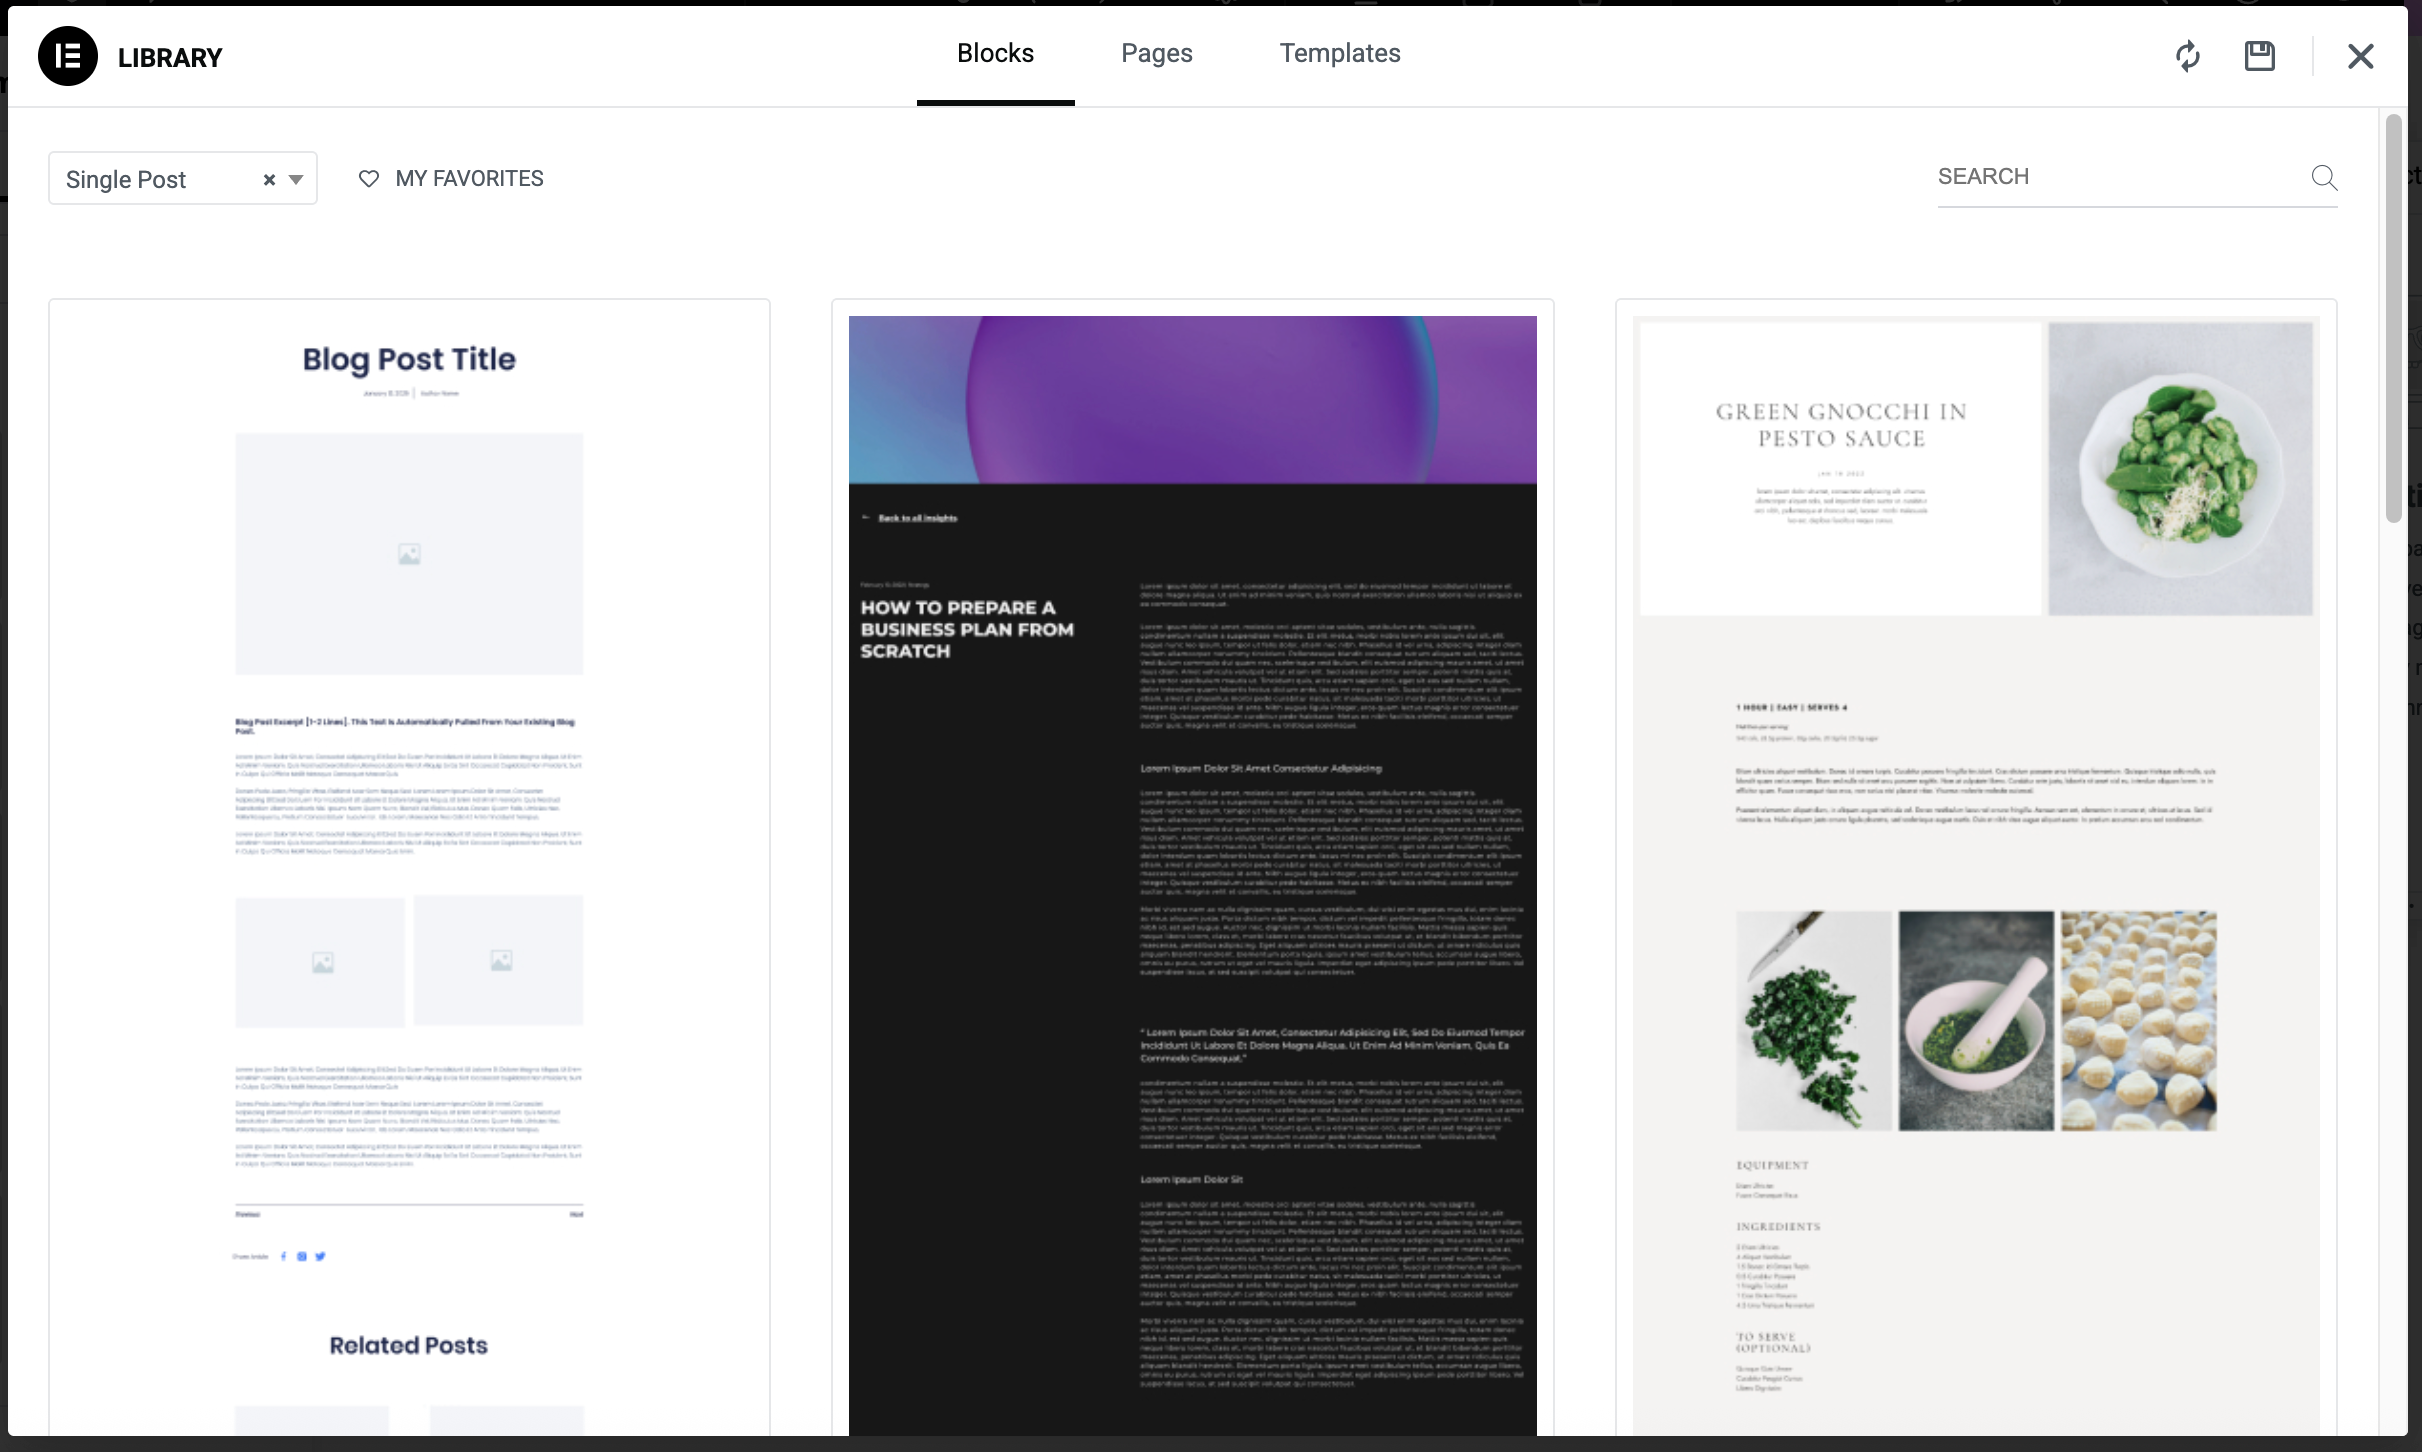
- Click a template to open it in the Elementor Editor. Since there is already a post created, the information from that post appears in the template.
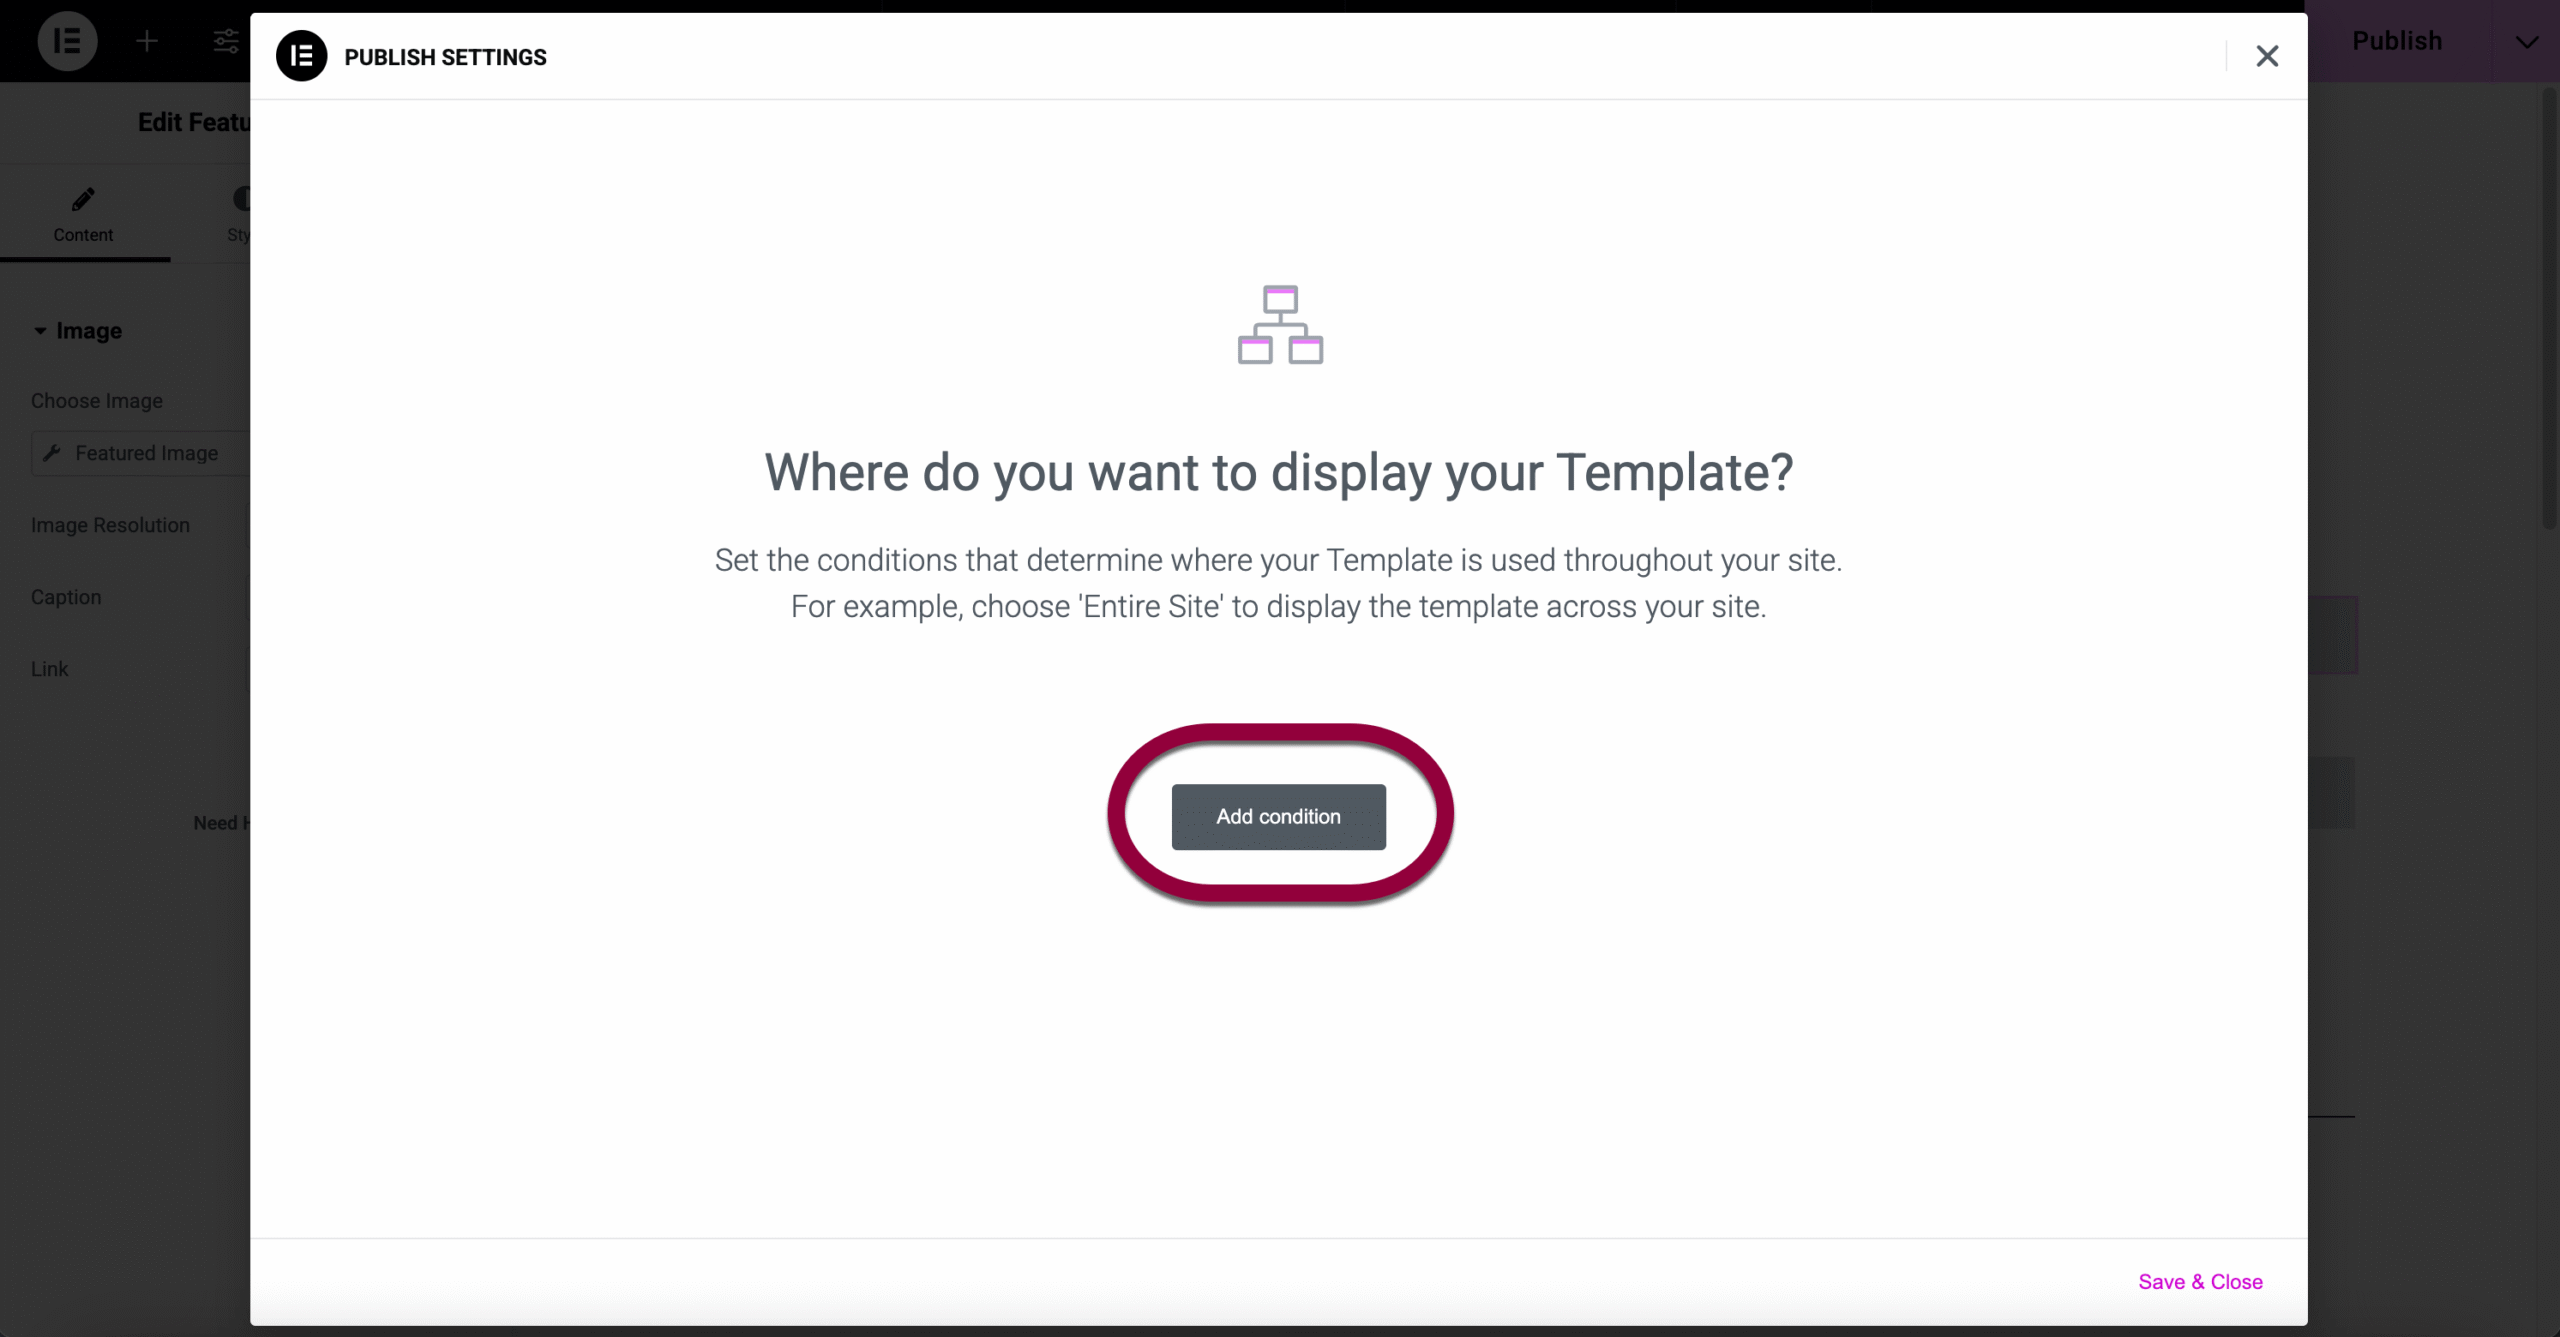
Normally you can customize this template using the Elementor Editor or even skip using a template and design your own. For details, see Create a Single Post template. But for this example we’ll simply use the default template. - Click Publish.
This opens the Conditions window. You can define under what circumstances you want the template used. For more details, see Set conditions for site part templates. For now, we’ll use this template for all blog posts. - Click Add condition.
- Use the dropdown menu to select Posts.
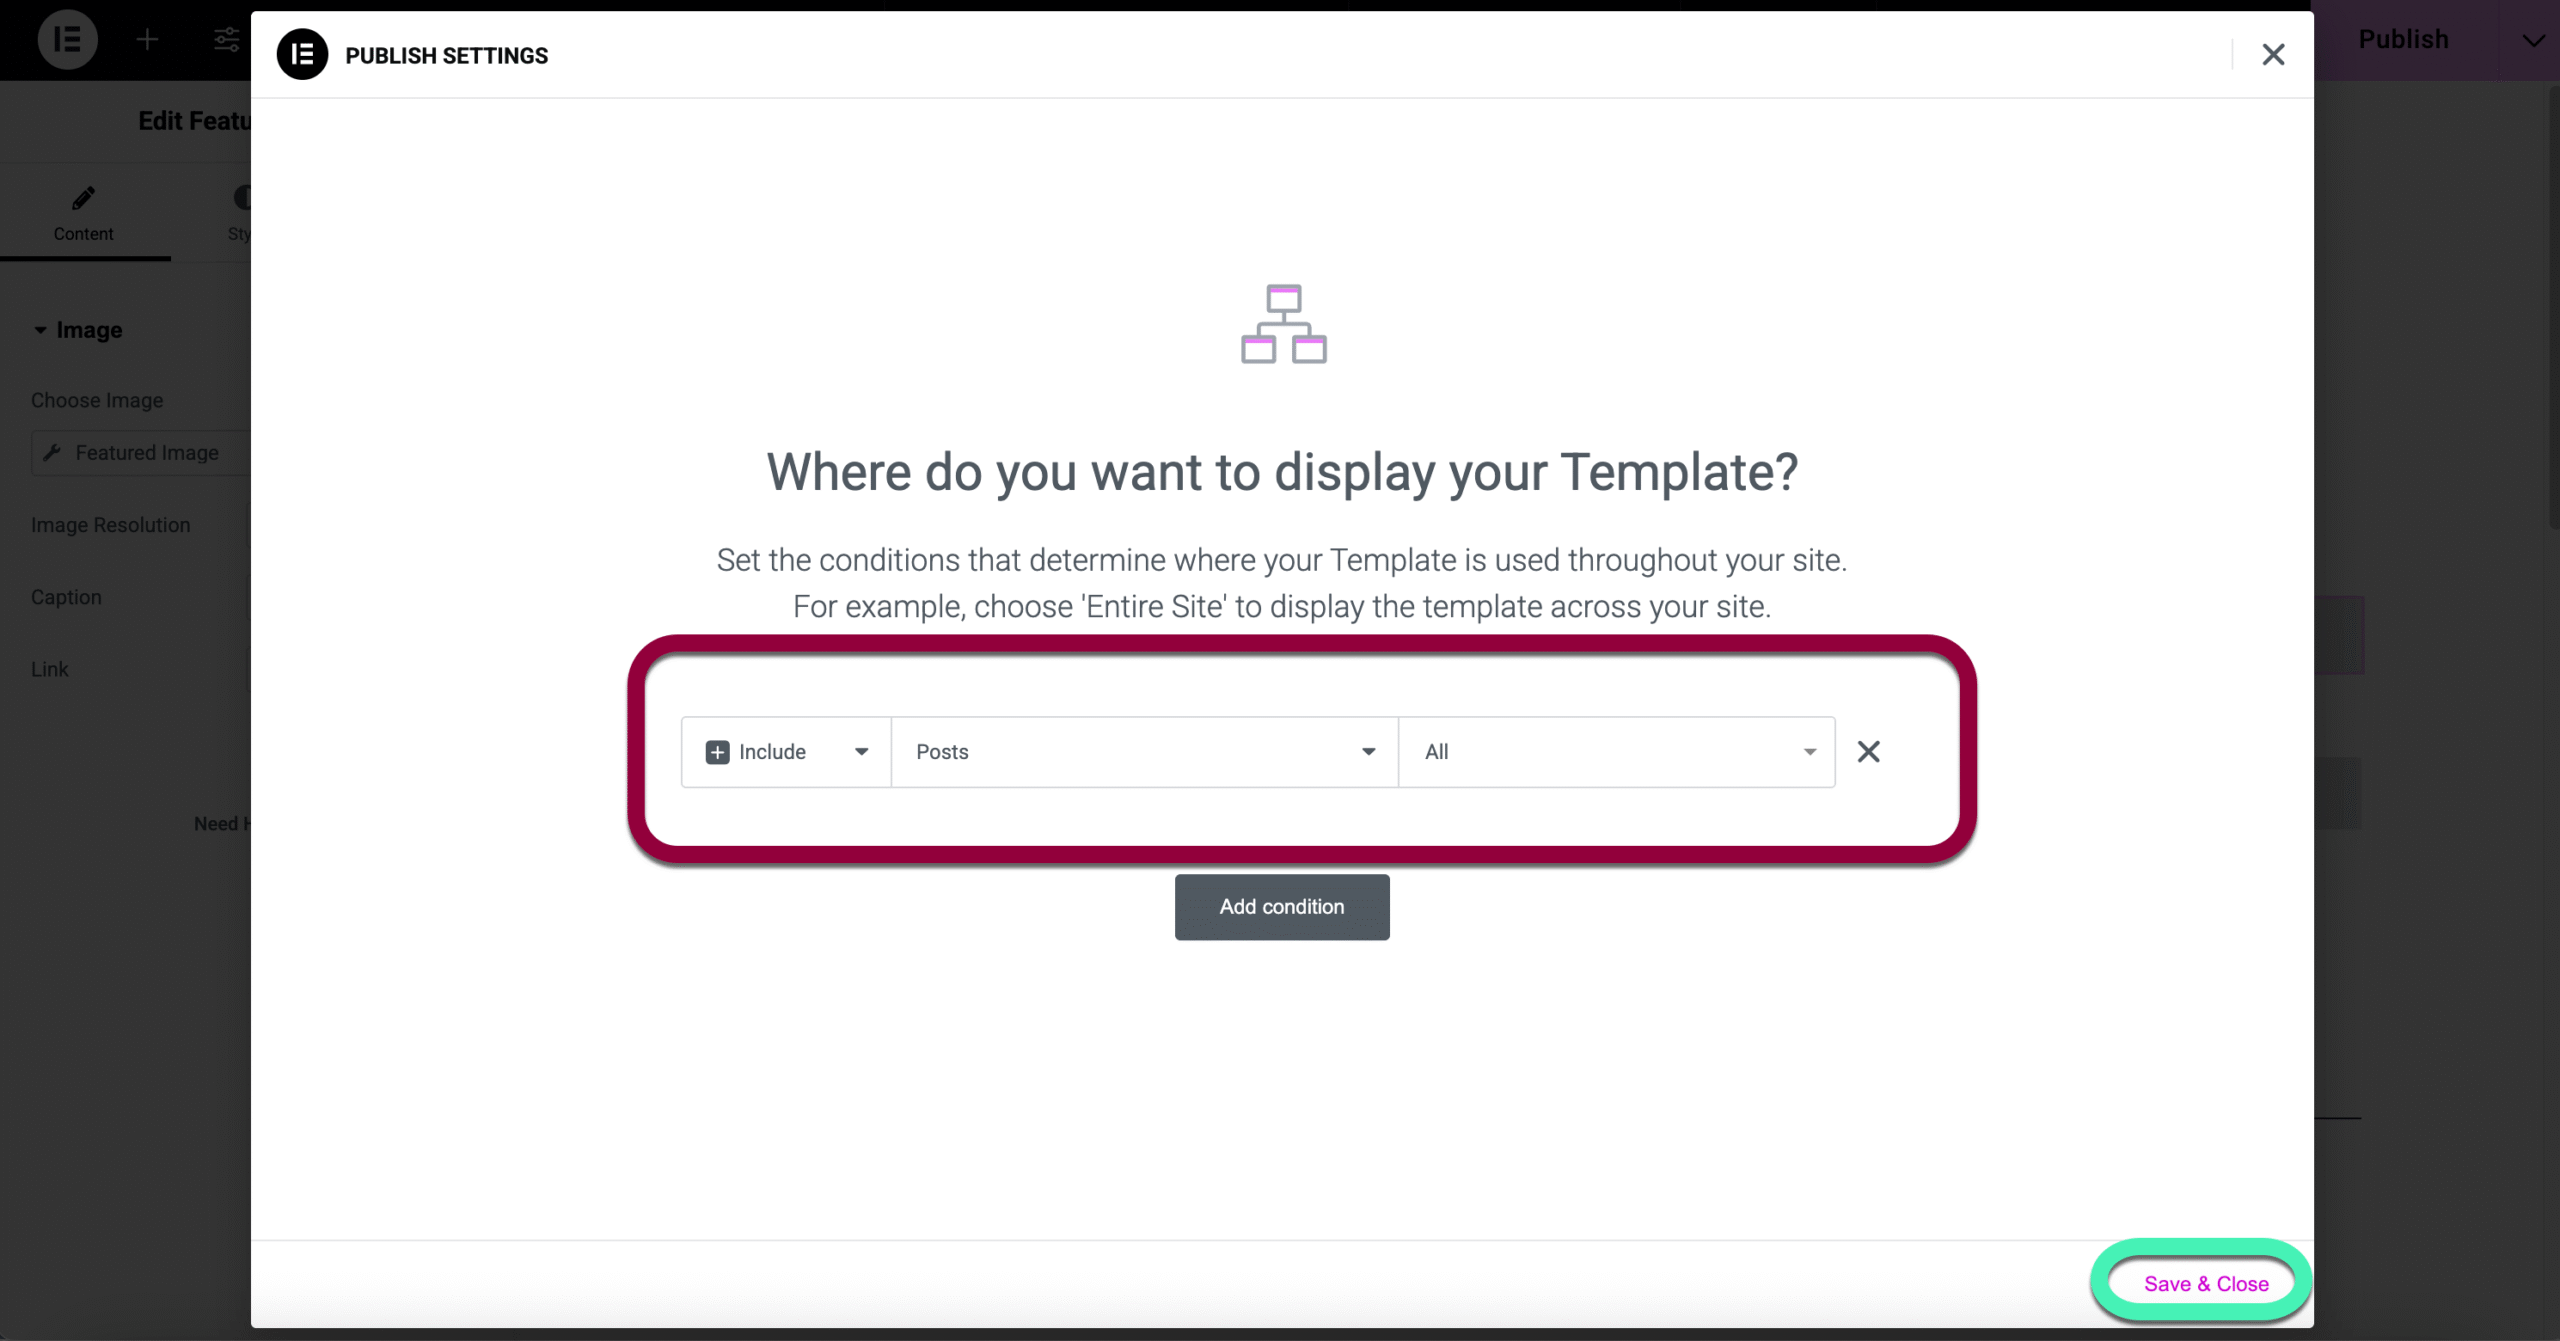
This template will now apply to all posts.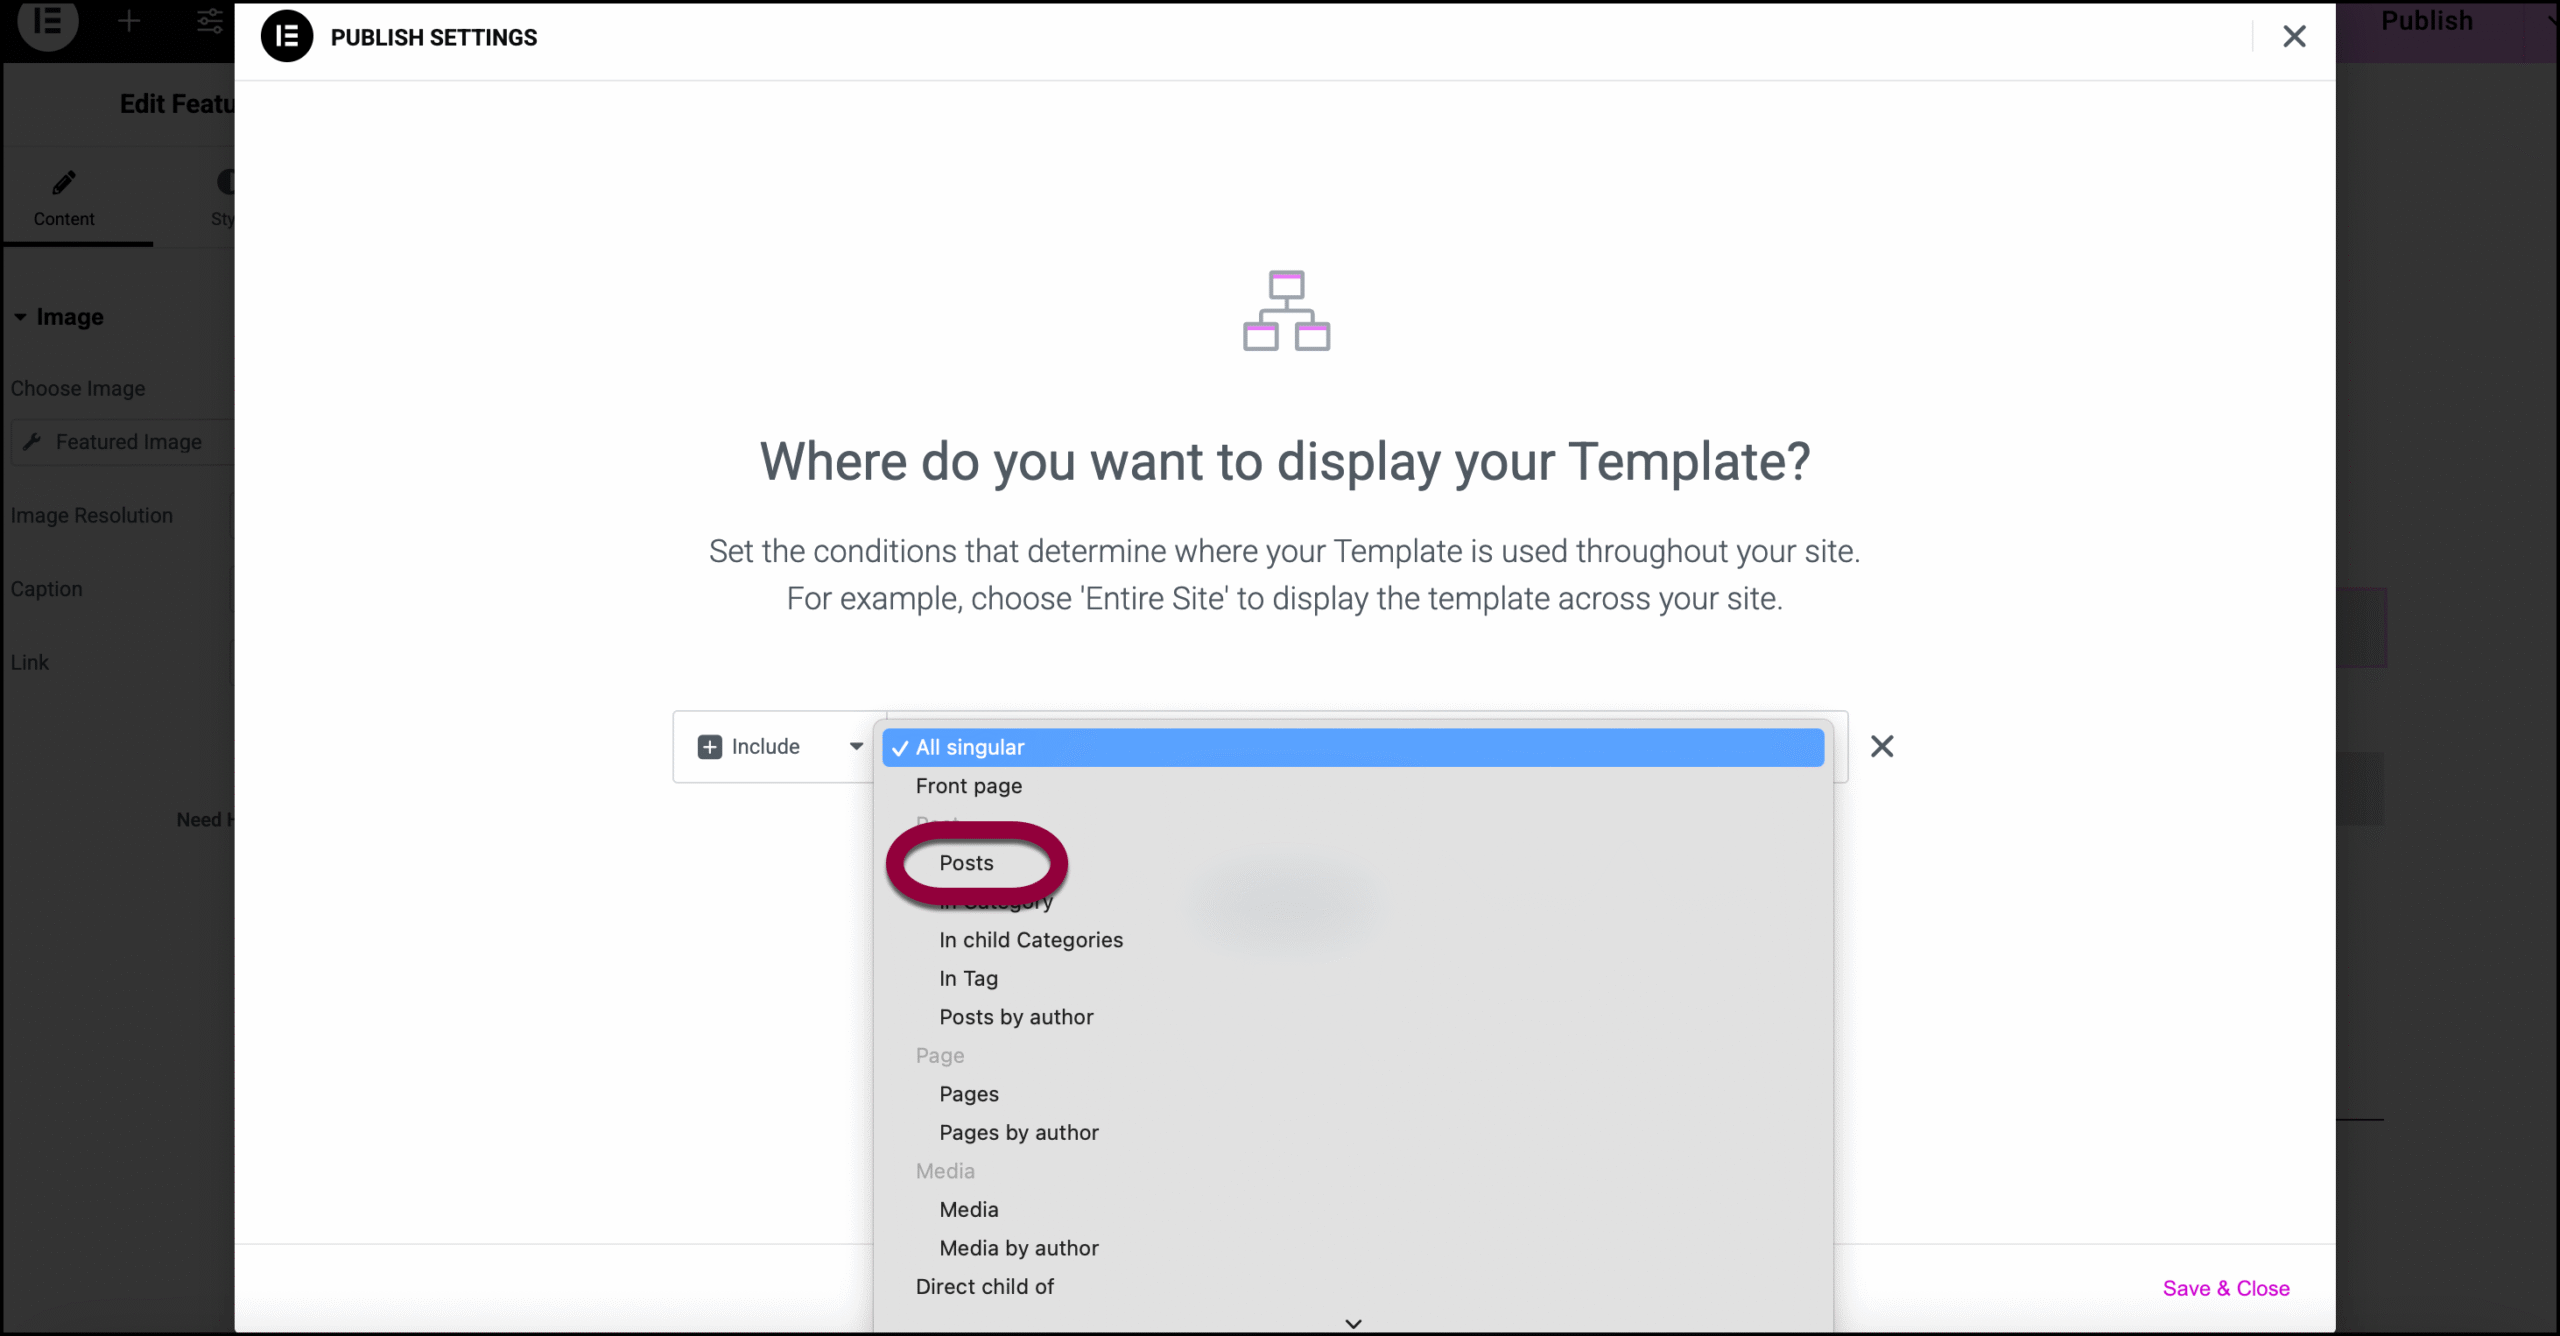
- Click Save & Close.
Create a post
Now it’s time to start blogging.
To create a post:
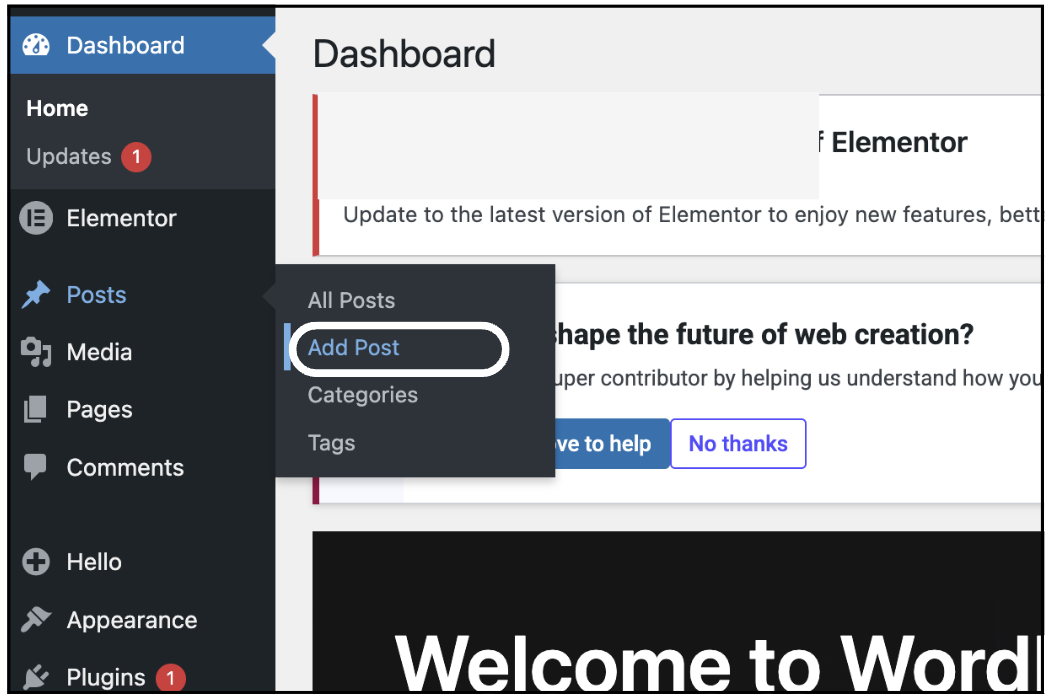
- Go to WP Admin and navigate to Posts>Add Post.
- We’ll add the following:
- A title
- Content
- Featured image
- Categories
- Tags
- Click Publish.
The post should look something like this:
The post doesn’t look like the template, but let’s see how the published page looks. - Click the view icon.

And you’ll see how the post appears to visitors.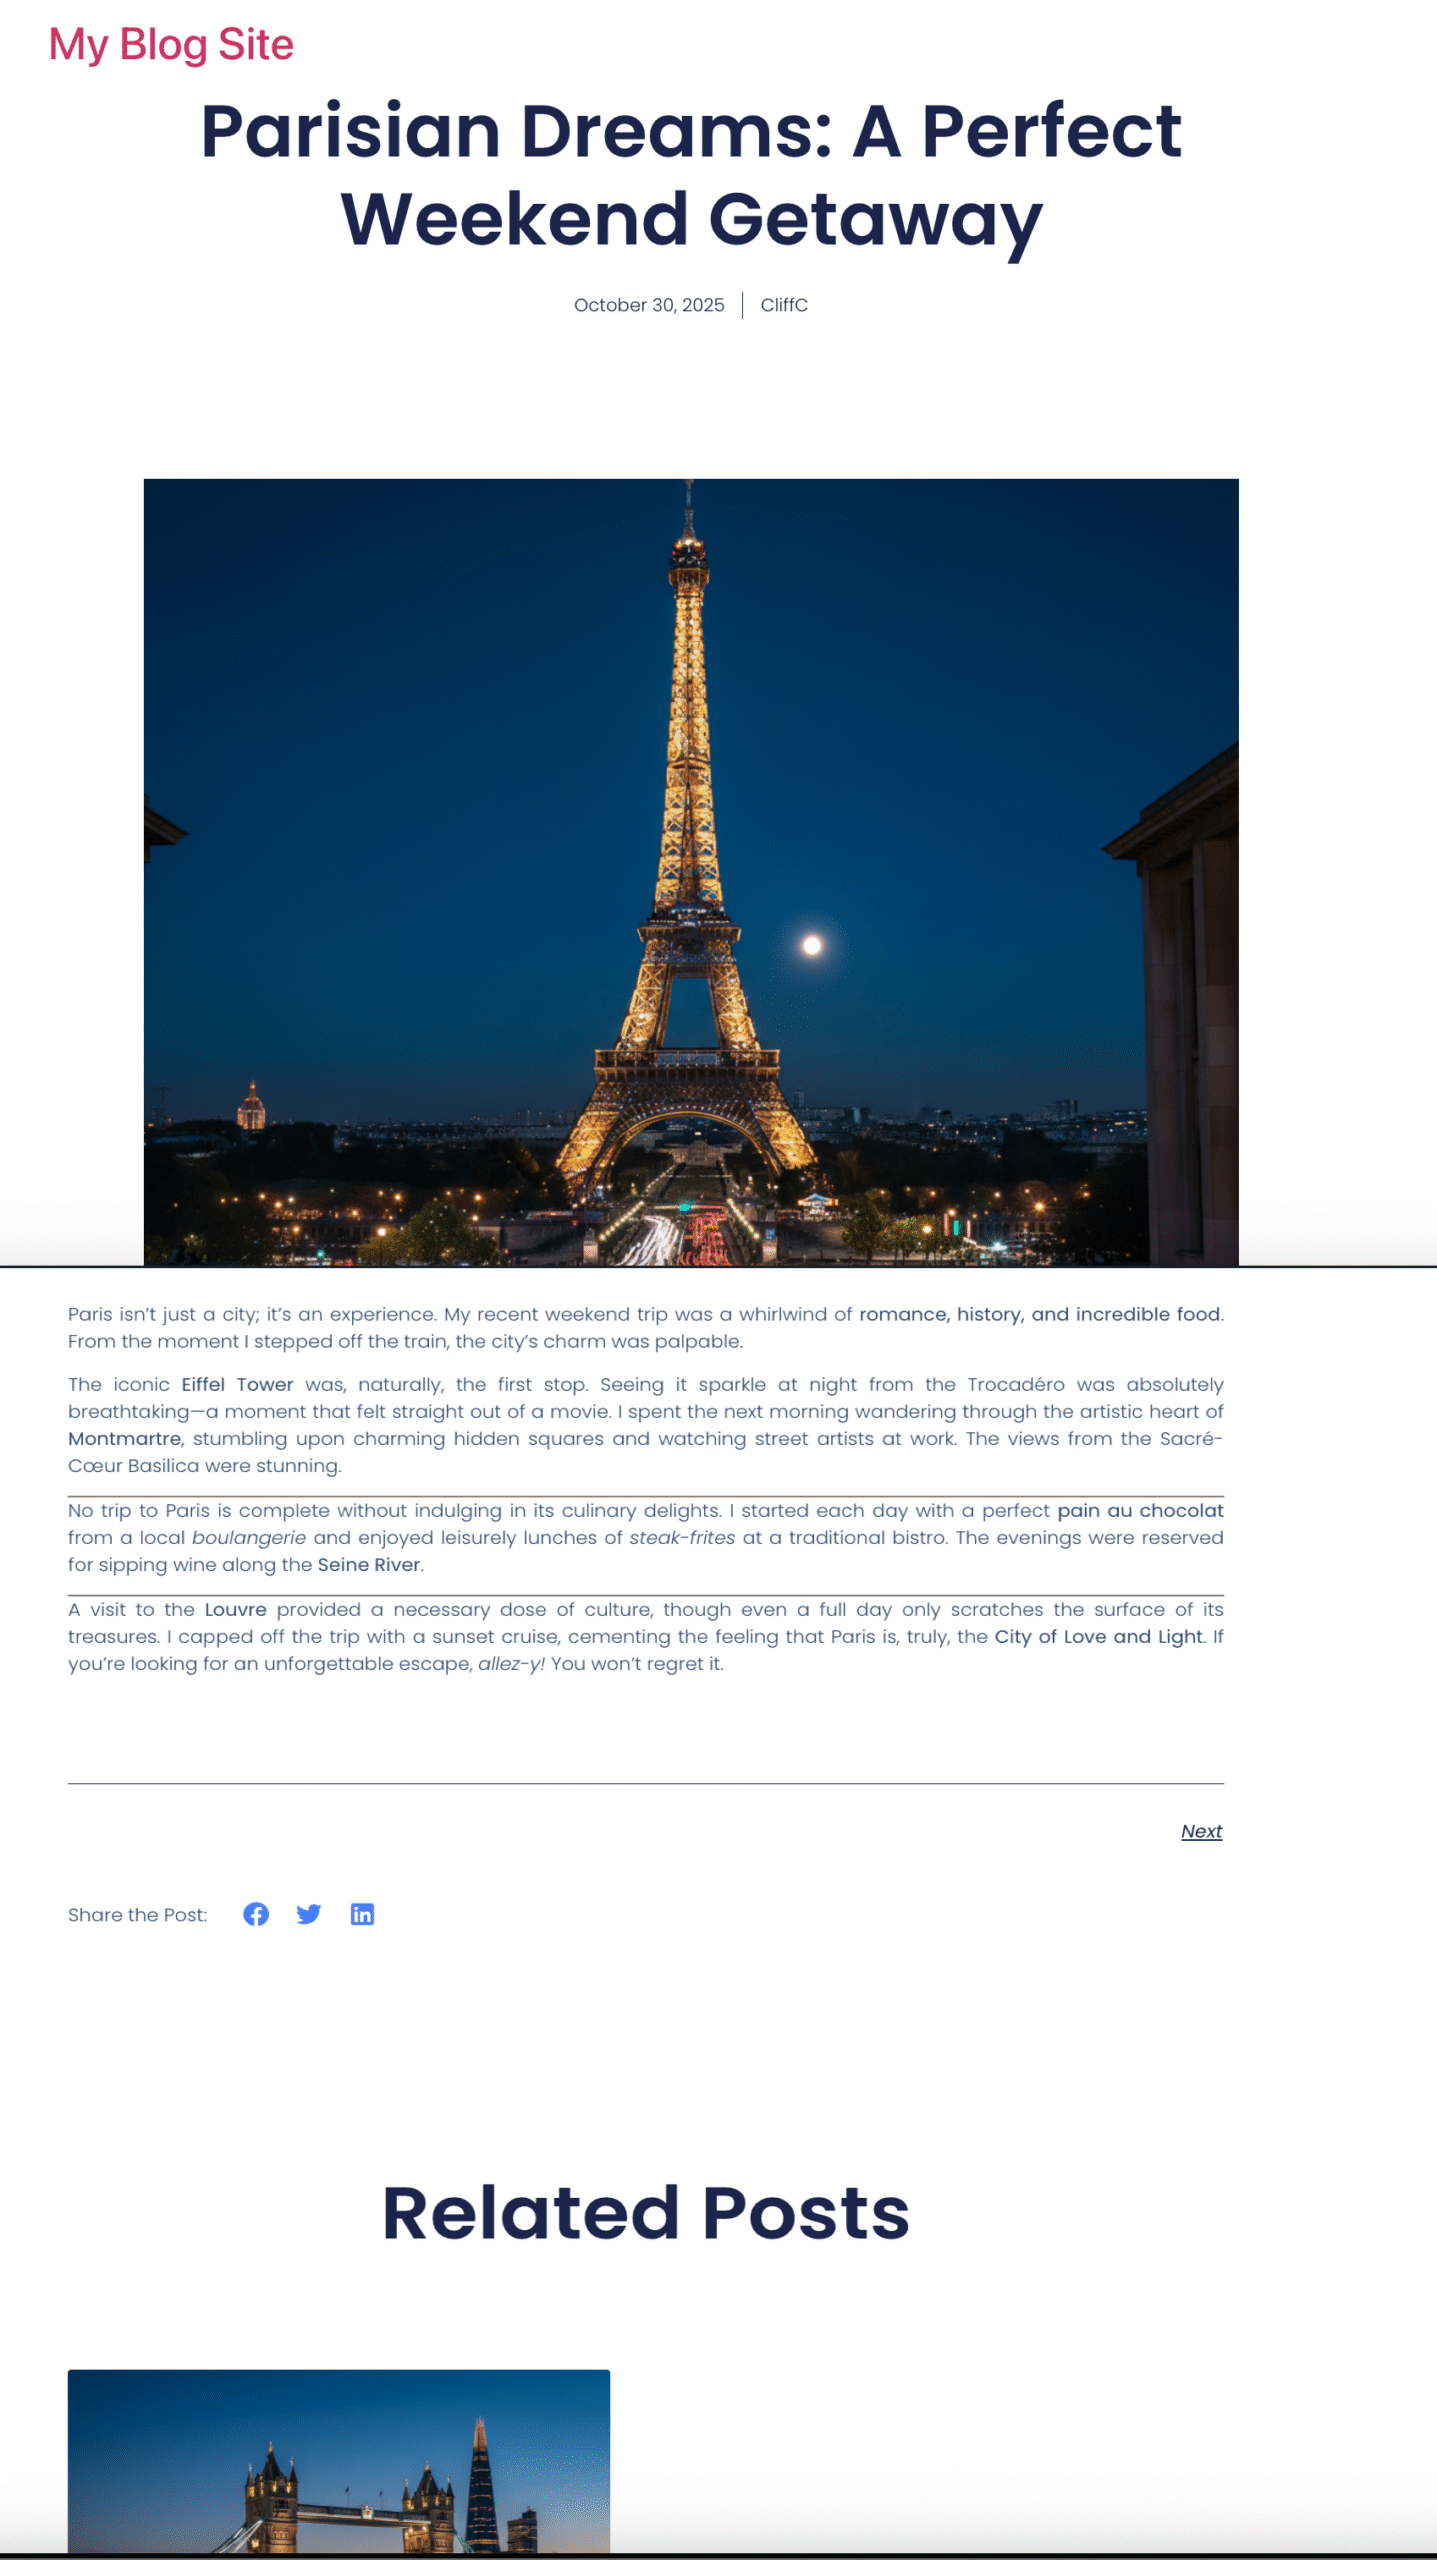
Create the archive
Blog websites generally have a page where visitors can access all, or a selection of blogs. There are several ways to create these archives. For this example, we’ll use the Posts widget. We will only be using a fraction of the features this widget provides. For a more detailed look, see Posts widget. Loop Grids are also a good way to build post archives.
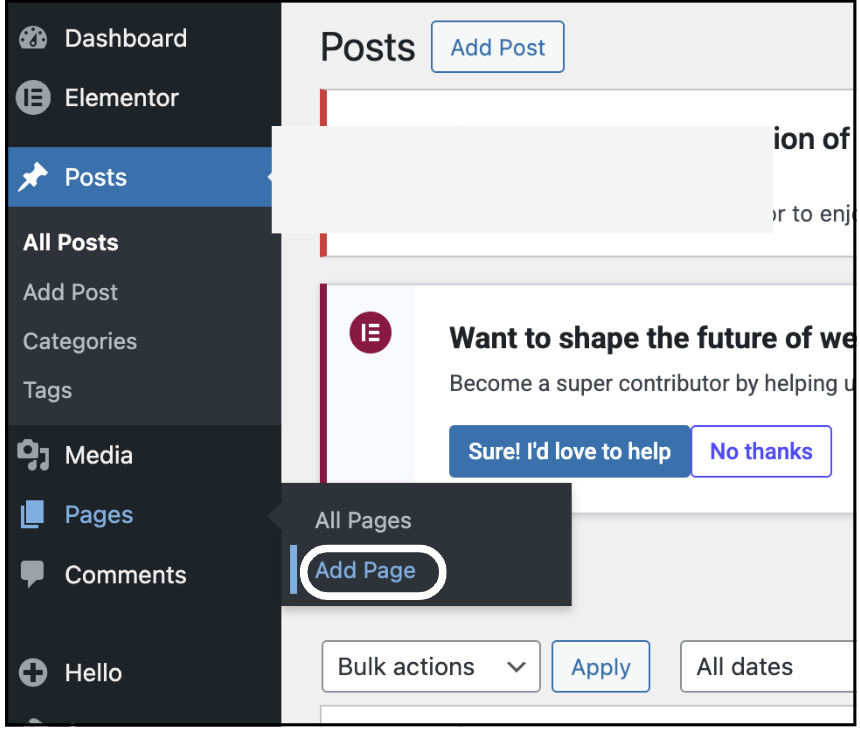
- Go to WP Admin and navigate to Pages>Add Page.
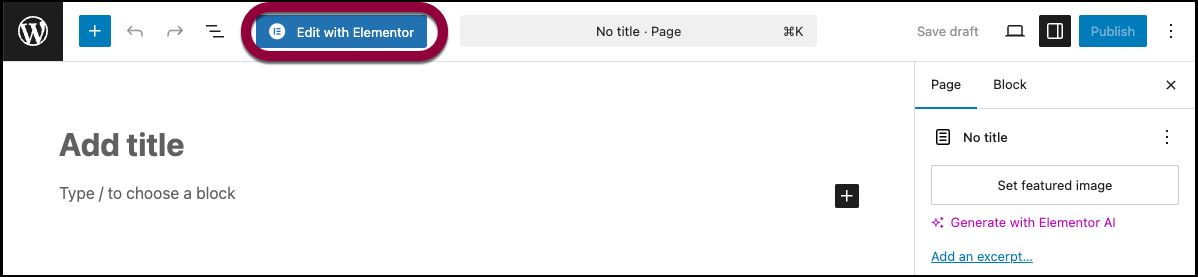
- Click Edit with Elementor.
Let’s give an appropriate name to the page. - Click the page settings icon.
- In Title field, enter Blogs.
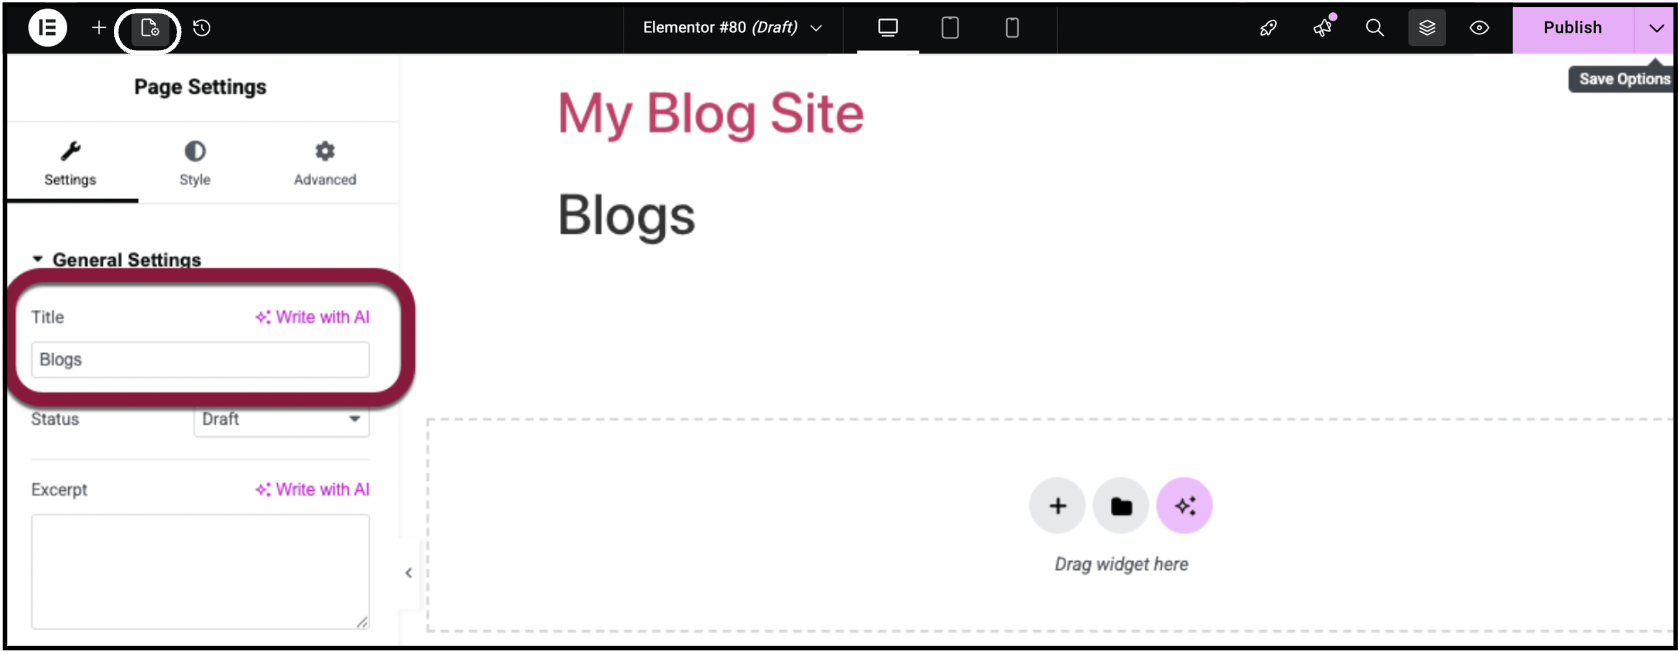
- In the top bar, click the plus sign to close the page settings.
- Drag the Posts widget to the canvas.
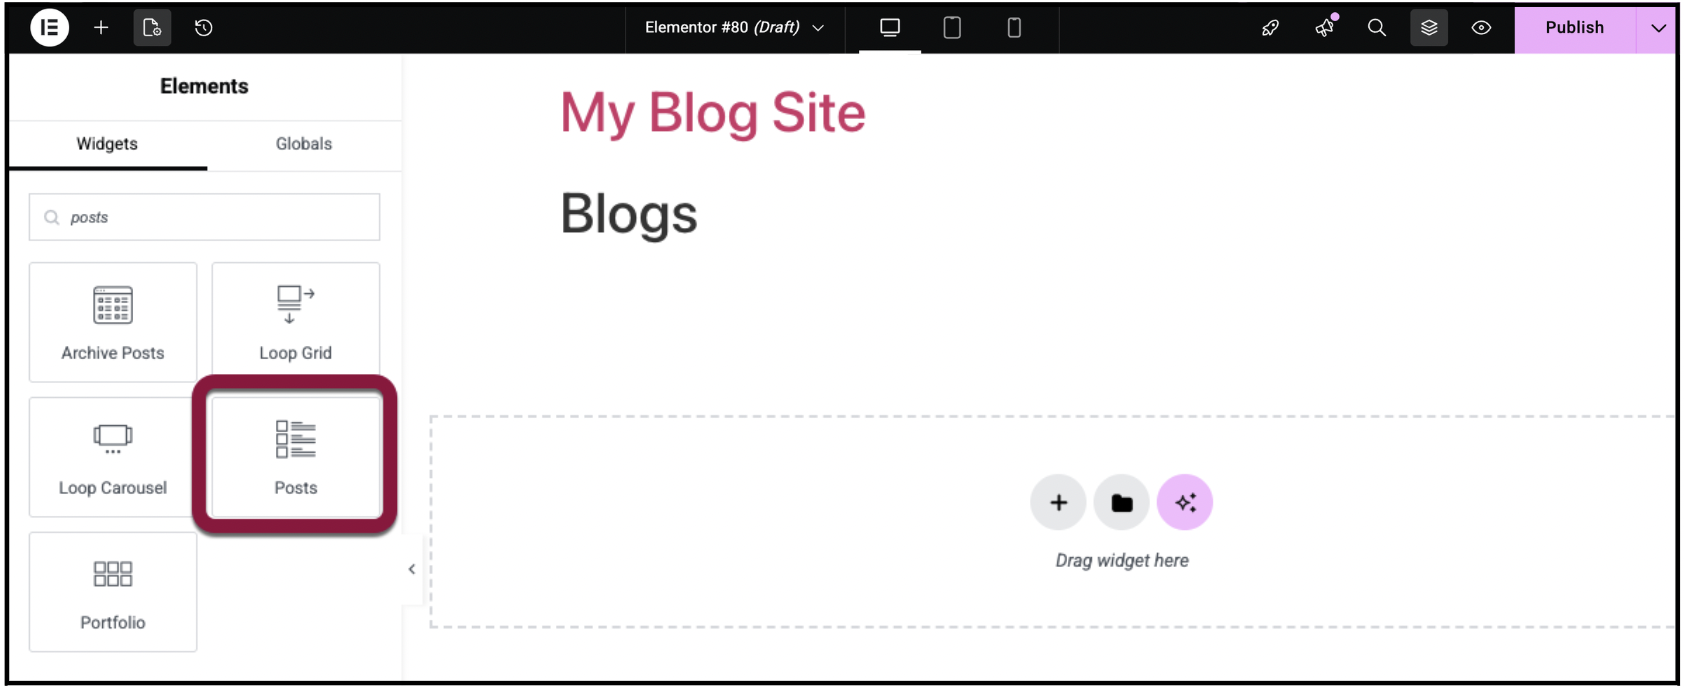
The blog posts appear on the page.
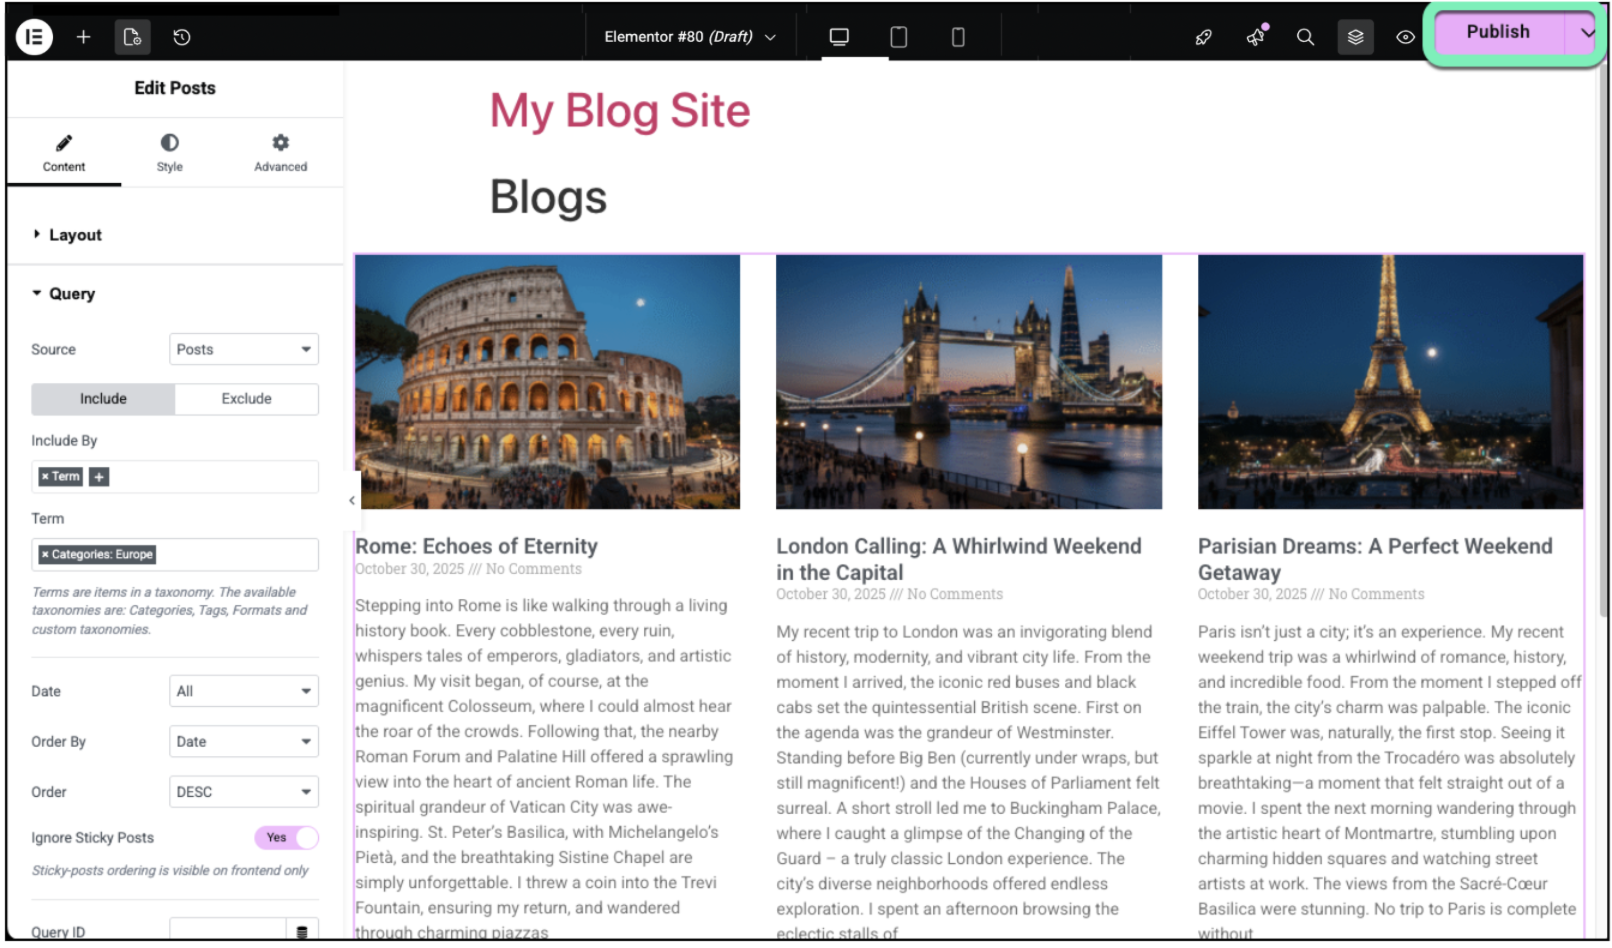
You can also use the Posts widget to display certain types of posts by using the query feature. In this example, we’ll filter the Posts widget so it only shows posts about travel to Europe.
For details about using queries, see Create queries.
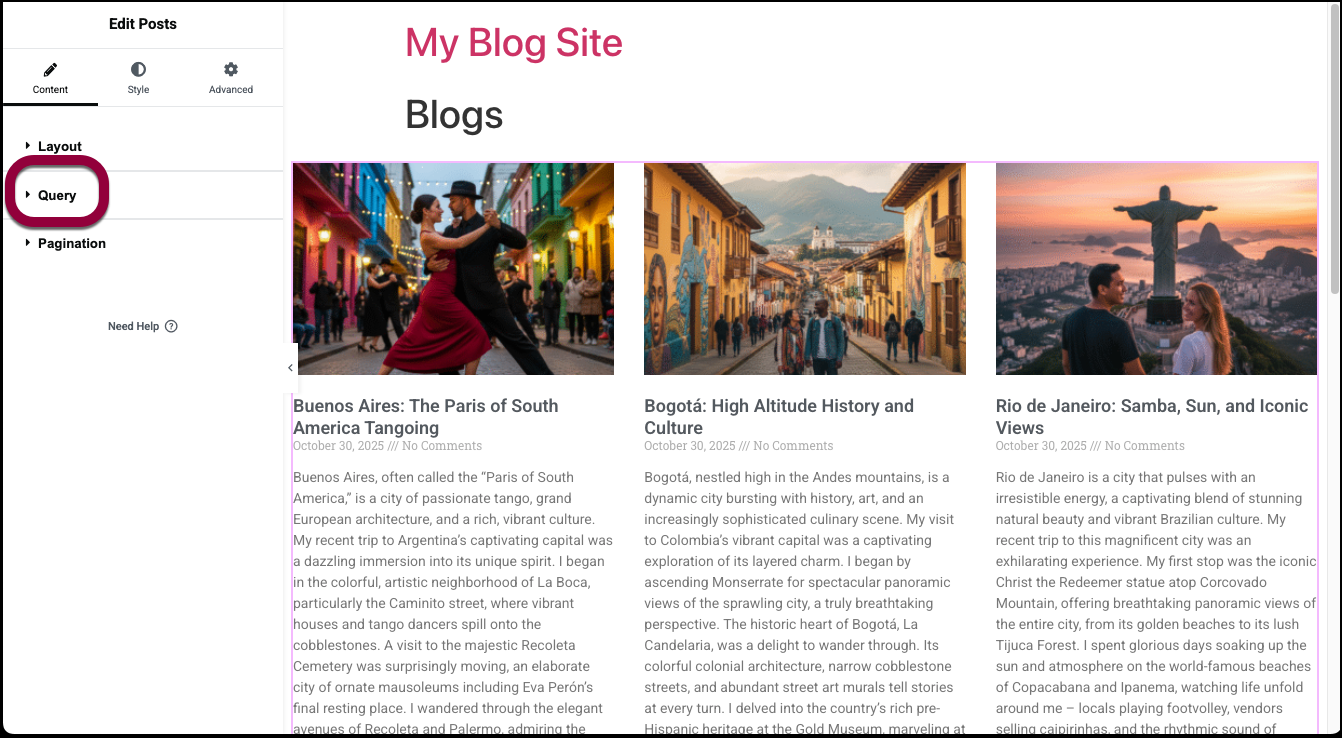
- In the panel, under the Content tab, open the Query field.
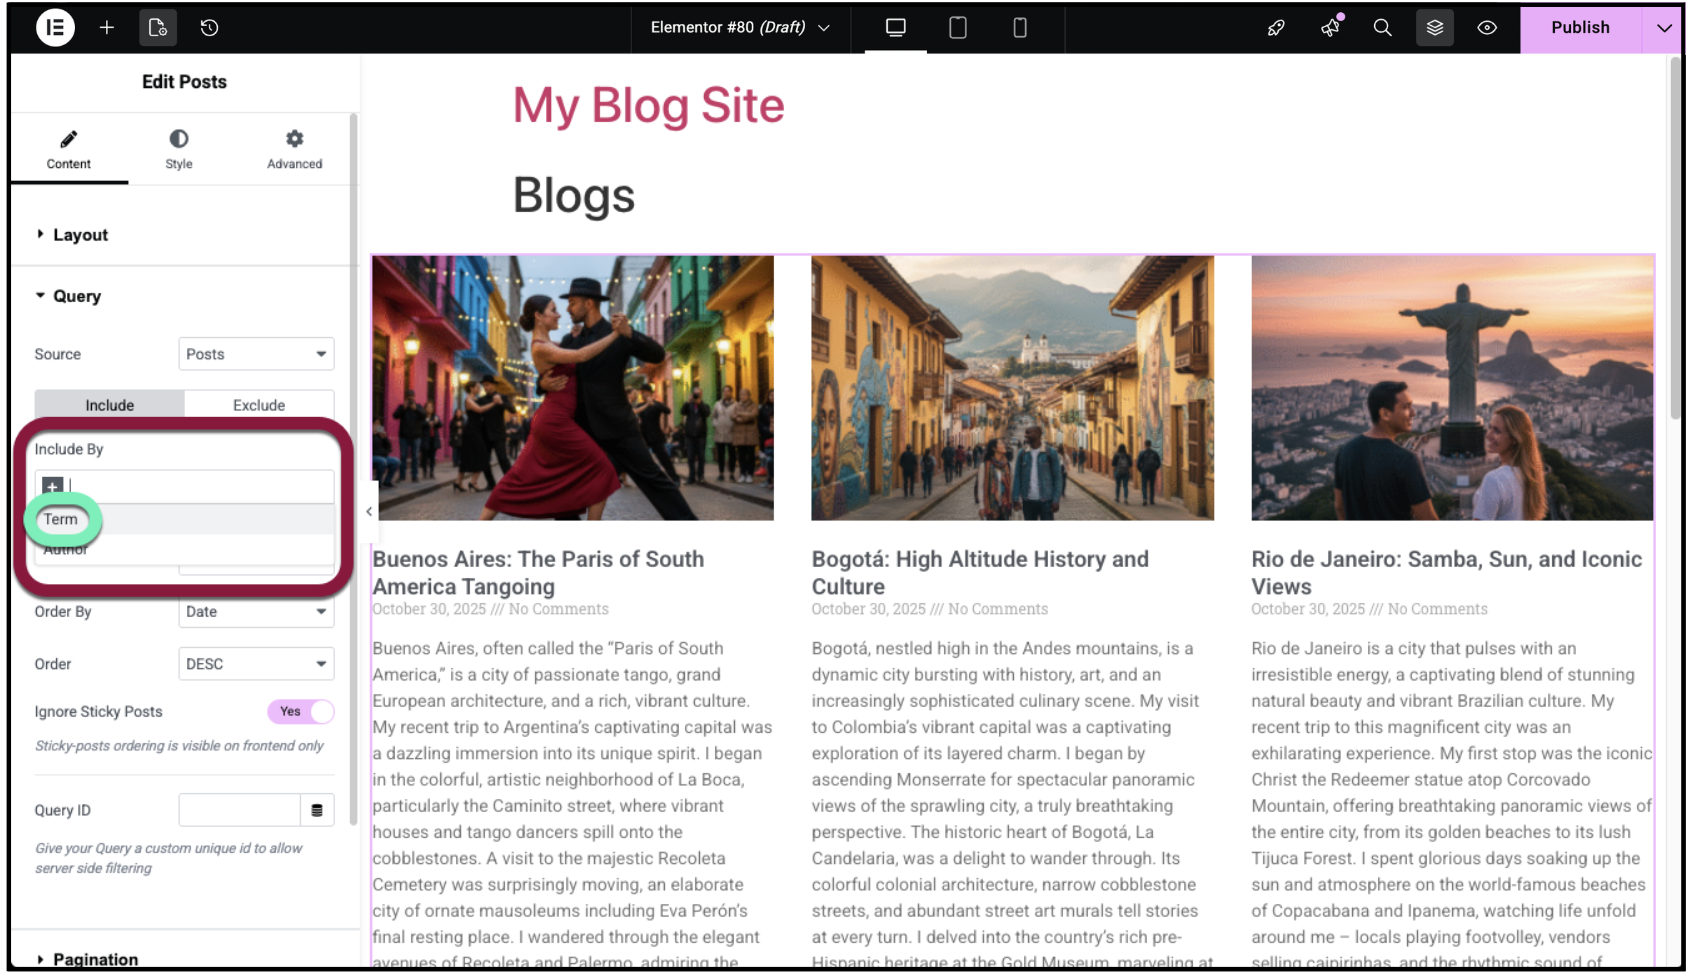
- Click the Include By text field, and select Term.
- In the Term text box enter Europe and select Categories: Europe from the dropdown menu.
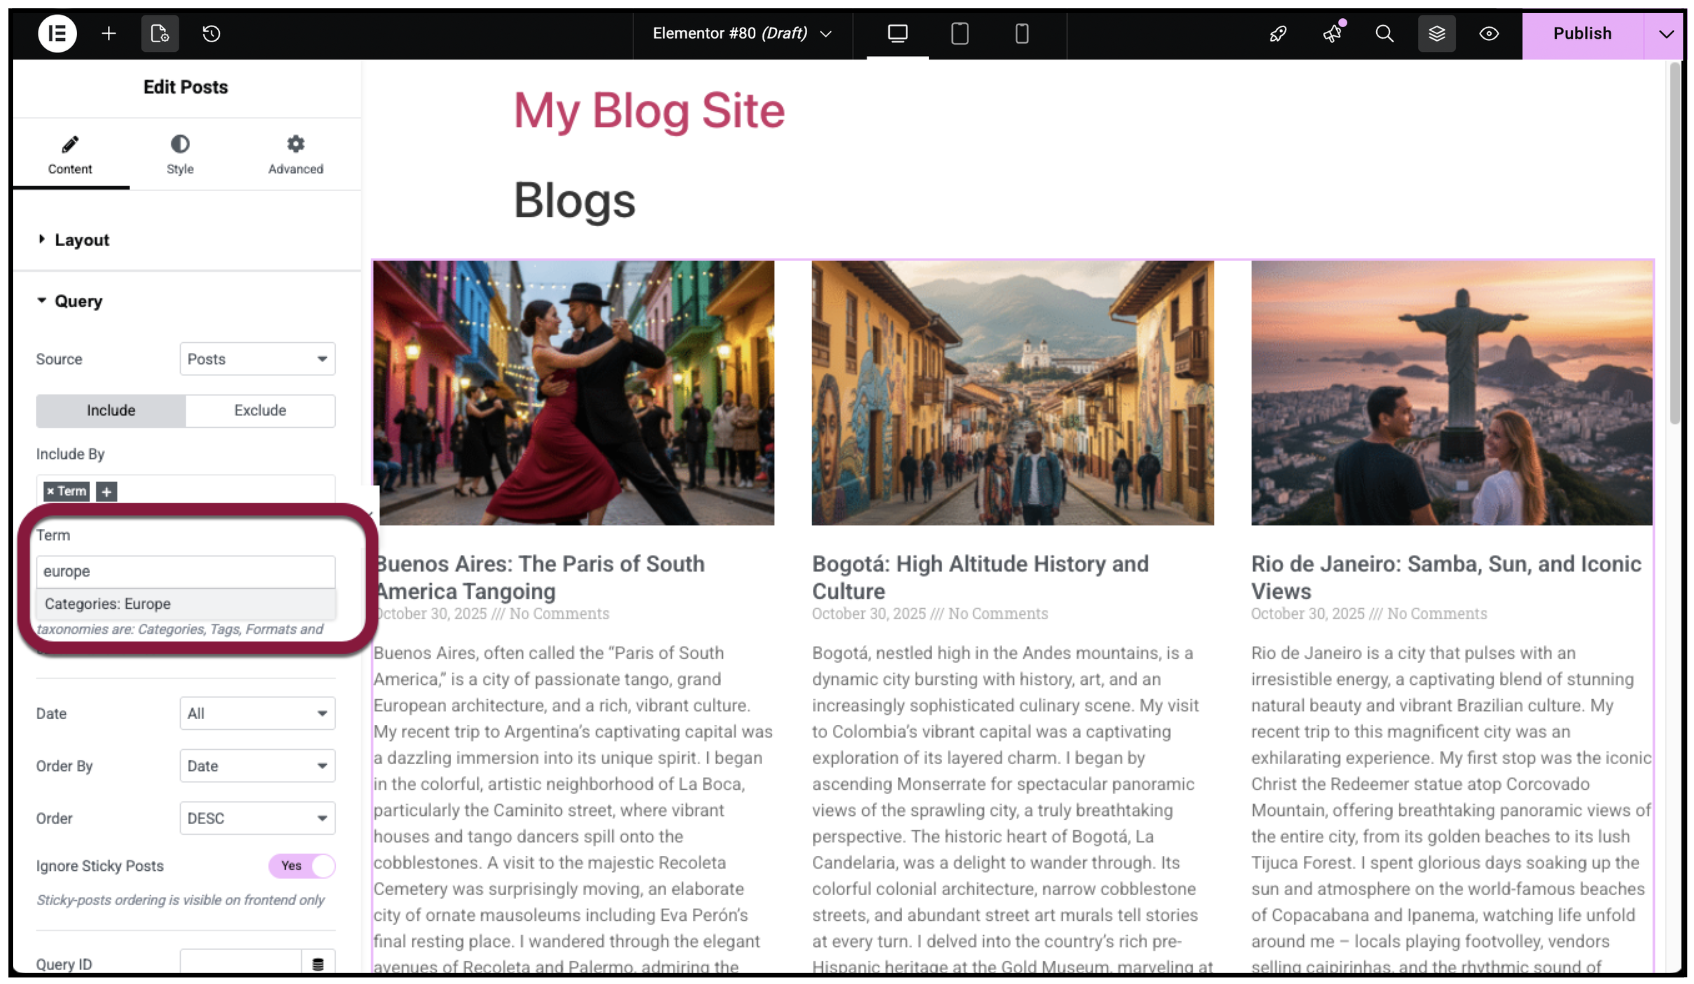
The Post widget only displays posts categorized as Europe. - Click Publish to save the page.
 This template has a Related Posts section at the bottom. For details about controlling this section, see Add Related Posts in Elementor.Note
Create a home page
Finally, let’s create a home page for your blog. For this example we’ll create a Hero section with a button that links to your blog page.
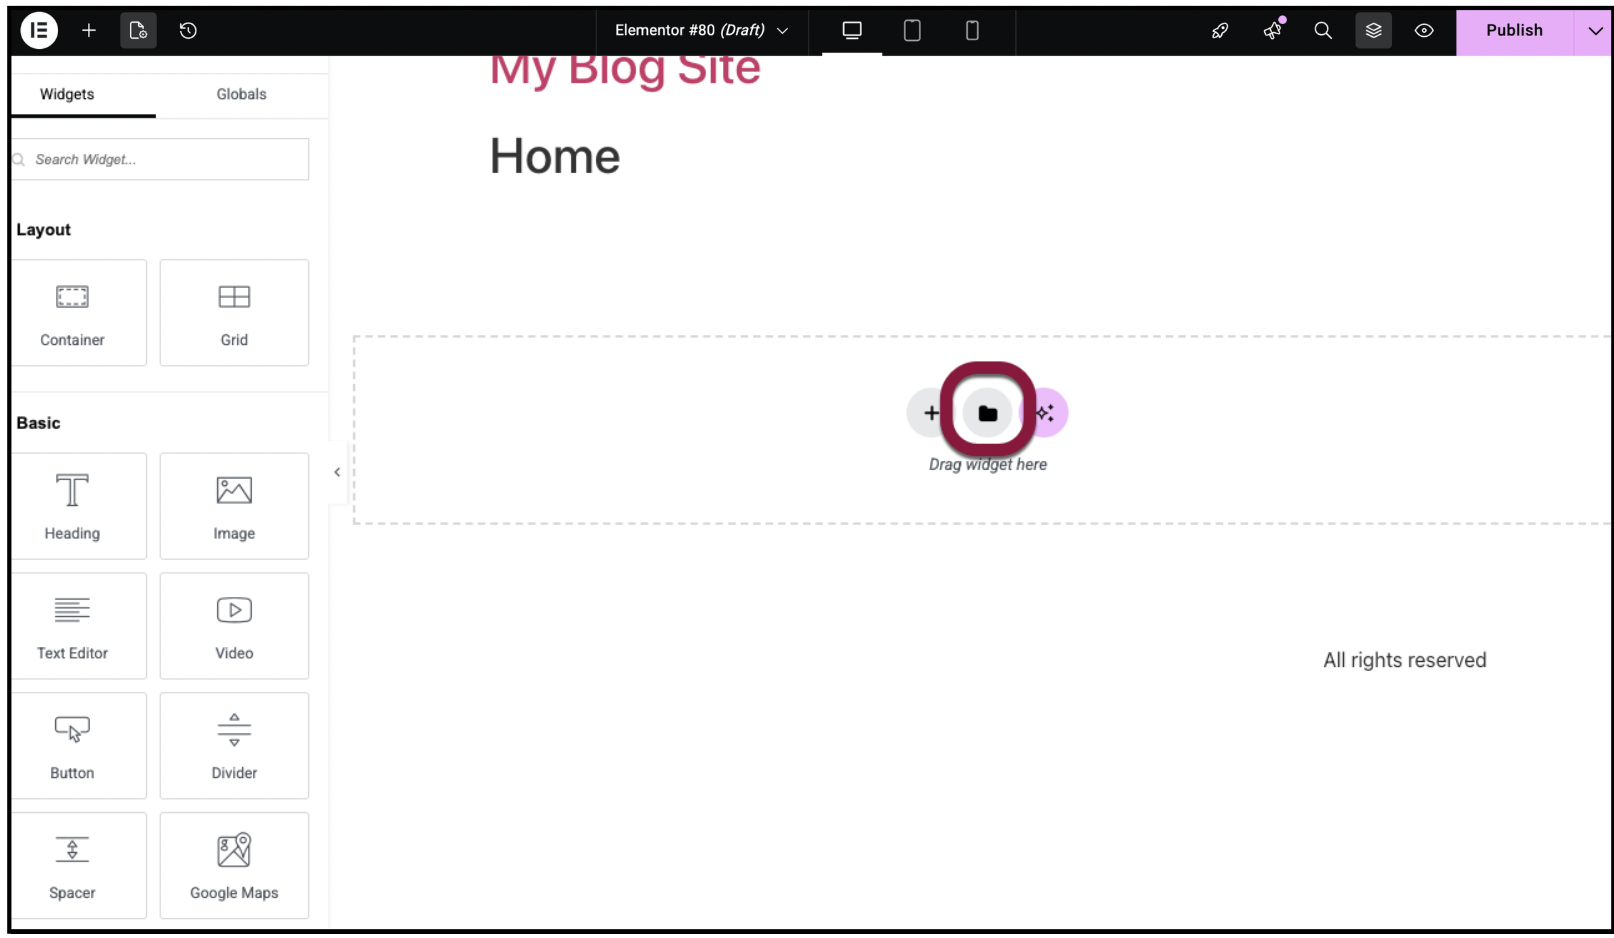
- Create a page and open it in the Elementor Editor and name it Home, as described above.
- On the canvas, click the folder icon.
=
This opens the template library. For this example we’ll use a predesigned Hero section. - Use the Category dropdown menu to select Hero sections.
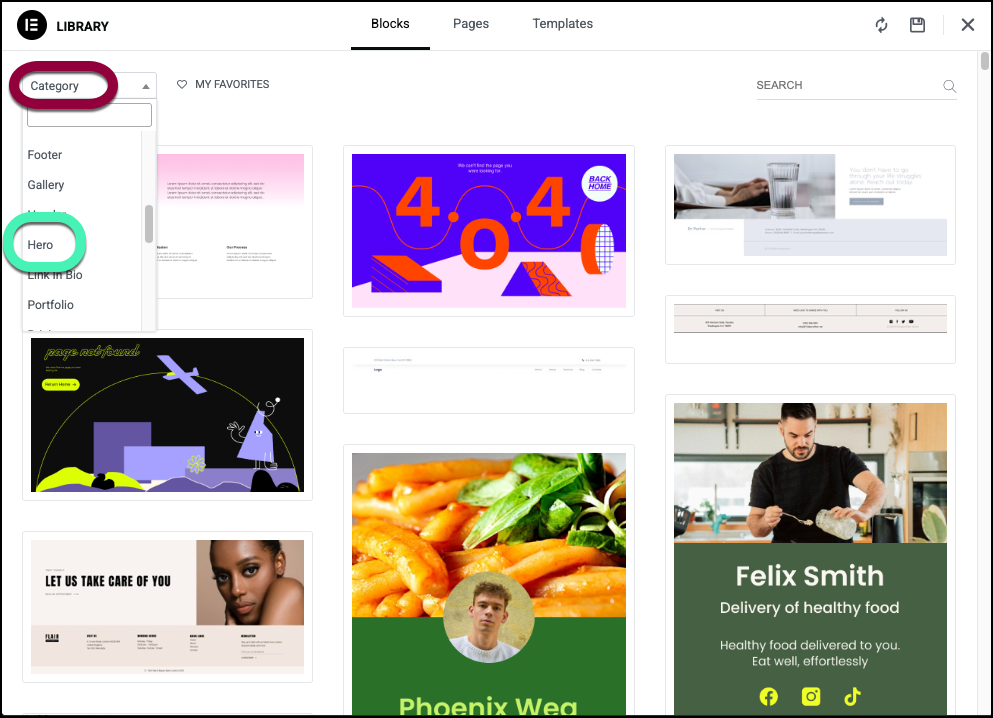
- Hover over the Hero section you want to use and click Insert.

- We’ll change the default text and background so it’s more appropriate for our site. For details, see Heading widget and Create a background.

Now, let’s edit the button so it links to our Blogs page. - Click the button.
- In the panel, in the Text field, enter My Blogs.
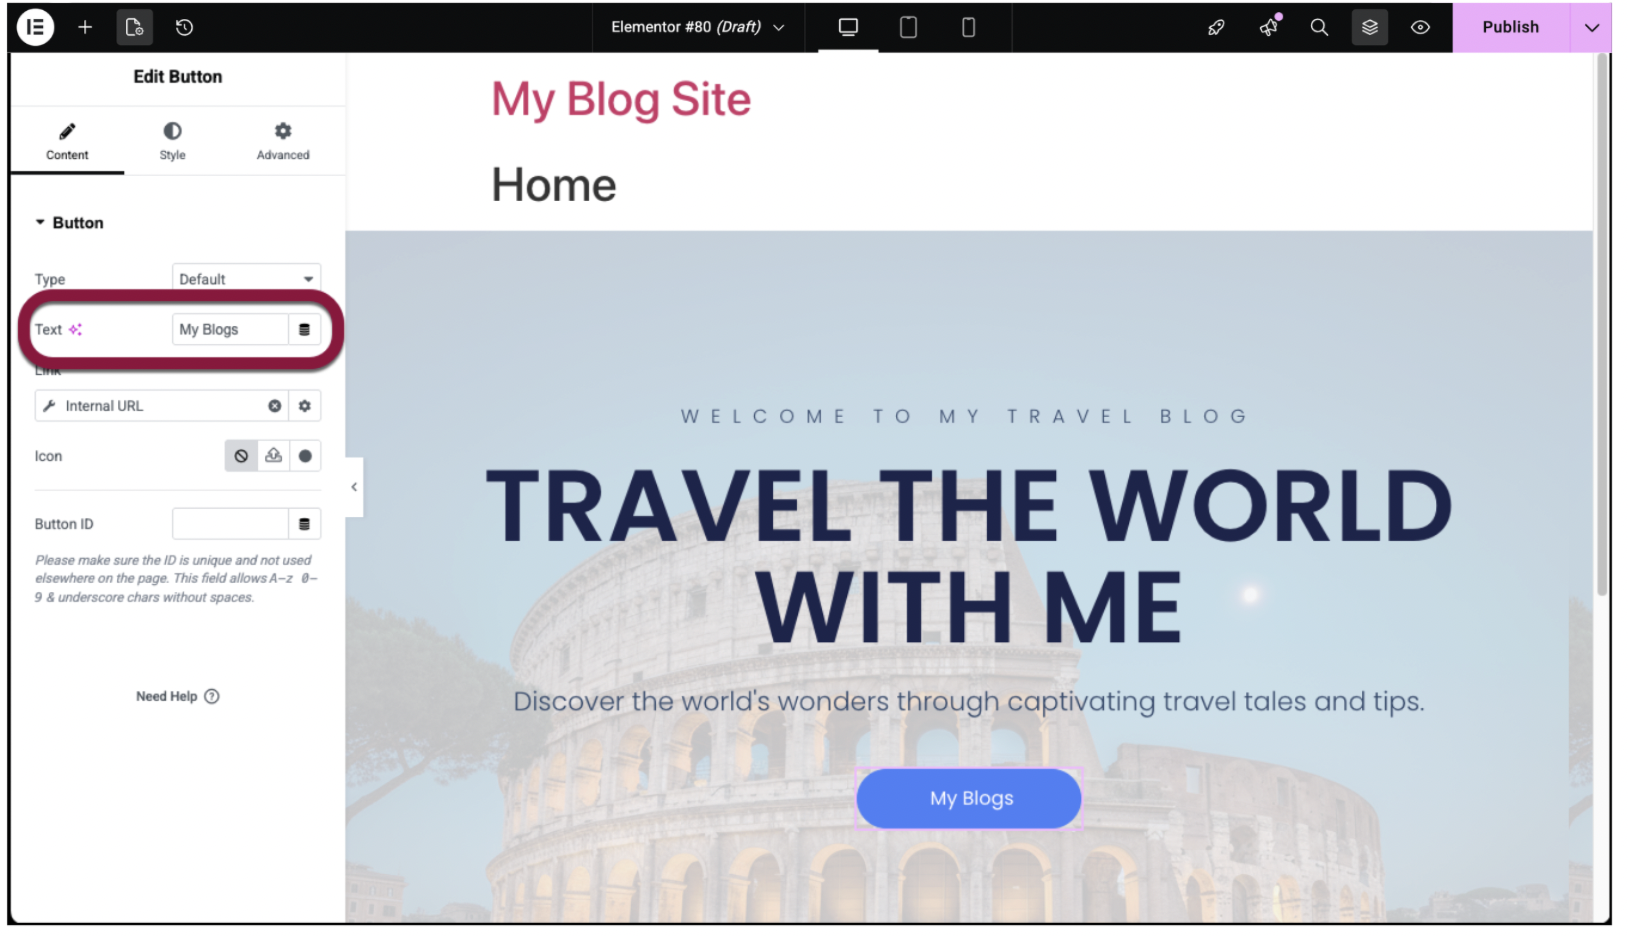
- Click the Link field to set up an internal link.
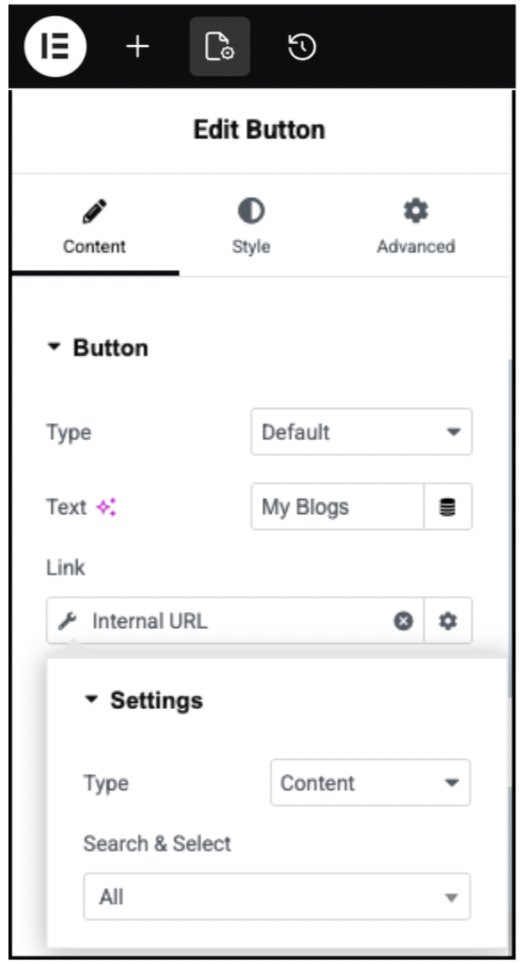
This opens the Settings window. - Click the Search & Select text box and select Blogs from the dropdown menu.
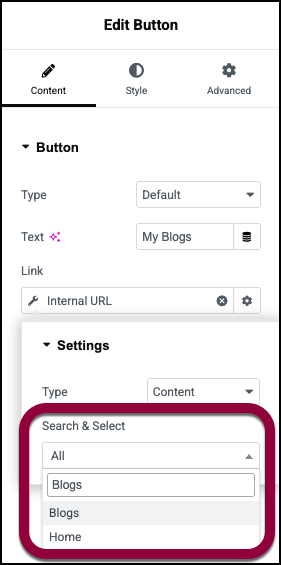
The button links to the Blogs page. - Click Publish to the save the page.
You still need to set this page as the Homepage in WordPress. For details, see Assign the Home Page.

