This guide breaks down how to make your own website into manageable steps, showing you how to move from a great idea to a fully functional online presence. We’ll cover everything from initial planning to post-launch success, giving you the clarity and tools needed to build a professional website.
Chapter 1: Planning Your Website
Before you write a single line of text or choose a color palette, a solid plan will set you up for success. A well-thought-out strategy acts as your roadmap, ensuring every decision you make serves a clear purpose and speaks directly to your intended audience.
Define Your Website’s Purpose and Goals
First, ask yourself the fundamental question: Why are you creating this website? The answer will shape every subsequent decision. Your primary goal could be to:
- Sell products or services: An eCommerce store with product pages, a shopping cart, and secure checkout.
- Generate leads: A business site designed to capture contact information through forms and calls-to-action (CTAs).
- Showcase your work: A portfolio to display projects, case studies, and testimonials.
- Share information or expertise: A blog or informational hub focused on high-quality content.
- Build a community: A forum or membership site where users can connect and interact.
Once your primary purpose is clear, set SMART goals (Specific, Measurable, Achievable, Relevant, and Time-bound) to track your progress. For example, instead of a vague goal like “get more customers,” a SMART goal would be: “Generate 50 qualified leads through the website’s contact form within the first three months of launch.”
Identify Your Target Audience
You aren’t building a website for everyone; you’re building it for a specific group of people. Understanding this audience is crucial for creating a design and content that resonates. To define your target audience, consider:
- Demographics: Age, location, gender, income, and occupation.
- Psychographics: Their interests, values, pain points, and online behaviors. What problems are they trying to solve? What kind of content do they consume?
- User Personas: Create detailed profiles of your ideal visitors. Giving them a name and a backstory makes it easier to step into their shoes and design an experience tailored to their needs.
Analyze Competitors and Industry Trends
You don’t operate in a vacuum. Researching your competitors helps you understand the landscape, identify opportunities, and define what makes you unique.
- Analyze their strengths and weaknesses: What do their websites do well? Where do they fall short? Look at their site structure, design, content, and user experience.
- Identify your unique value proposition (UVP): What can you offer that they don’t? Your UVP should be front and center on your website, clearly communicating why a visitor should choose you.
- Stay updated on trends: Keep an eye on design trends and technological advancements in your industry to ensure your site feels current and relevant.
With a clear plan, defined audience, and understanding of the competitive landscape, you’re ready to tackle the foundational technical elements of your site.
Chapter 2: Setting the Foundation: Domain and Hosting
With your strategy in place, it’s time to claim your address on the internet and secure a place for your website to live. This involves choosing a domain name and a hosting provider—two critical decisions that impact your brand identity, performance, and scalability.
How to Choose the Perfect Domain Name
Your domain name is your website’s address (e.g., yourbusiness.com). It’s often the first impression a visitor has of your brand, so it’s worth taking the time to choose the right one.
Tips for a Great Domain Name:
- Keep it Short, Simple, and Memorable: A concise name is easier to remember, type, and share. Aim for under 15 characters if possible.
- Stick with .com: While many extensions exist, .com is the most recognized and trusted. It’s what users often type by default.
- Make it Brandable: A unique and catchy name is more memorable than a generic, keyword-stuffed one. Think Amazon.com versus BuyBooksOnline.com.
- Ensure it’s Easy to Pronounce and Spell: Avoid complex words, hyphens, and numbers. You want people to be able to share your domain easily through word-of-mouth.
- Check for Availability: Before you get too attached, check if the domain name is available. Also, search for the name on social media platforms to ensure consistency across your online presence.
Once you have a name, you’ll need to register it through a domain registrar. Many hosting providers offer domain registration as part of their packages.
Understanding Web Hosting
If your domain is your address, web hosting is the physical land where your house (website) is built. It’s a service that provides the server space needed to store your website’s files and make them accessible to visitors worldwide.
Types of Web Hosting
There are several types of hosting, each suited for different needs and budgets:
- Shared Hosting: You share server resources with other websites. It’s the most affordable option and great for beginners or small websites with low traffic.
- VPS (Virtual Private Server) Hosting: A step up from shared hosting, a VPS provides a dedicated portion of a server’s resources. It offers more control and better performance.
- Dedicated Hosting: You rent an entire physical server. This option offers maximum performance and control but comes at a higher cost. It’s typically for high-traffic, enterprise-level websites.
- Cloud Hosting: Your website is hosted on a network of connected servers. This provides excellent scalability and reliability, as you can easily accommodate traffic spikes.
Choosing a Reliable Hosting Solution
When selecting a hosting provider, reliability and performance are paramount. A slow or inaccessible website can drive visitors away and harm your search engine rankings.
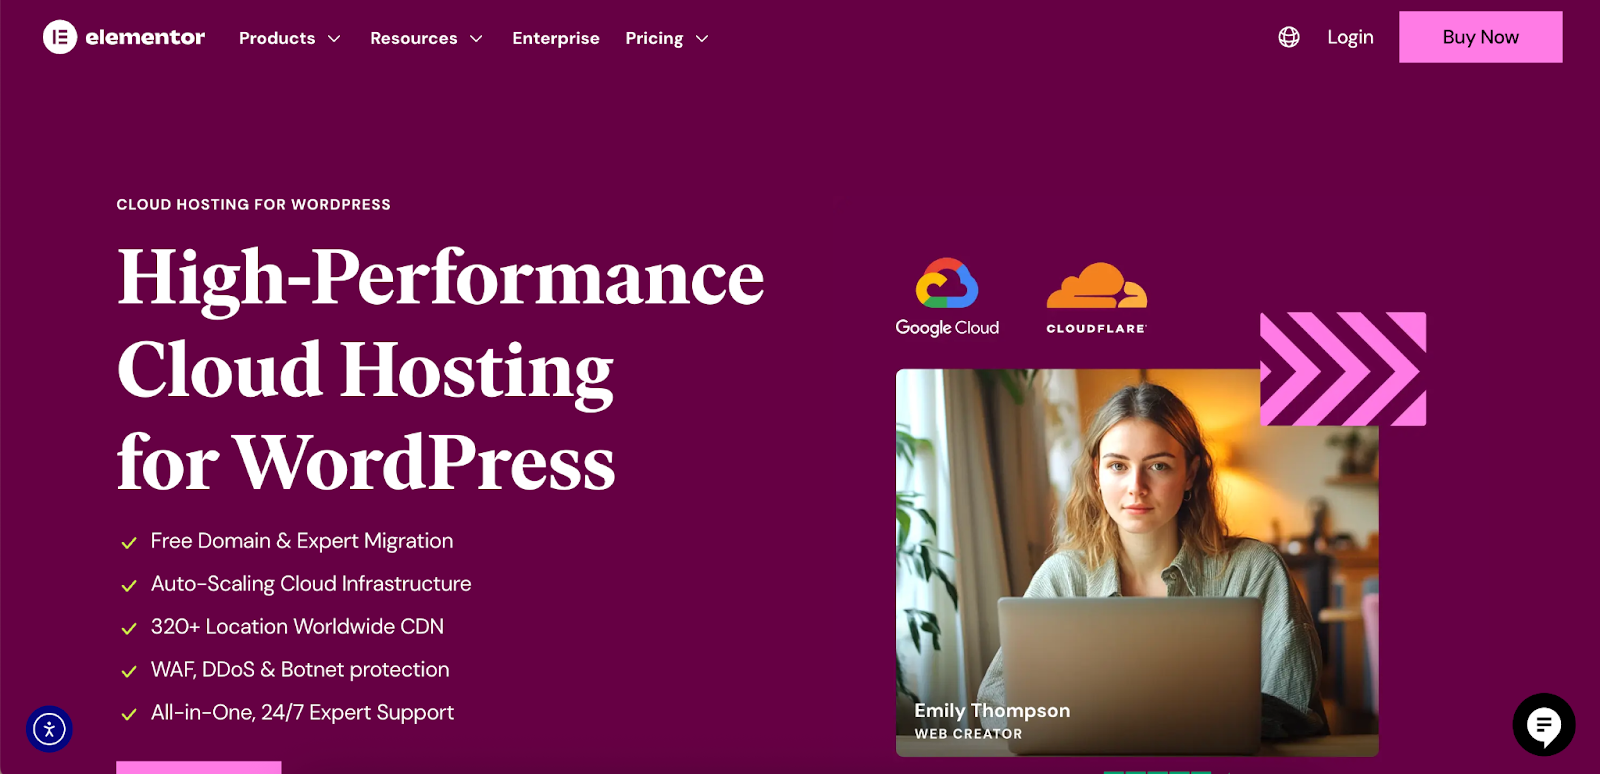
For creators who value performance and integrated support, an all-in-one solution like Elementor Hosting offers a streamlined experience. Built on Google Cloud Platform, it’s designed for high-performance WordPress sites.
Key considerations with Elementor Hosting:
- Performance-Focused: It leverages a top-tier cloud infrastructure, including Cloudflare’s CDN, to ensure your site is fast and can handle unexpected traffic spikes through auto-scaling.
- All-in-One Support: A significant pain point for website owners is getting caught between hosting support and plugin support, with each blaming the other for issues. With Elementor Hosting, you get expert support for both your hosting and the Elementor builder in one place.
- Security: It includes enterprise-grade security features like premium SSL certificates, DDoS protection, and a web application firewall (WAF) to keep your site secure.
By choosing a reliable hosting provider from the start, you create a stable and secure foundation for your website to grow.
Chapter 3: Choosing Your Platform and Tools
With your domain and hosting secured, the next step is to choose the platform you’ll use to build and manage your website. This decision will significantly influence your creative freedom, workflow efficiency, and long-term scalability.
Website Builders vs. Coding from Scratch
There are two primary paths to building a website: coding it manually or using a website builder.
- Coding from Scratch: This approach involves writing the website’s code using languages like HTML, CSS, and JavaScript. It offers unlimited customization but requires significant technical expertise and is far more time-consuming.
- Website Builders: These platforms provide a visual interface to design and build your site, often with drag-and-drop functionality. They are much more accessible for non-coders and dramatically speed up the creation process.
For most businesses and creators, a website builder is the most practical and efficient choice. It empowers you to create a professional-looking site without needing to become a developer.
Why WordPress + Elementor is a Powerful Combination
Within the world of website builders, there are many options. However, a Content Management System (CMS) like WordPress offers unparalleled flexibility and scalability. A CMS is software that allows you to create, manage, and publish digital content without needing to code every page.
WordPress is the world’s most popular CMS, powering over 43% of all websites on the internet. Its open-source nature means it has a massive community and an extensive ecosystem of themes and plugins to extend its functionality.
While WordPress provides the backend power, a page builder plugin like Elementor transforms the design experience. Elementor is a visual, drag-and-drop website builder that works on top of WordPress, giving you complete design control without writing code.
This combination gives you the best of both worlds: the robust content management capabilities of WordPress and the intuitive, visual design power of Elementor.
Kicking Off Your Design with Elementor’s Site Planner
One of the biggest hurdles in web creation is starting with a blank slate. It can be time-consuming to map out the structure, create wireframes, and write initial content. This is where a tool like Elementor’s Site Planner can revolutionize your workflow.
Instead of starting from scratch, the Site Planner uses an AI-powered chat to generate a complete website wireframe in minutes. You simply answer a few guided questions about your business or project, and it produces:
- An AI-Generated Sitemap: A logical structure of all recommended pages for your site.
- A Full Website Wireframe: Each page is built out with suggested layouts and sections.
- Tailored AI-Generated Content: The wireframe includes relevant placeholder copy to get you started.
This tool is designed for a professional workflow, helping you move from idea to a shareable draft quickly. It’s a powerful way to accelerate the initial planning and design phase, allowing you to show clients progress from day one and reduce back-and-forth revisions.
Chapter 4: Designing Your Website
With your platform chosen and a foundational structure in place, it’s time for the creative part: designing the look and feel of your website. Good design is about more than just aesthetics; it’s about creating a seamless and intuitive user experience that guides visitors toward your goals.
Core Principles of Good Web Design
A well-designed website builds trust and makes it easy for users to find what they need. Here are some fundamental principles to keep in mind:
- Simplicity and Clarity: Don’t overcrowd your pages. A clean, uncluttered layout helps users focus on your message. Ample whitespace can improve readability and create a feeling of sophistication.
- Visual Hierarchy: Arrange elements on the page to guide the user’s eye to the most important information first. Use size, color, and placement to create a clear order of importance.
- Consistency: Maintain a consistent look and feel across all pages. Use the same colors, fonts, and layout styles to create a cohesive brand experience.
- Navigability: Your website’s navigation should be intuitive and easy to use. A visitor should be able to understand where they are and how to get where they want to go with minimal effort.
- Mobile-Friendliness: With a majority of web traffic coming from mobile devices, a responsive design is essential. Your website must look and function perfectly on desktops, tablets, and smartphones.
Building with the Elementor Editor
The Elementor Editor is where you’ll bring your design vision to life. It’s an intuitive drag-and-drop interface that gives you precise control over every element on your page.

Key Features of the Elementor Editor:
- Widgets for Every Purpose: Elementor offers a vast library of over 100 widgets—from headings and buttons to image carousels and contact forms—that you can drag directly onto your page.
- Live, Responsive Editing: You can see your changes in real-time as you make them. Elementor also provides robust responsive controls, allowing you to fine-tune the appearance of your site on different devices (desktop, tablet, and mobile) without touching a line of code.
- Theme Builder: Go beyond individual pages and take control of your entire website’s structure. With Elementor’s Theme Builder, you can design custom headers, footers, blog post templates, and archive pages, ensuring brand consistency across your whole site.
- Advanced Styling Capabilities: For those who want to push their designs further, Elementor includes advanced options like custom CSS controls, motion effects, and the ability to upload custom fonts and icons.
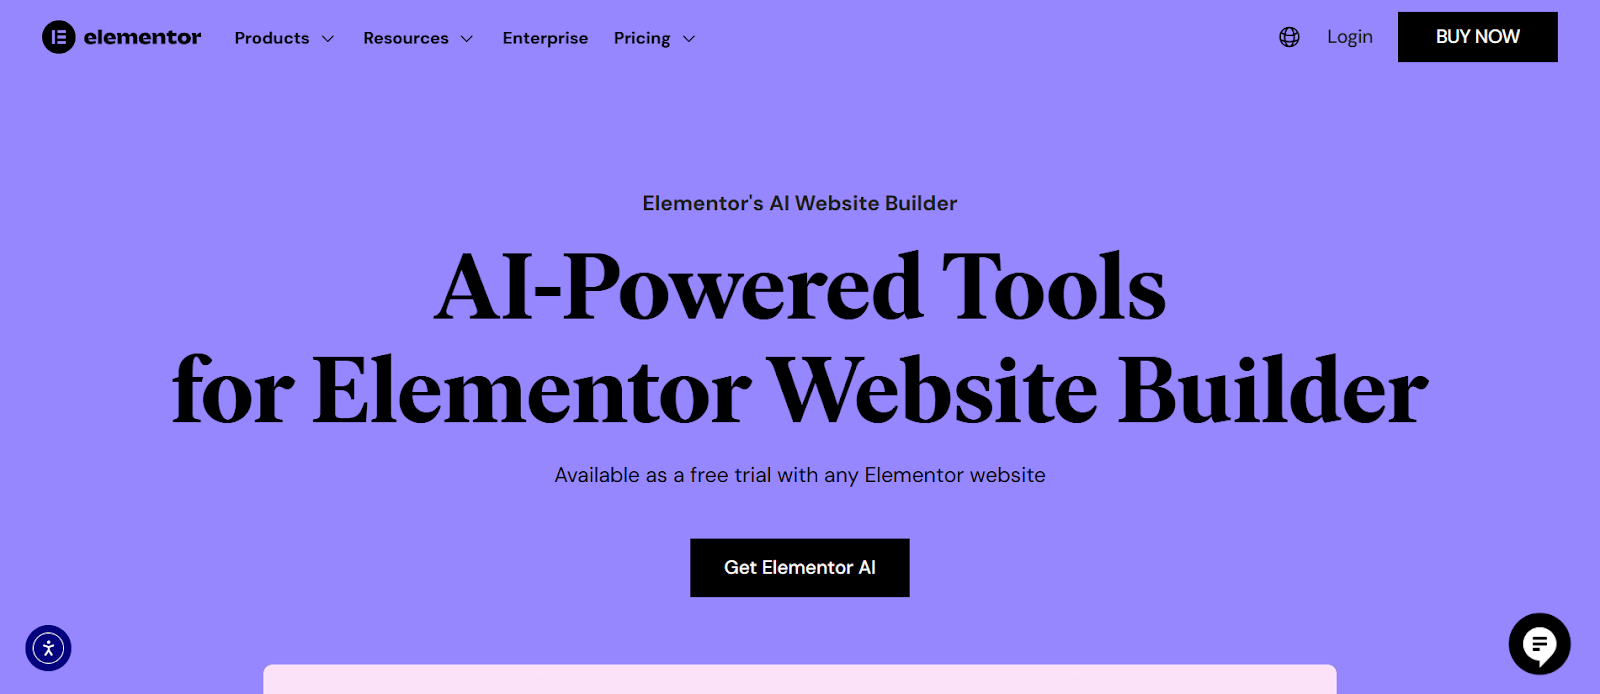
Enhancing Your Workflow with Elementor AI
To further streamline the design and content creation process, Elementor AI is built directly into the Editor. This creative assistant helps you overcome creative blocks and handle technical tasks without leaving your workflow.
How Elementor AI Can Help:
- Generate and Refine Text: Create high-quality copy for headlines, descriptions, and CTAs on the fly. You can also use it to adjust the tone, translate text, or fix spelling and grammar.
- Create Custom Code: Need a specific styling tweak? You can ask Elementor AI to generate custom CSS or HTML snippets from a simple text prompt, giving you advanced customization capabilities without needing to be a coding expert.
- Generate and Edit Images: Create unique images, remove backgrounds, or expand image canvases directly within the editor. This eliminates the need to switch between different photo editing tools.
By leveraging these tools, you can build a visually stunning and highly functional website faster and more efficiently than ever before.
Chapter 5: Creating Your Website’s Content
Content is the heart of your website. It’s what informs, engages, and persuades your visitors. Your design provides the structure, but your content delivers the message. Developing a clear content strategy ensures that what you publish is valuable, relevant, and aligned with your goals.
Planning Your Essential Pages
Every website needs a core set of pages that serve fundamental purposes. While your specific needs may vary, most websites should include:
- Homepage: Your virtual front door. It should clearly and concisely communicate what you do, who you do it for, and what you want visitors to do next.
- About Page: This is your chance to tell your story, share your mission, and build a personal connection with your audience.
- Products/Services Page: Detail what you offer. Use high-quality images, clear descriptions, and compelling benefits to showcase your value.
- Contact Page: Make it easy for visitors to get in touch. Include a contact form, email address, phone number, and physical address if applicable.
- Blog: A blog is a powerful tool for driving organic traffic, demonstrating your expertise, and keeping your audience engaged with fresh content.
Writing for the Web: Best Practices
Writing for a website is different from writing for print. Users tend to scan online content, looking for key information. To capture their attention, follow these best practices:
- Use Clear and Concise Language: Get straight to the point. Avoid jargon and corporate speak.
- Break Up Text: Use short paragraphs, headings, subheadings, and bullet points to make your content easy to skim.
- Focus on Benefits, Not Just Features: Instead of just listing what your product does, explain how it solves your customer’s problem or improves their life.
- Incorporate Strong Calls-to-Action (CTAs): Tell visitors exactly what you want them to do next, whether it’s “Buy Now,” “Sign Up for Our Newsletter,” or “Contact Us for a Quote.”
- Optimize for Search Engines (SEO): Conduct keyword research to understand the terms your audience is searching for and naturally incorporate them into your content. This helps search engines understand what your pages are about and rank them accordingly.
The Importance of High-Quality Visuals
Images and videos are essential for creating an engaging user experience. They can break up text, illustrate concepts, and evoke emotion far more quickly than words alone.
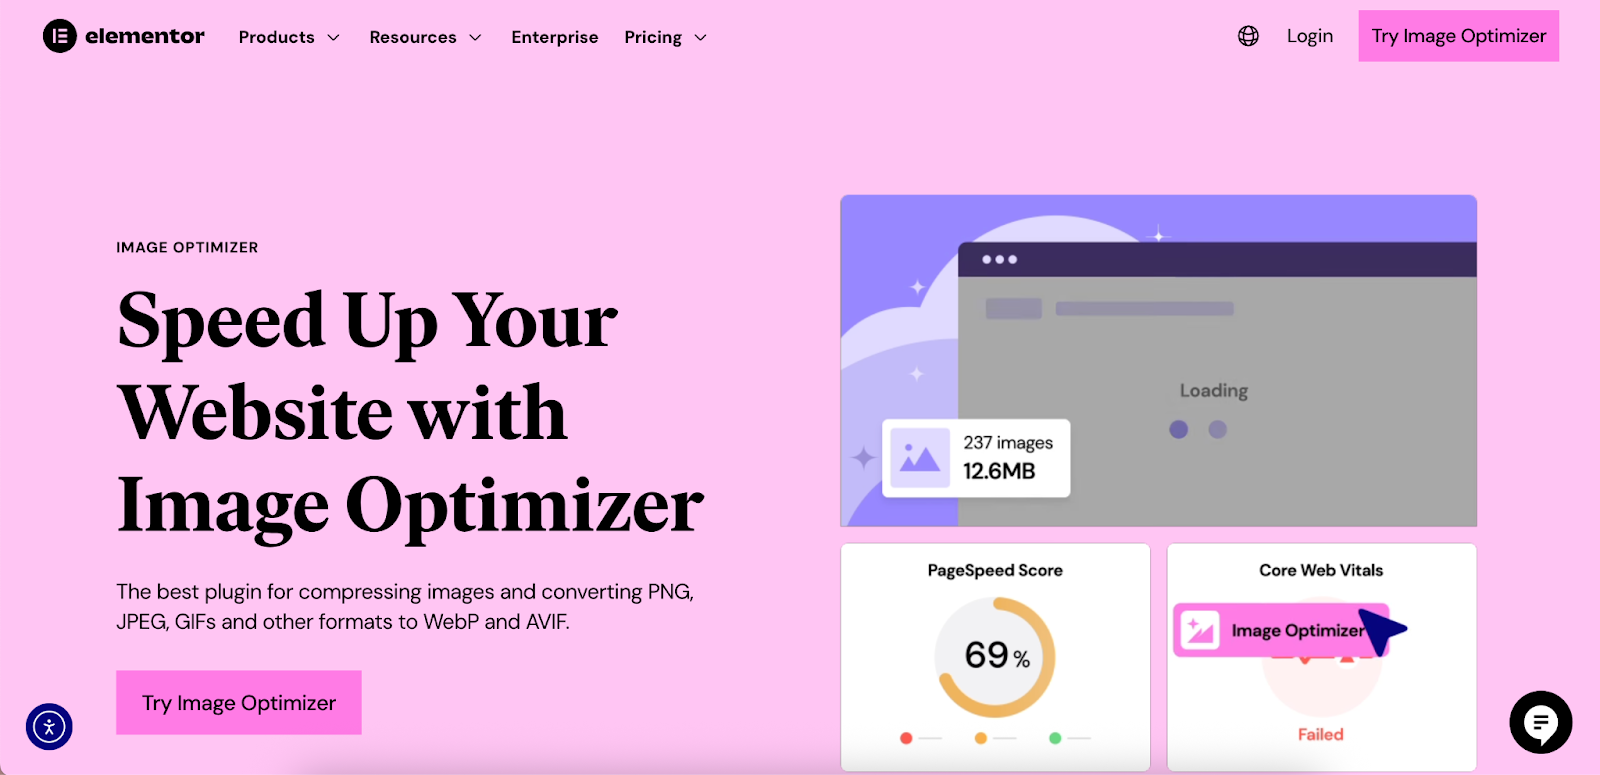
- Use High-Resolution Images: Blurry or pixelated images look unprofessional. Use high-quality photos, graphics, and icons that are relevant to your content.
- Optimize Images for Performance: Large image files are one of the biggest causes of slow page load times. Before uploading, compress your images to reduce their file size without sacrificing too much quality.
A plugin like Image Optimizer by Elementor can automate this process. It seamlessly integrates into your WordPress media library to compress and convert images to next-gen formats like WebP, ensuring your site loads quickly. It can reduce image file sizes by an average of 60%, significantly improving your site’s performance and user experience.
Chapter 6: Pre-Launch Checklist and Testing
Before you unveil your website to the world, it’s crucial to conduct a final round of checks and tests. A thorough pre-launch review ensures that everything works as intended, providing a smooth and professional experience for your first visitors. This step helps you catch small errors that could otherwise undermine your credibility.
Technical and Functional Checks
Go through your entire site with a fine-toothed comb to ensure all technical elements are in order.
Your Pre-Launch Technical Checklist:
- Test All Links: Click on every internal and external link to make sure they lead to the correct destination and that there are no broken links (404 errors).
- Check All Forms: Submit test entries on all your forms (contact, lead generation, etc.) to confirm they are working correctly. Ensure the submissions are being sent to the right email address. A reliable email delivery system is critical here.
- Ensuring Email Deliverability: Standard WordPress email functions can sometimes be unreliable, with form notifications landing in spam folders. A tool like Site Mailer by Elementor solves this by ensuring your transactional emails (form submissions, password resets, order confirmations) are delivered reliably without complex SMTP configurations.
- Cross-Browser Compatibility: Preview your website on major web browsers like Chrome, Firefox, Safari, and Edge to ensure it displays correctly on all of them.
- Mobile and Tablet Responsiveness: Thoroughly test your site on different devices and screen sizes. Make sure text is readable, buttons are tappable, and the layout adapts properly.
Content and Design Review
Step back and review your site from a user’s perspective.
- Proofread Everything: Check for typos, grammatical errors, and awkward phrasing. It can be helpful to have someone else read through your content with fresh eyes.
- Verify All Content: Ensure all placeholder text (lorem ipsum) has been replaced with final content and that all images and videos are displaying correctly.
- Check for Consistency: Confirm that your fonts, colors, and branding elements are consistent across the entire site.
SEO and Analytics Setup
Prepare your site to be found by search engines and to track your performance from day one.
- On-Page SEO: Make sure every page has a unique and descriptive title tag and meta description. Check that your headings (H1, H2, H3) are used correctly to structure your content.
- Install Analytics: Set up a tool like Google Analytics to track your website traffic, user behavior, and conversion goals. This data will be invaluable for making informed decisions post-launch.
- Submit Your Sitemap to Google: A sitemap is a file that lists all the pages on your website. Submitting it to Google Search Console helps Google discover and index your content more efficiently.
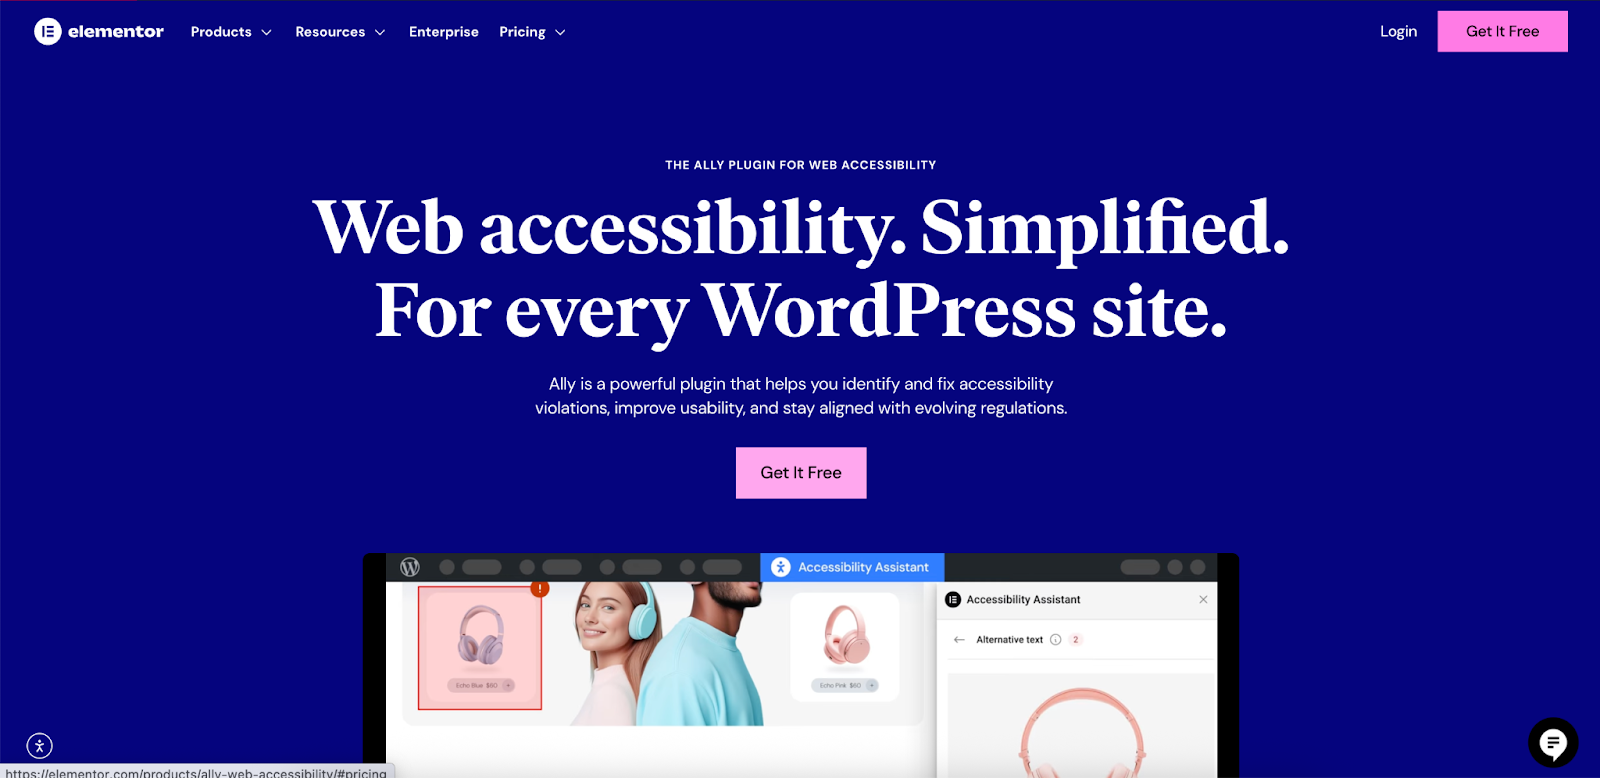
A Note on Web Accessibility
Web accessibility is the practice of designing and building websites that can be used by everyone, including people with disabilities. It’s not just a matter of compliance; it’s about providing an inclusive experience for all users.
Consider using a tool like Ally by Elementor, a web accessibility plugin for WordPress. It provides tools to help make your website more accessible, such as a usability widget for visitors to adjust contrast and text size, and guided recommendations to help you resolve common issues. Focusing on accessibility from the start demonstrates your commitment to inclusivity and can improve the user experience for everyone.
Chapter 7: Launching and Beyond
After meticulous planning, designing, and testing, the moment has arrived: it’s time to launch your website. But the work doesn’t stop once your site is live. A successful online presence requires ongoing maintenance, promotion, and optimization to ensure it continues to meet your goals and serve your audience effectively.
The Big Launch
Announcing your new website is an exciting step. Here’s how to make a splash:
- Create a Launch Plan: Don’t just quietly publish your site. Plan a coordinated announcement across multiple channels.
- Announce on Social Media: Share the news with your followers on all your social media platforms. Create teaser content in the days leading up to the launch to build anticipation.
- Email Your List: If you have an email list, send out a launch announcement. These are your warmest leads and most loyal followers.
- Write a Blog Post: Publish a blog post on your new site announcing the launch. Talk about the new features, the design process, and what visitors can expect.
- Reach Out to Your Network: Inform colleagues, partners, and friends. Word-of-mouth is a powerful marketing tool.
Post-Launch Website Maintenance
A website is a living entity that requires regular care to remain secure, functional, and relevant.
Essential Maintenance Tasks:
- Regular Backups: Consistently back up your website’s files and database. This is your safety net in case anything goes wrong. Many hosting providers, including Elementor Hosting, offer automated daily backups.
- Software Updates: Keep WordPress, your theme, and all your plugins updated. These updates often contain crucial security patches and bug fixes.
- Security Scans: Regularly scan your site for malware and vulnerabilities to protect your data and your visitors.
- Monitor Performance: Keep an eye on your site’s speed and uptime. Use tools like Google PageSpeed Insights to identify and fix performance bottlenecks.
- Fix Broken Links: Periodically check for and fix any broken links that may have appeared over time.
Analyzing and Optimizing for Growth
Your website analytics provide a wealth of information about what’s working and what isn’t. Regularly review your data to make informed decisions for growth.
- Track Key Metrics: Monitor your traffic sources, most popular pages, bounce rate, and conversion rates in Google Analytics.
- Gather User Feedback: Use surveys or feedback forms to understand your users’ experience and identify areas for improvement.
- Conduct A/B Testing: Test different versions of your headlines, CTAs, and page layouts to see what resonates best with your audience and drives more conversions.
- Continuously Update Content: Keep your content fresh and relevant. Update old blog posts with new information and continue to publish new content to attract and engage your audience.
Building a website is a significant achievement, but its long-term success depends on your commitment to its ongoing evolution. By following this guide, you have the framework and the tools to not only create a professional website but also to turn it into a powerful asset for your brand or business.


