Add the widget
Add the widget to the canvas
To access and use a widget:
-
In Elementor Editor, click +.
All available widgets are displayed. -
Click or drag the widget to the canvas. For more information, see Add elements to a page.
What is the Product Categories widget?
The Product Categories widget is mostly used on product archive pages. It allows you to create a page that displays your products by categories.
See all the options available with the Product Categories widget.
Common use case
Frances is creating a website for a bakery. The site will include a catalog of their products so customers can order online.
Example
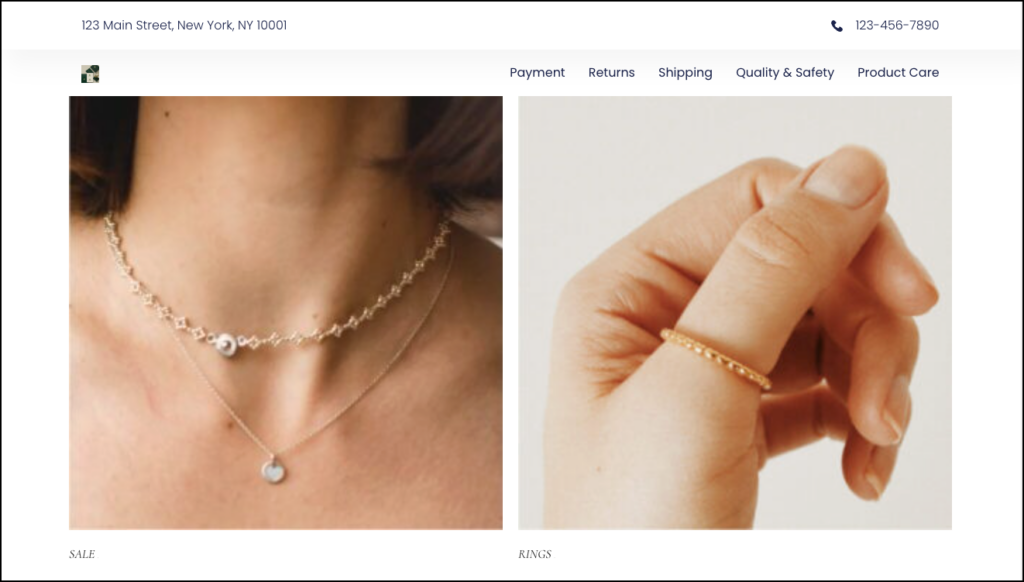
Video
See a video demonstrating the widget in action.
Adding a Product Categories widget: Step-by-step
In the example below, we’ll create a page displaying the types of goods available at a bakery.
Add a Product Categories widget
To add a Product Categories widget:
- Go to your WP-Admin page.
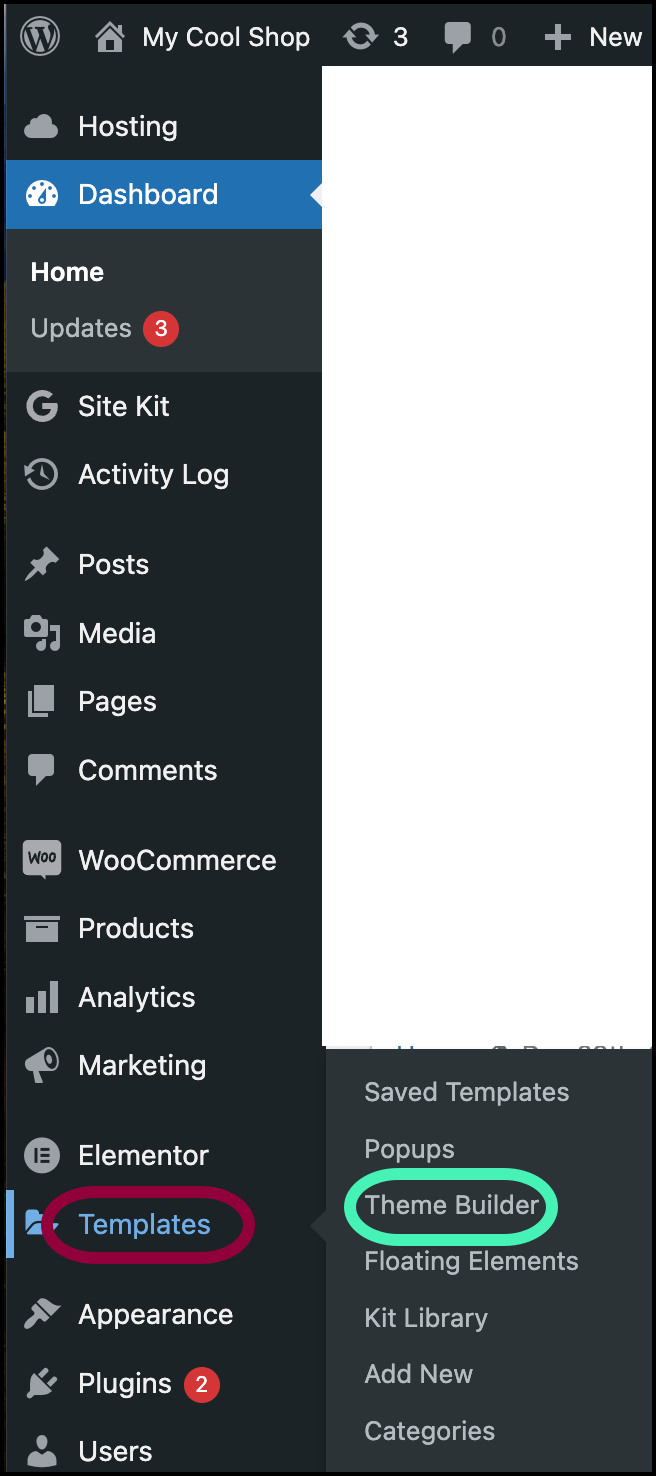
- Navigate to Templates>Theme Builder.
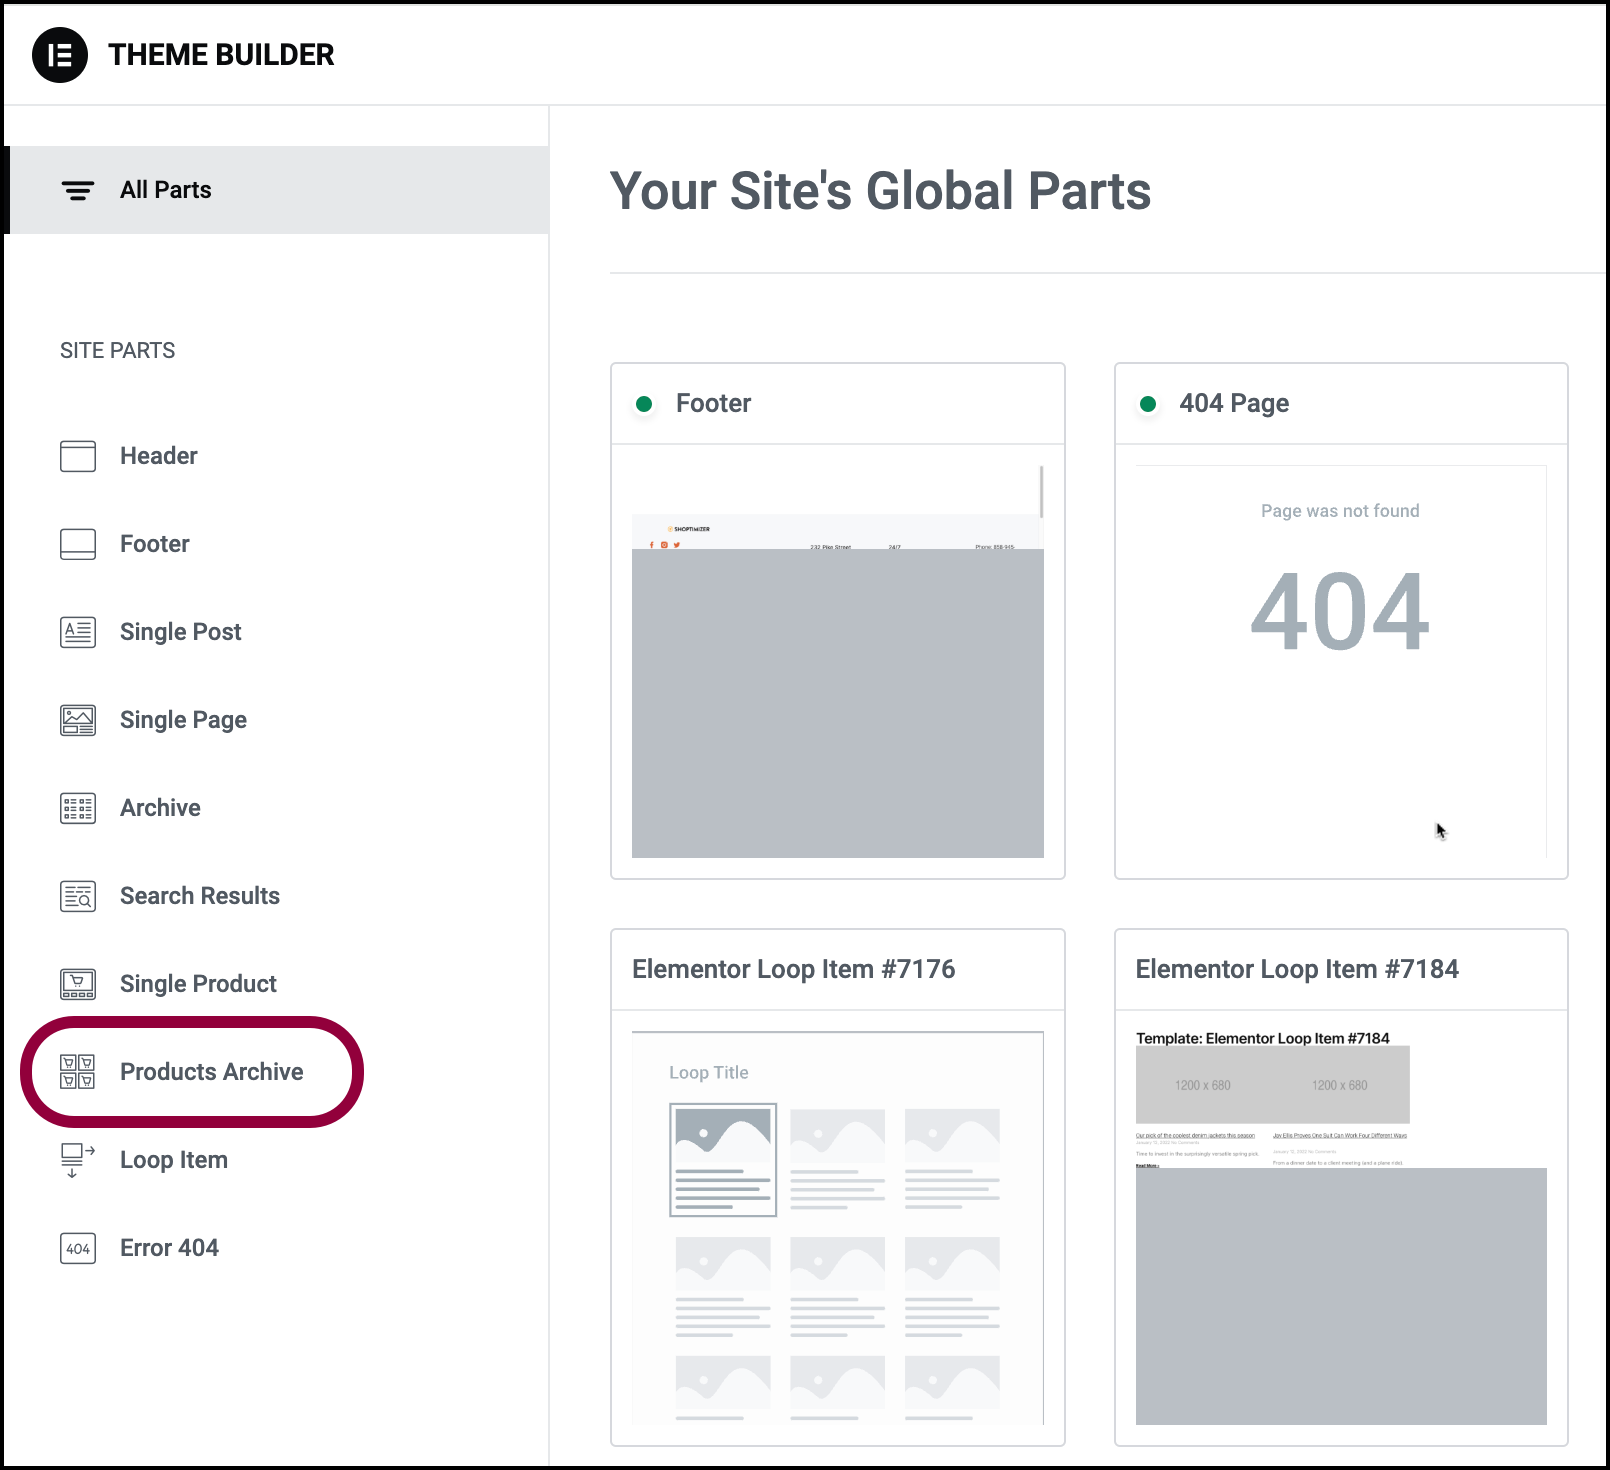
- Click Products Archive.
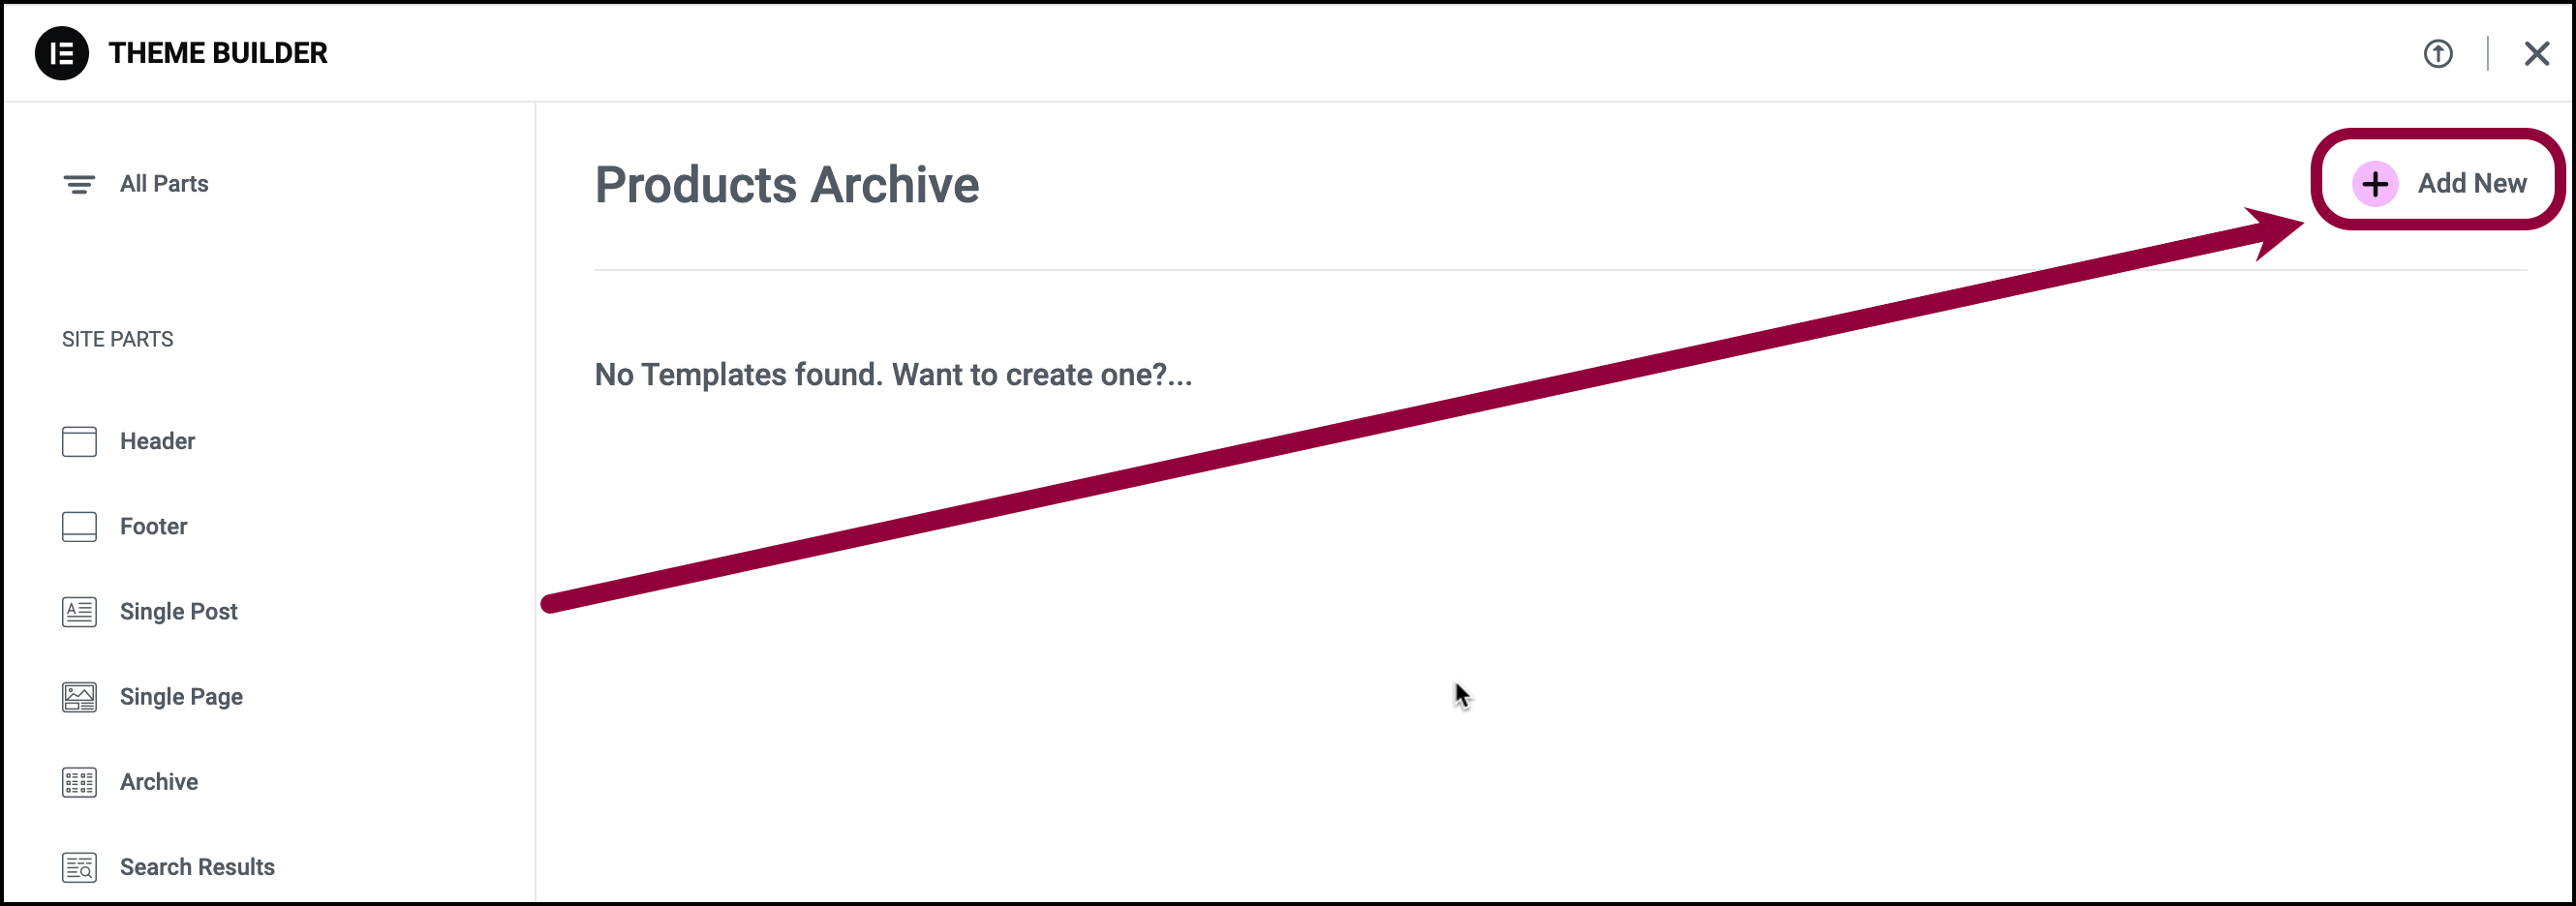
- Click Add New in the upper right corner.
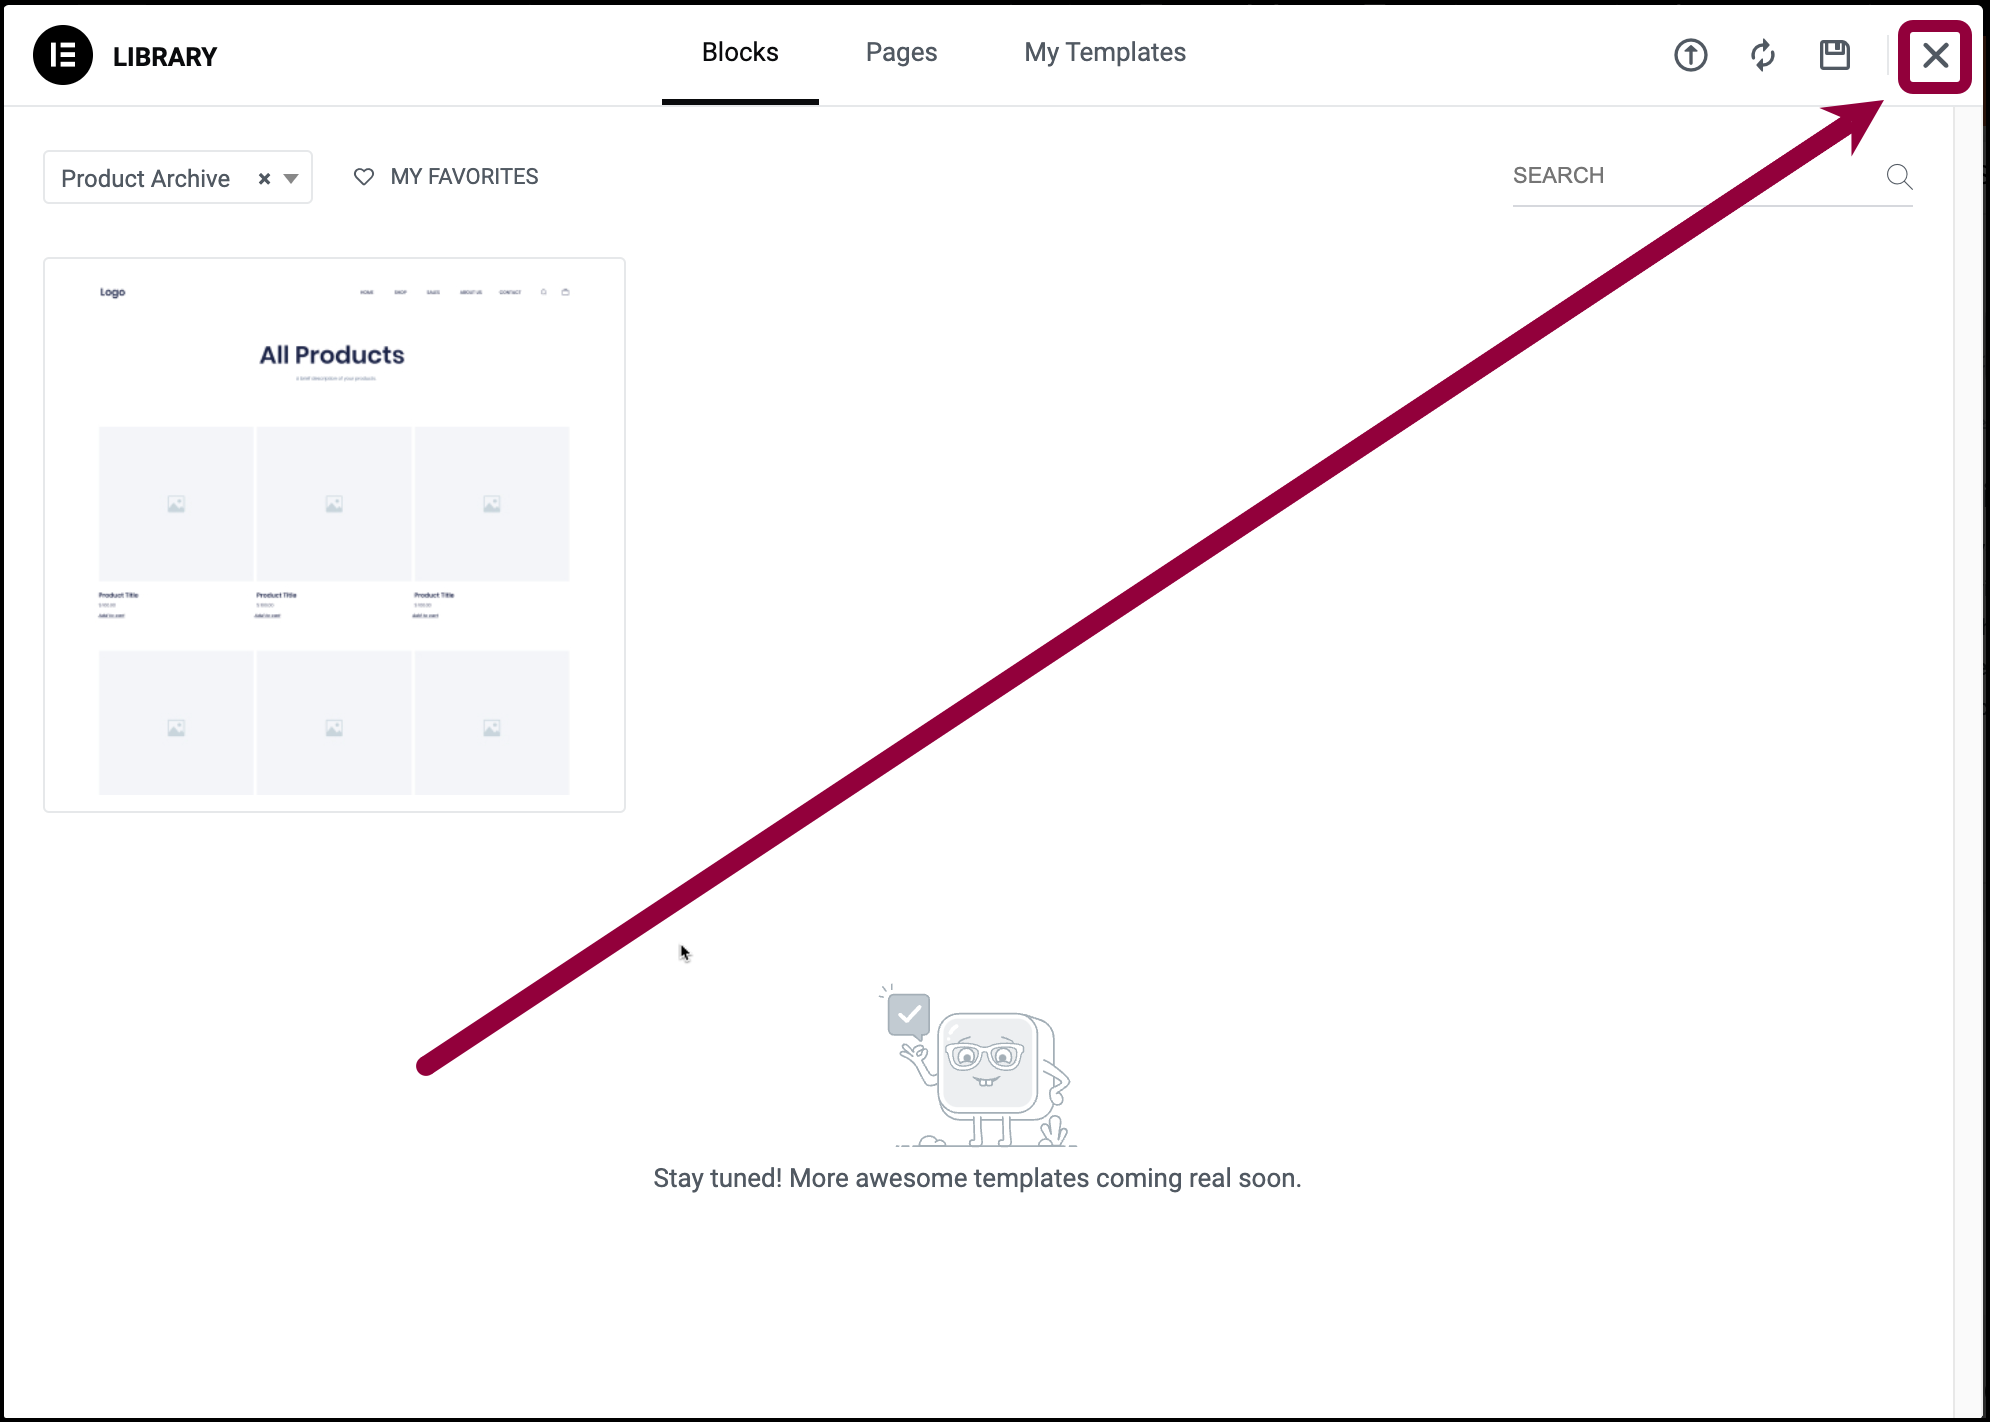
- Click X, in the upper right corner, to close the library window.

- Click the folder icon on canvas.
This opens the template library. - Add a Header to the page.
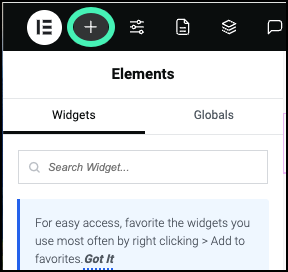
- In the top bar, click the + icon to access the widgets.
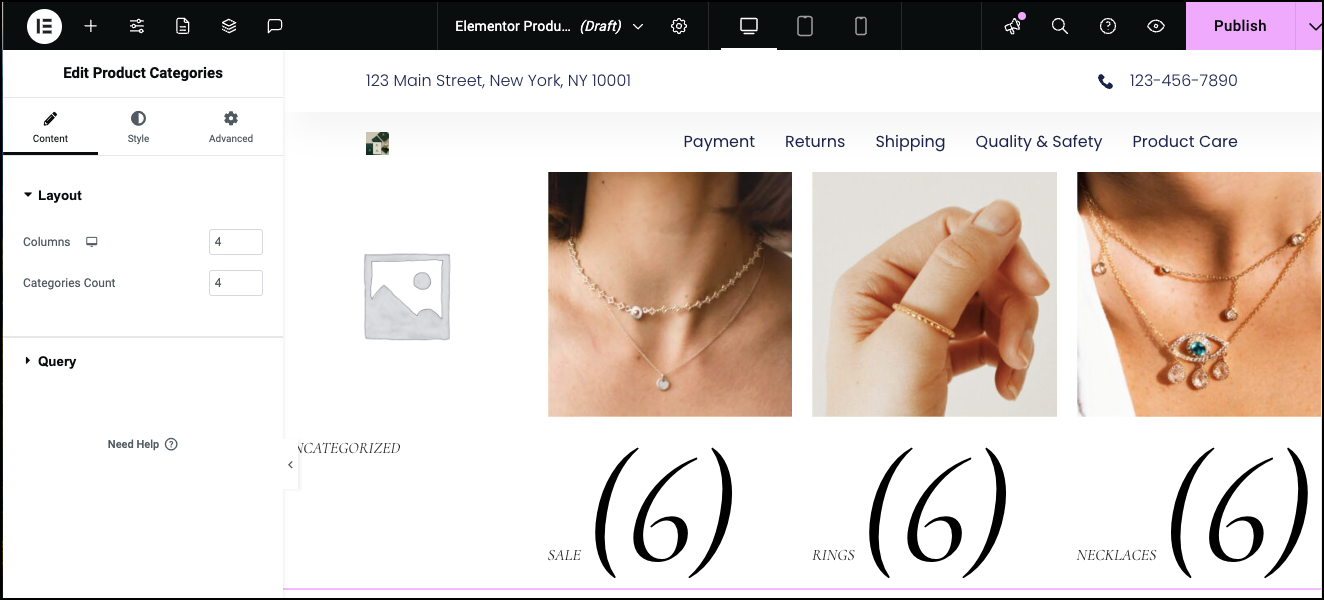
- Drag the Product Categories widget to the canvas.
This isn’t exactly what we want so let’s edit the contents and style.
First, we don’t want to display the category Uncategorized.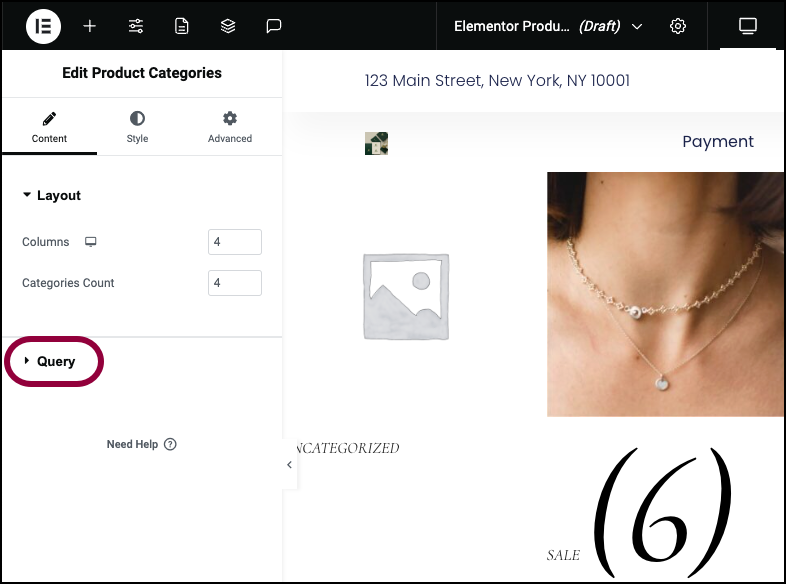
- In the panel, open the Query field.
The Source field allows you to filter what categories are displayed by the archive.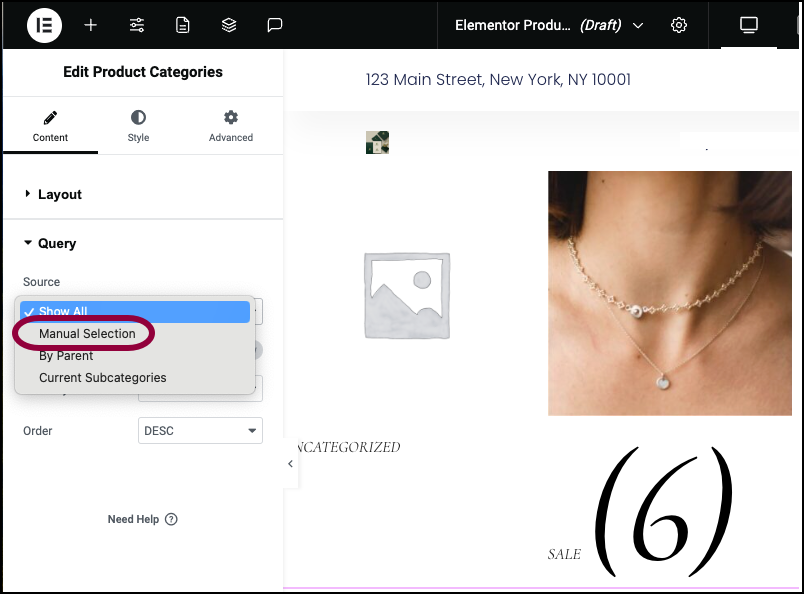
- Use the dropdown menu to choose Manual Selection.
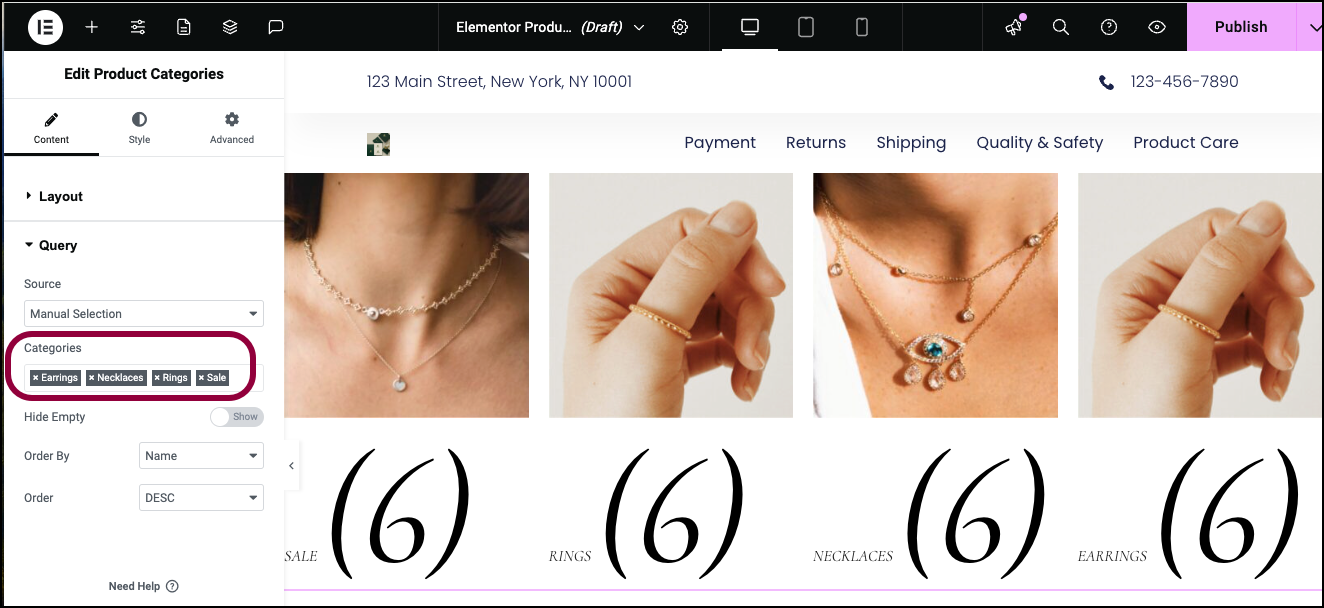
- Use the text box to enter the names of the categories we want to include. In this case, we’ll include all categories except Uncategorized.
In order to give each category more room, we can display two columns on each row instead of four.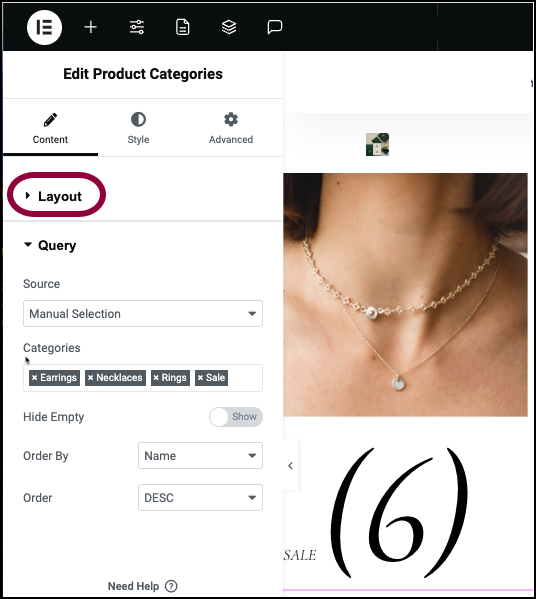
- Open the Layout section.
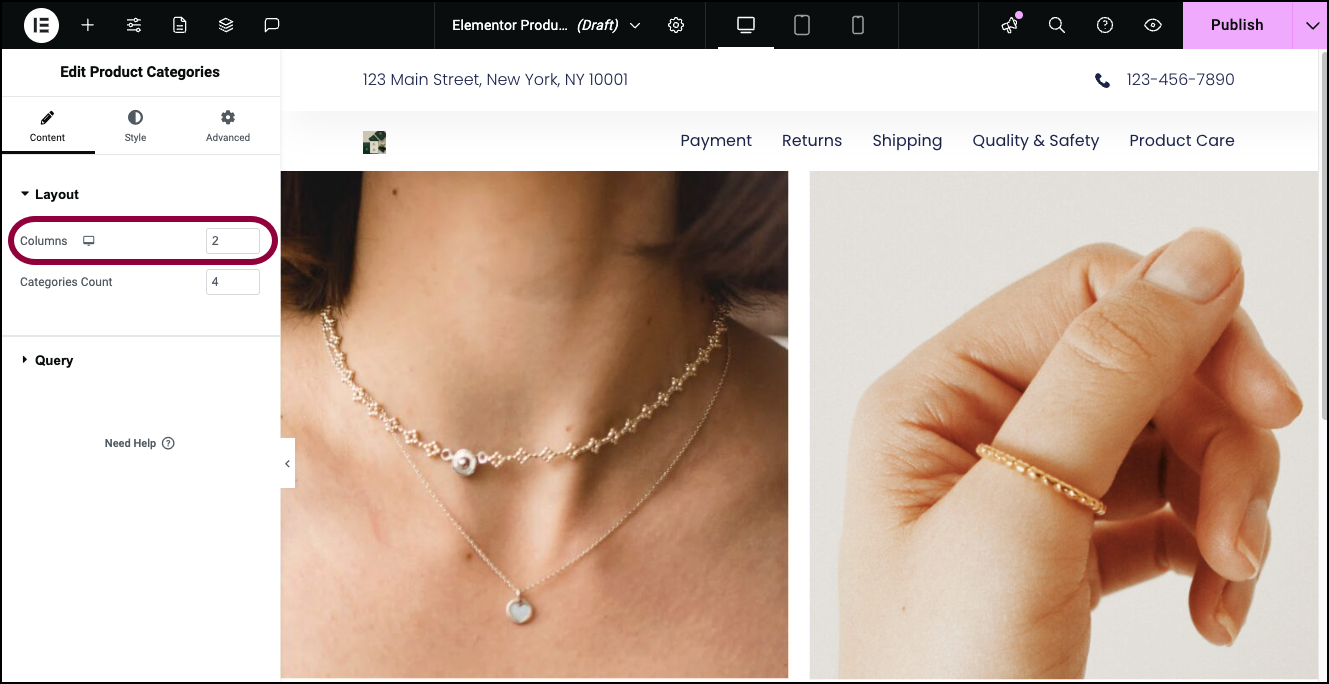
- In the Column field, enter 2.
By default, the Product Category widget displays the number of products in the category. In our case we don’t need that. We’ll do this through the Style tab.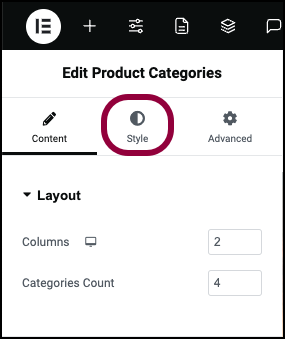
- Click the Style tab.
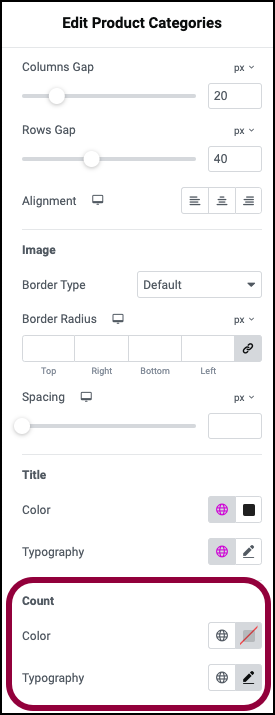
- Scroll down to the Count section.
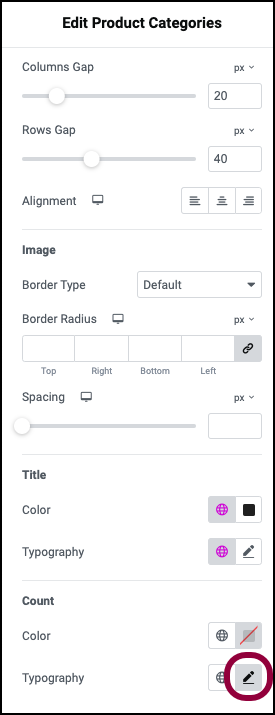
- Click the pencil icon next to Typography.
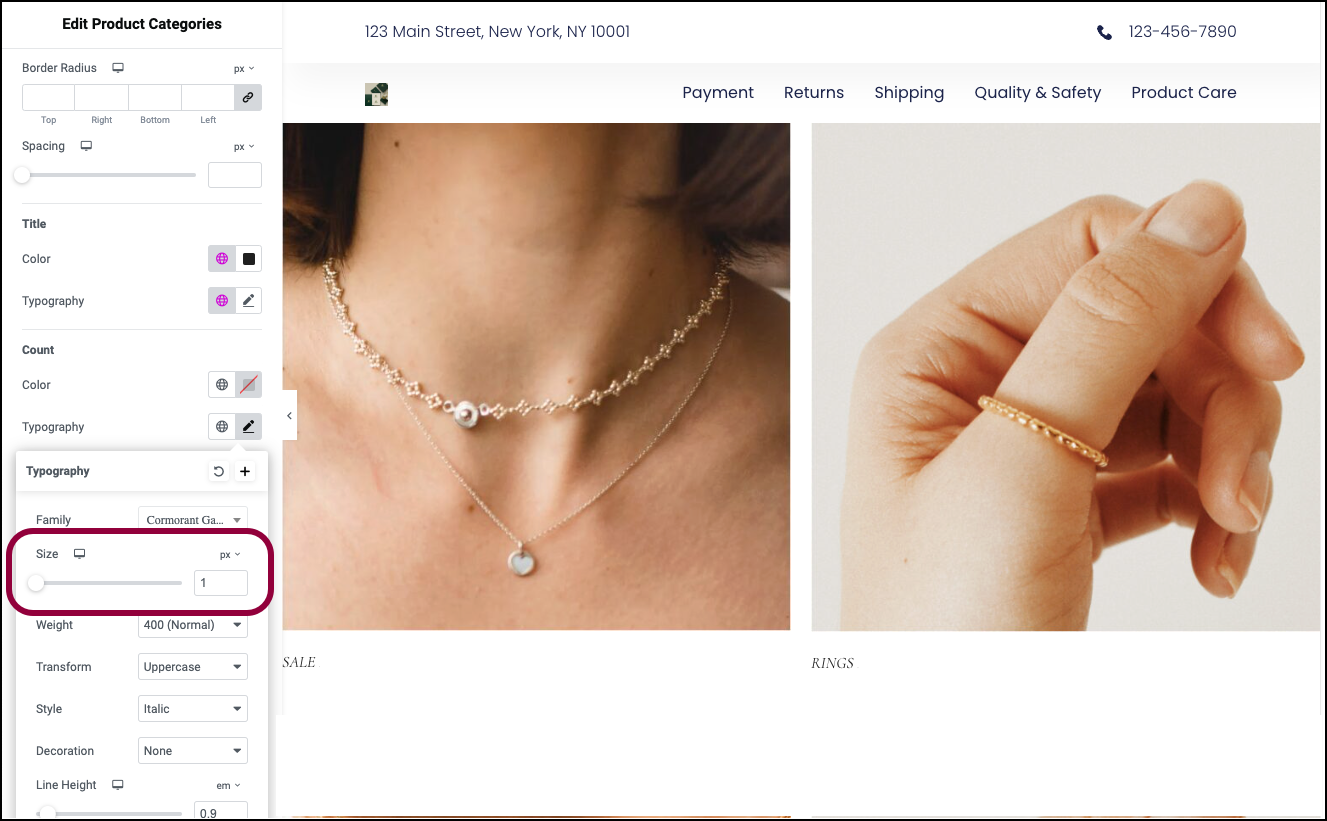
- Reduce the font size to 1.
The page is now ready.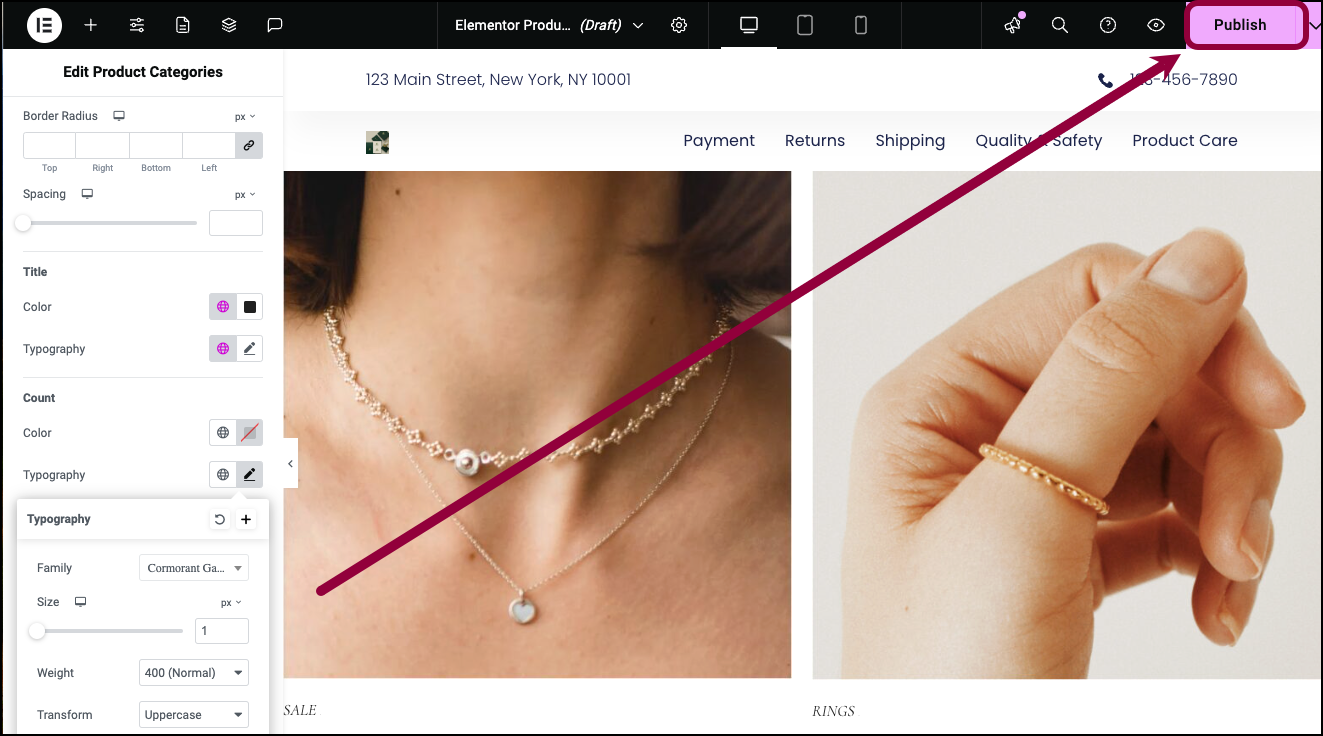
- Click Publish.
The Conditions window appears.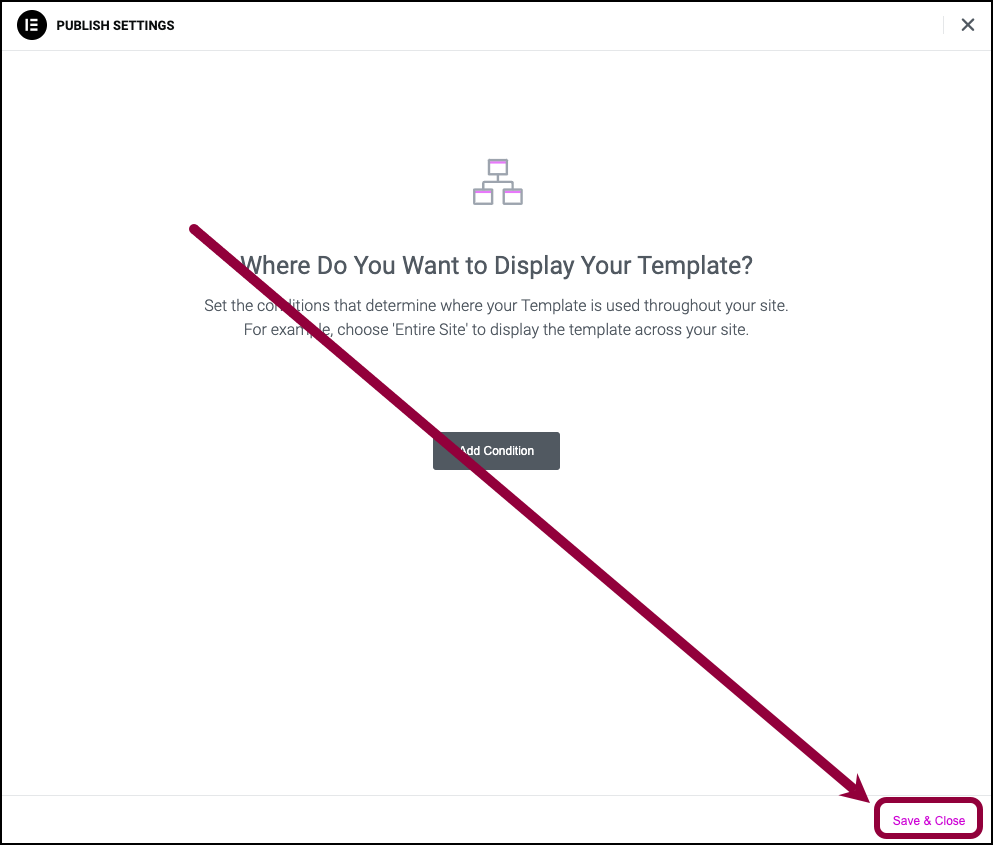
- We don’t want to add any special conditions, so click Save & Close.
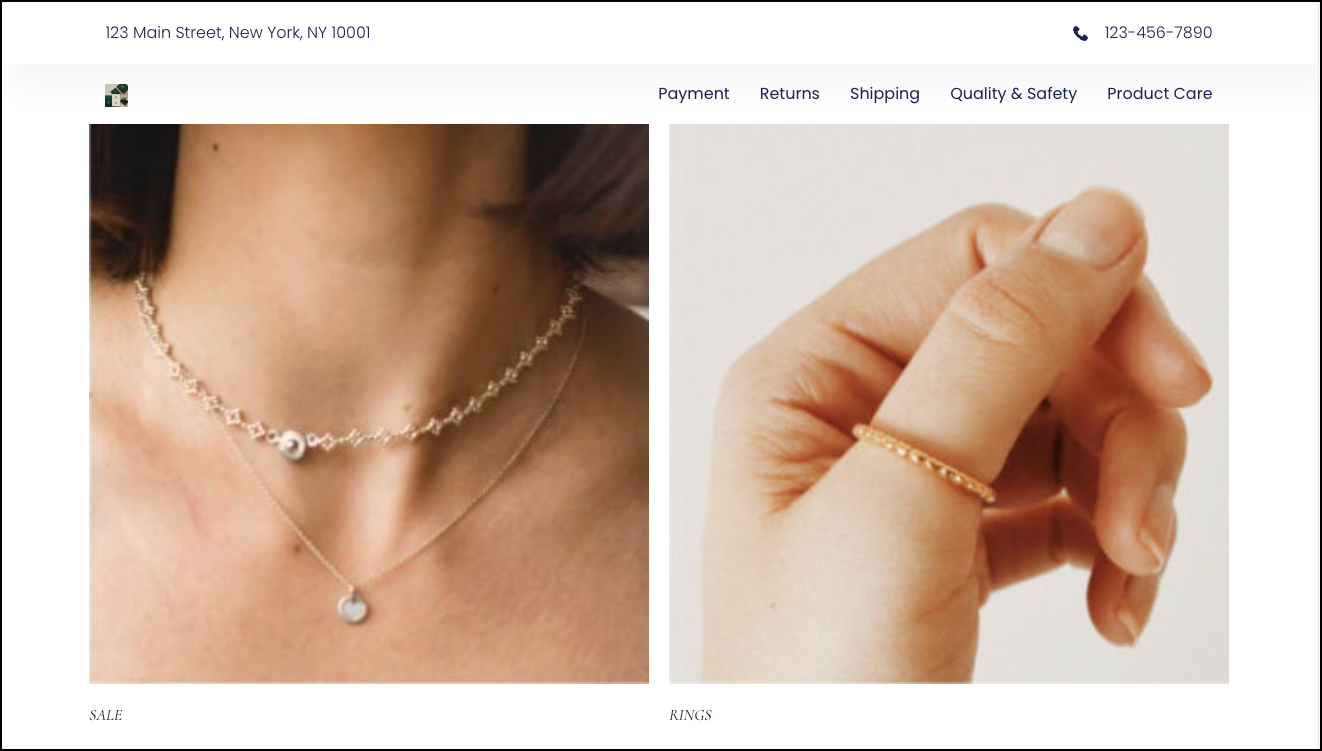
The template is ready.
To see how to create an archive that will display the products within a category, check this video tutorial.
Settings for the Menu widget
You can customize your widgets using content, style, and other advanced parameters, offering you great flexibility in tailoring them to your needs. Click the tabs below to see all the settings available for this widget.
Content tab
Add, delete, and edit menu items and controls.
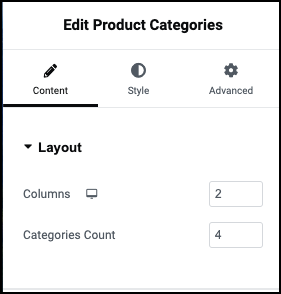
Column
Categories are displayed along rows and columns. Use the dropdown to choose how many columns will be in a row.
Categories Count
Use Categories Count to limit the number of categories that will appear on a page.
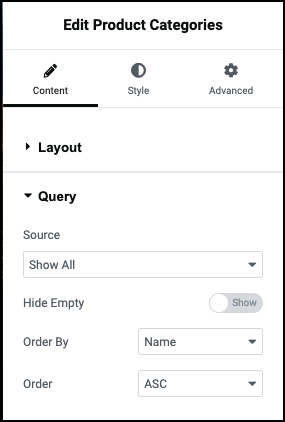
Source
Use the dropdown menu to choose one of four ways to select the categories that will be displayed:
- Show all: Show every category, including children categories.
- Manual Selection: If you choose Manual Selection, a text box appears. Click the + sign to add categories one by one.
- By Parent: Choose Only Top Level to display a page of all the parent categories or select a parent category to display all its child categories.
- Current Subcategories: Used for second-level category pages. Choosing this will display only the subcategories of the selected category. For example, in a jewelry store, if a user is looking at the Rings category page, selecting Current Subcategories would display on the child categories of Rings.
Hide Empty
Toggle to Show if you want to display categories even if they don’t have any products.
Order By
Categories can be ordered by:
- Name: The Category name from A-Z.
- Slug: The slug is the part of the URL. For example, a store may have a category Our sale items with a URL of www.mystore.com/sale-items. The slug would be sale-items.
- Description: When creating a category, you have the option to add a description. This option arranges the categories by these descriptions.
- Count: Arrange the categories according to how many items they contain.
Order
Arrange the categories by:
- ASC: Ascending order, from A-Z or 1-10.
- DESC: Descending order, from Z-A or 10-1.
Style tab
Determine the look and feel of menu items and controls.

Products
Control how the categories are displayed:
- Columns Gap: Control the amount of space between the categories in a row.
- Rows gap: Control the amount of space between the rows of categories.
- Alignment: Have the categories appear:
 Flushed to the left.
 Centered
 Flushed to the right.
Image
You can add images to your categories using the WooCommerce plugin. If your categories have images you can style these images:
- Border Type: Use the dropdown menu to add a border around the images. If you add a border, you can choose:
- Border width: Use the text boxes to set a top, bottom, right and left border thickness.
- Border color: For details, see Choose a color or Use global fonts and colors.
- Border Radius: For details, see Border radius tools.
You can adjust the amount of area between the image and category data.
- Spacing: Use the slider to adjust the amount of space between the image and category data.
Title
Set the color and typography of the category titles.
- Color: For details, see Choose a color or Use global fonts and colors.
- Typography: Set the font type and size. For details, see Typography.
Count
The bumber of products within a category appears alongside the category name. Set the color and typography of these numbers.
- Color: For details, see Choose a color or Use global fonts and colors.
- Typography: Set the font type and size. For details, see Typography.
Advanced tab
Control the placement of your widget, insert links, add custom code and more.

Advanced
Learn more about the Advanced tab settings.

