This document is to help you learn more about working with website kits and their structure. It can then help you choose the correct kit for your Elementor hosted website.
What are site kits
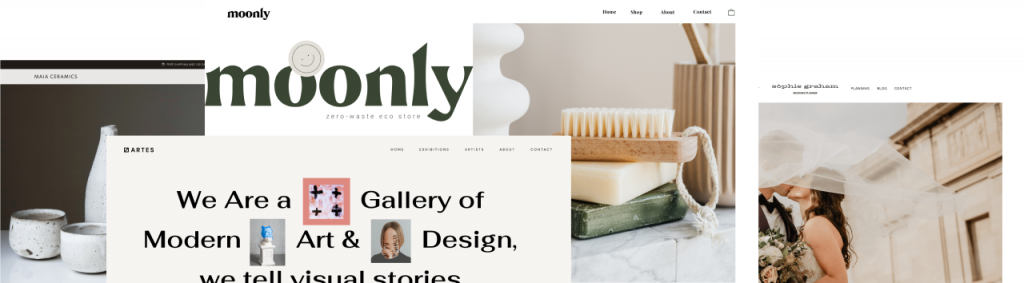
Website kits are a bundle of templates, pages, popups, and all the needed parts for a complete website. Rather than importing each template individually as we have done in the past, you may now import all the content at once.
The Kit Library can also help you learn about website structure, including all must-have pages and parts that every website needs to include. Each kit comes with a complete design and structure of a full website and includes content pages, Theme Builder parts, and Popups.
You may ask, What all comes in a kit?
Template Kits are bundled with all the needed kit styles including global fonts and colors, and Theme Builder templates to get you started with your Elementor Website.
How do I get these onto my website?
These kits can be imported in just a few clicks. After importing, you can customize your kit to fit your needs.
How Kits Are Structured
You can see a working demo of the complete kit before importing. By clicking the Overview button at the top of the kit, you may view all the items that you will be importing. These generally include the following standard templates but may vary depending on the Kits functionality:
WooCommerce templates will also include:
Note: Please be advised that some of the kits contain third-party images, videos, media, files, audio and other visual components. While we have the right to use them in our Kits Library, we cannot ensure that you may use them in your own product. Therefore, please replace or remove all above assets from your copy of the Kits.
Summary
Now that you have learned how to work with kits and their structure, you may now make the next choice and select your kit and import it.
Important: Importing Template Kits may overwrite or append your current site data. It is best to use Template Kits on a new installation or after a reset. Please make a backup if installing a kit on an existing site.
What’s Next
Are you ready to select a kit?
Wondering how to customize your kit?
Need to backup your Elementor hosted website?

