The XXXX widget is an experimental feature that XXX

In order to use XXX widget, you need to activate it. For details, see activating Elementor features

Add the widget

Google maps icon Google Maps widget 1

To access and use a widget:

  1. In Elementor Editor, click +.
    All available widgets are displayed.

  2. Click or drag the widget to the canvas. For more information, see Add elements to a page.

What is the Google Maps widget?

The Google Maps widget is a really simple way to embed Google Maps in your website. This is very useful for contact pages, so your visitors can know where you are located.

See all the options available with the Google Maps widget.  

Common use case

Francis is building a website to a new restaurant. The want to add a digital map to the front page to help guide new customers to the restaurant. 

A vibrant oasis of plant-based delights, our vegan restaurant offers a culinary journey that nourishes both body and soul. Savor a harmonious blend of flavors, textures, and creativity, all crafted with the finest organic ingredients and a commitment to sustainable practices.

Additional use cases

  • A travel agency that once to add maps to the page showing their itineraries. 
  • A real estate agent showing the location of the houses they are showing.
  • A hotel chain showing the location of their properties.

Video

See a video demonstrating the Google Maps widget in action. 

Adding a Google Maps widget: Step-by-step

In the example below, we’ll create page with an embedded Google Map.

Add a Google Map

In order to use the Google Maps Widget, you must first create an API key. This requires setting up a Google account. For more details, refer to Google’s documentation.

Once you have an API key from Google:

  1. Go to WP Admin.
    Navigate to Elementor Settings Google Maps widget 3
  2. Navigate to Elementor>Settings.
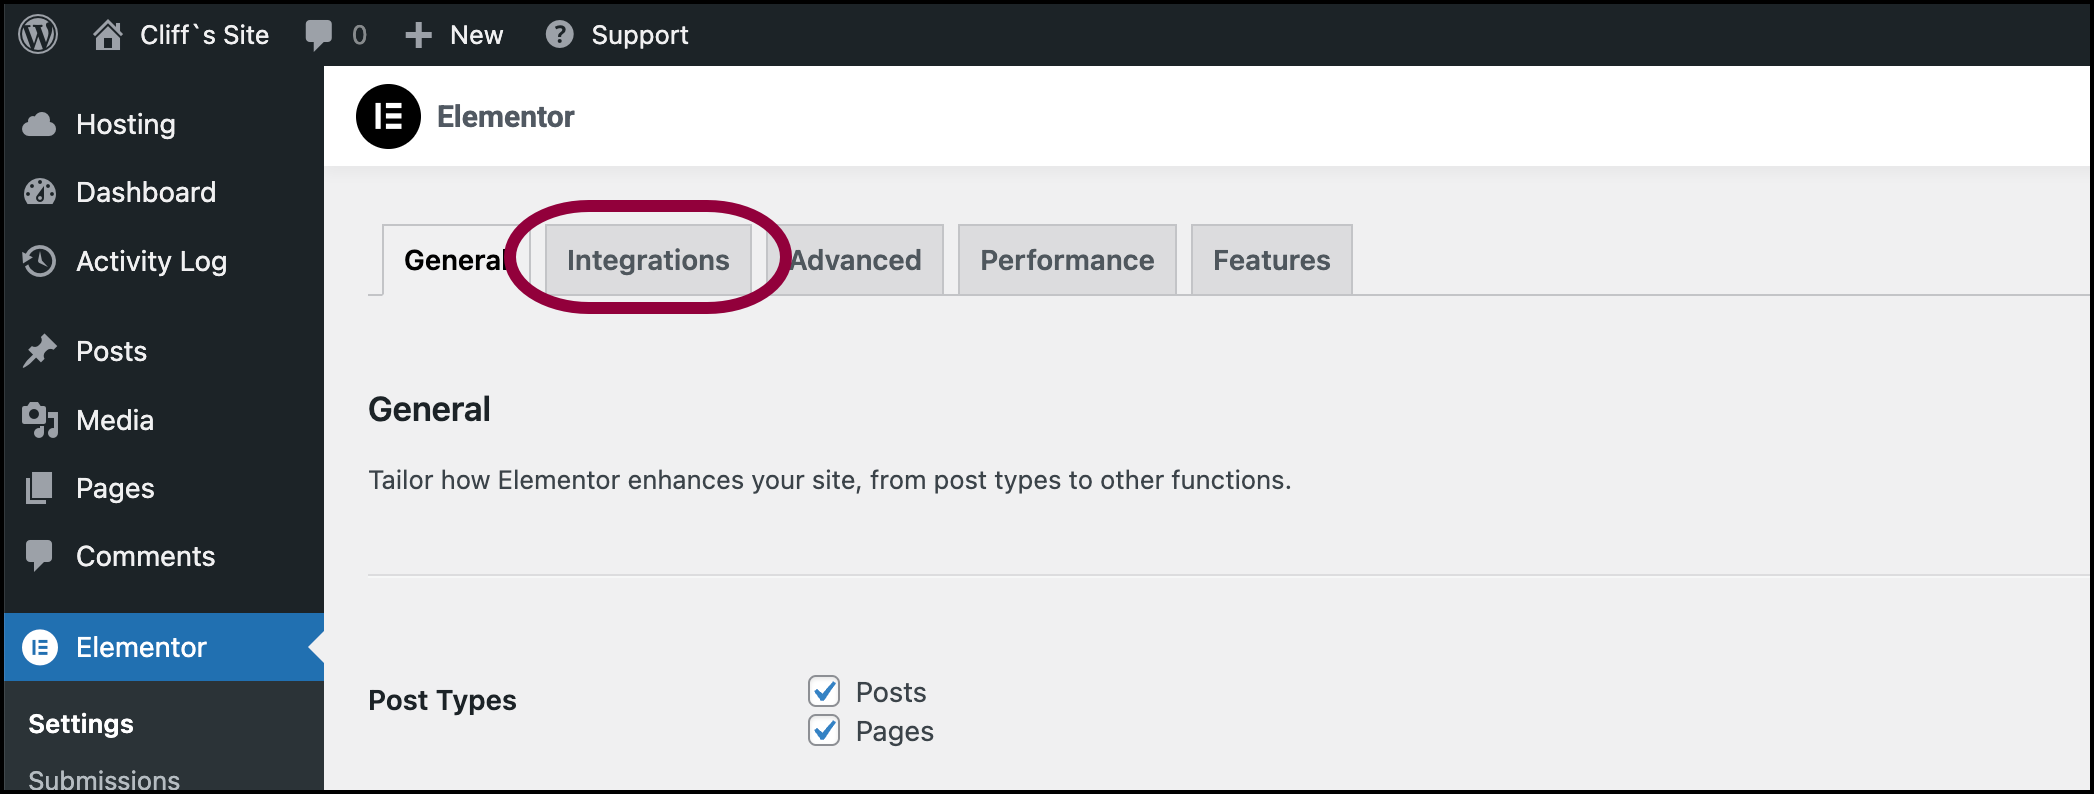
    Click Integrations Google Maps widget 5
  3. Click Integrations.
    Enter the API key Google Maps widget 7
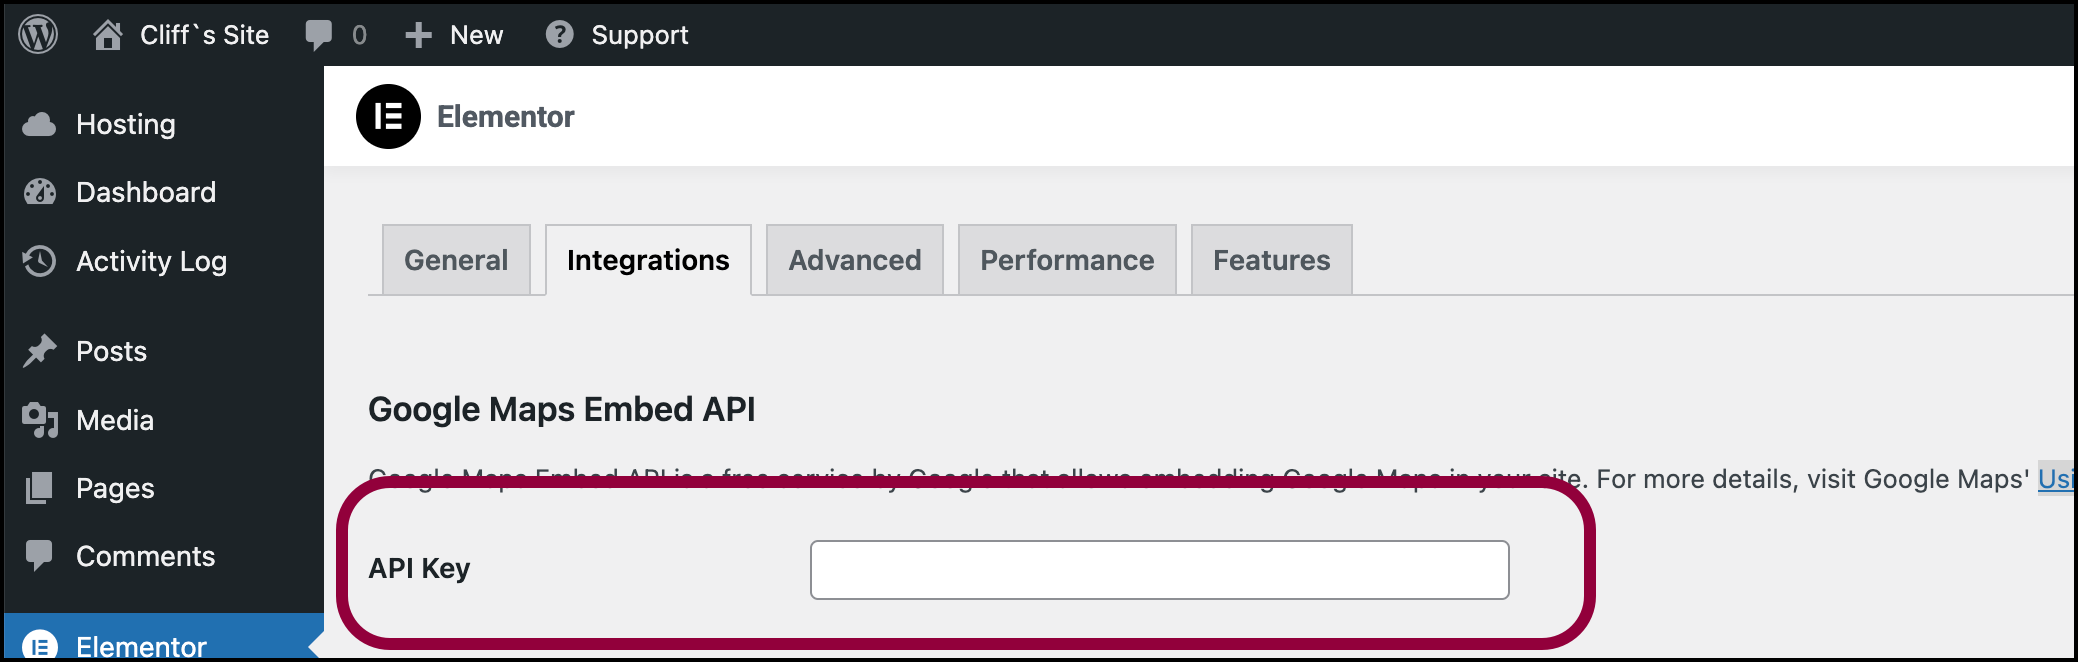
  4. In the Google Maps Embed API text field, enter the Google Maps API.
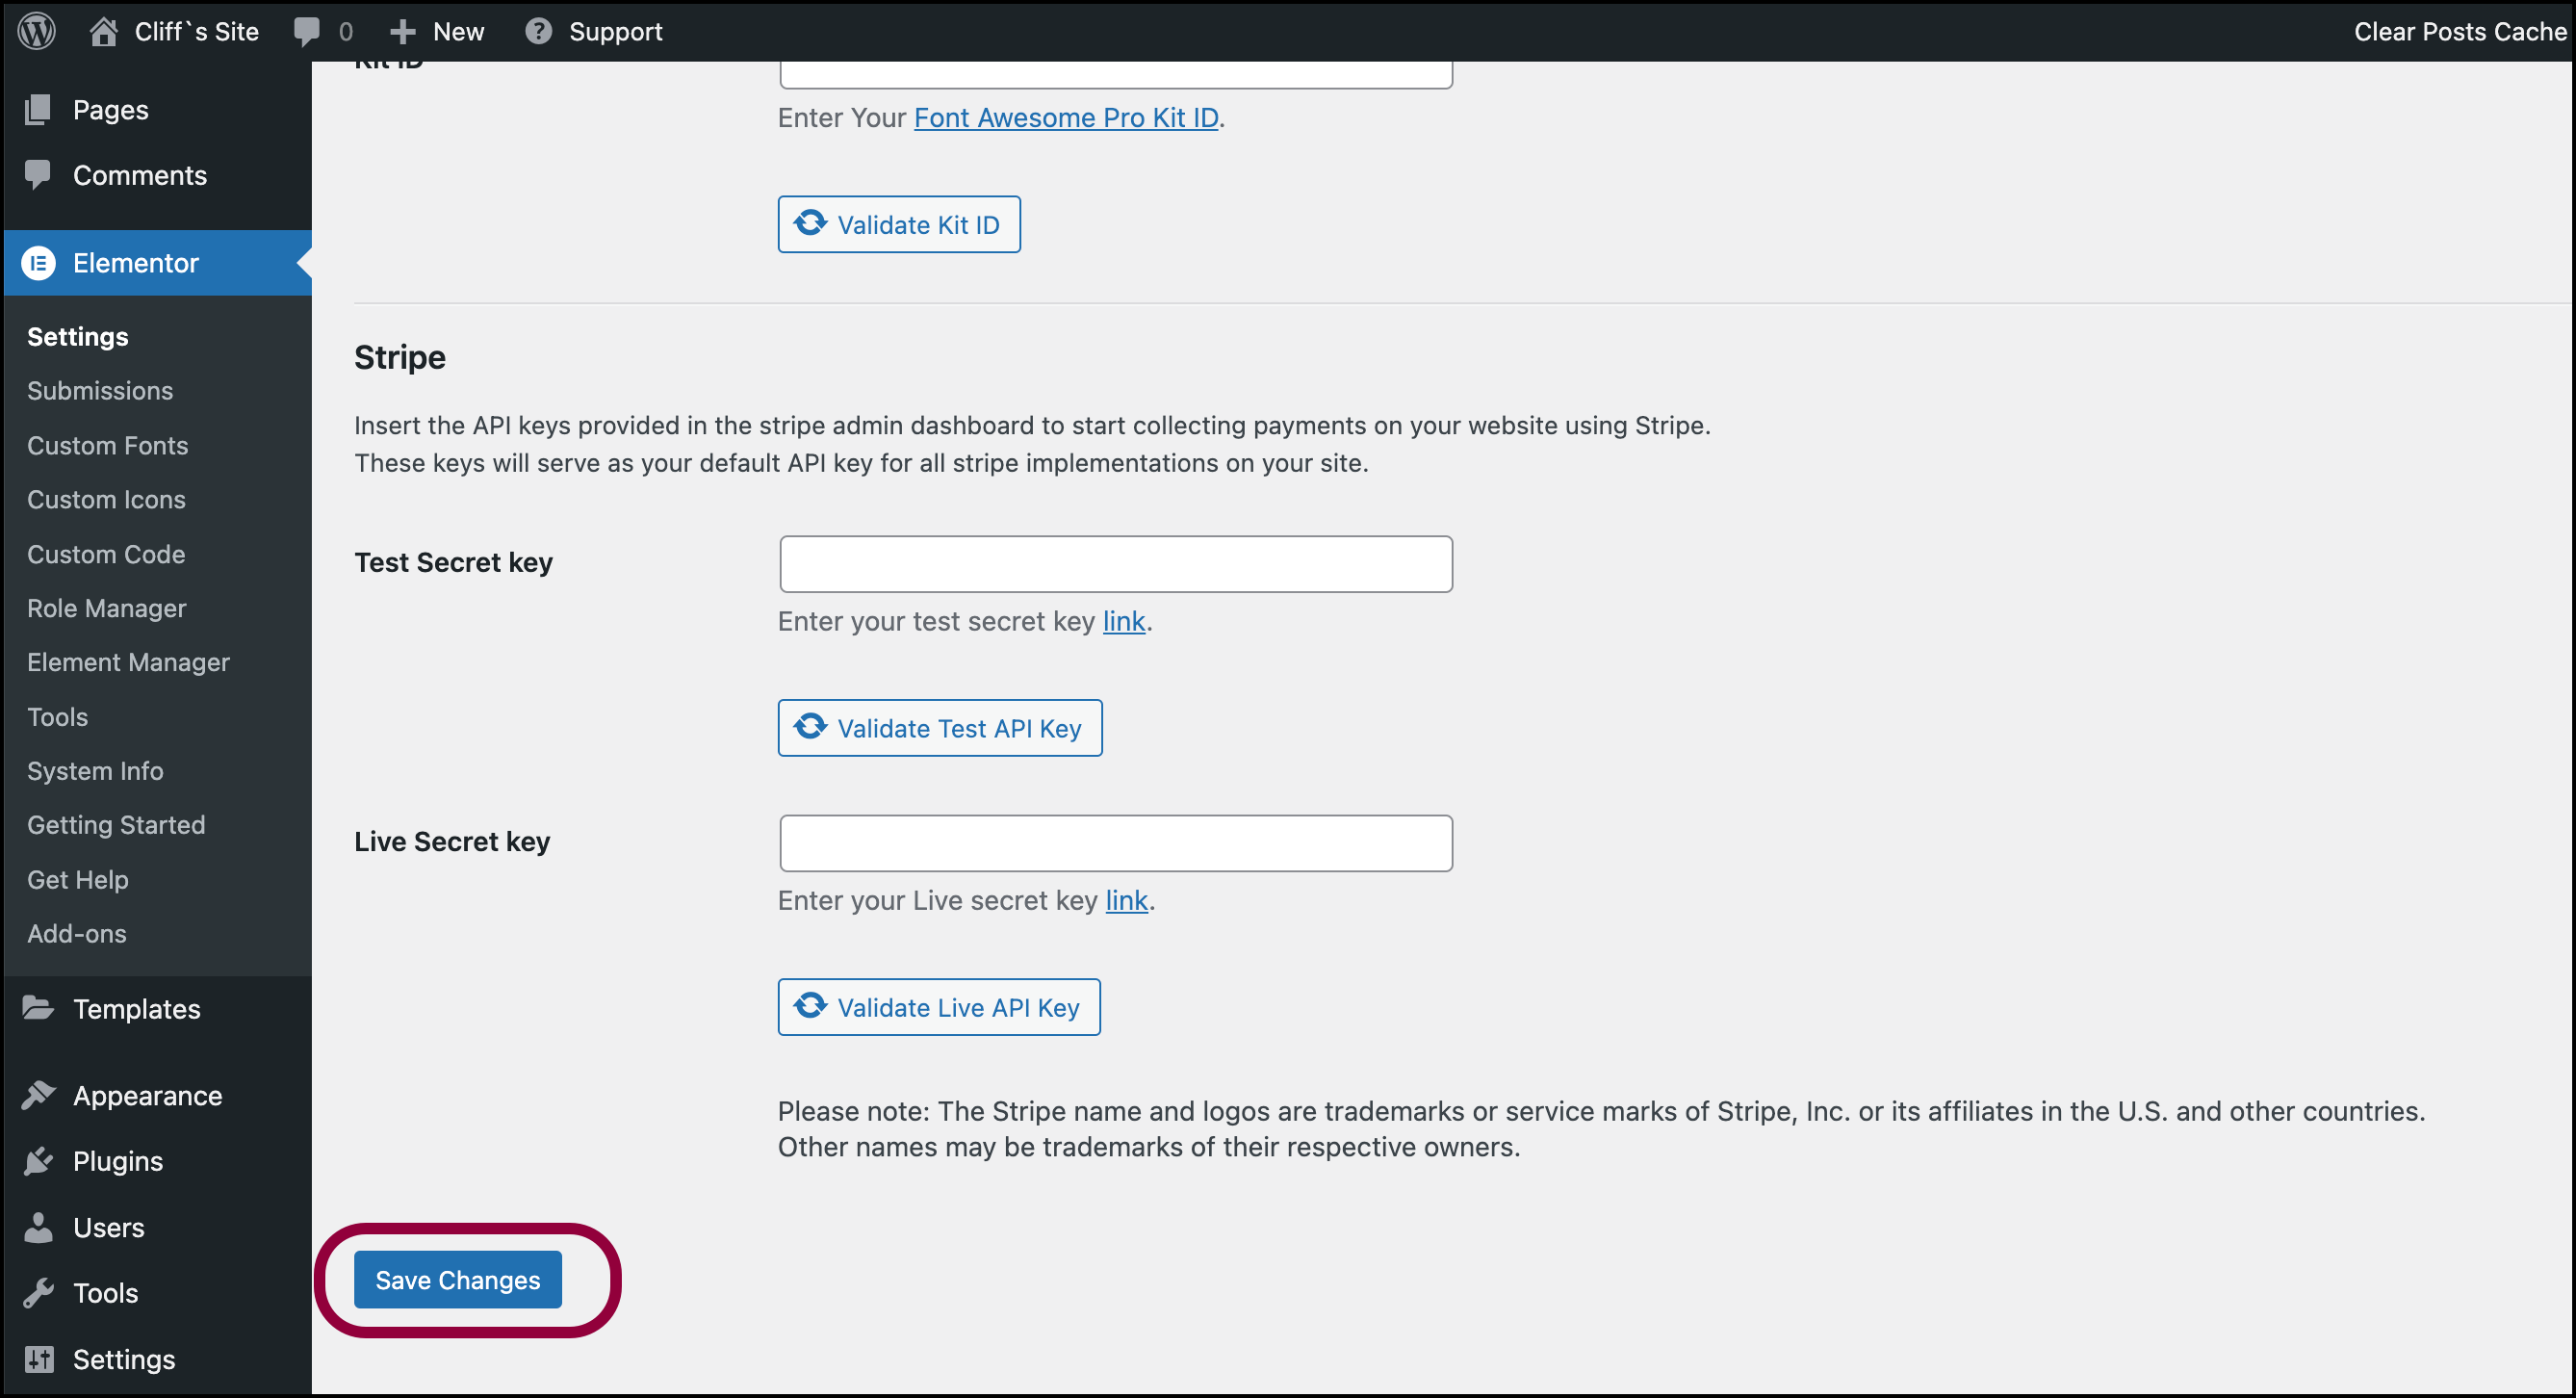
    Click Save changes 1 Google Maps widget 9
  5. Click Save Changes.
    You can now use the Google Maps widget.

To use the Google Maps widget:

  1. Drag the Google Maps widget to the canvas.
    Add the widget to the canvas Google Maps widget 11
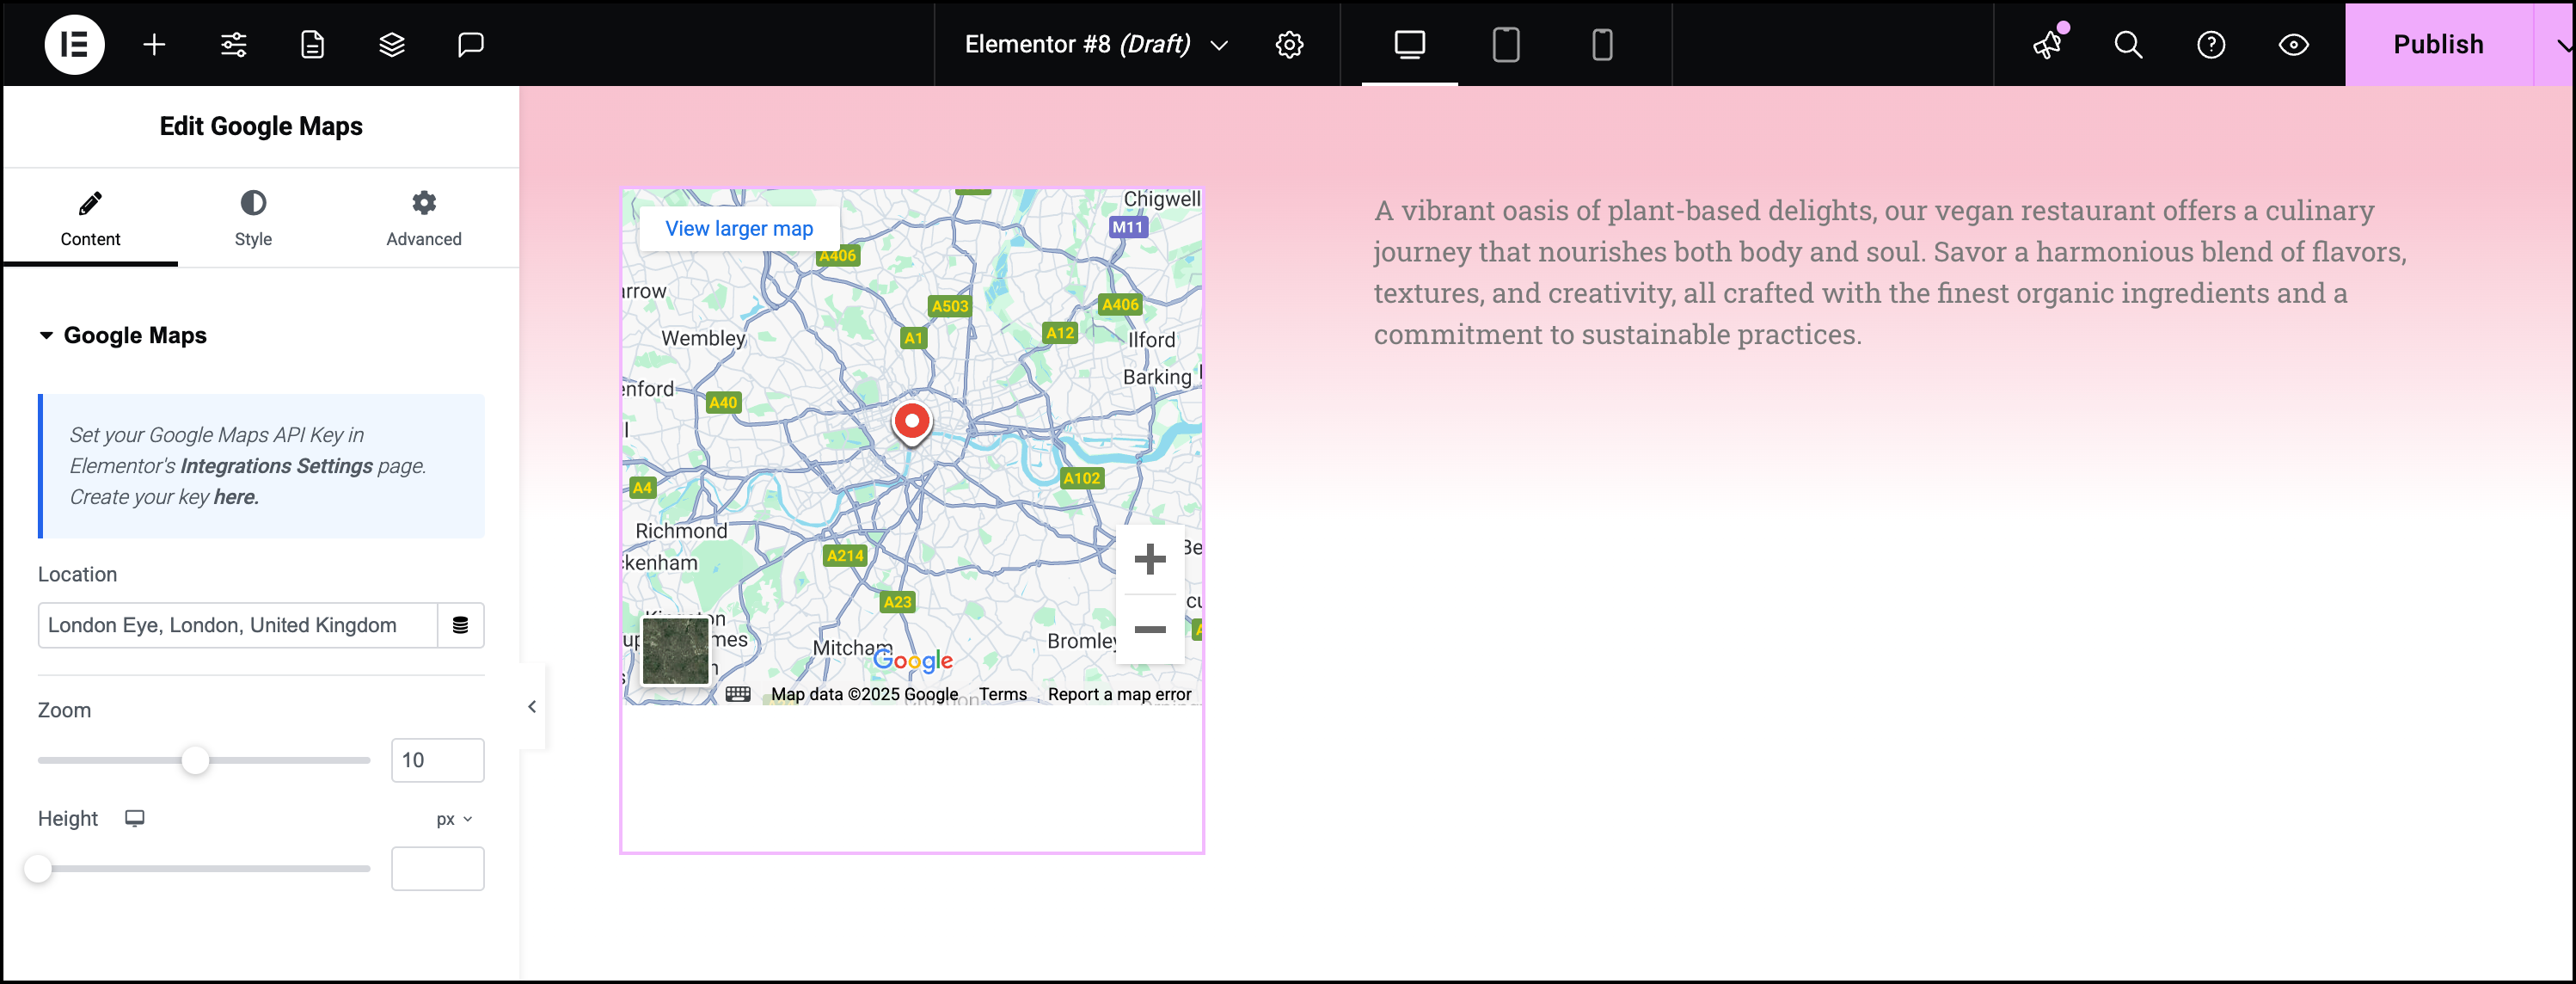
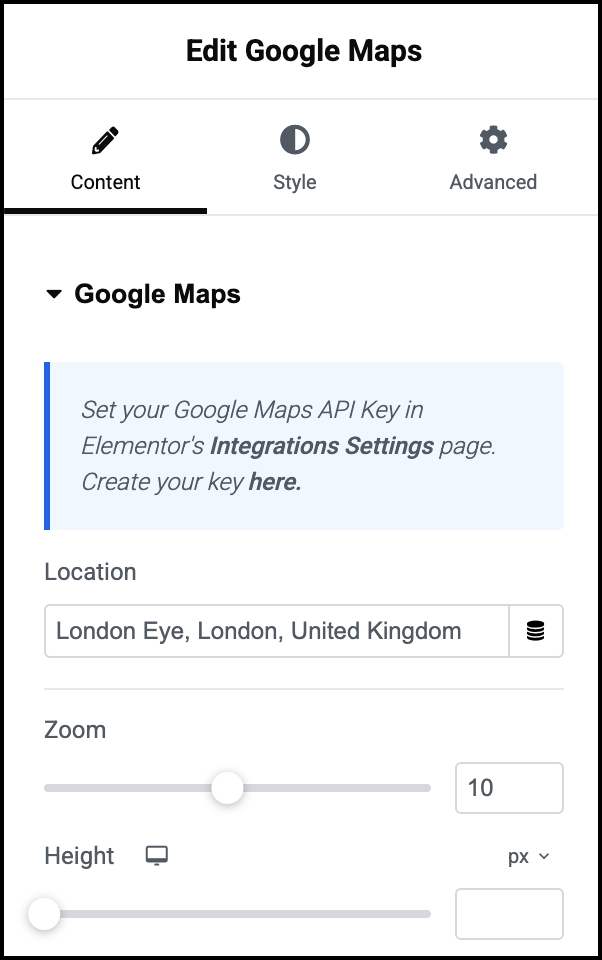
    The widget options appear in the left-hand panel.
    Add the desired location to the Loaction Text field Google Maps widget 13
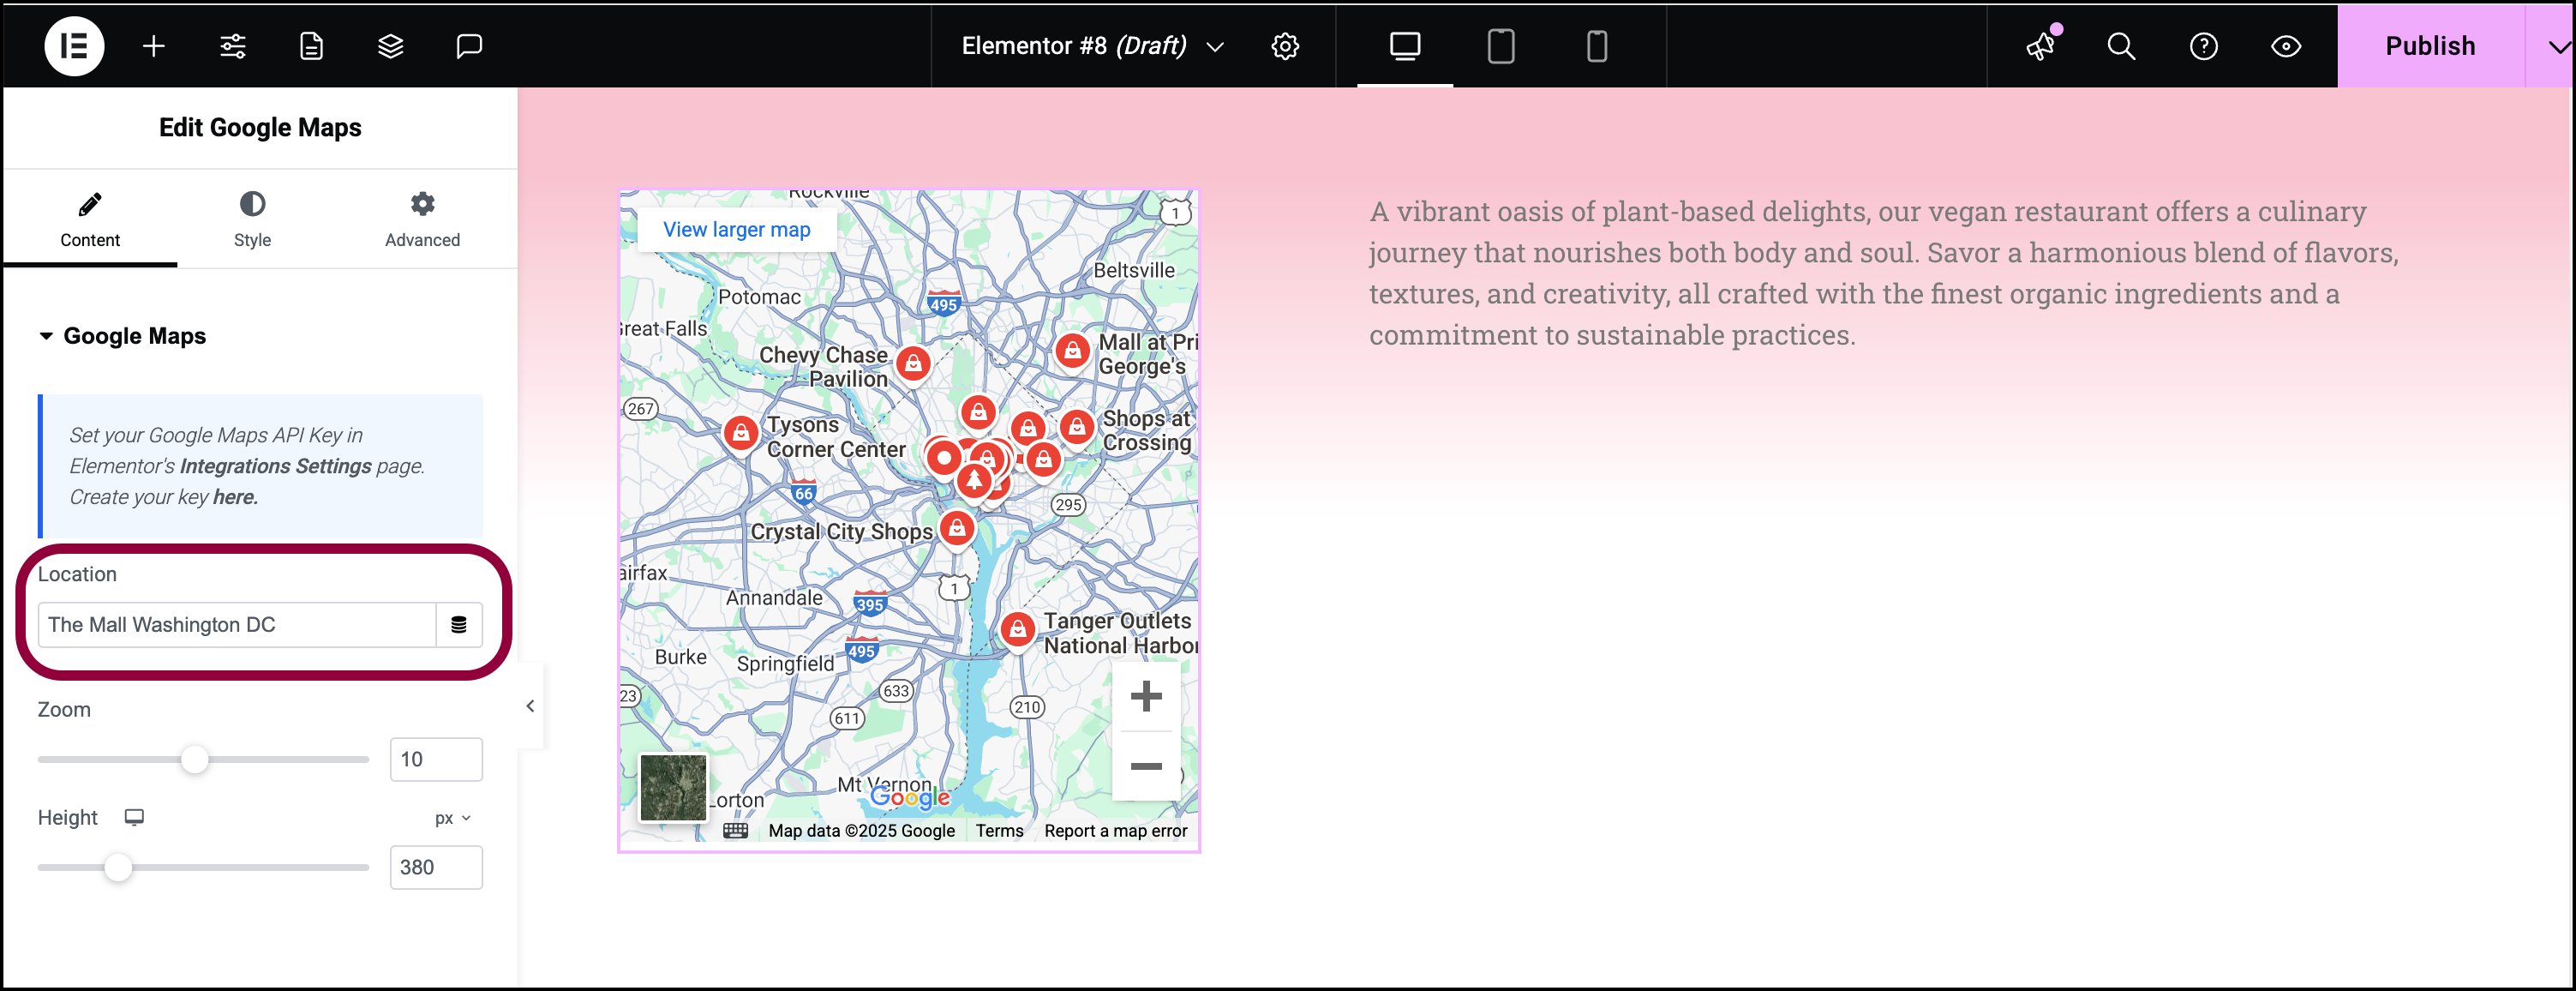
  2. In the panel, add the Location you want displayed on the map. 
    Use the slider to adjust the height 1 Google Maps widget 15
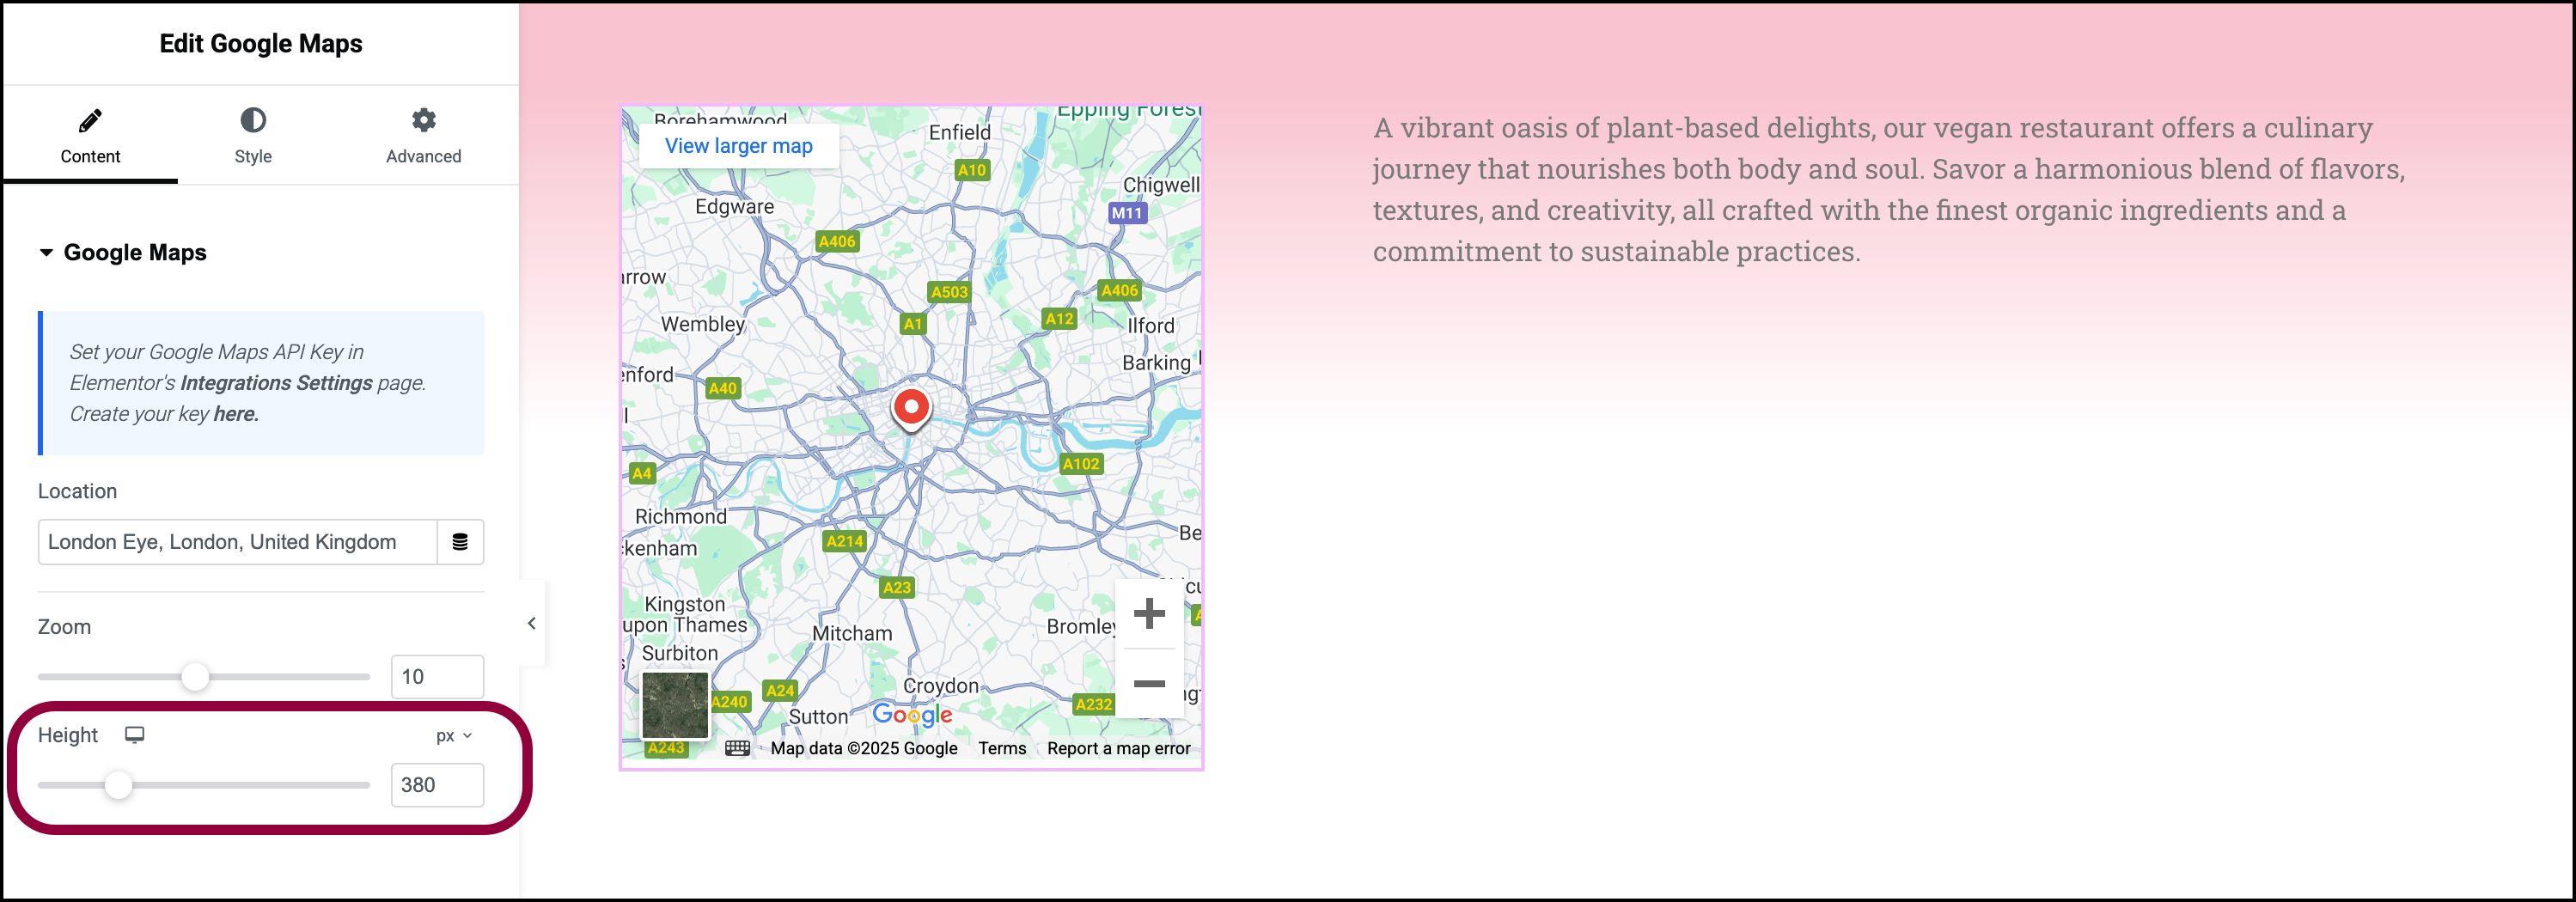
  3. Use the slider to adjust the height of the map.
    Now we’ll create a hover effect so that the map will change appearance when a user hovers over it. 
    Click the Style tab Google Maps widget 17
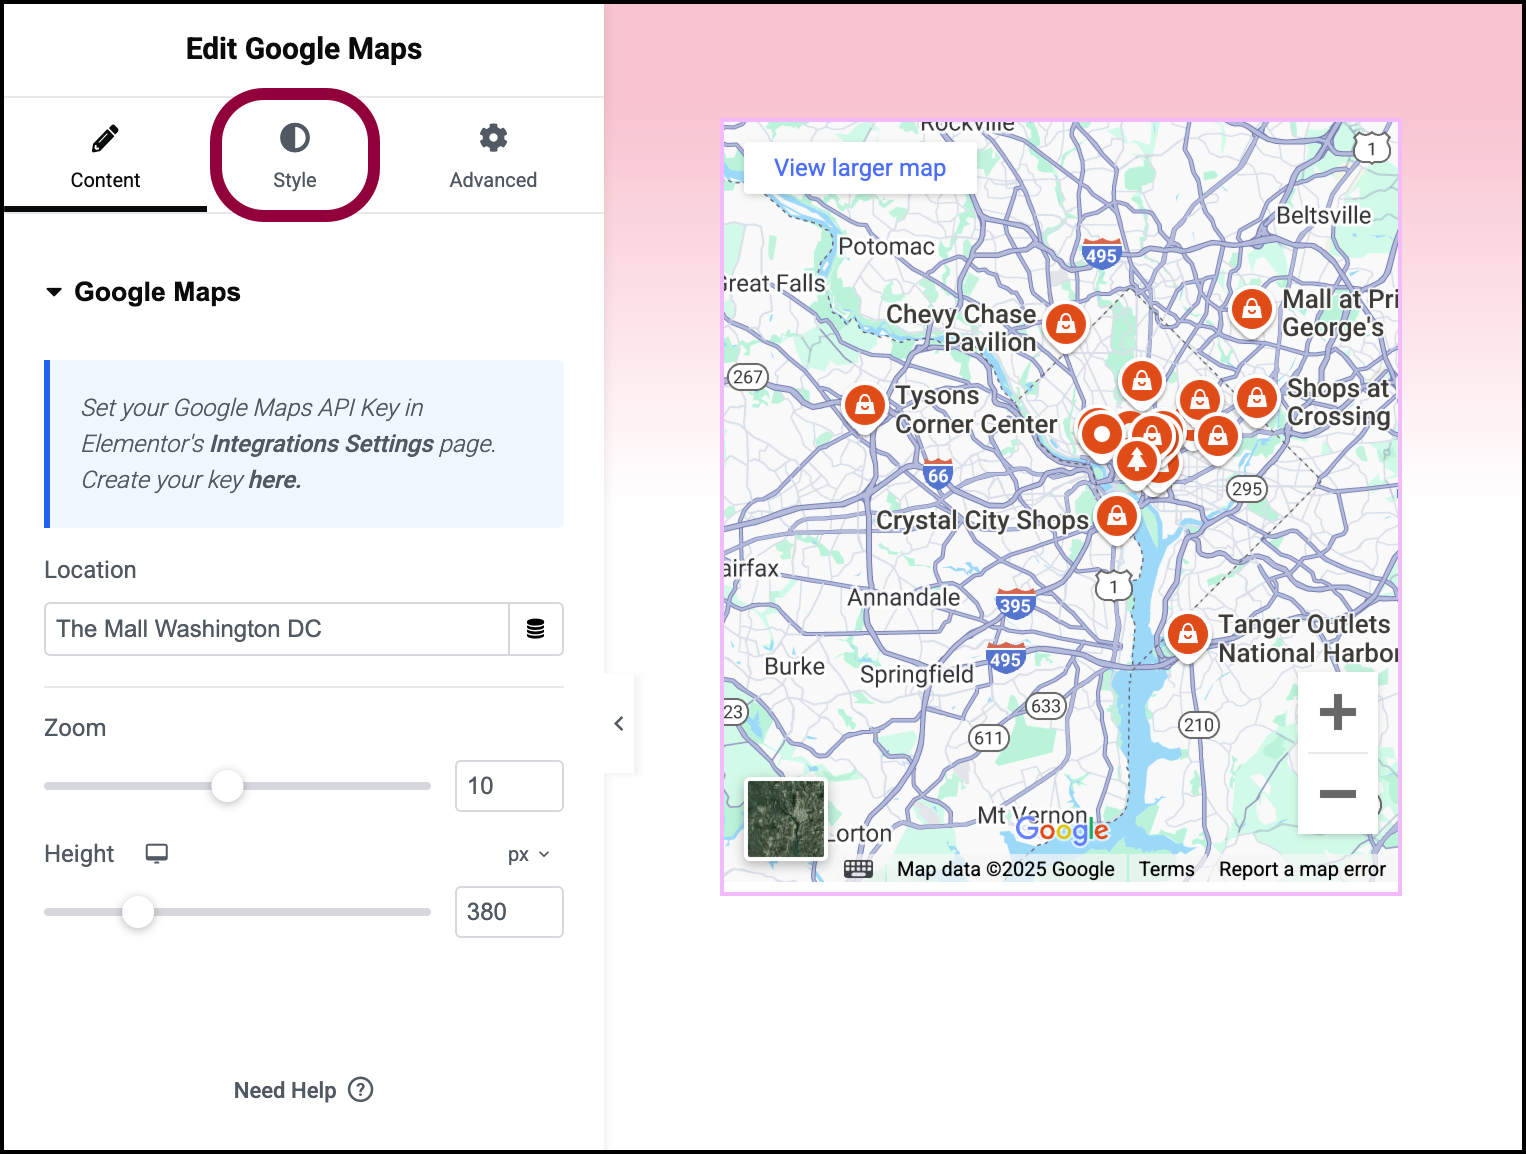
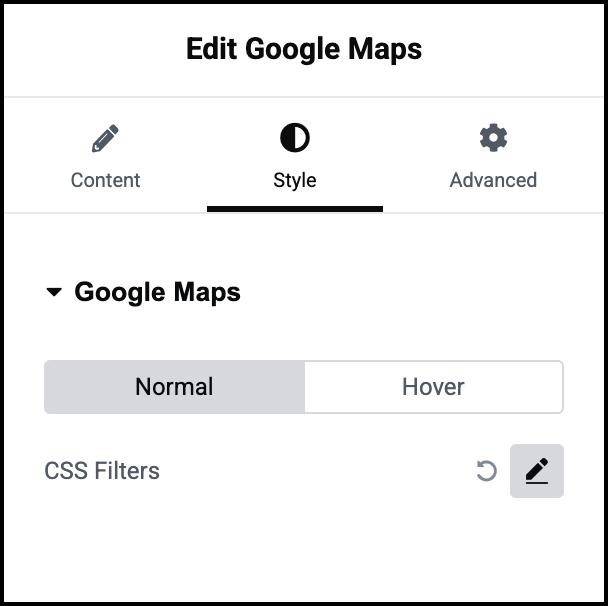
  4. Click the Style tab.
    Click the pencil icon 1 Google Maps widget 19
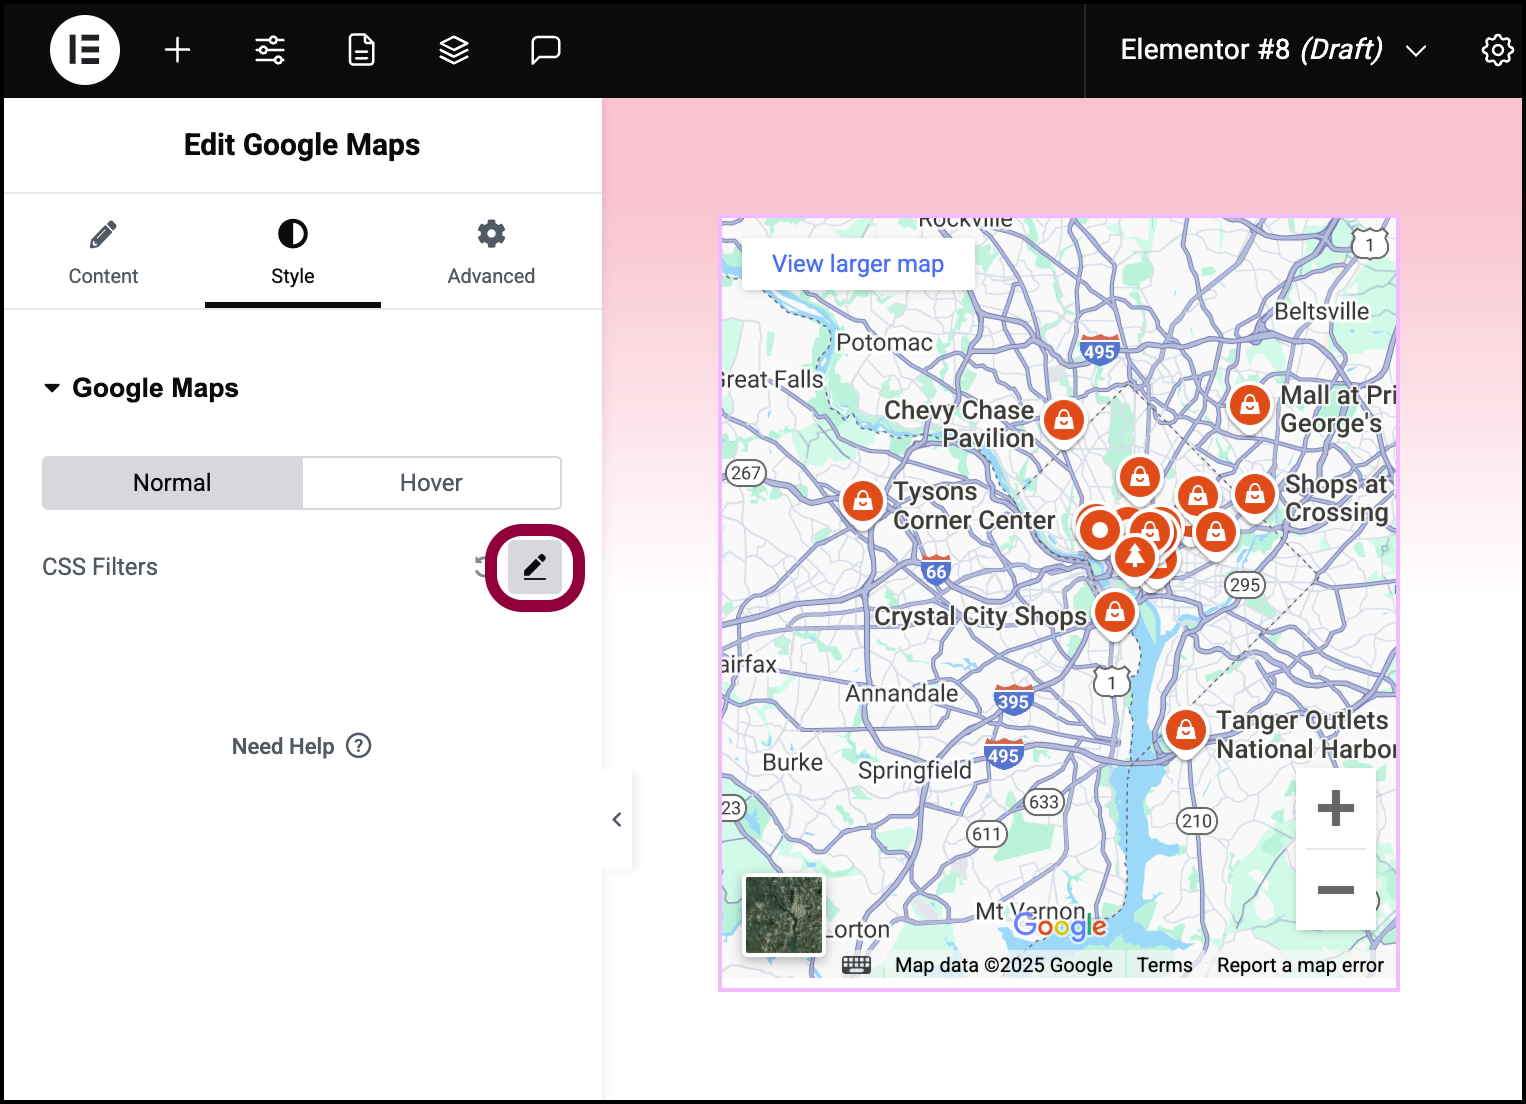
  5. Click the pencil icon by CSS filters.
    This opens a menu of CSS filters.
    Lower contrast to 60 Google Maps widget 21
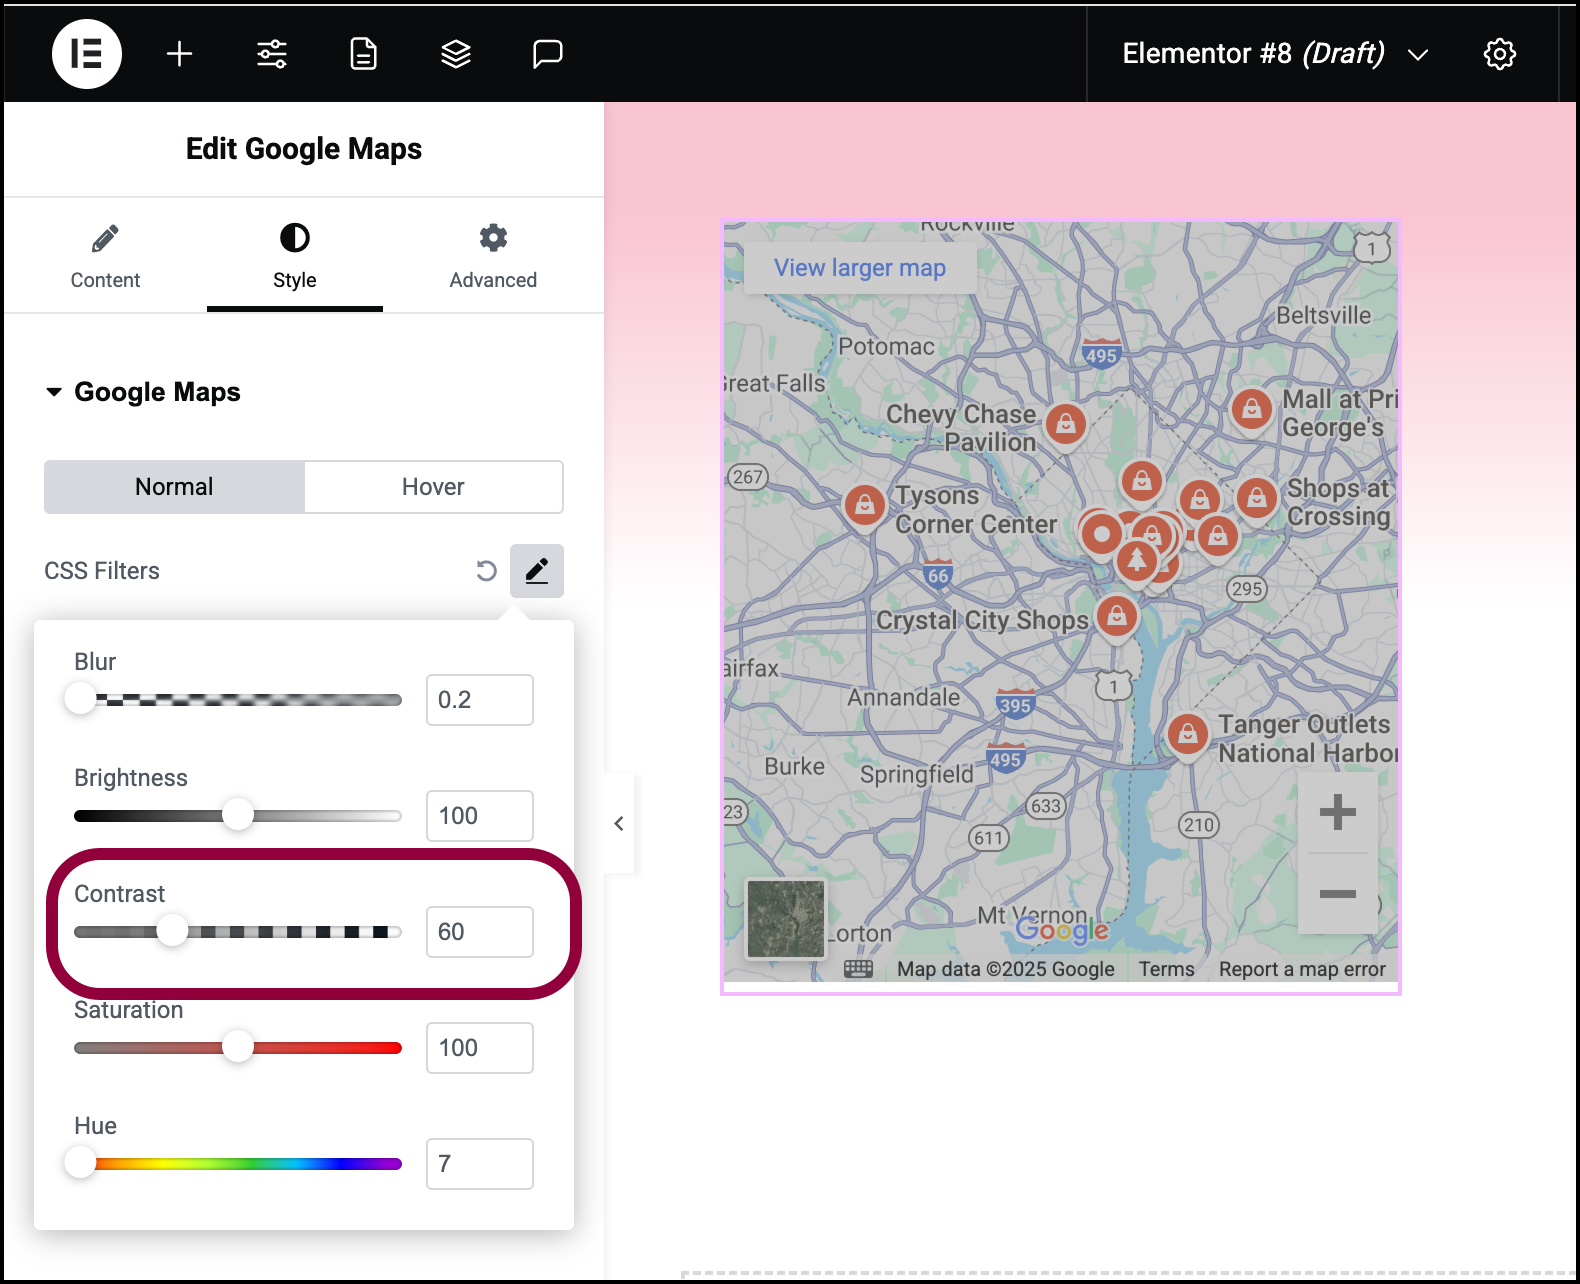
  6. Use the slider to lower the Contrast to 60.
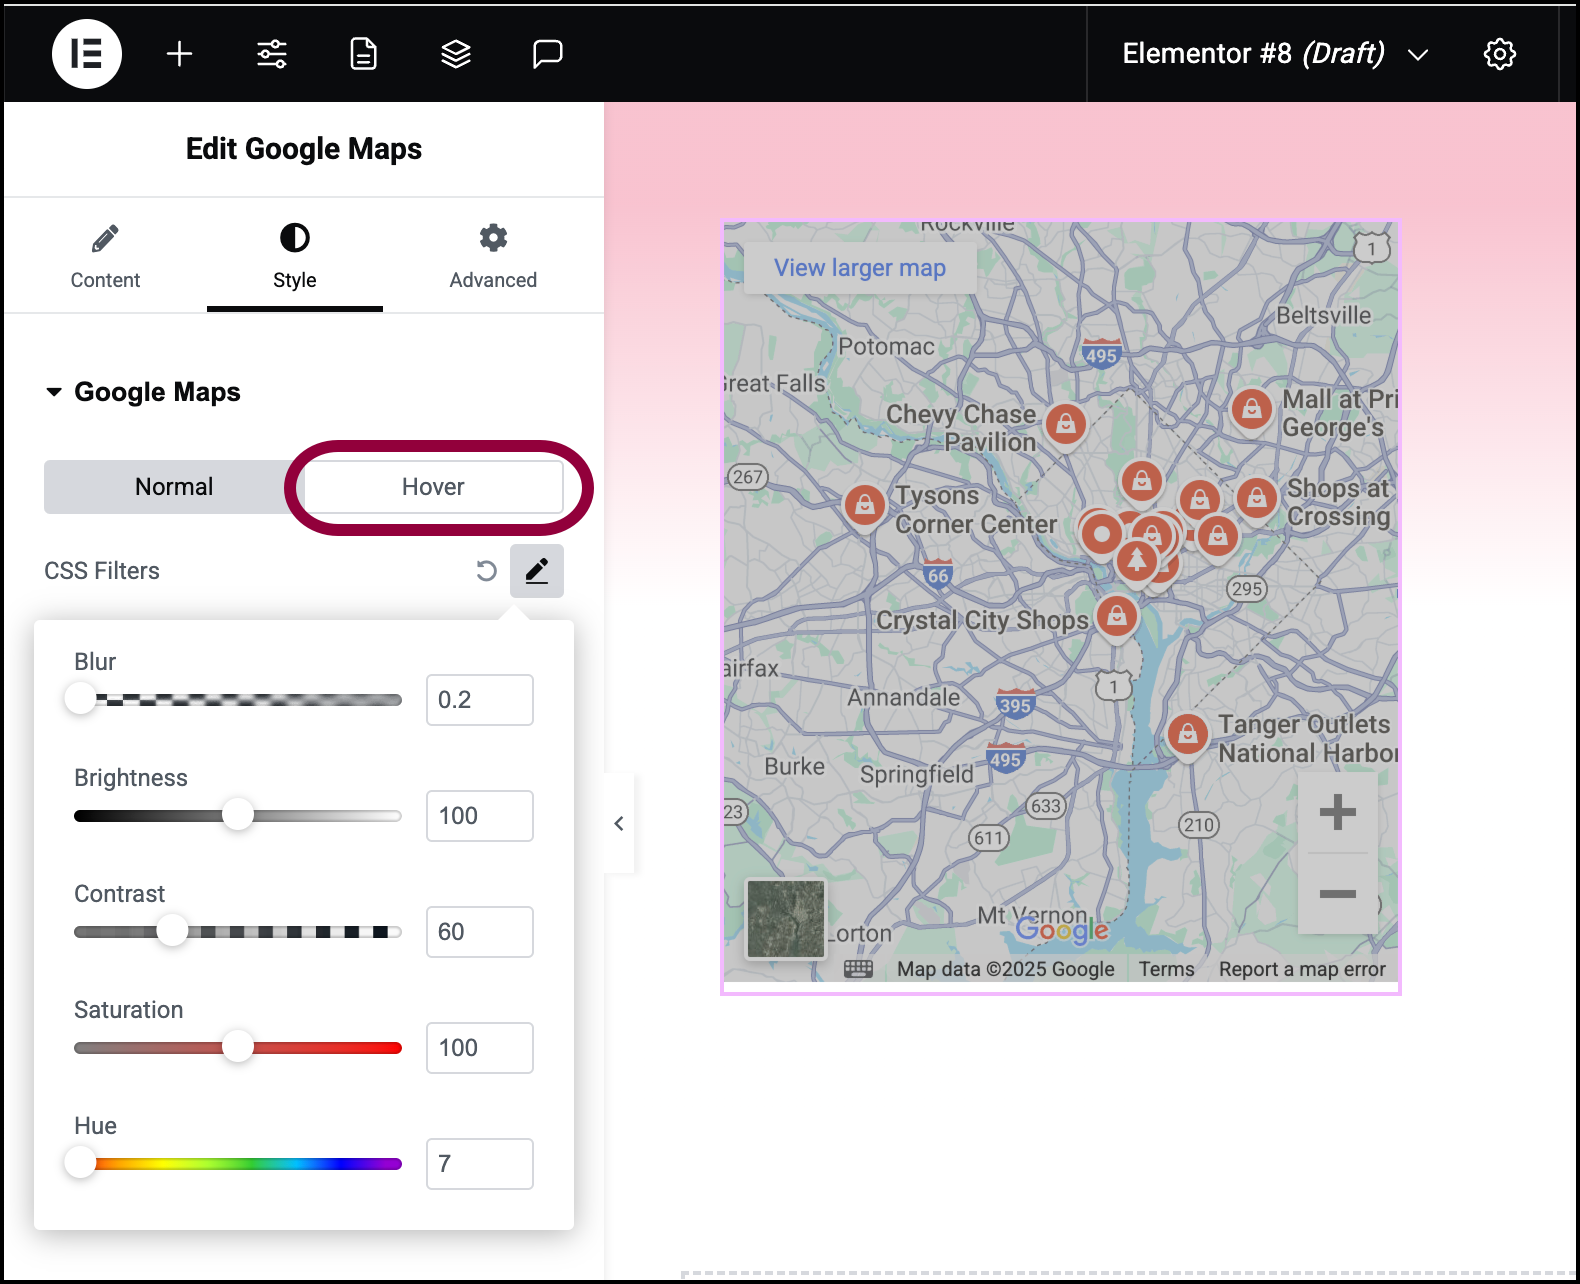
    Click Hover Google Maps widget 23
  7. Click Hover.
    Click the pencil icon by CSS filter Google Maps widget 25
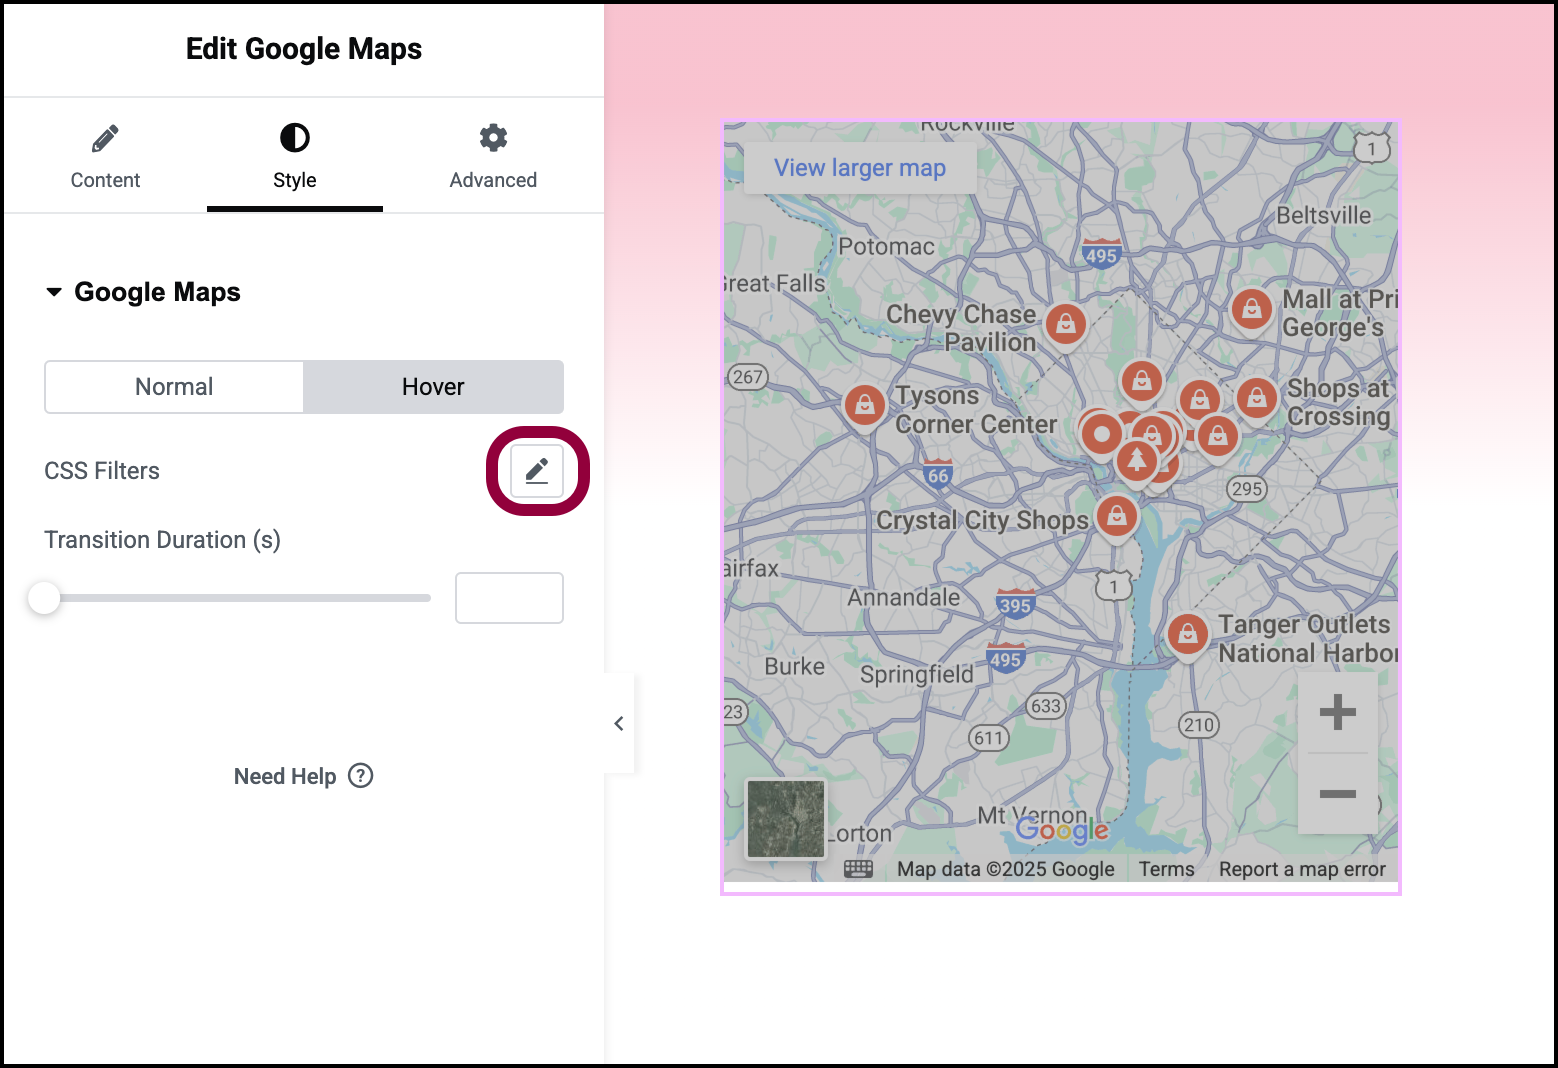
  8. Click the pencil icon next to CSS Filters.
    Slider contrast to 120 Google Maps widget 27
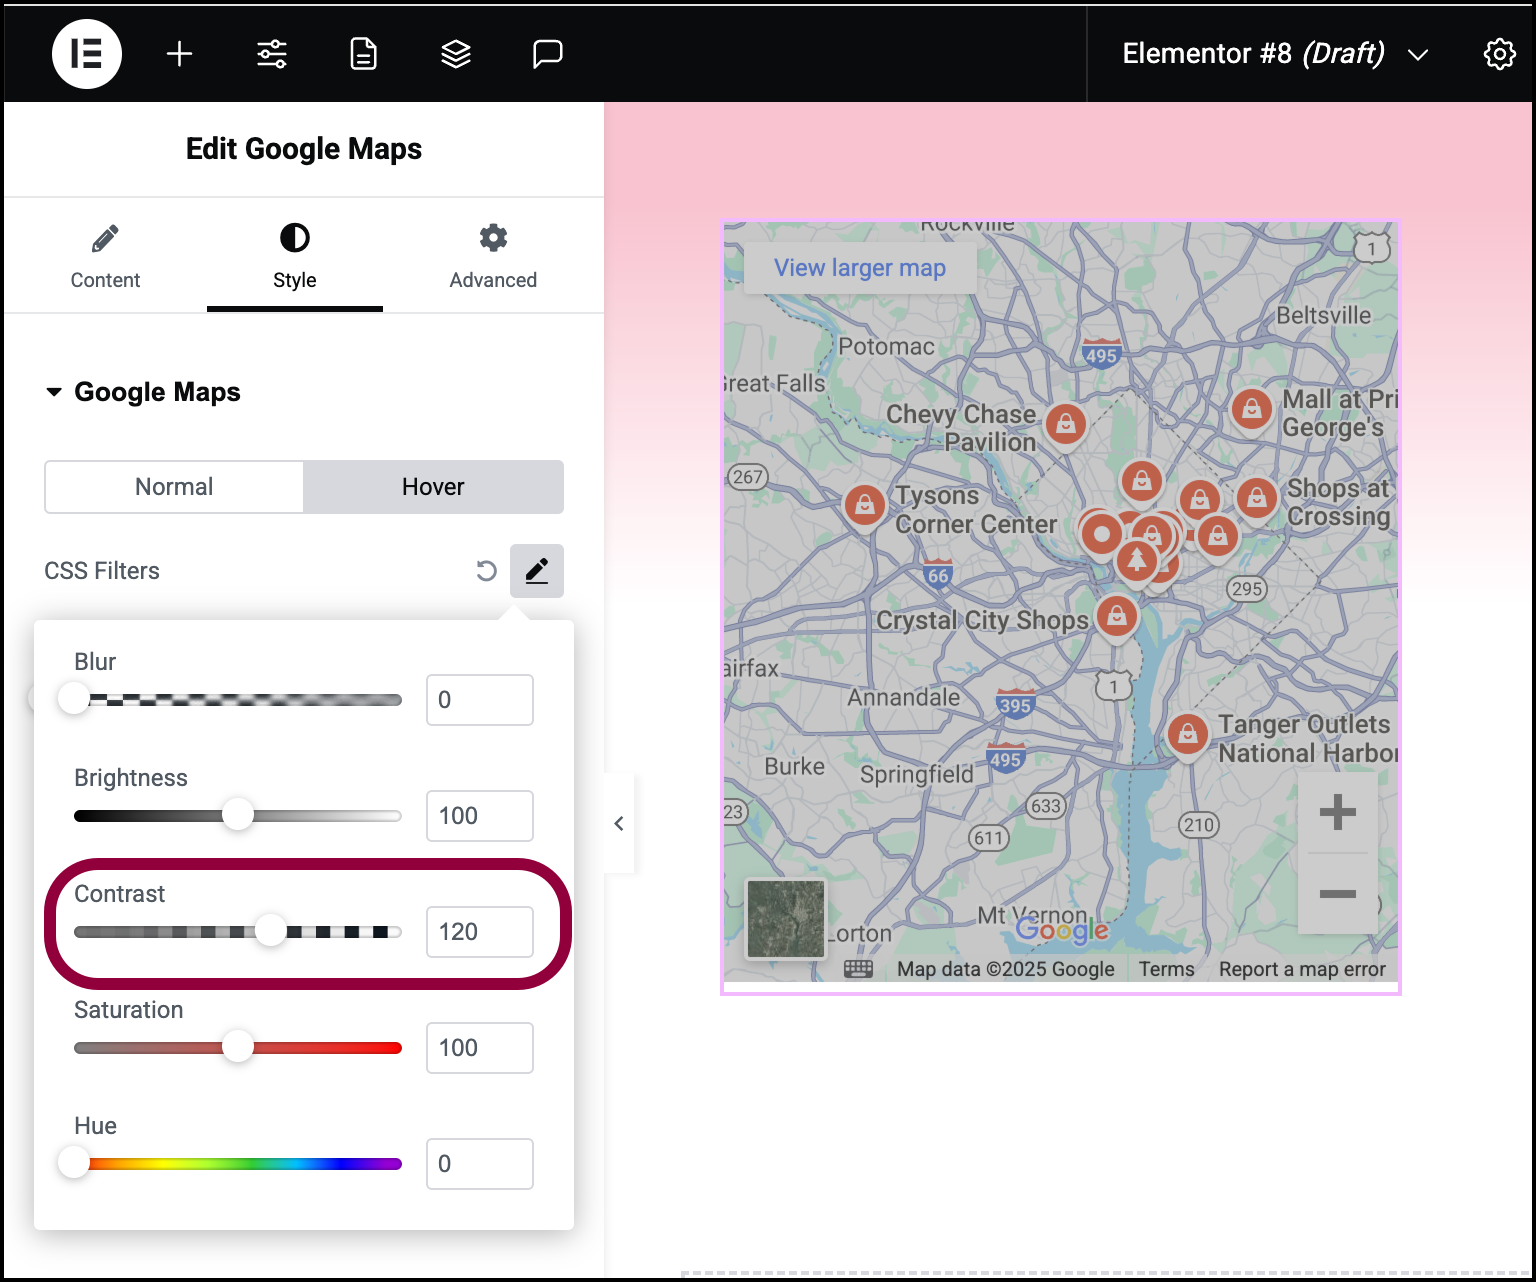
  9. Use the slider to raise the Contrast to 120.
    The map will “pop” when visitors roll over it.

Settings for the Menu widget

You can customize your widgets using content, style, and other advanced parameters, offering you great flexibility in tailoring them to your needs. Click the tabs below to see all the settings available for this widget.

Content tab

Add, delete, and edit menu items and controls. 

Content tab 3 Google Maps widget 29

The place where you want your map to be centered. You can use any location the can be identified by Google Maps.

Use the slider to controls how focused the map will be on an area.

Use the slider to control the height of the map.

Style tab Google Maps widget 31
  • Normal:  Determine how the map appears by default. 
  • Hover: Determine how the map appears when moused over. 

A series of sliders that lets you control:

  • Blur: Applies a soft focus effect by blurring elements based on pixel radius.
  • Brightness: Adjusts the brightness of an element by modifying its light intensity.
  • Contrast: Enhances or reduces image and element color contrast for better visual distinction.
  • Saturation: Adjusts image or element colors by increasing or decreasing their color intensity.
  • Hue: The CSS hue filter adjusts colors by rotating their hue around the spectrum.

Transition Duration: This is an option if you have a hover effect. Determines how long it takes for the hover effect to appear.

Advanced tab

Control the placement of your widget, insert links, add custom code and more.

Advanced tab Google Maps widget 33

Learn more about the Advanced tab settings.