Elementor 3.8 includes some highly anticipated features, including the first phase of the Loop Builder, with additional functions and capabilities added in upcoming versions. With the Loop Builder, you gain more creative freedom to design your posts and listings, so you can design it any way you’d like. Additionally, this release is the first to follow a new release mechanism, which will make our future releases a lot more predictable, and reliable.
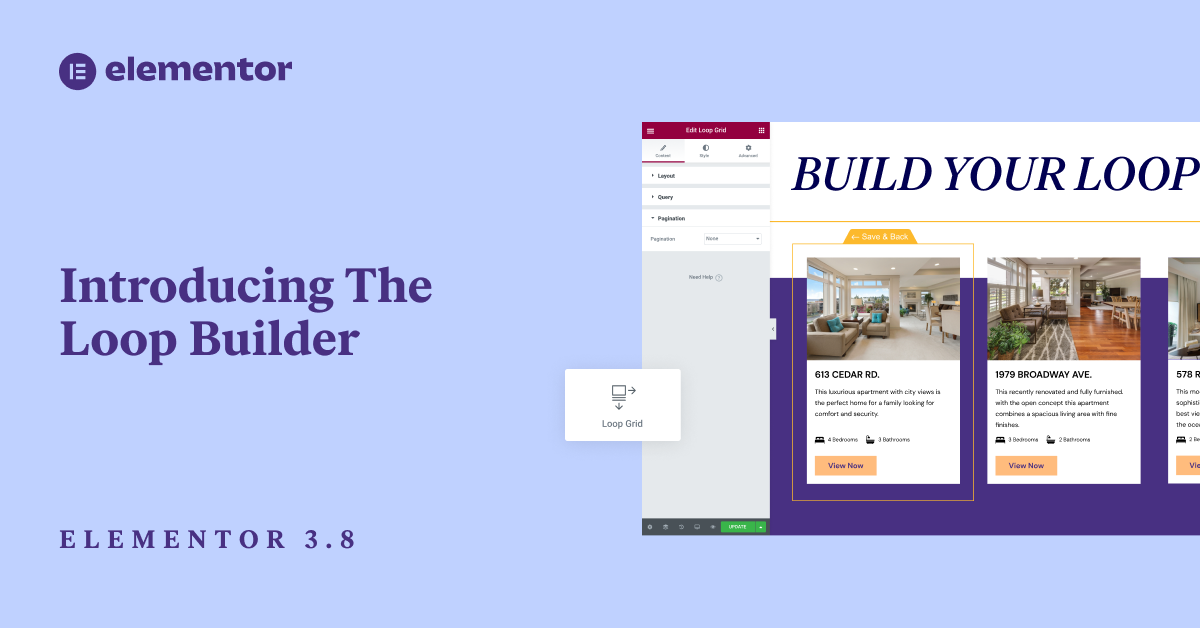
Introducing the Loop Builder (Pro)
Elementor 3.8 Pro introduces the first phase of the Loop Builder. The Loop Builder enables you to create and design the main item for repeating content (i.e. loops) such as listings, as well as customize its layout on the page. By creating a main item template yourself, you get a lot more flexibility compared to the Posts widget to design your listings and include additional dynamic content.
The first phase of the Loop Builder includes the ability to create a main item for posts, and custom post types, and to include dynamic content from your post. That way, you can easily design the display of your posts, portfolios, listings, and more. Future updates will include full WooCommerce support so you can fully customize the appearance of all your Product Archives, and additional capabilities that will enhance the design of your website.
Designing the Template for your Main Item
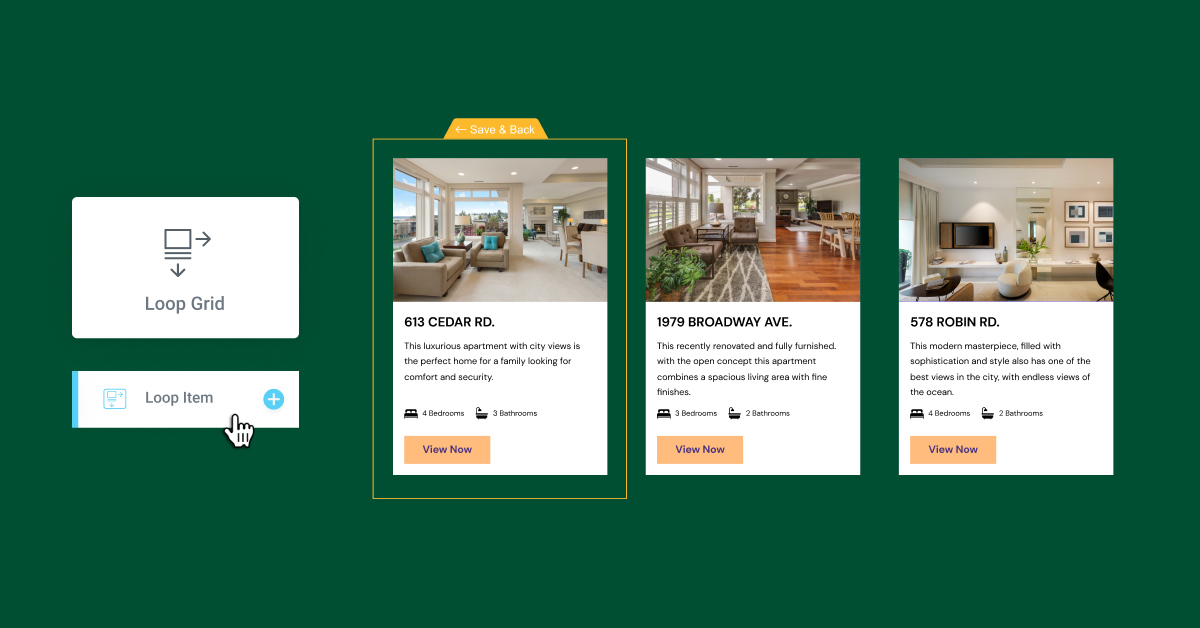
There are two ways to design your main item template:
- In-Place Editing – available by dragging the Loop Grid widget onto a page and clicking the ‘Create a Template’ button.
- Blank Canvas – available by adding a new Loop Item template from the Theme Builder, or by adding a new template from the Templates menu in the WordPress dashboard.
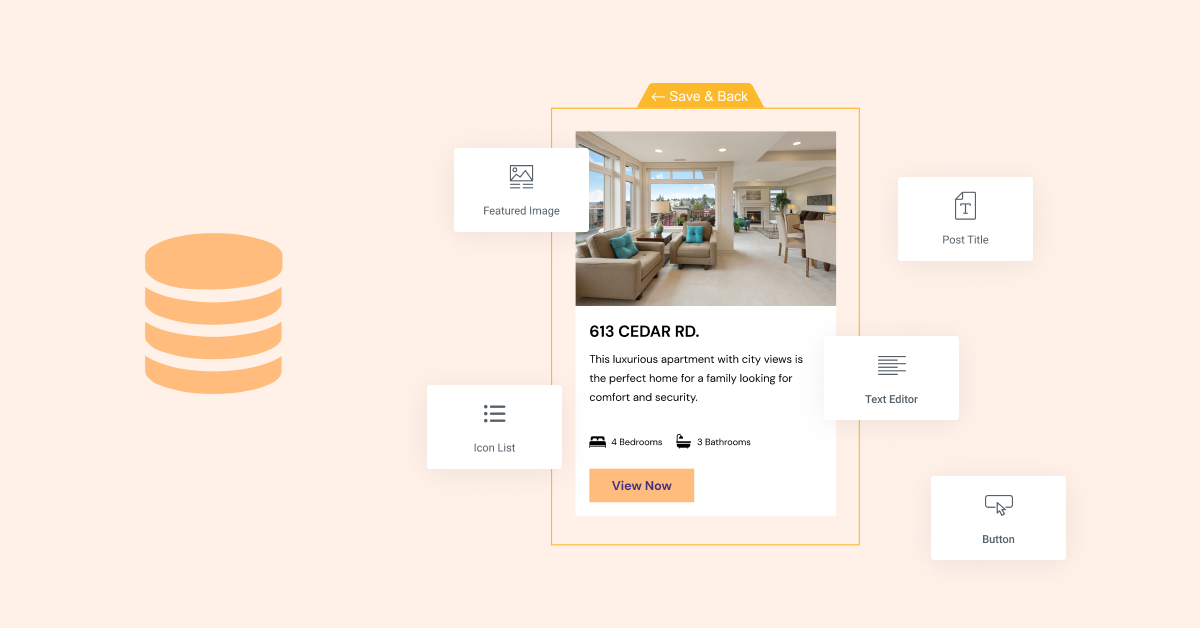
To design your main item template, you can use nearly any of the widgets in Elementor. Each of the widgets you use, can be assigned any of the dynamic fields available on your website, or they can be left as static and used to enhance the design of your main item.
Choosing the Source of Content to Display
Once you’ve designed the design for your loop item, it’s time to choose what content you want displayed on the page. You can create a single Loop Item template and use it on different pages to display different content, or you can create different templates to use for different post types.
For example, if you are building a real estate website, you can create one template to use to display your real estate listings, and another template to display your blog posts. That way, you can have a unique design for each one, and include different content fields. In your real-estate listings you may want to include dynamic content from your custom fields to display the number of bedrooms and bathrooms in your loop item template, whereas in your blog post, you may want to include an indication to how long it will take to read each post.
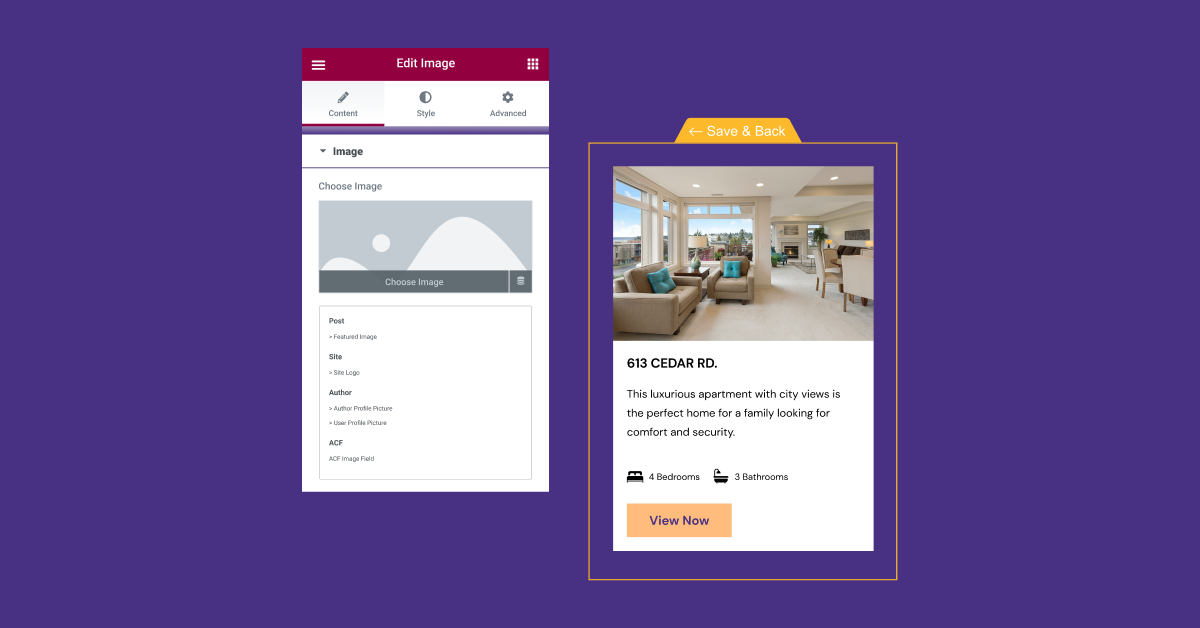
To display dynamic content in your loop, you’ll assign the dynamic content you want to display by clicking the Dynamic Content icon on each widget in the Loop Item template, and determining which dynamic field should be displayed.
To choose the source, or type of posts, of content to display, you’ll need to drag the Loop Grid widget to your desired location on the page, and then in the query section, choose the appropriate post type. Then, you can choose whether you want to include or exclude content from a certain author, or that includes a certain term, decide whether you want to display posts in an ascending or descending format.
Adjusting the Layout of the Listings on a Page
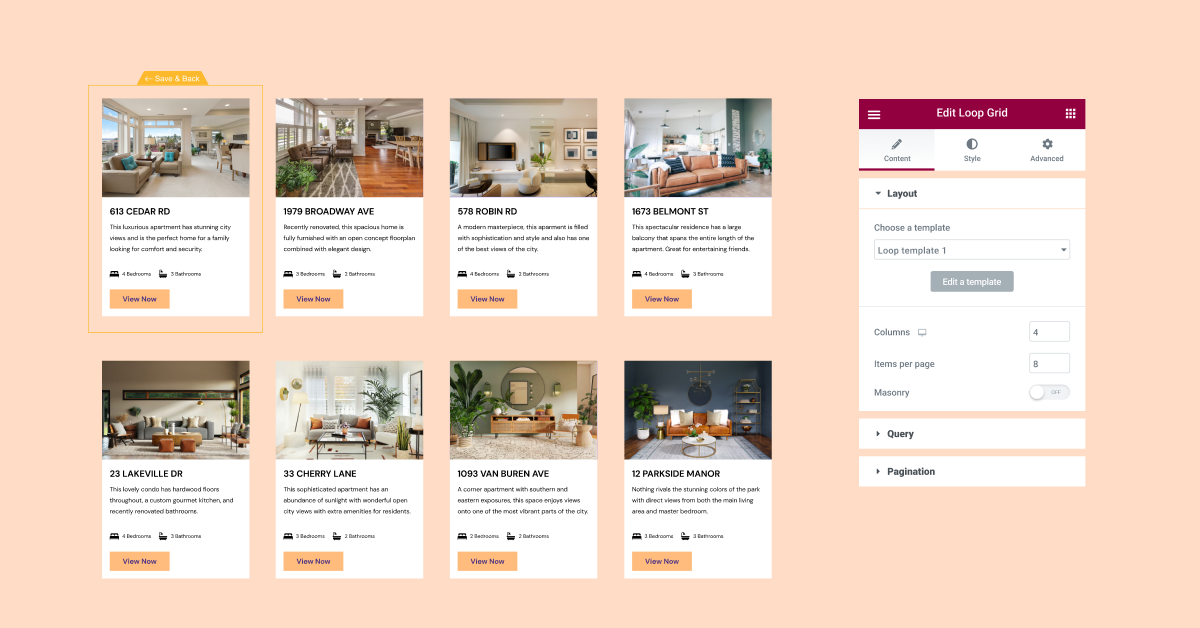
The loop templates you create can be used on any page, using the Loop Grid widget. After you choose the template and the content you want to display, you can adjust the layout and styling of your listing on the page.
In this step, you’ll decide the number of columns you want your grid to display, the gap between one item and another, as well as whether you want all listings to appear on one page or divide them into multiple pages. You can also add additional styling options at this stage like background images or motion effects, etc.
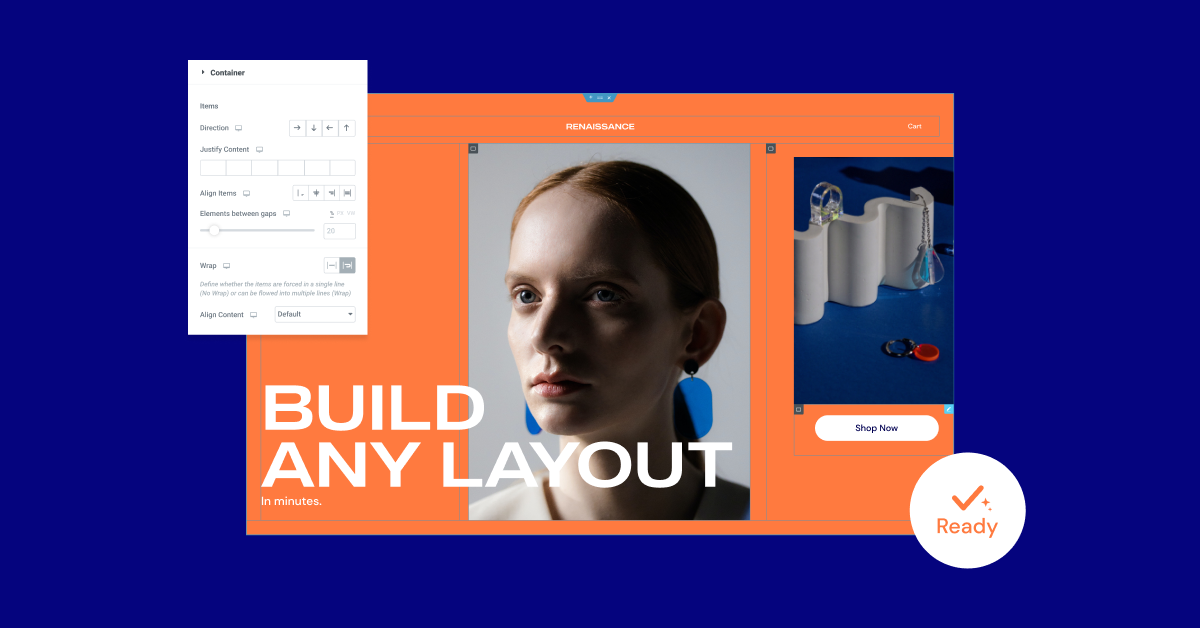
As part of this version, the Loop Builder can only be used with Containers. So to use the Loop Builder, you will need to enable two experiments: Flexbox Containers, and the Loop Builder.
Flexbox Containers Have Been Upgraded to Beta Experiment Status
After having gone through extensive testing, and reviewed under a variety of conditions and use cases, and tested with a number of different integrations, Flexbox Containers are now a Beta Experiment. That means they are considered stable, and you can confidently use them on your own website.
However, as Containers move from an Alpha experiment to a Beta one, if you have used the Container on live websites, please ensure that everything works and looks as expected, since some changes made to the Container could affect the way it looks on your website.
Since for some of you, Flexbox Containers will require some learning and getting used to, for the time being – it will be your decision when to activate the experiment and use Containers on your website.
Please note, if you decide to activate the experiment, and design layouts using the Container, but then decide to deactivate the experiments, all website parts created with Containers may disappear.
To learn more about how you can use Flexbox Containers on your website, you can also try it out yourself first in the Elementor Flexbox Playground
New: Remove Kit – Revert Kit to its Previous State

Website Kits are a great way to get a jump start on your website, as it comes with all the essential pieces a website needs, and the global styles associated with it. Up until now, there hasn’t been a single, simple button you could click that would restore your website to its previous state, if you realize you want to use a different kit, or none at all.
With the new Remove Kit feature, you can remove the latest kit you installed on your website, and the global styles that came with it, without having to restore your entire website to a previous version. When downloading any kit after updating to this version, the new ‘Remove Kit’ button will appear on the Import/Export tab (located in the WordPress dashboard under Elementor Settings → Tools). Clicking this button will restore your website to its previous state, before applying the kit. While any new content you create, in a new page or post will remain, it will adopt the global styles your website had before downloading the kit.
Additionally, all pages, posts, and assets added to the website as part of the kit will be removed, this includes changes made to the content of any kit. If you would like to keep any changes you’ve made to the kit, or content you’ve added before removing the kit, we recommend creating a new page and copying the content over before removing the kit.
Enjoy More Design Flexibility and Show More of Your Dynamic Content
Elementor and Elementor 3.8 Pro empowers you to design more of your website, using Elementor. Whether you want to gain more control over customizing the appearance and content of your listings, or achieve more sophisticated layouts with Containers, these updates are going to improve your ability to do so.
Give these new features a try and let us know what you think about them, and how you used them on your own website in the comments.
Join our release Live Show on Thursday, November 10th at 11am EST to learn more about how you can use the Loop Builder on your website, how to effectively convert existing sections and columns into Containers, and more.


