Blog
Blogs consist of posts, which are created using a different method compared to pages. This unit will guide you through the process of creating, editing, and displaying posts on your site.
Your Goal
Create and edit posts and display them on your site.
Posts- function and hierarchy
Learn about this topic
- One way of differentiating content types is how often they are being updated.
In WP, Pages display content that doesn’t update frequently.
Posts are used to create content that’s updated frequently. Example: blog, food recipes, real estate listings. - Posts have a separation between the content and the way the content is displayed. The content of each post is created without design.

- When a post is created, aside from its content, you need to define the post’s Meta Data– title, featured image, author, excerpt, etc.

- This information is used dynamically.
Dynamic content is a method where tags are attached to information.
These tags are used to display the content in different places with different designs. - Example: All the post titles will have a ‘Post Title’ tag.
When you display your posts, instead of manually adding each post title, you add the ‘Post Title’ widget to automatically pull each post’s title.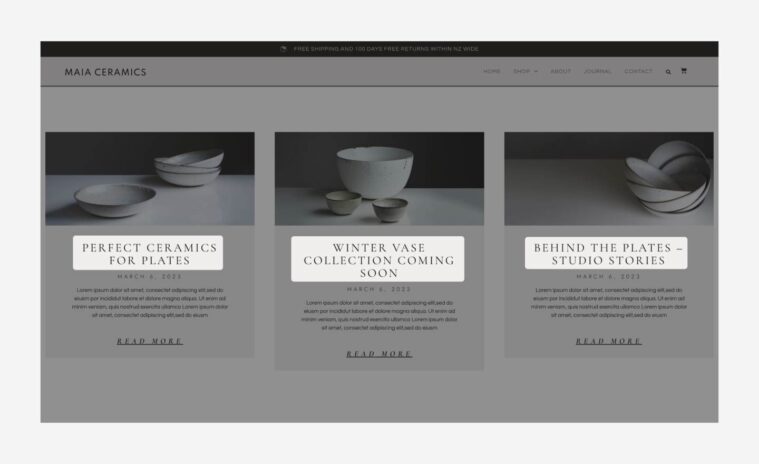
- Dynamic content speeds up work by allowing you to add or edit commonly-used information quickly. It also helps keep the design and content consistent throughout your site.
- Posts are created and displayed using a specific method.
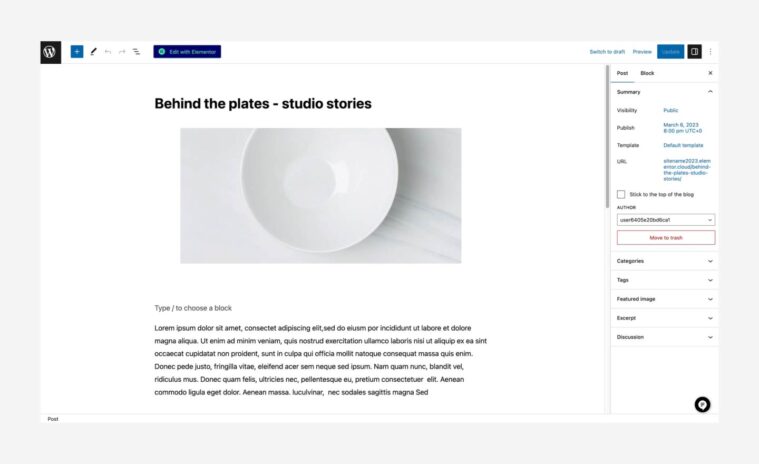
Here’s an overview of the process: - The first step is to create the post’s content. This is done in the WP editor.
- Create a Single Post template (in the Theme Builder). This design is automatically implemented on your posts later.
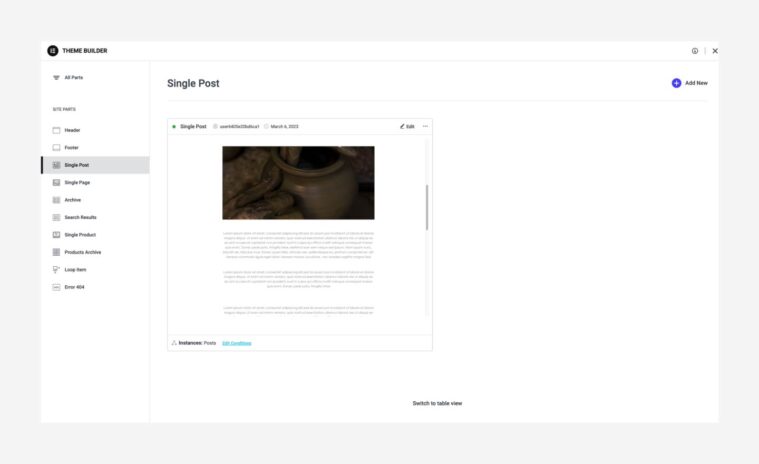
- Next, create an Archive Page template (in the Theme Builder). An Archive page is a webpage that shows a group of posts selected based on specific criteria.
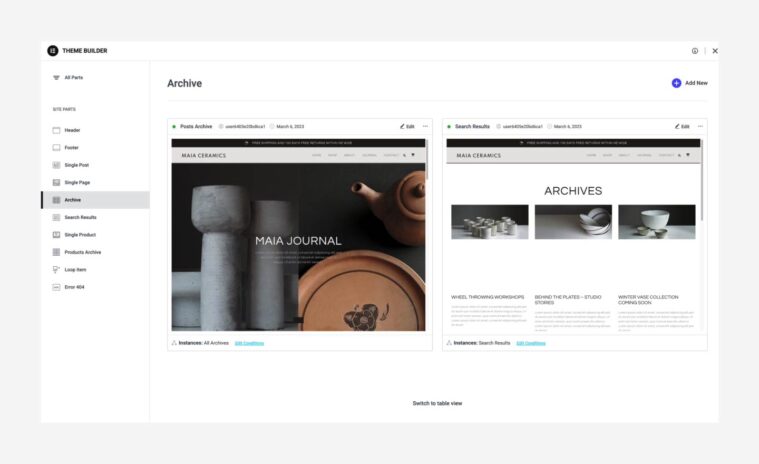
- After creating the templates, add a Posts widget or a Loop Grid widget to one of your pages.
These widgets are used to display a collection of posts. - Clicking a post leads the user to the full content of the post.
The design of the post is determined by the single post template (as it appears in the Theme Builder). - All the templates (Single, Archive, Loop Grid) are created and edited in the Theme Builder (WP → Templates).
Edit post content
How to do it
- To edit your posts or create new posts, go to WP dashboard → Posts → Edit/Create New.
- This will lead you to the WP editor (called Gutenberg).

- Edit the Post Title. It will be used dynamically later.
- Edit the Post content. Use Gutenberg by adding blocks of content.
- Edit the metadata: Author, Featured Image, Excerpt. You can also edit the categories and tags.
All will be used dynamically later. - Click Update to save your work.

More Resources
Playlist
1 Videos

14:13
Edit Single Post template
How to do it
- The Single Post template determines how the page that displays a (single) post will be designed.
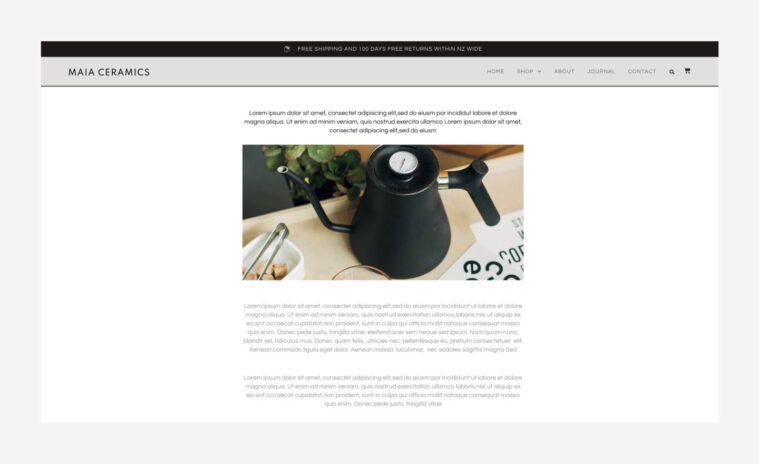
- To edit the Single Post template, go to the Theme Builder and choose the Single Post template.
- The template is edited the same as any other page (layout, widgets, background, etc.) with one main difference:
Most of the page’s content is pulled dynamically. - There are 2 methods of using Dynamic content:
- The first are designated Posts widgets (Example: Post Title, Post Content, etc.).
Click on the widgets to open their settings in the panel.
Since these are Dynamic widgets, the Content tab will only allow you to edit the source of the content.
Example: The Author Box widget will show the author’s name that was set in the post’s metadata, but you can choose a custom name. - The second method is using Dynamic Tags.
When you set the widget’s content, search for the Dynamic Tags icon.
It allows you to add the content dynamically.
Example: Instead of using the Post Title widget, use a regular Heading widget, click the Dynamic Tag icon, and choose Post Title.
[simple note] This page can also contain content that isn’t dynamic. In this case, content is constant in all posts.
Example: If you add a Divider widget, it appears in all posts.[/simple note]
[simple_note] You can have more than one template per site. You can create multiple Single Post templates and choose which one to use.[/simple_note] - Before saving your work, click the drop-down on the Update/Publish button to set the conditions of where this template will be activated.
More Resources
Playlist
1 Videos

3:20
Edit Archive Page template
Learn about this topic
- WP Archive Pages are produced to organize a list of posts under a particular post type, category, or tag.
- An Archive page can hold all the posts or just a few.
Example: In a food blog, a certain archive page can show gluten-free recipes while another shows low-carb recipes.
How to do it
- To edit the Archive template, go to the Theme Builder (WP → Templates).
- The template is edited the same as any other page (layout, widgets, background, etc.).
It will probably hold a Posts or Loop Grid widget. To edit these widgets, see the next step in this unit.[simple_note]This page can also contain content that isn’t dynamic. [/simple_note]
[simple_note]You can create multiple Archive templates per site.[/simple_note] - While saving your work (Update/Publish button) you’ll need to set the conditions of where this template will be activated.
More Resources
Playlist
1 Videos

4:08
Display posts
How to do it
- The Posts widget and the Loop Grid widget are used to display a collection of posts.
Usually, they’re used to display a preview of the posts. - The Posts widget displays a list of posts. Set it to show the full content or a preview.
- When working with the Loop Grid widget, you’ll be required to create a Loop template.
- Both widgets allow you to set the collection’s layout, choose the content source through the Query, and set their style.
- To edit these widgets, click them to open their settings in the panel.
[simple_note]For more information on the Loop Grid and Posts widgets, see the additional resources below.[/simple_note]
More Resources
Playlist
2 Videos

5:54

