Why use global fonts and colors?
When you’re building a website, your fonts and colors should be the same across your entire site to improve the overall look and reinforce brand identity. If fonts and colors vary among pages or parts, your users can become confused. This can negatively impact user retention and may cost you sales.
Note
For information about using global fonts, see View and edit global colors.
Access your site’s global fonts
To view your site’s global fonts:
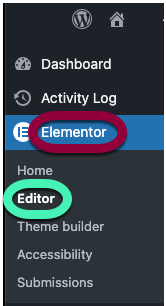
- From the WordPress Dashboard, navigate to Elementor>Editor.
- In the ‘Jumpstart your web-creation‘ section, click “Customize” under Global Fonts.
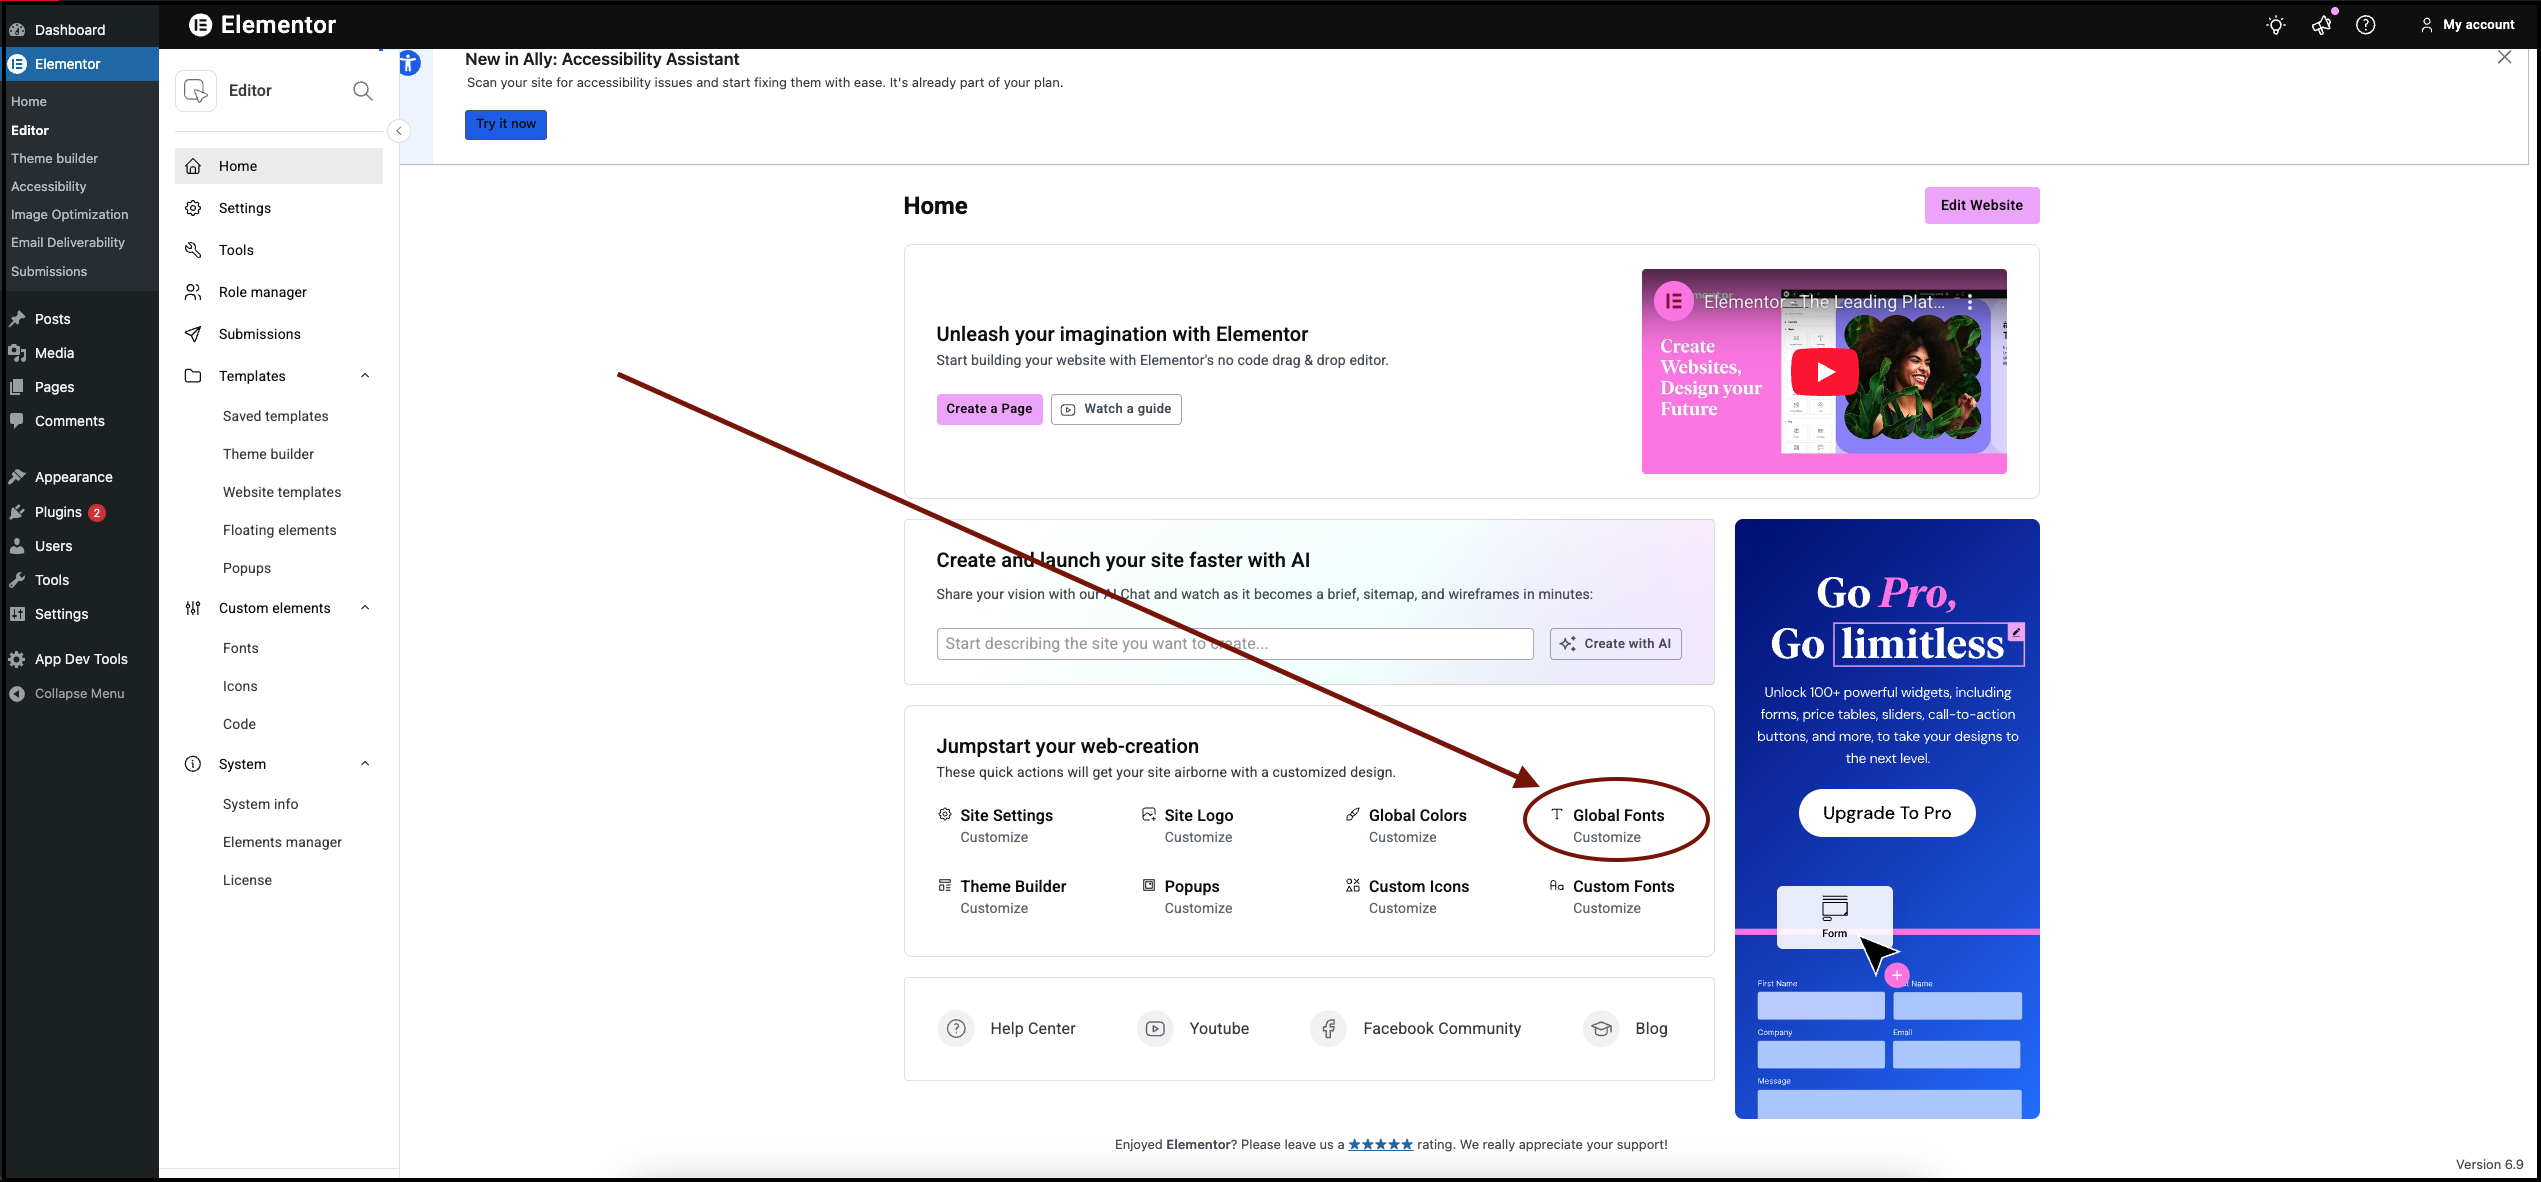
The list of global fonts appears. The canvas displays the different types of fonts.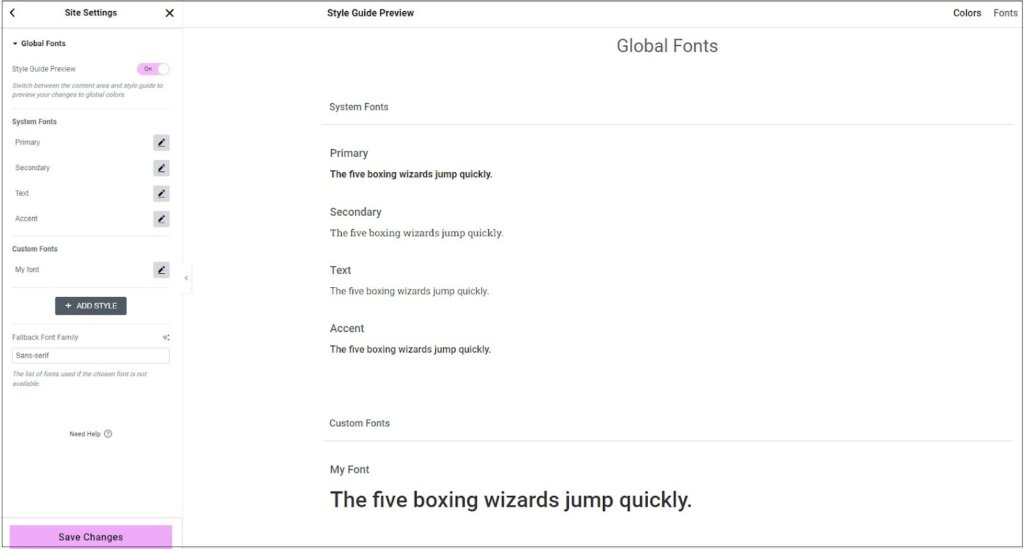
Note
You can also access Site Settings from the Elementor Editor. For details, see Configure Site Settings.
Edit your site’s global fonts
To edit the global fonts:
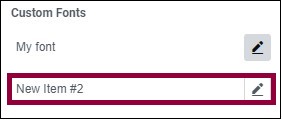
- Under Custom Fonts, hover over the Edit () icon.
- To delete the global font, click the delete icon (
). You cannot delete any of the system fonts.
- To reorder the global fonts, click the arrows icon (
)
- To change the font typography, click the Edit icon (
). See Typography.

- To delete the global font, click the delete icon (
- Click Save Changes.
To change the name of the global font:
- Click the name of the global font.
- Enter the name of the new global font you added.
Add a new global font
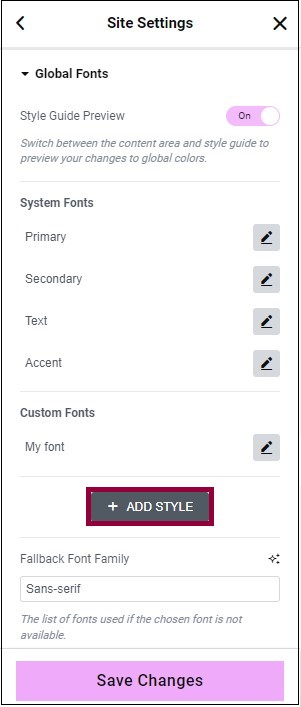
- Click Add Style. A New Item box appears.
- Enter a name for the new font. See Typography for more information.

