The container style tab controls how items appear in a container. See below for a summary of these controls.
Background
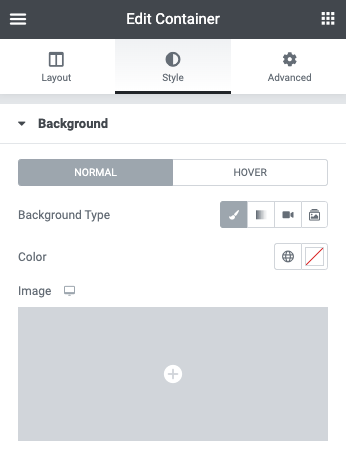
- Background Type – Select the background type, color, gradient, image, or slideshow
- Color (background): From the color picker, select the color(s) for the field
- Image: Click to select or upload an image or images if slideshow type is used to the media library to use as the background image of your container
Background Overlay
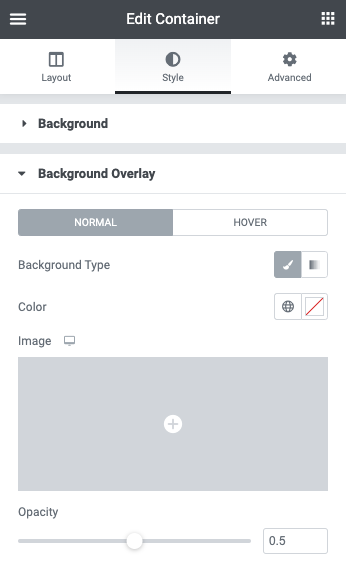
- Background Type – Select the background type, color, gradient, image
- Color (background): From the color picker, select the color(s) for the field
- Image: Click to select or upload an image to the media library to use as the background overlay image of your container
- Opacity: Use the slider or manually enter a value in the field
Border
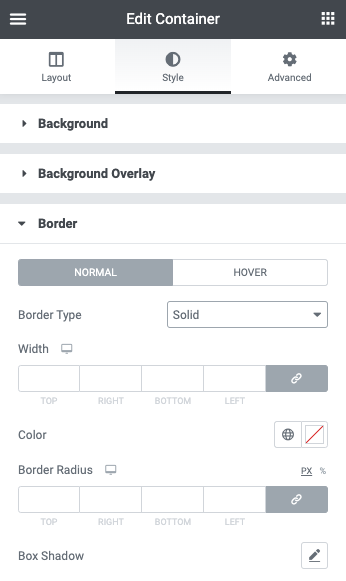
- Border type: From the dropdown menu select between solid, double, dotted, dashed, or grooved
- Width (border): Enter a chosen value in the fields based on px, em, or %
- Color (border): From the color picker, choose the background color for your border
- Border Radius: Enter a chosen value in the fields based on px, em, or %
- Box Shadow: Click the pencil icon to open the shadow properties options.
Shape Divider
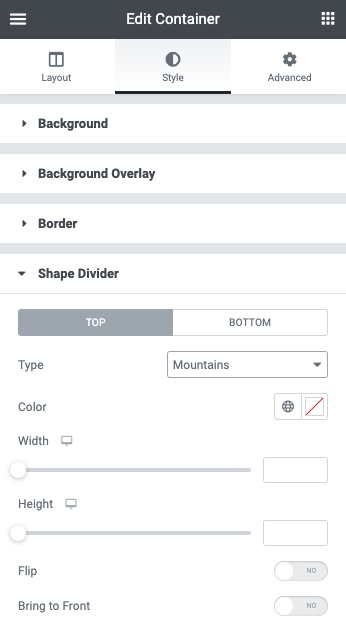
- Choose to display at the Top or Bottom of your container
- Type: Click the dropdown to choose your Shape Divider style
- Color: Pick a color
- Width: Set the width of your Shape Divider
- Height: Set the height of your Shape Divider
- Flip: Flip the direction of your Shape Divider
- Bring to front: Force your Shape Divider to be in front of other objects
Next steps
Now that you’ve familiarized yourself with the container setting in the Style tab, learn about the container settings in the Advanced tab.
To get the most out of Elementor, check out the Elementor Academy for helpful learning resources. If you come across any issues or need help, please contact our Support Center.

