Image element

Last Update: May 27, 2025
Who can use this feature:
This article is for Editor v4 users. If you’re using Editor v3, check out the relevant article here: Image widget

Add and delete the element

General tab 1 Image element 1

To access and use a widget:

  1. In Elementor Editor, click +.
    All available widgets are displayed.

  2. Click or drag the widget to the canvas. For more information, see Add elements to a page.

To delete the widget:

  1. On the canvas, select the element by clicking it.
  2. Press the delete key on your keyboard. For more information, see Delete elements from a page.

What is Image element?

Images play a crucial role in capturing attention on websites. The Image element allows you to add and customize pictures on your website. You can upload or select images, adjust size and alignment, apply hover effects and filters, and link photos to specific URLs.

See all the options available with the Paragraph widget.  

Common use case

Alex is building a website for a new cafe. At the top of the homepage they want a striking image that will draw the attention of potential customers.

The result scaled 1 Image element 3

Additional use cases 

  • Use the Image element to create a stunning portfolio gallery. Each image can be linked to a project page or a detailed view.
  • If you’re hosting an event or webinar, the image element can help you create visually appealing banners or posters.
  • Use images to display before and after transformations for home renovations, fitness progress, or any other transformation journey.

Add a Image element: Step-by-step

  1. Add the Image widget to the canvas. For details, see Add elements to a page.
    Add the element to the canvas scaled Image element 5
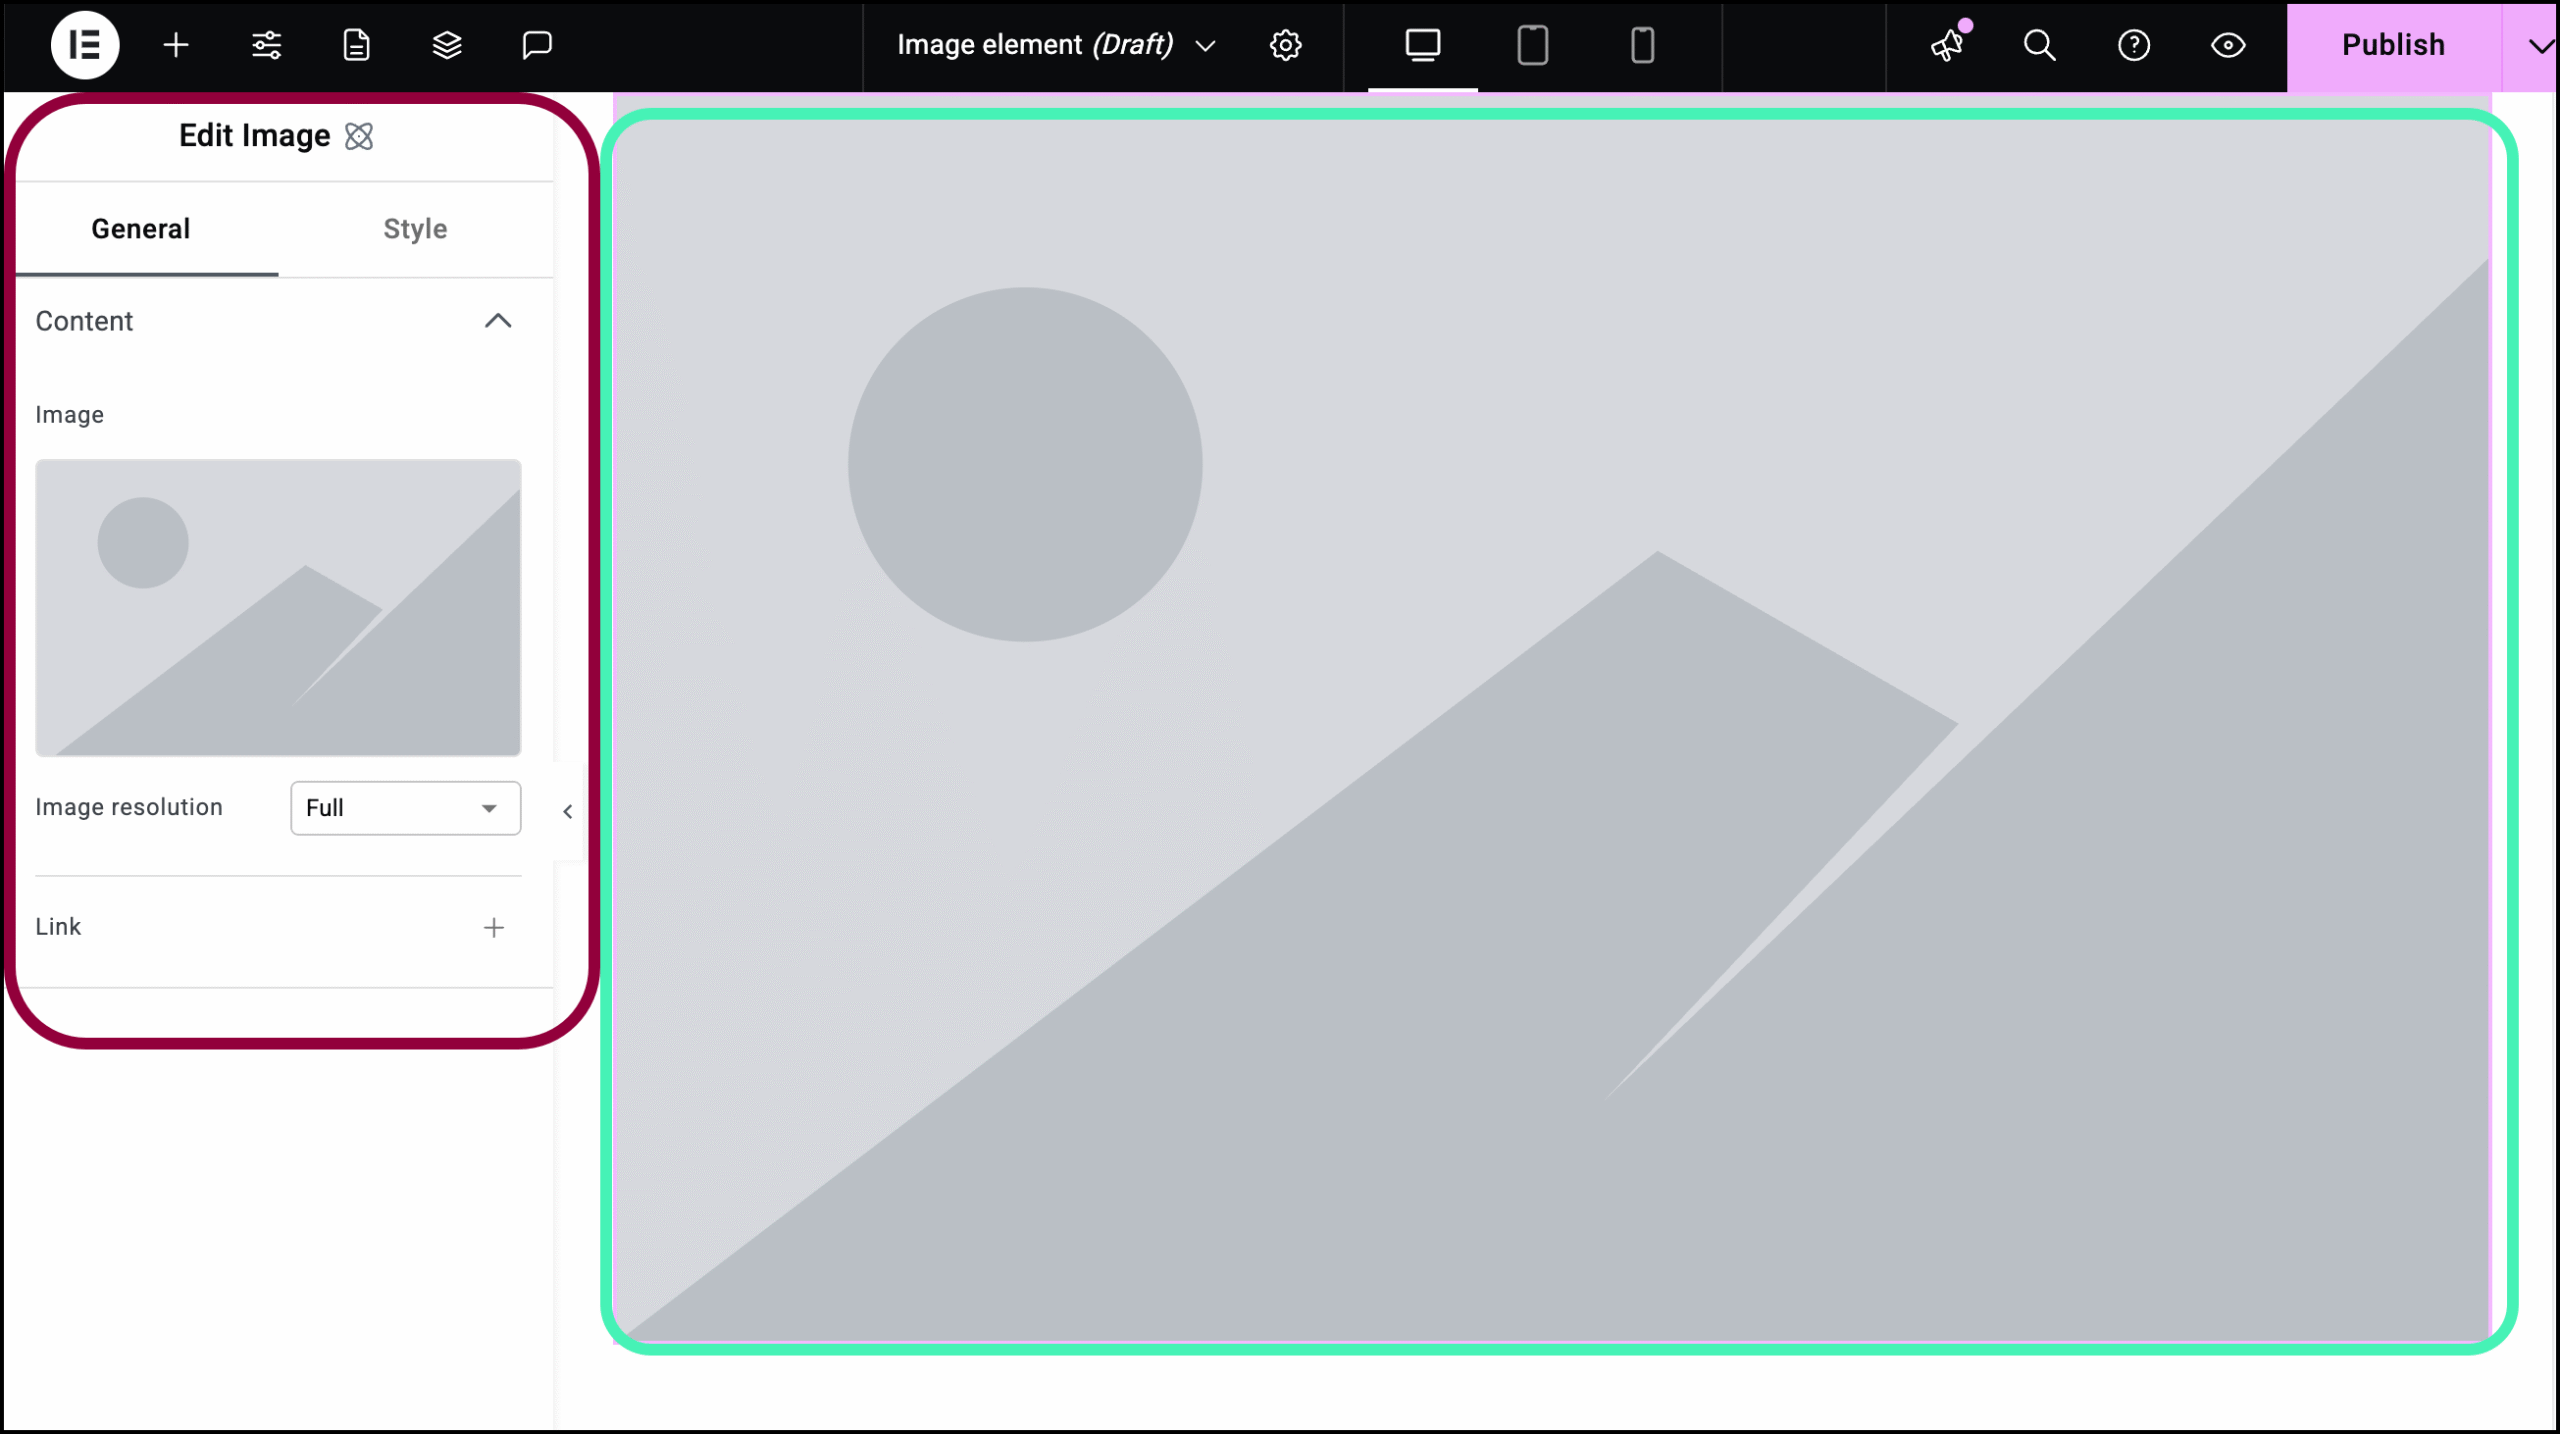
    The options for the Image element appear in the left panel.
    Click Select image 1 Image element 7
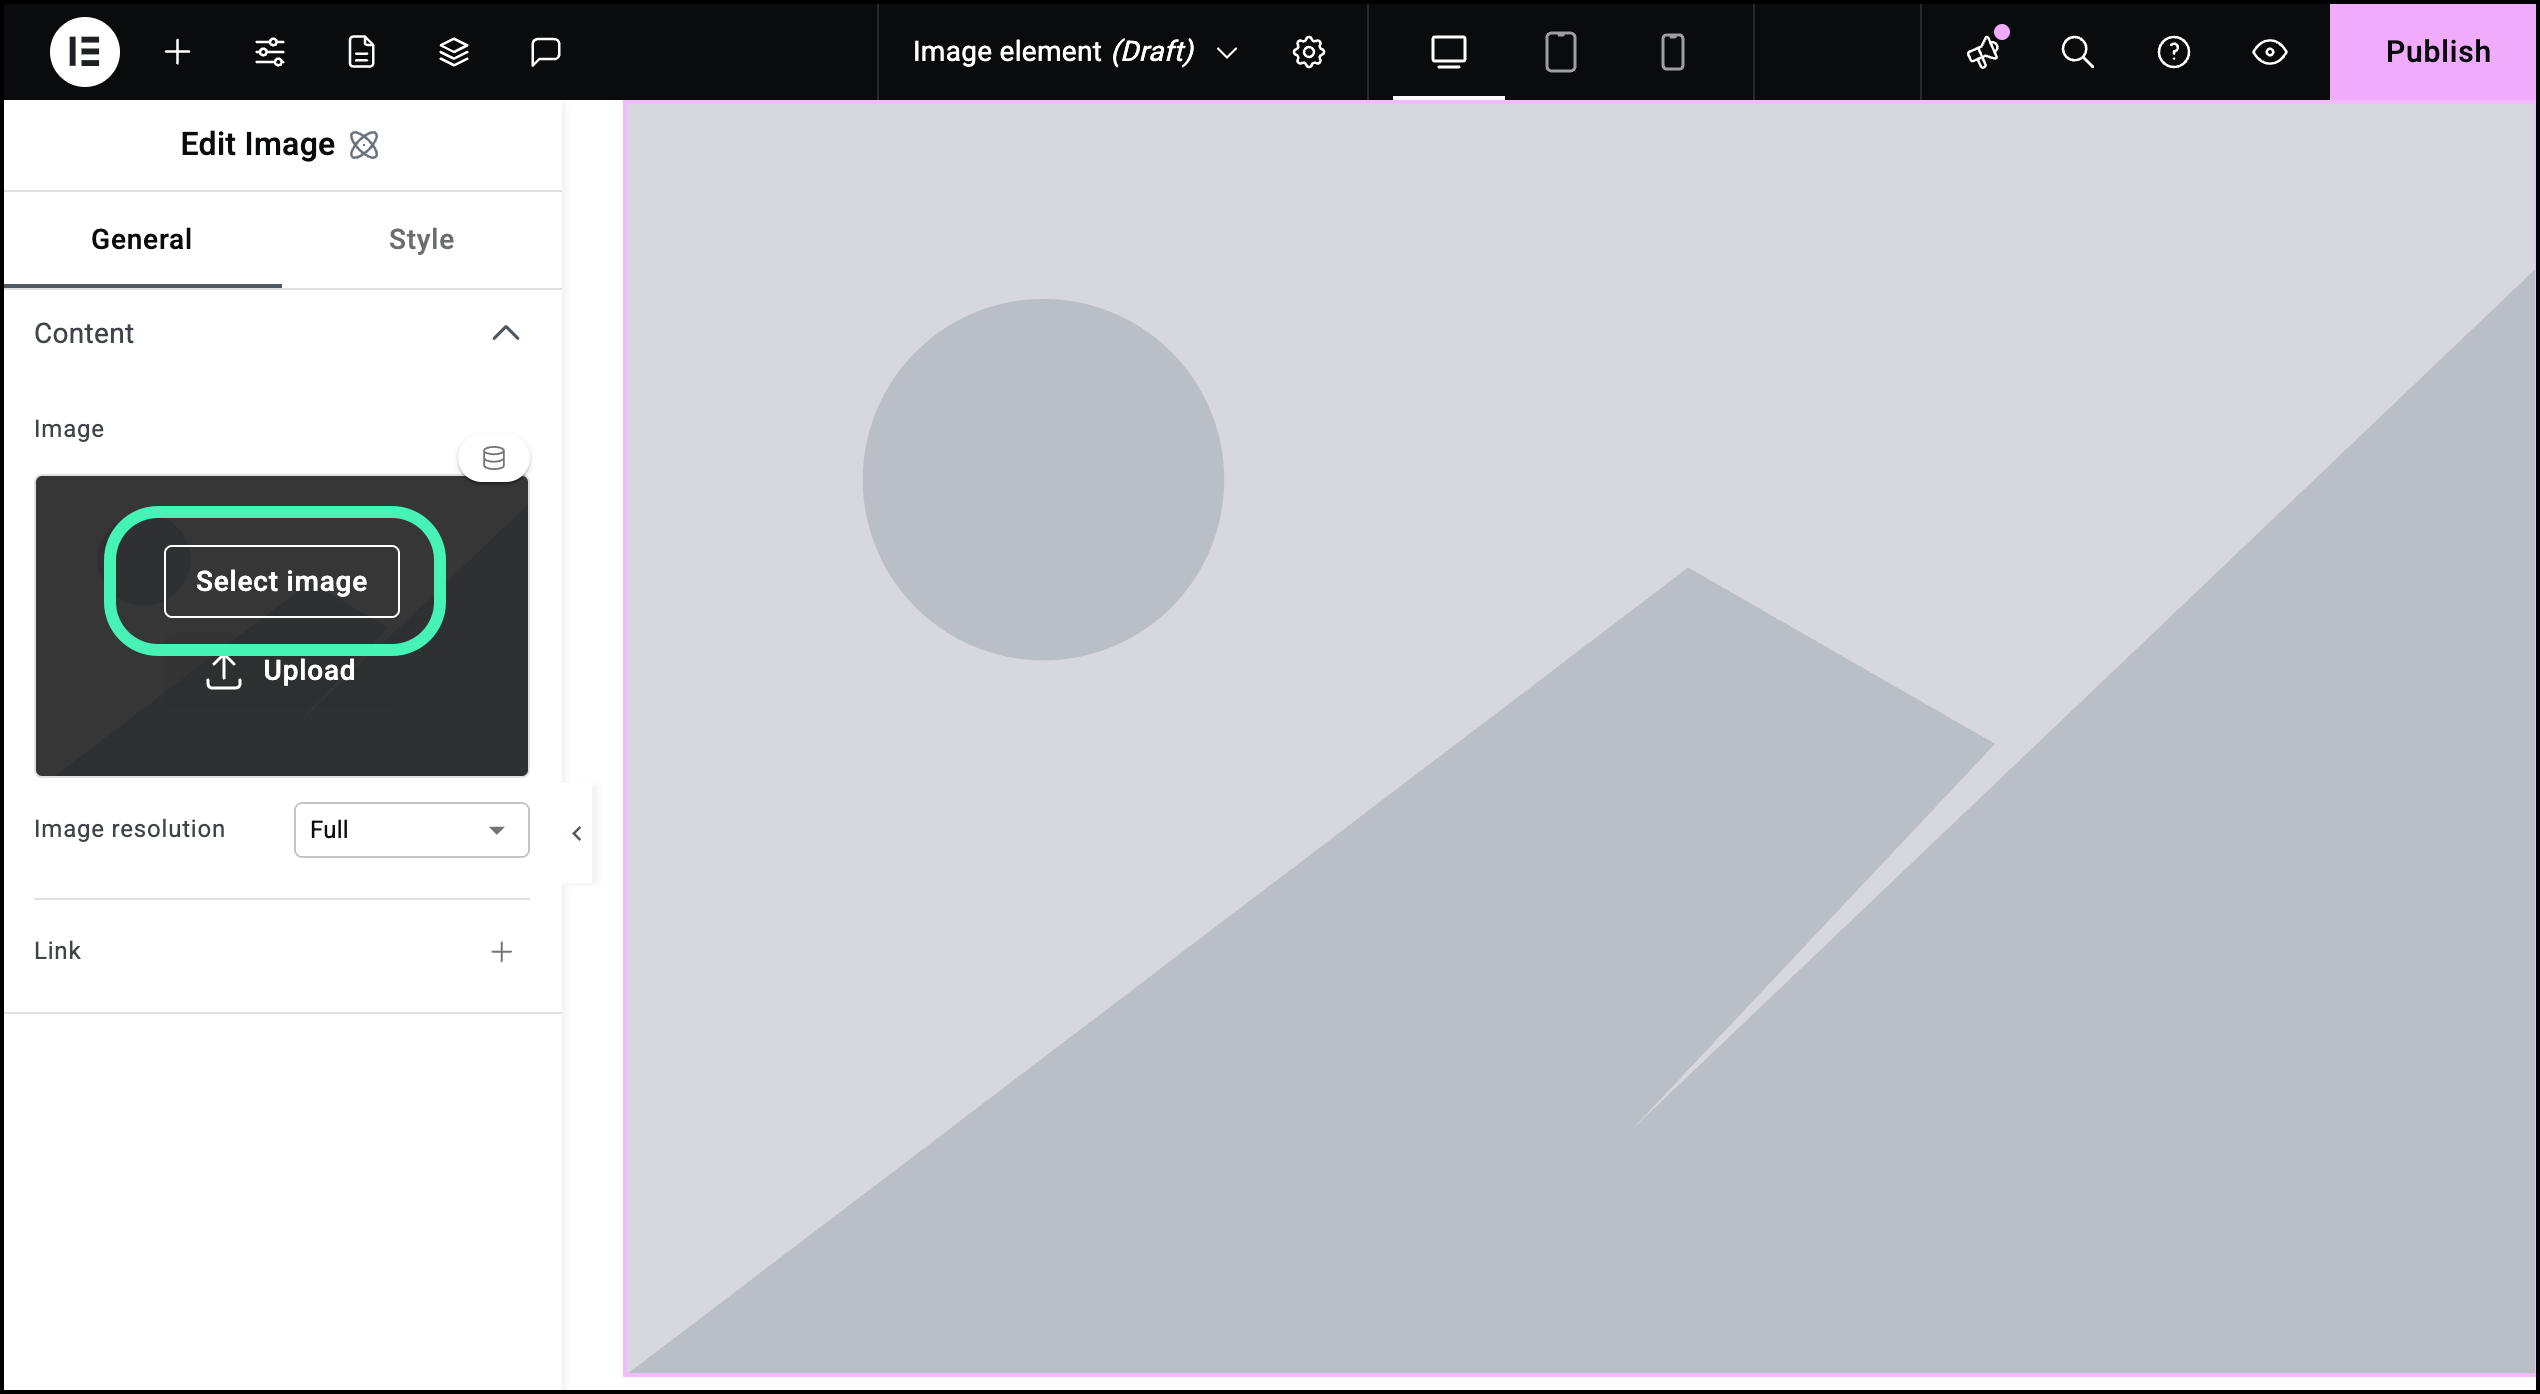
  2. In the General tab, hover over the Image field and click, Select Image.
    Choose a file and click select 1 Image element 9
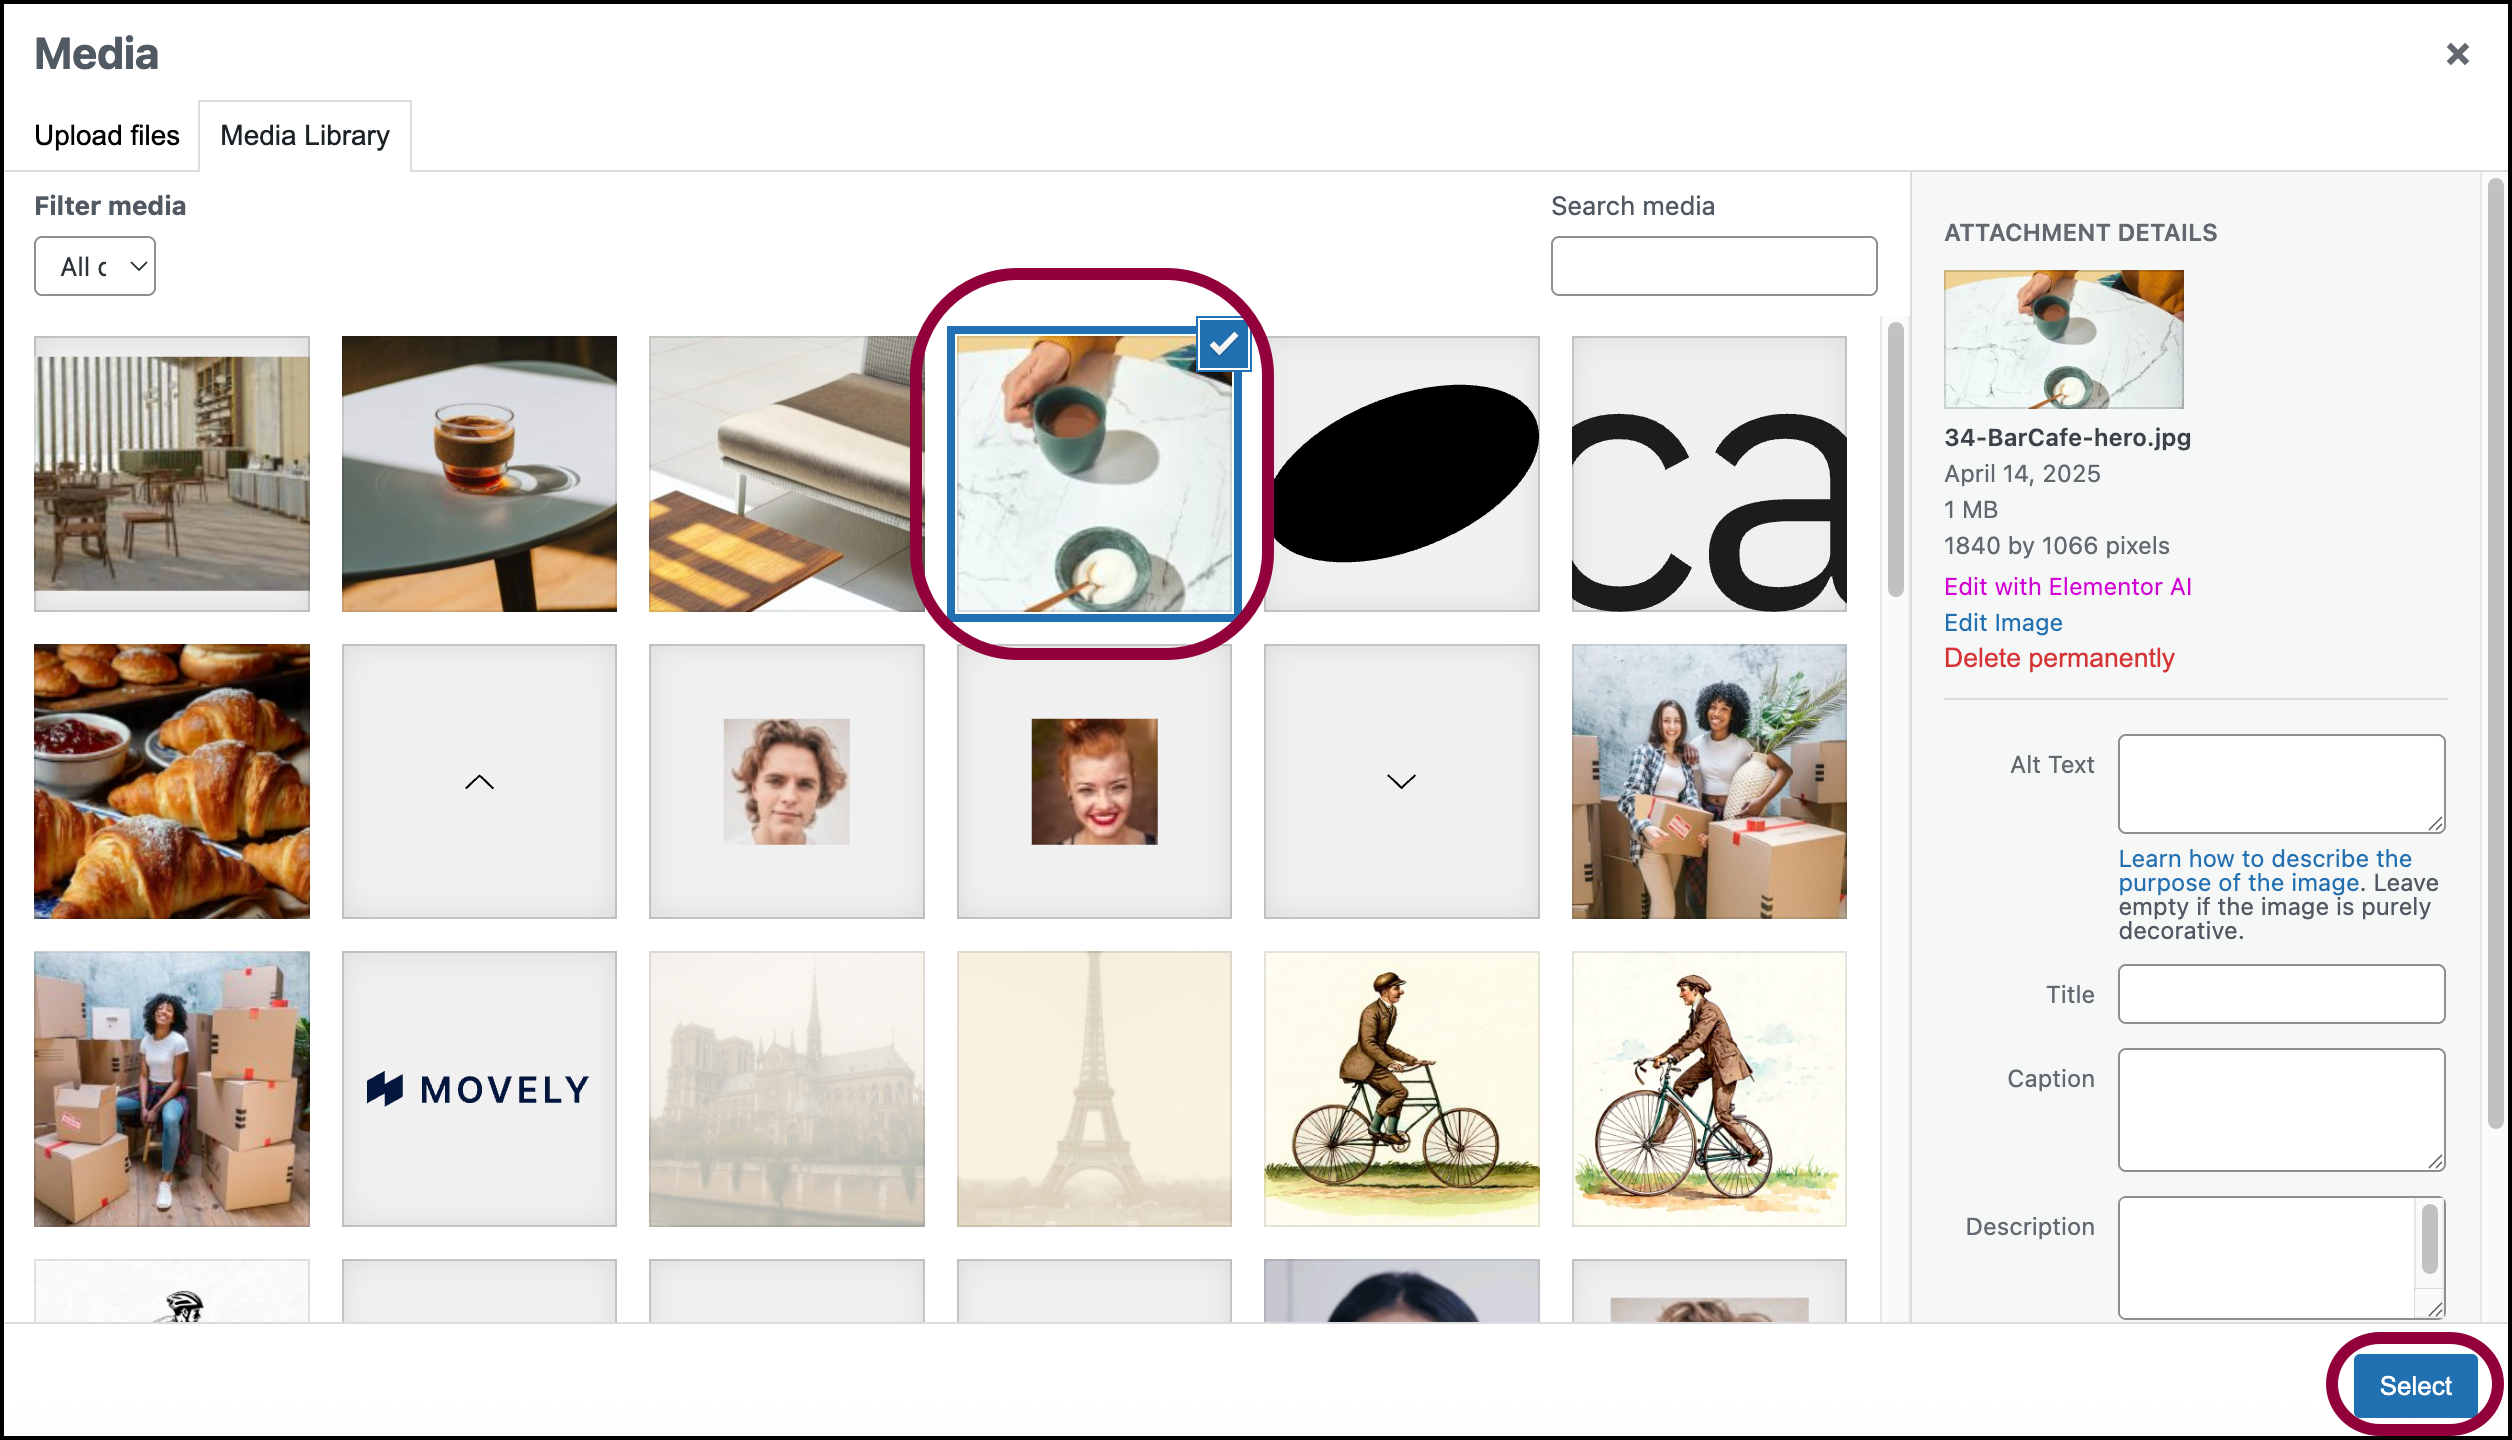
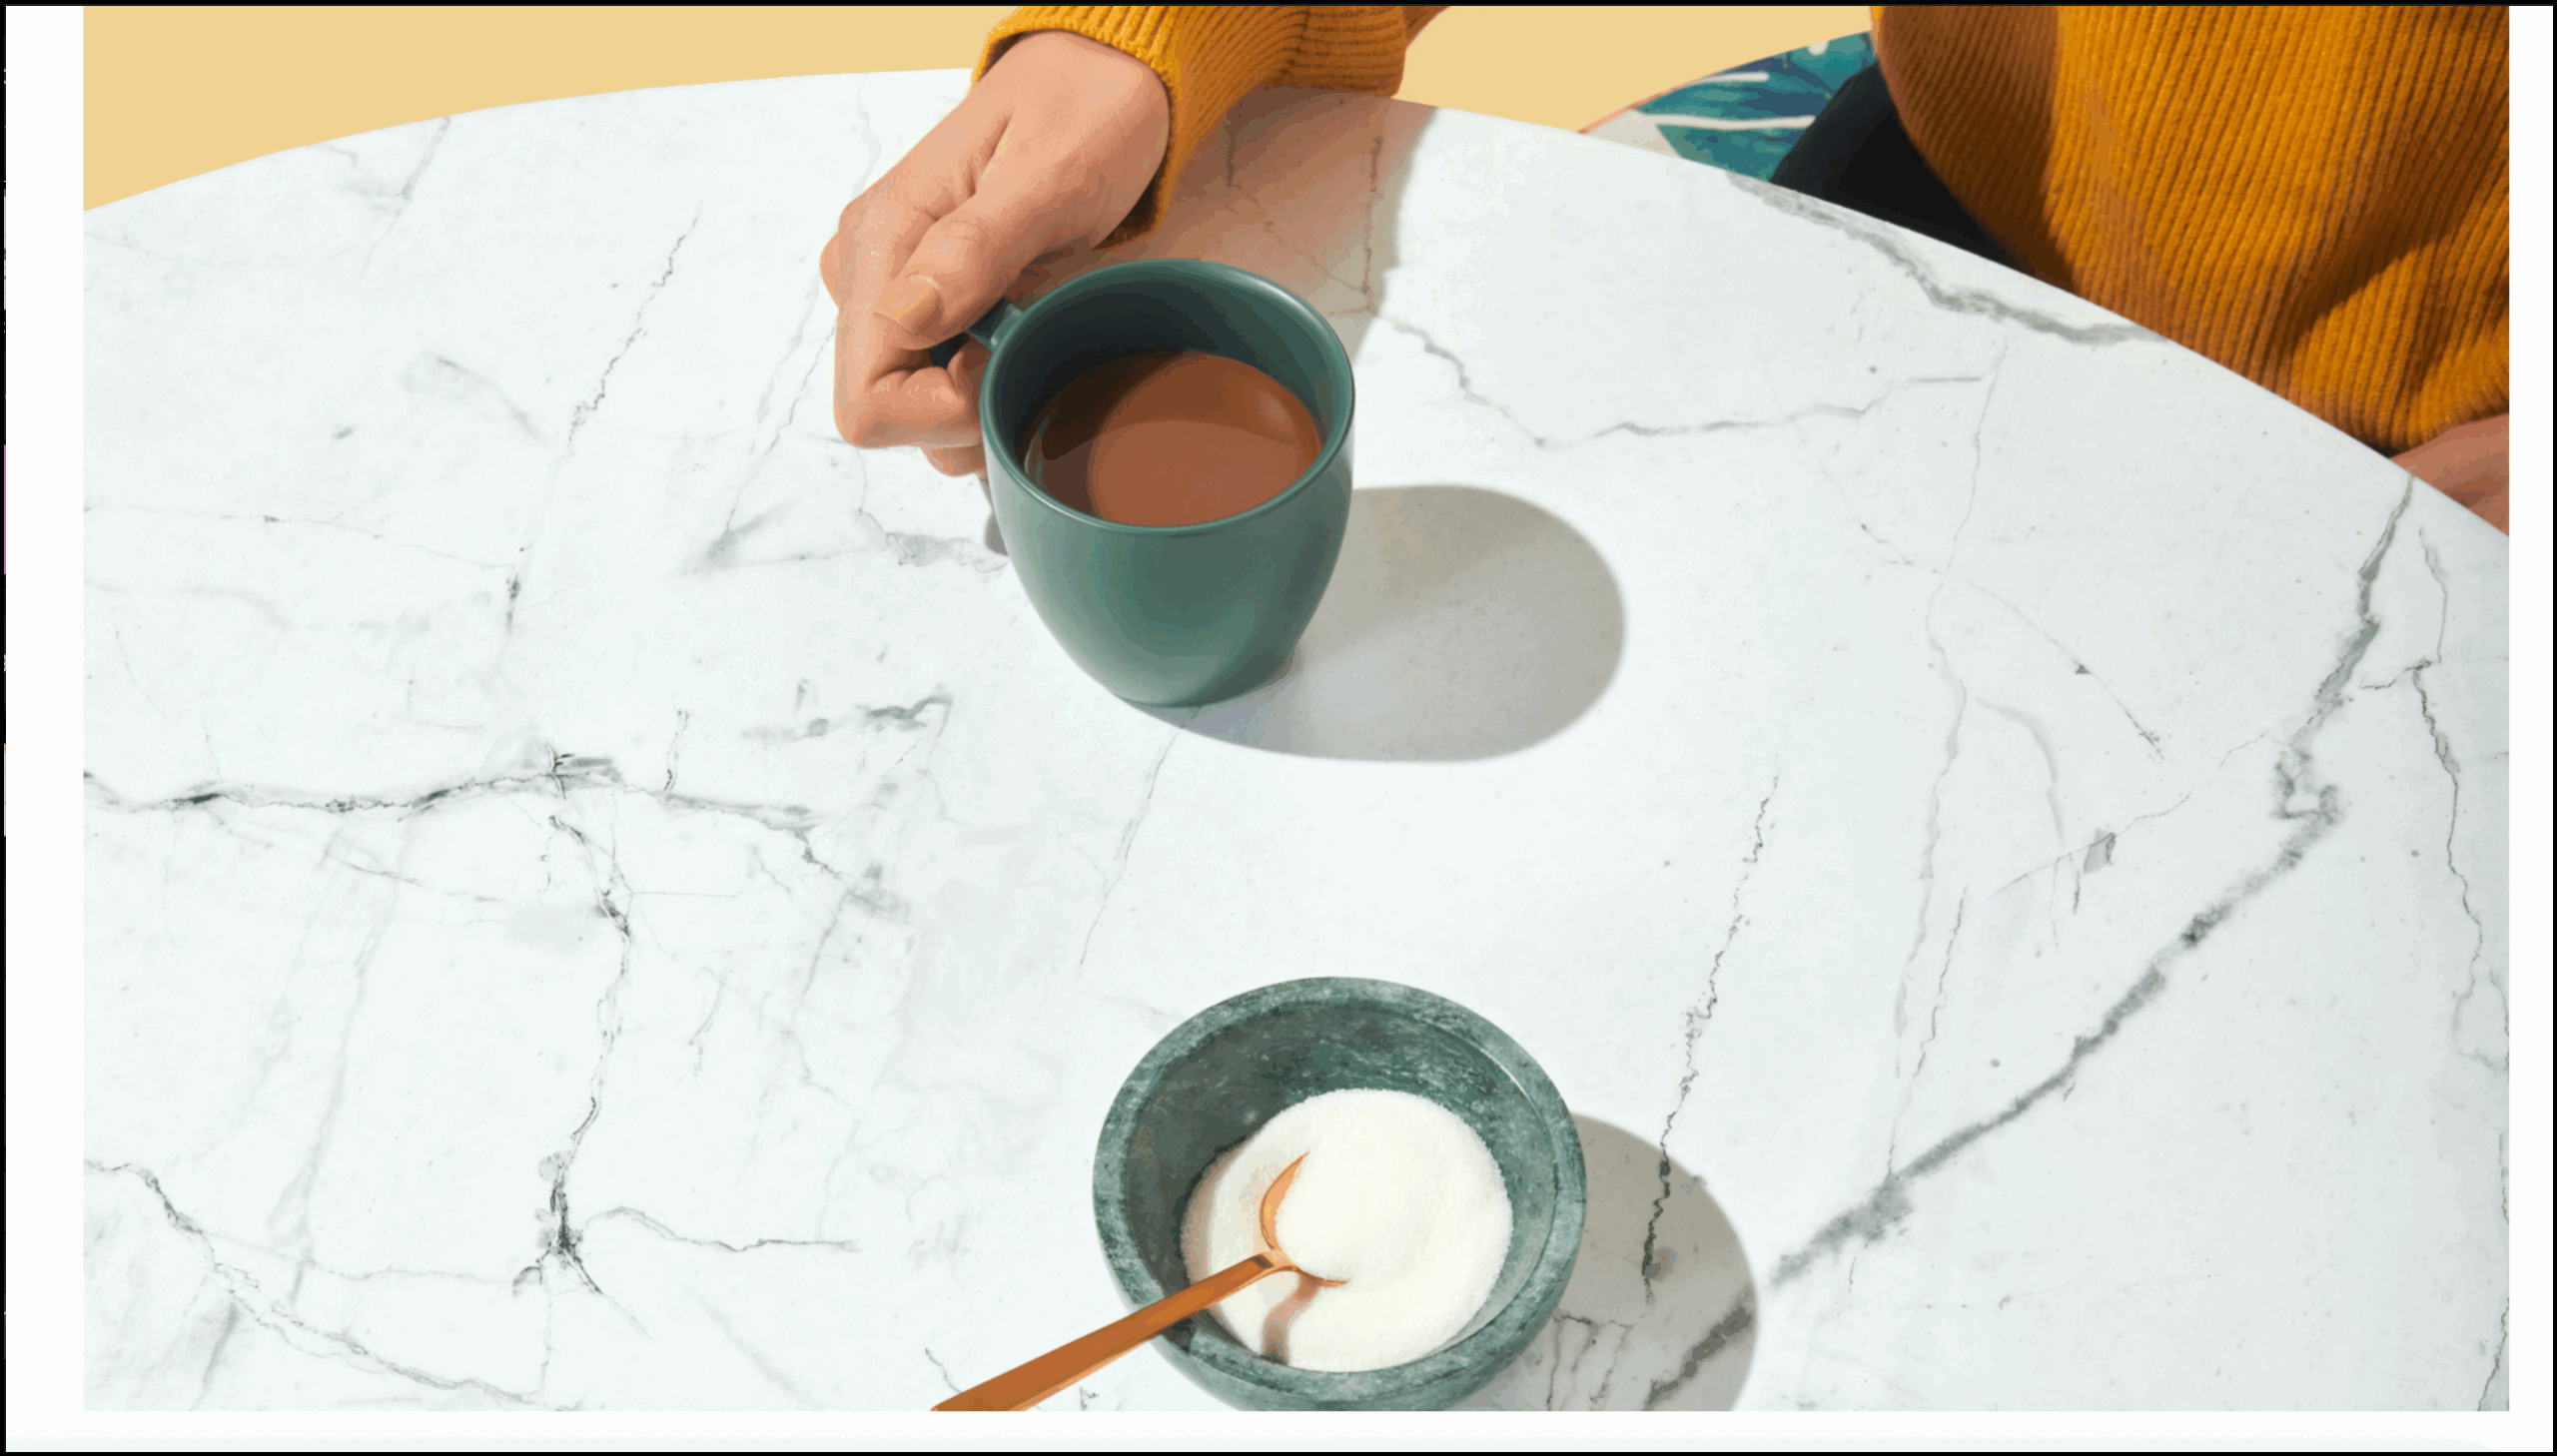
  3. Choose an image from the Media Library and click Select.
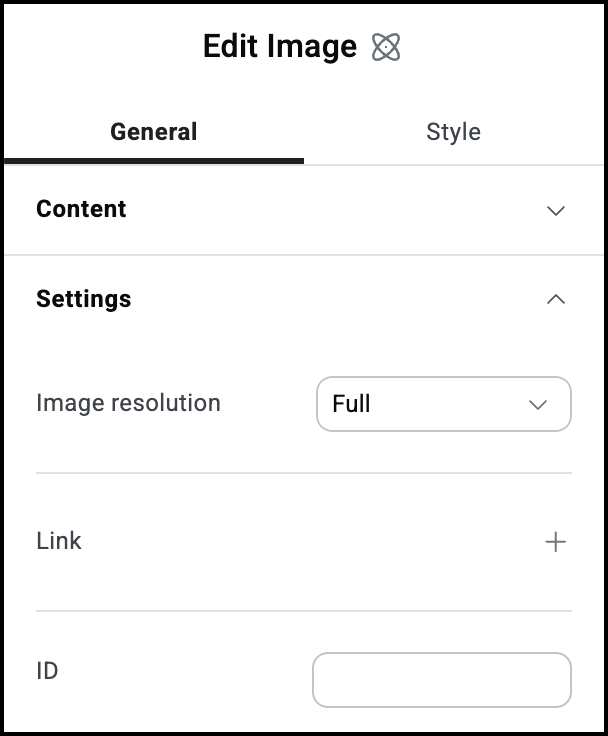
    To make a big impression, we’ll leave the Image Resolution at Full, but depending on your needs you can use the dropdown to change the resolution.  
    We want visitors clicking the image to go to the reservations page so we’ll add a link to the image. 
    Click the plus sign 4 Image element 11
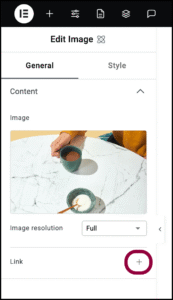
  4. Click the plus sign next to Link.
    enter the URL 3 Image element 13
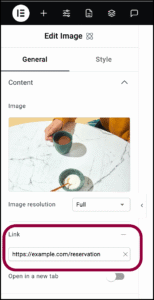
  5. In the Link text box, add the URL of the page you want to link to.
    The result scaled 1 Image element 15
    Clicking the image will take the visitor to the Link URL.

Settings for the Image element

You can customize your elements using content and style, offering you great flexibility in tailoring them to your needs. Click the tabs below to see all the settings available for this element.

General tab 2 Image element 17

Click to add an image to the element.

Use the dropdown menu to select the image quality. The higher the resolution, the higher the quality. High quality images have larger file sizes and may affect page loading times.

Link: Click the plus sign to enter a link. Visitors clicking the Image will open the link. 

Open in a new tab: If the Image contains a link, toggle on if you want the link to open in a new tab.

Style tab 1 Image element 19

See the individual articles on Style options:

On this page

Share this article