Decreasing page load times increases visitor retention and boosts your SEO score. With Element Caching, when widgets are rendered on the server the HTML output is stored in the database. This way, the next time the element appears, it is drawn from the database instead of being rerendered. This significantly reduces the server’s memory usage and reduces the Time To First Byte (TTFB) for visitors.
Activate Element Caching
In the Advanced tab, under the Cache Settings section, you can override the default widget caching status to either set it to Active or Inactive.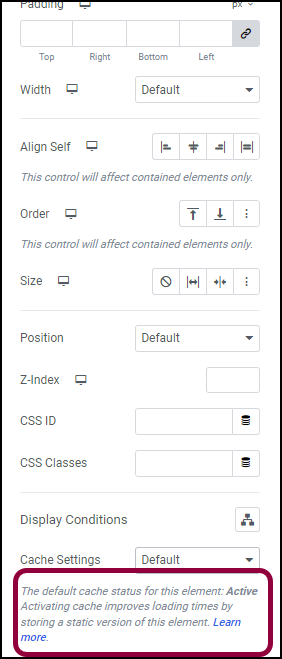
- Container
- Grid Container
- Off Canvas
- Section
- Column
- Inner Section
Change the caching status of an element
You can speed up page load times on your site by setting the Cache Setting status of static widgets to Active.
In order to change to caching status of an element:
- On the canvas, click the element.
The options for that element appear in the panel.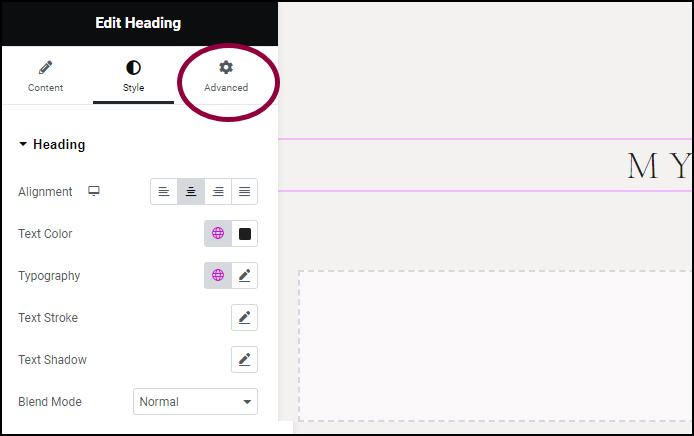
- Click the Advanced tab.
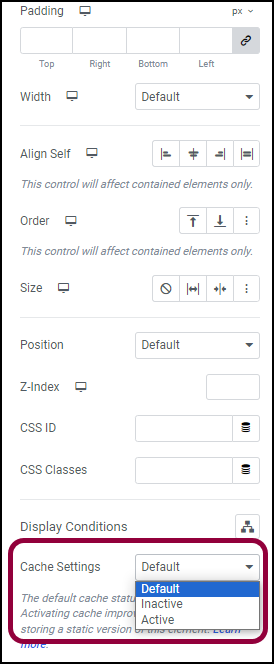
- In the panel, use the Cache Settings dropdown menu to select a new activation status for the element.
The caching status of the element is changed.
Clearing your elements’ cache
There are several reasons you may want to periodically clear an element’s cache:
- Content Freshness: Ensures that frequently updated content, like news or promotions, is always current for visitors.
- Performance Balance: Maintains a balance between improved loading times and up-to-date content by regularly refreshing the cache.
- Testing and Updates: Allows you to test changes or updates on your site and see the results without waiting for the cache to clear naturally.
Clearing the cache is done at the site level so all your elements will have their cache cleared in the same interval.
To set up cache clearing:
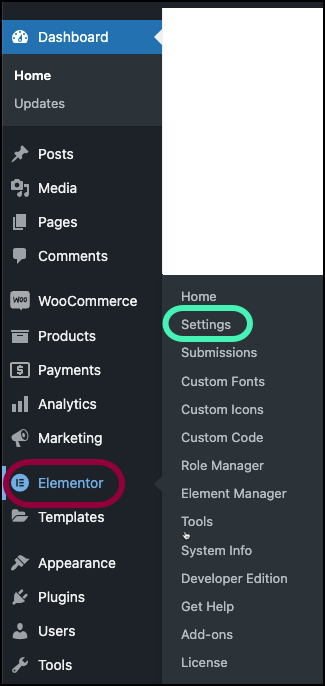
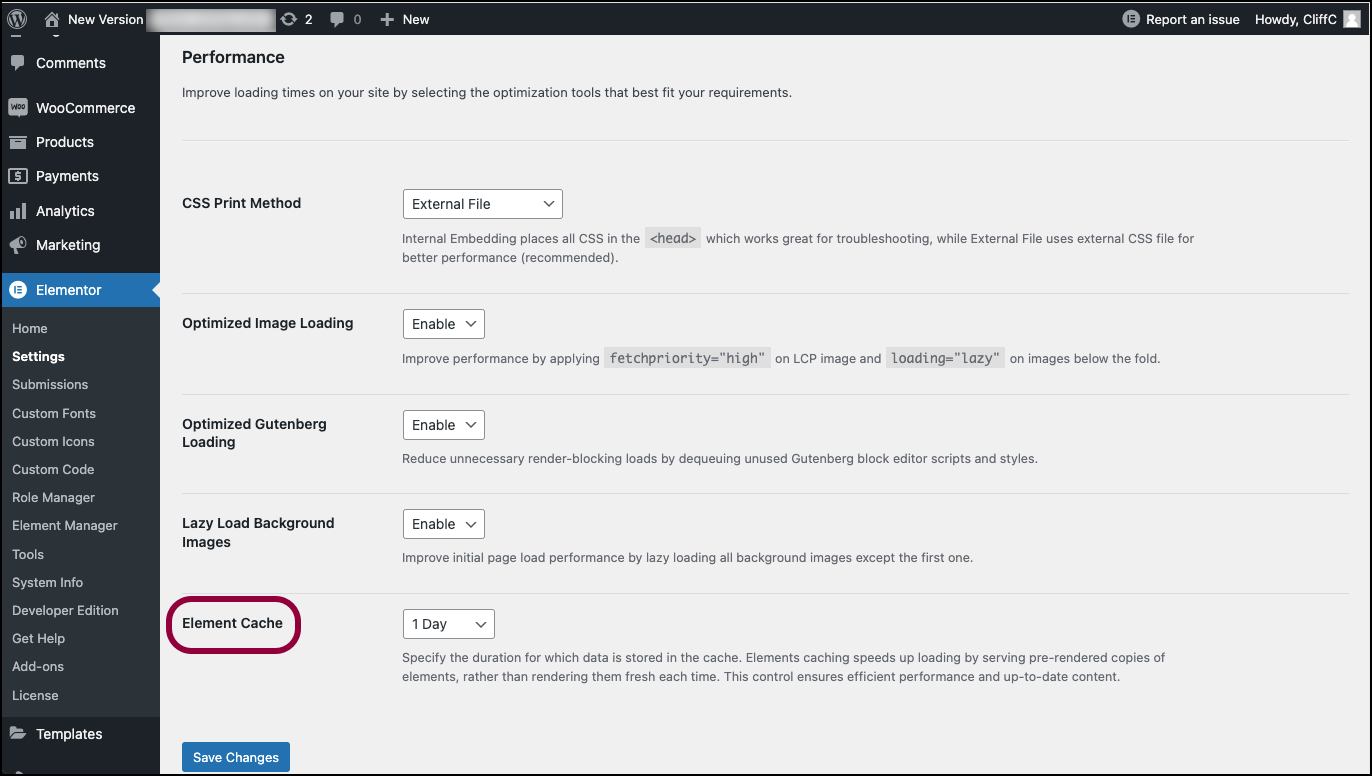
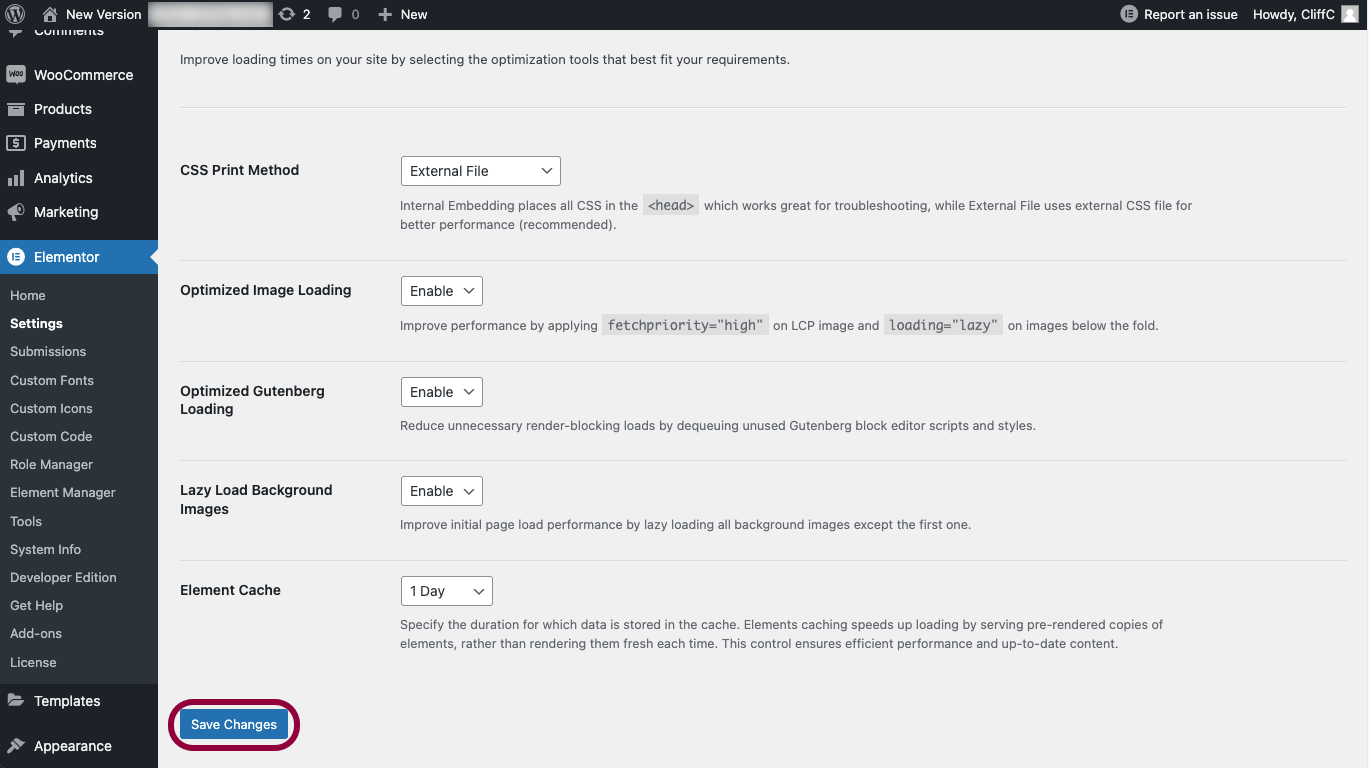
- From WP Admin, go to Elementor>Settings.
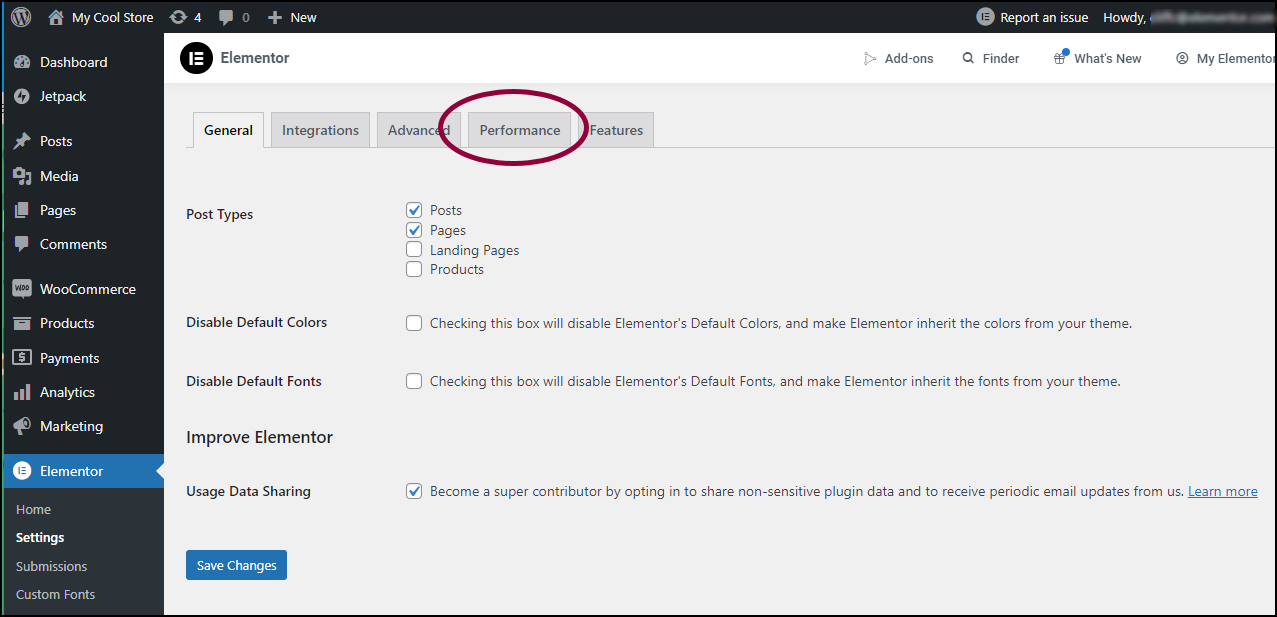
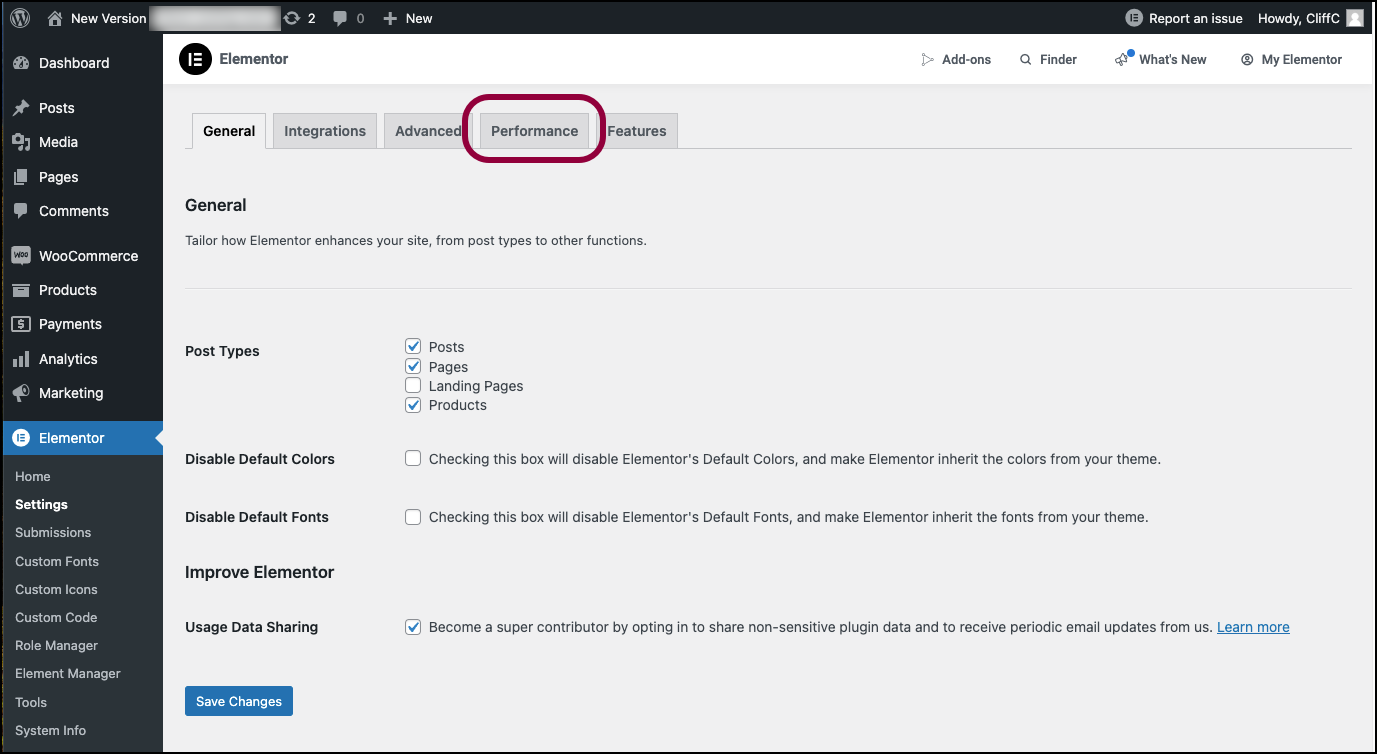
- Click the Performance tab.
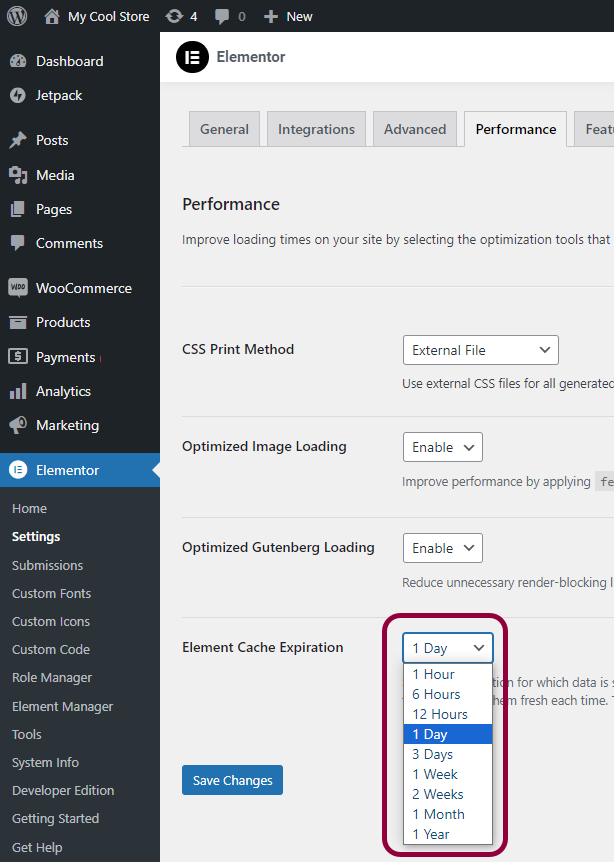
In the Element Cache Expiration field, use the dropdown to choose a frequency for clearing the elements’ cache.
Disable element caching
Elementor caching can greatly increase page speed, but may produce unexpected results. If you feel your site is better off without this caching, you can turn it off for your entire site.
Disabling element caching will affect your entire site.
To disable element caching:
- Go to WP Admin.
- In the panel, navigate to Elementor>Settings.
- Click the Performance tab.
- Scroll down to the Element Cache section.
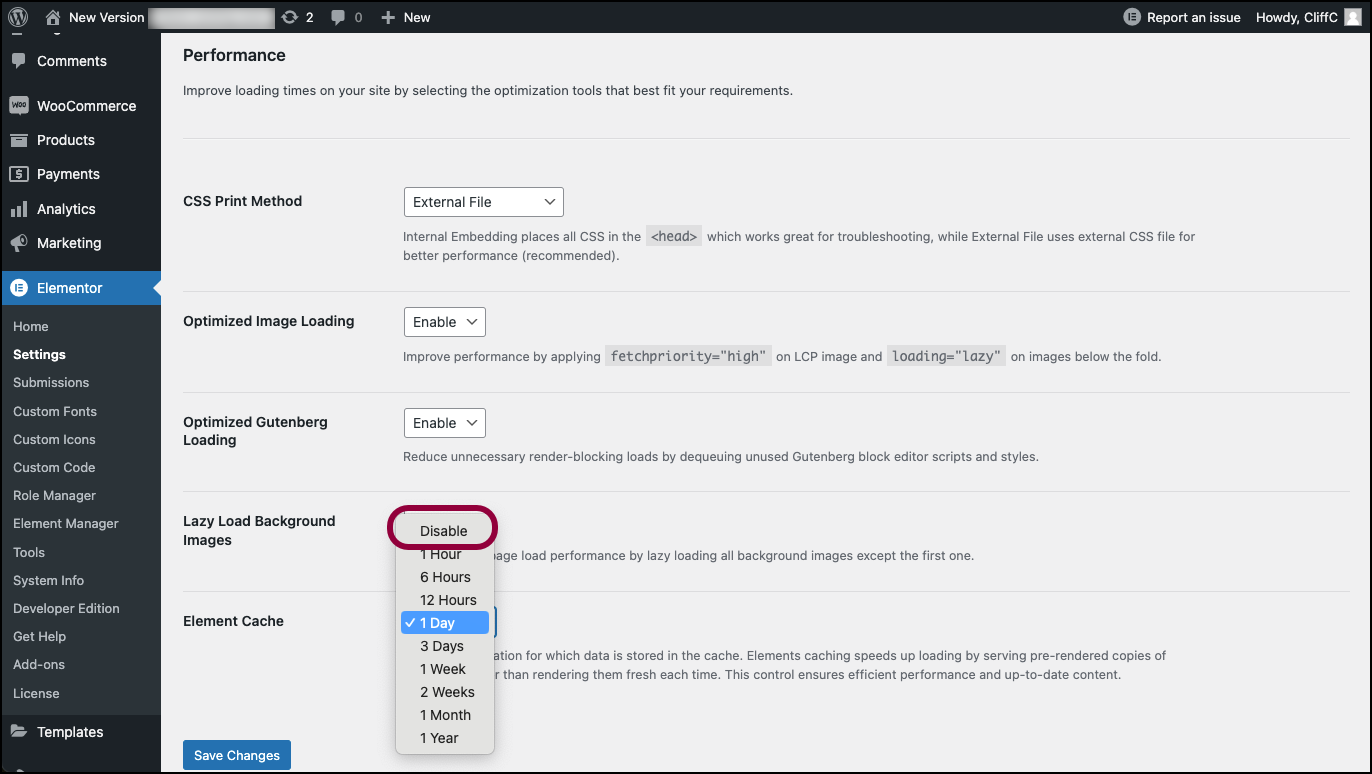
- In the right window, use the Element Cache dropdown menu to select Disable.
- Click Save changes.
Element caching is disabled.

