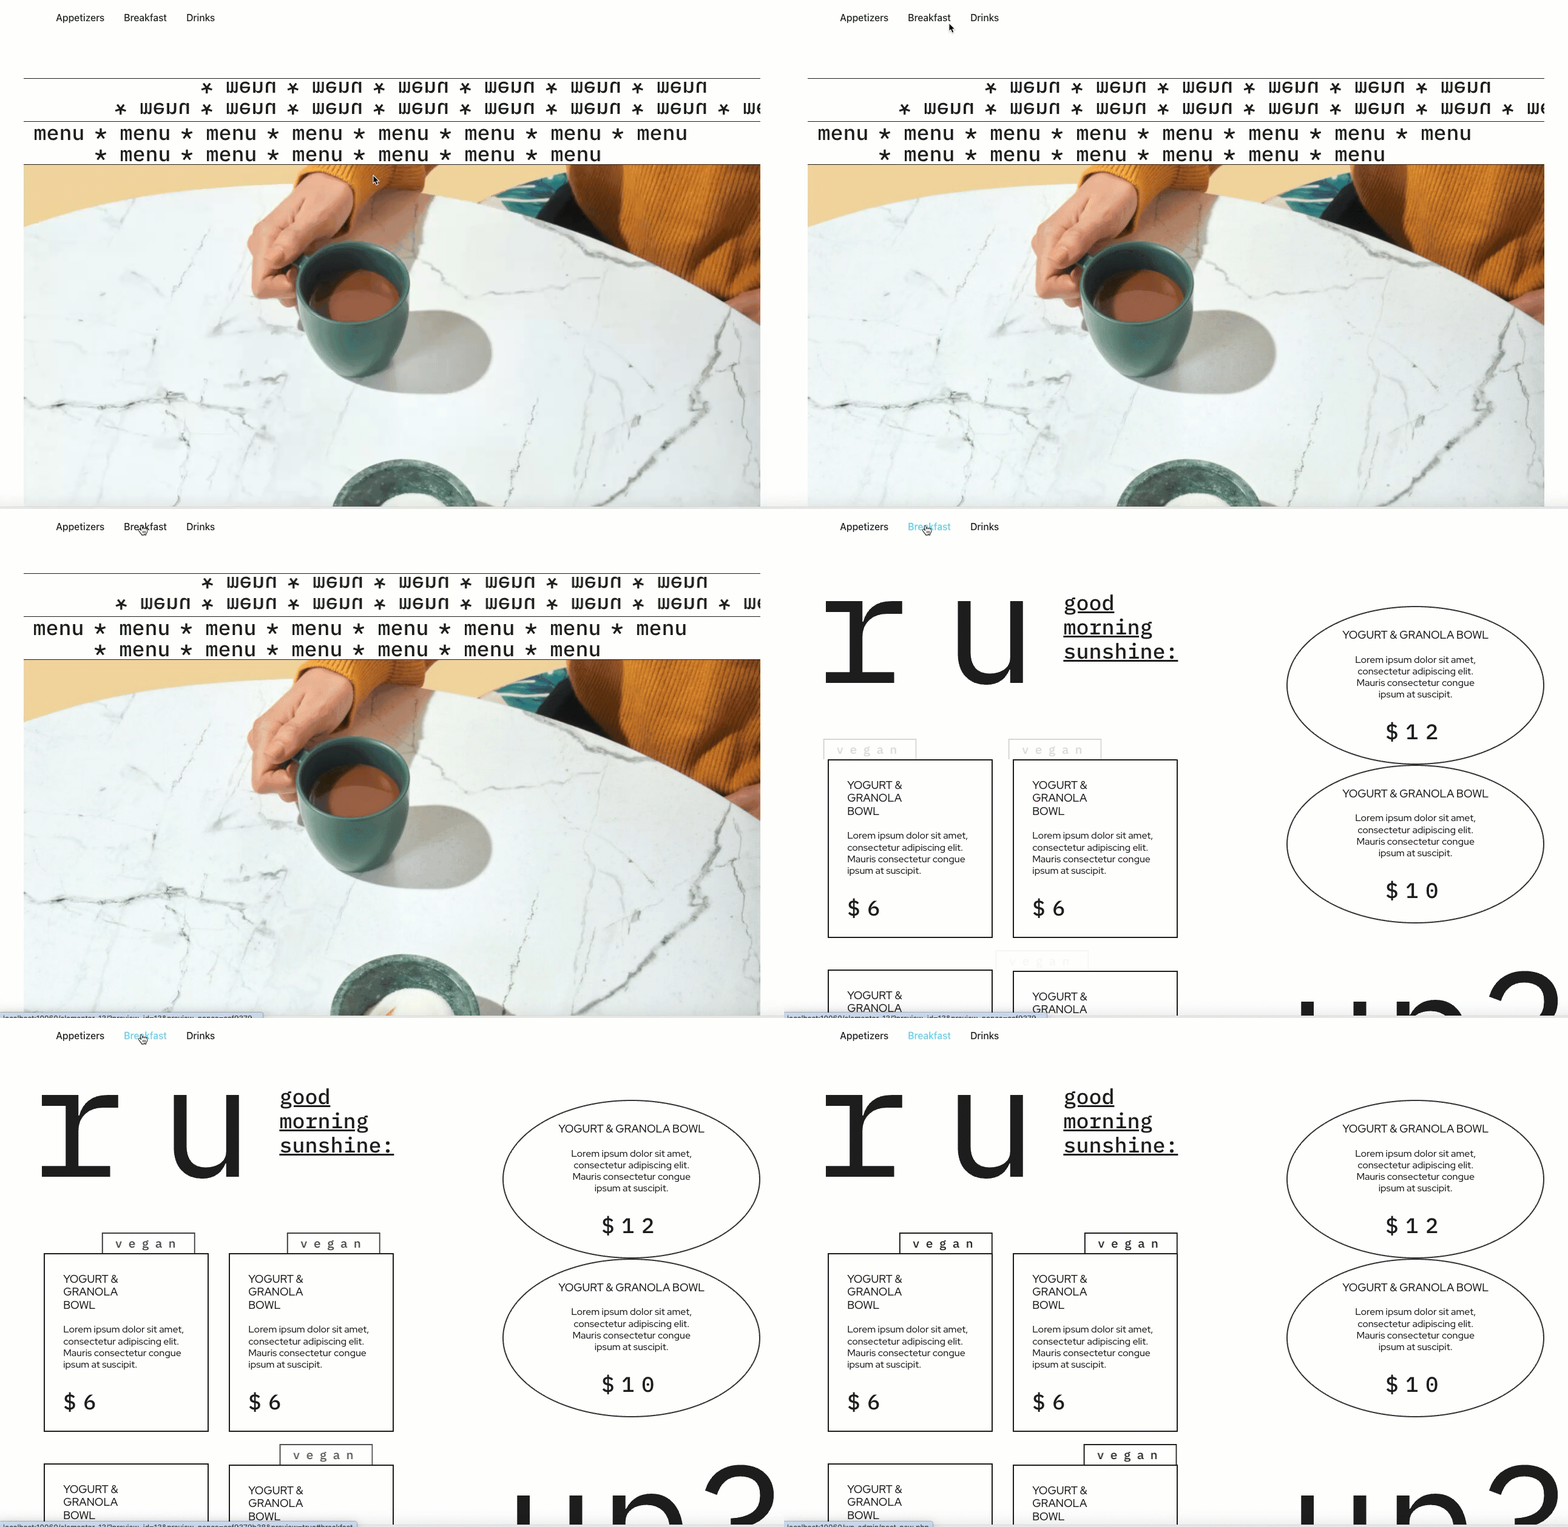
WordPress Sticky headers make your header or menu visible at all times.
To create a sticky header:
- Open the Header in the Elementor Editor. For details about creating and editing Headers, see Create or edit a Header.
- Select the Header’s parent container by clicking its handle
 or by clicking it in the Structure window. The Edit Container panel shows on the left.
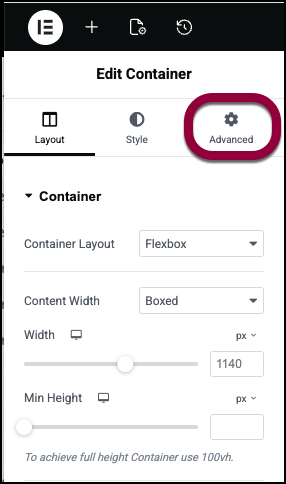
- Click Advanced.
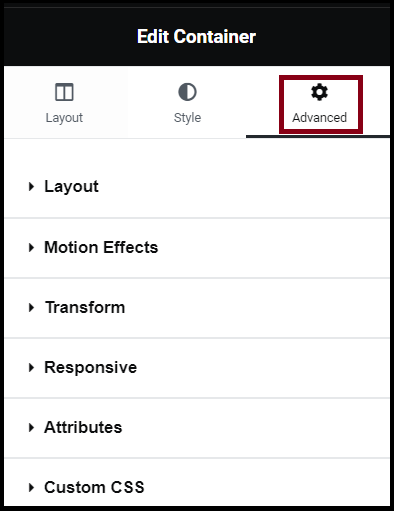
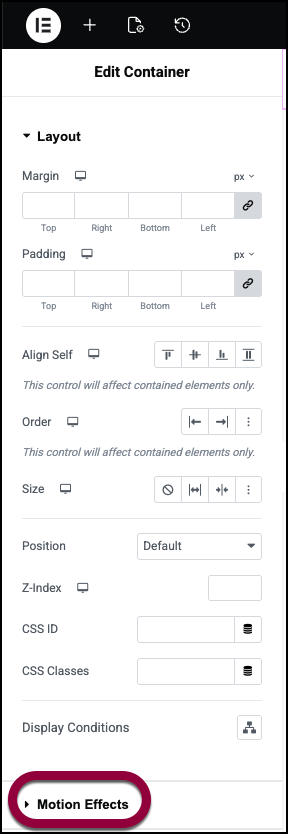
- Expand Motion Effects.

- Use the Sticky dropdown menu to select one of the following options:
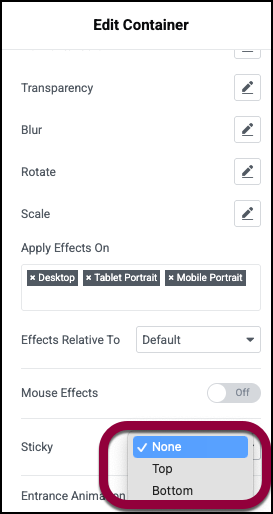
- None – This removes the sticky header. Do not choose this option if you want to create a sticky header.
- Top – Choose to stick your header to the top of the screen.
- Bottom – Do not choose. Not relevant for headers.
- Under Sticky On, choose the devices on which your section should be sticky. Choose one of the following options:
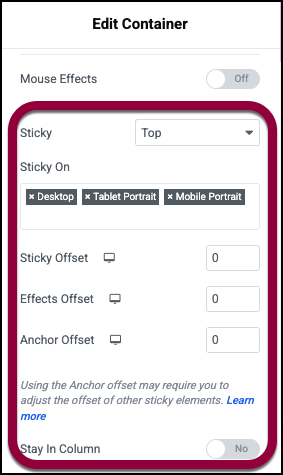
- Desktop – Sticky on desktop/laptops.
- Tablet Portrait – Sticky on tablets.
- Mobile Portrait – Sticky on mobiles.
- Set the following: (Displays only if Sticky is set to Top.)
- Sticky Offset – It pushes the sticky element up or down by pixels.
- Effects Offset – This is the number of pixels the user must scroll before the sticky effect begins.
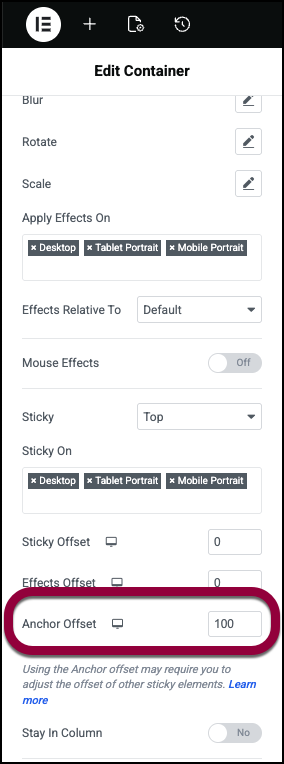
- Anchor offset – Set the scroll to the desired position to ensure content is visible under the sticky header. See the example below.
- Stay in Column – Toggle to Yes if you want the section to remain in its own column.
- Click Publish.
Note
For sections, you have to deactivate The stretch section feature to be able to use the Scrolling Effect, otherwise the Scrolling Effect tab does not appear.
Example of using anchor offset
Anchor offset is used to prevent content from disappearing behind a sticky header.
In the example below, we created a sticky header with links to the content further down the page. However, when visitors click a link, the content disappears under the header. 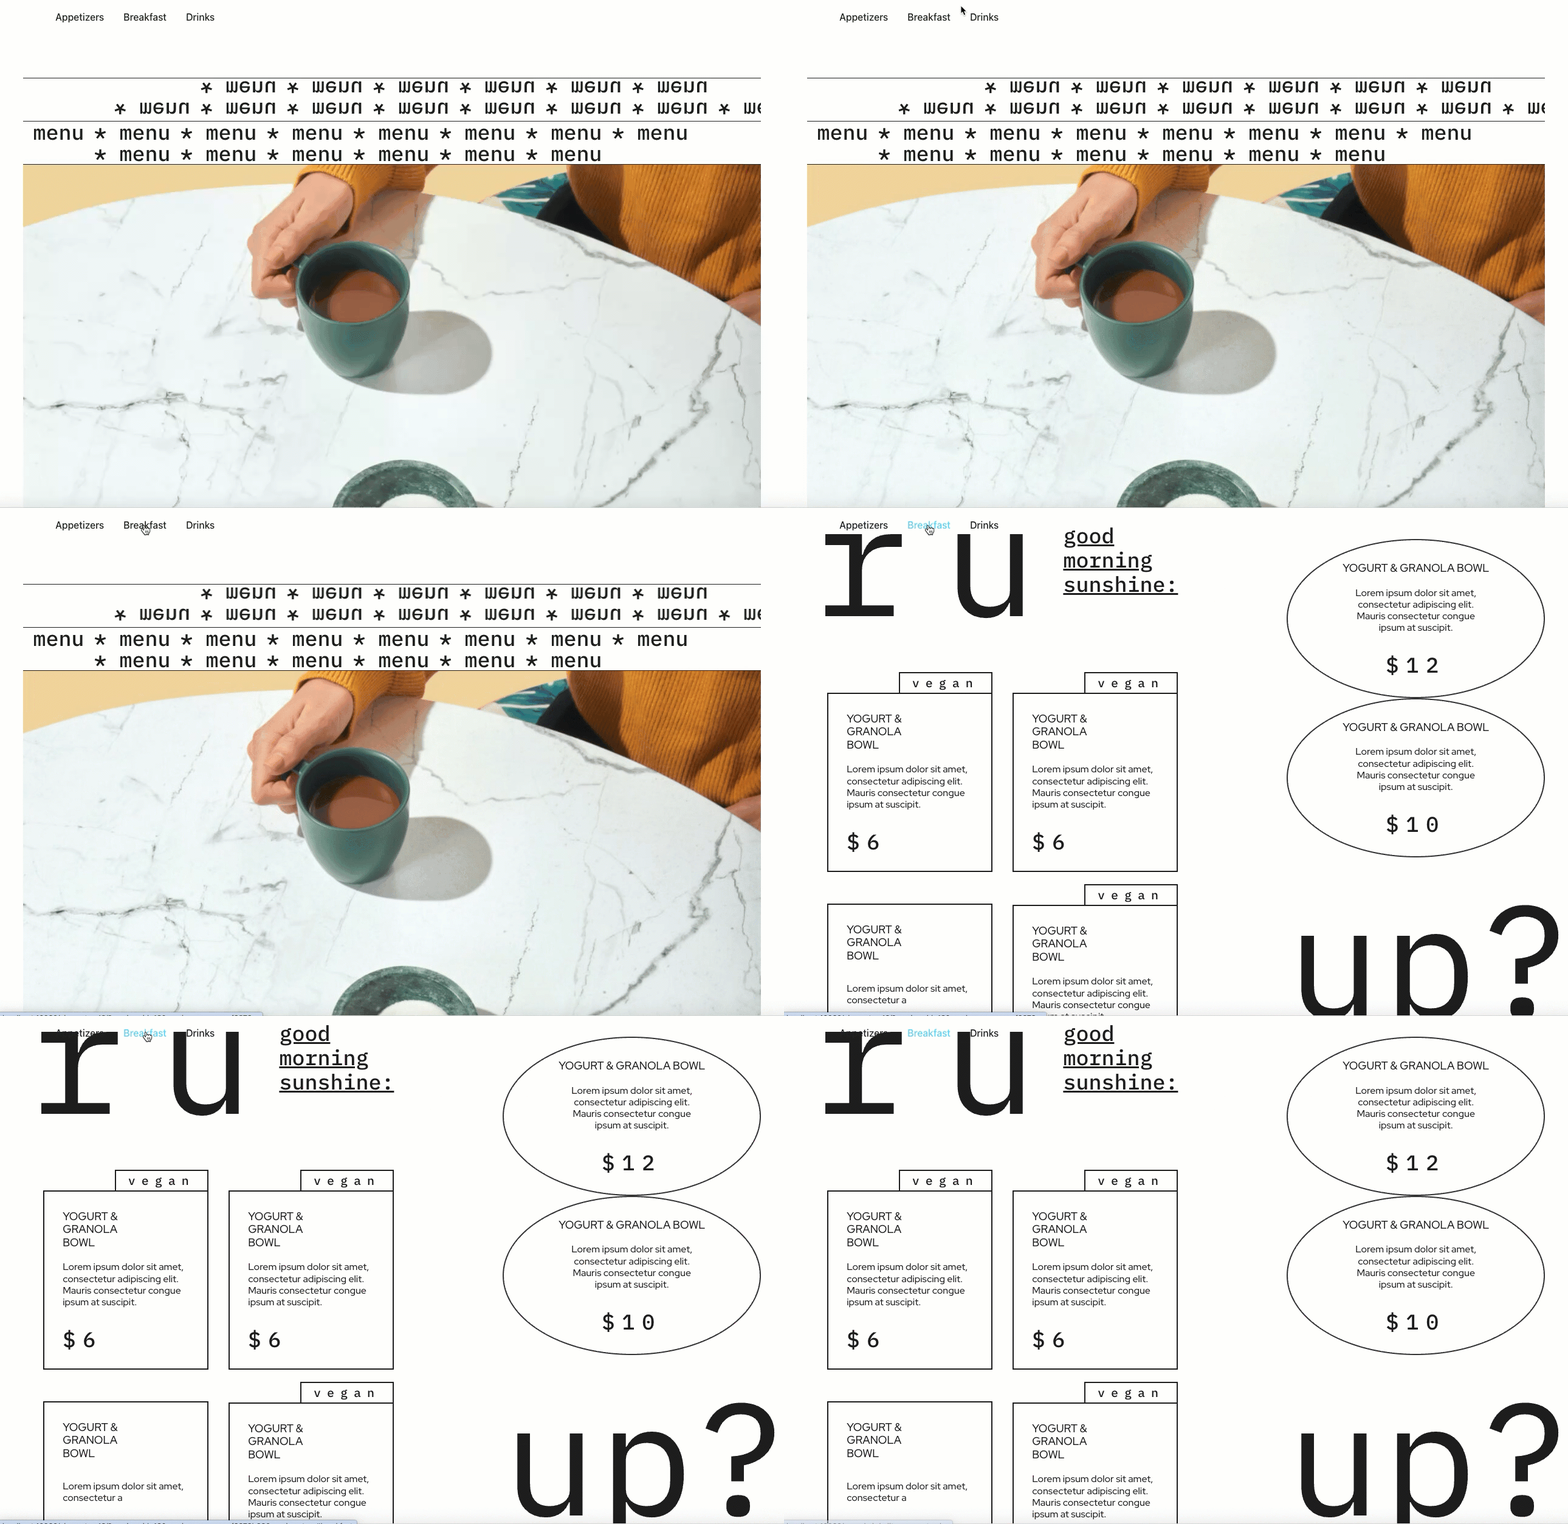
- Select the container holding the header.
- Click the Advanced tab.
- Open the Motion Effects section.
- In the Anchor Offset section, enter 100 px.
- The link now places the content 100 px below the header.
