Background
This article explains how to enable debugging mode for your Elementor hosted website.
When the debugging mode is enabled, the following happens:
- All PHP errors, notices and warnings displays on the website front end.
- WordPress uses the non-minified versions of core CSS and JavaScript files rather than the minified versions that are normally loaded.
You need to switch ON the WordPress & Script Debug field to enable debugging a problem or testing modifications to files.
This is useful when you are testing modifications to any built-in .js or .css files.
Enable debugging mode
To switch on debugging mode:
- Log into your My Elementor dashboard.
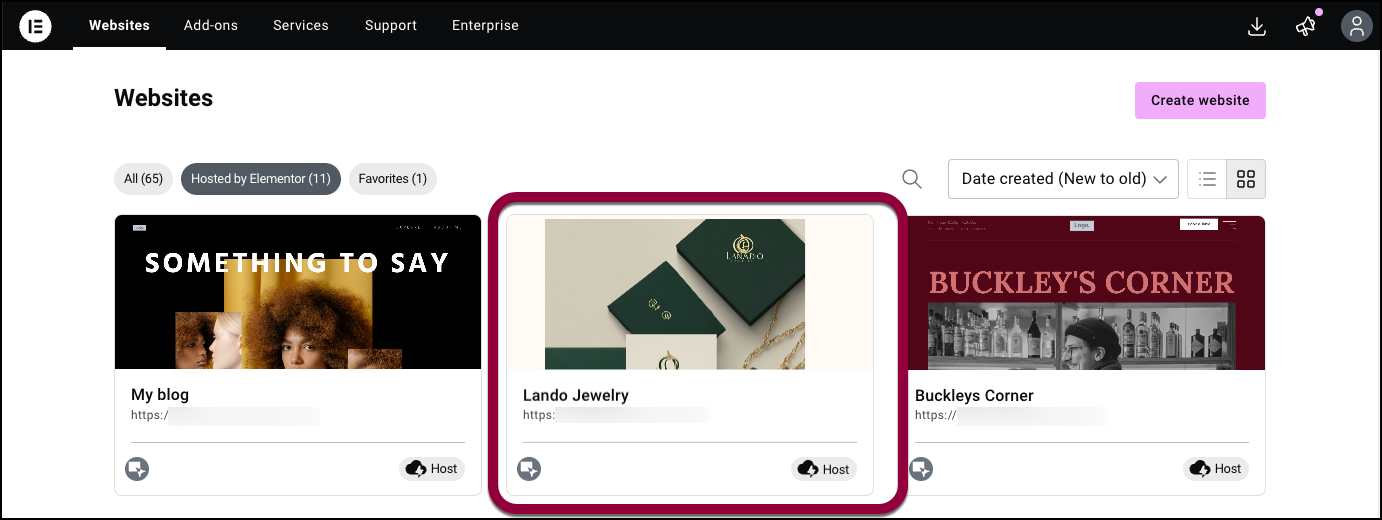
- Click the website card of the website you want to debug.
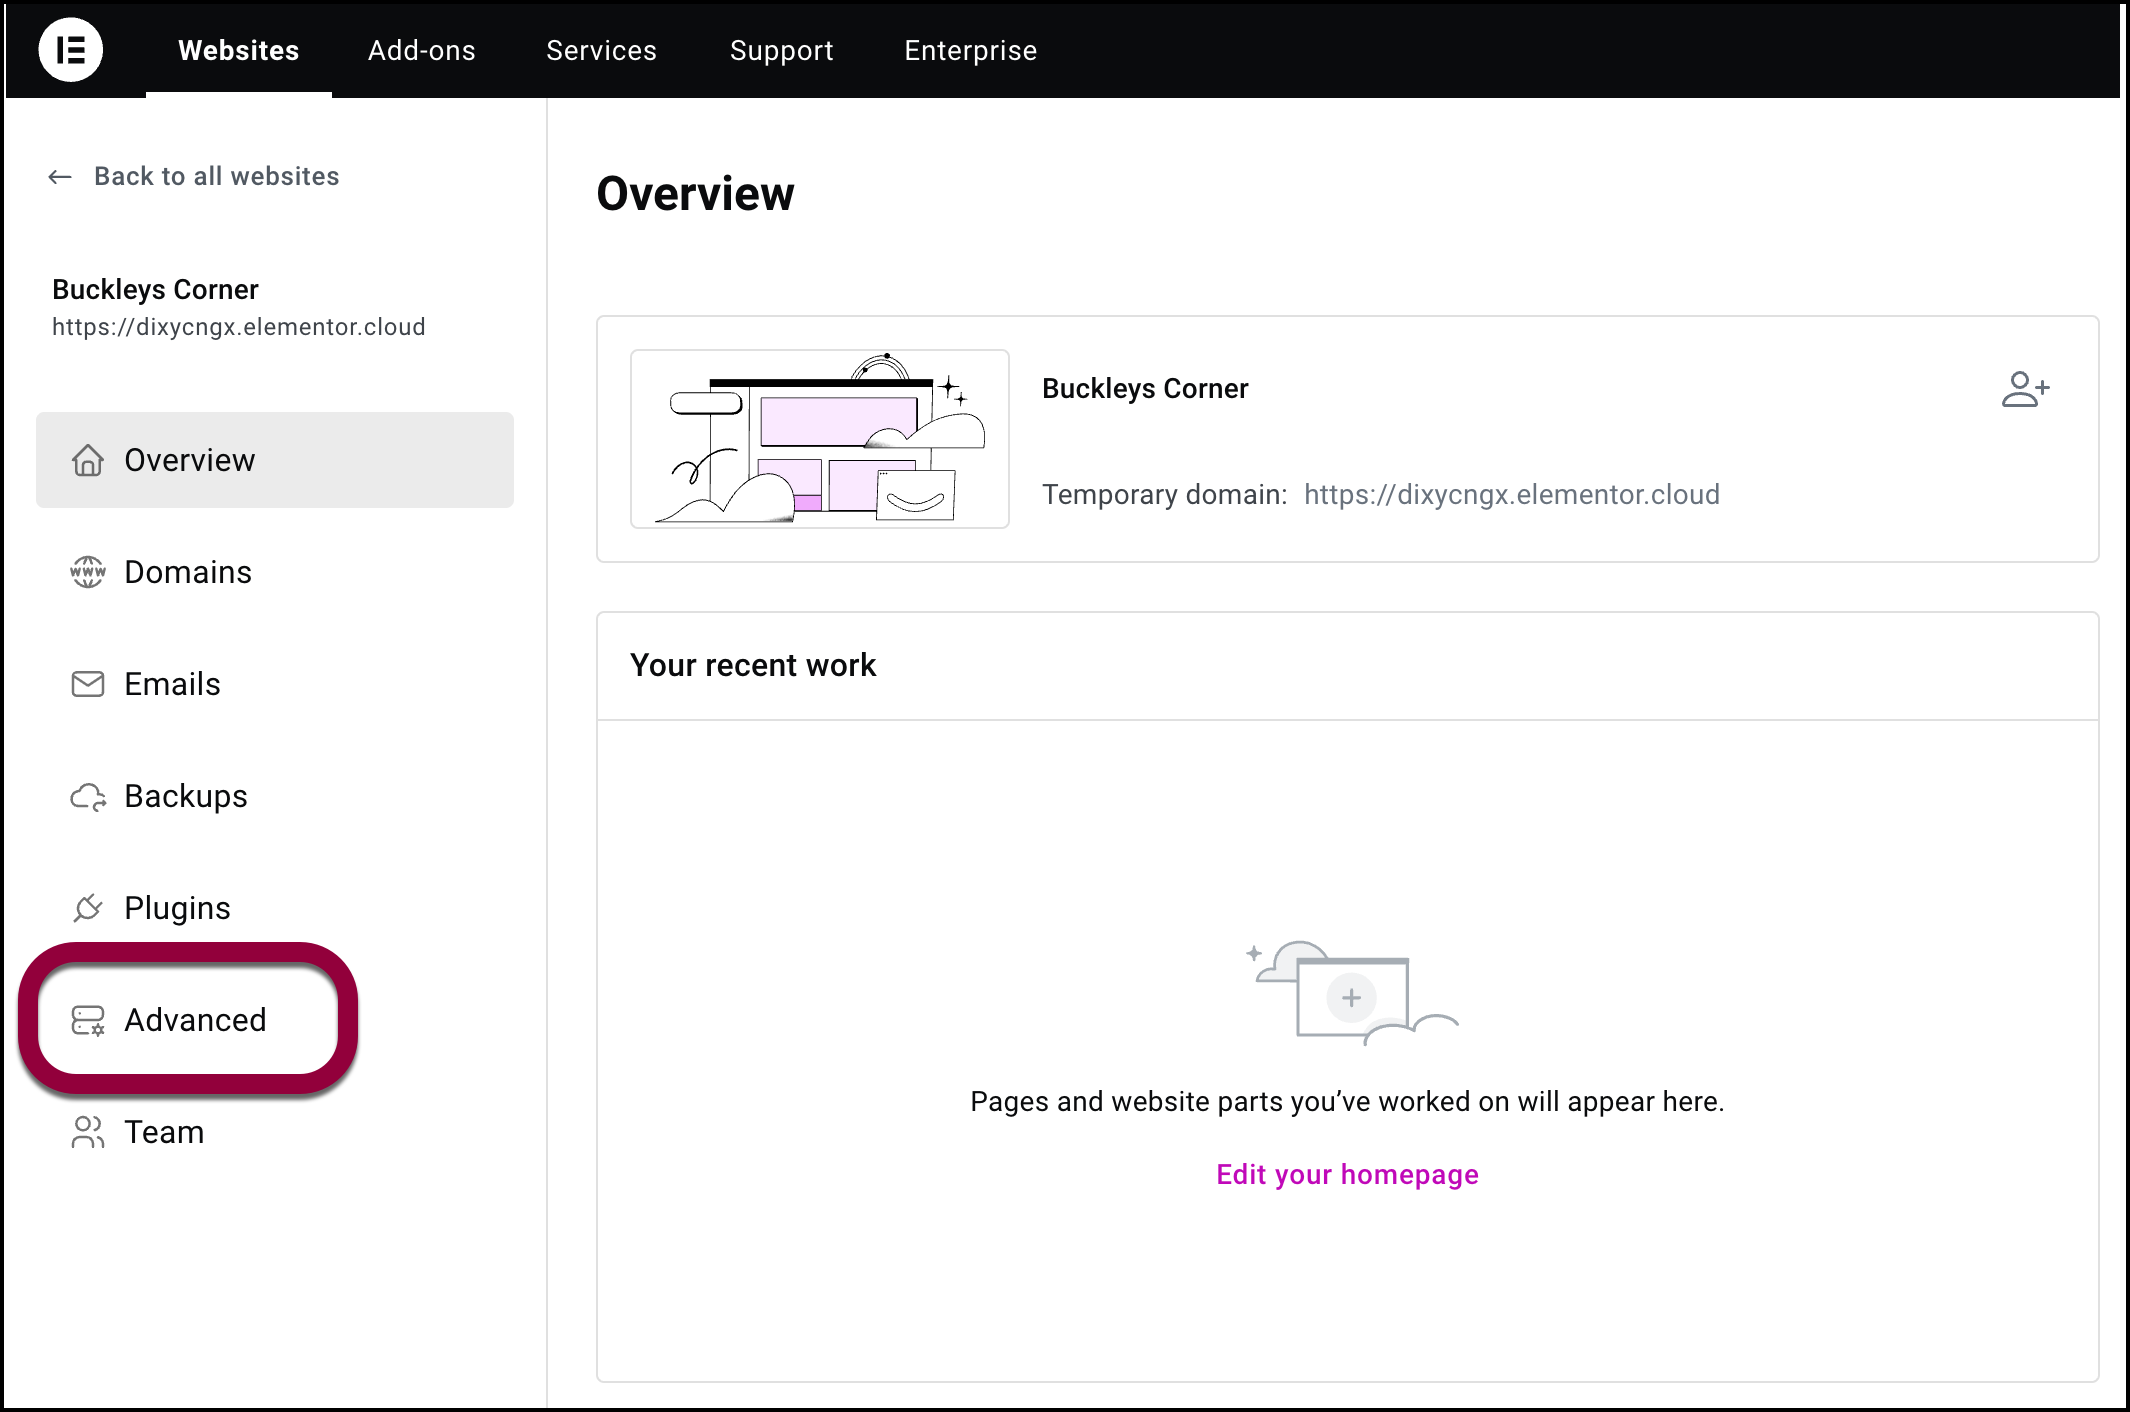
- In the left panel, click the Advanced tab.
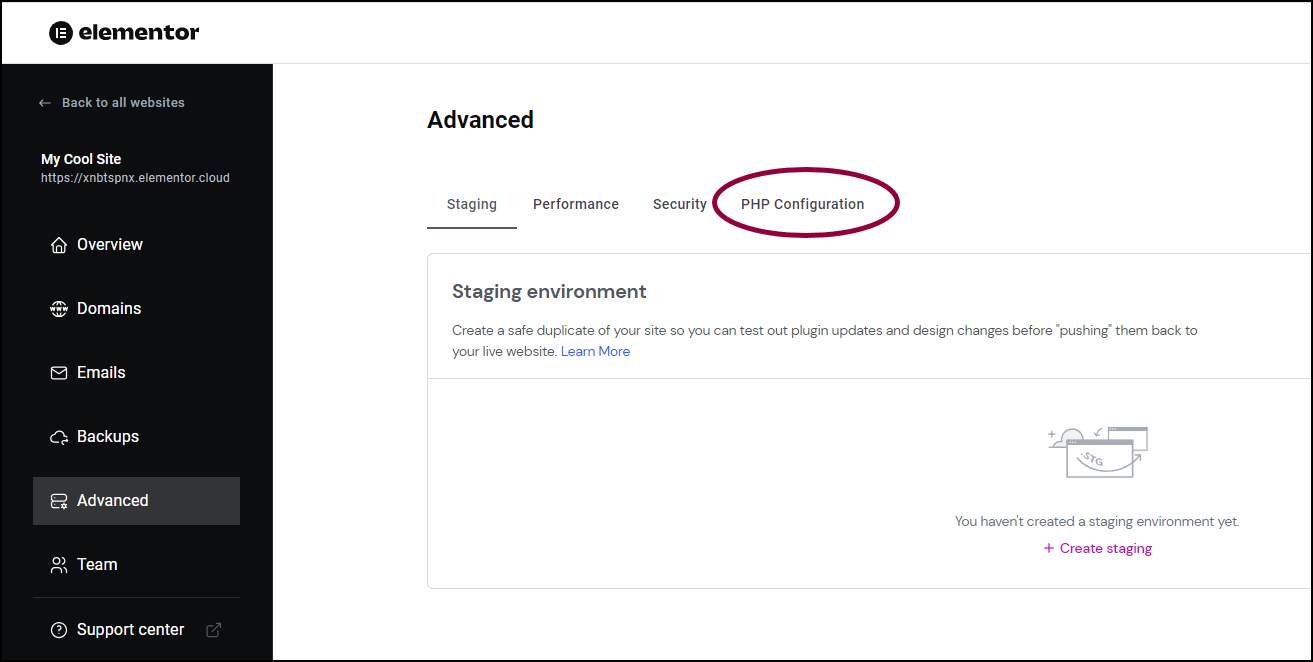
- In the right pane, click PHP Configuration.
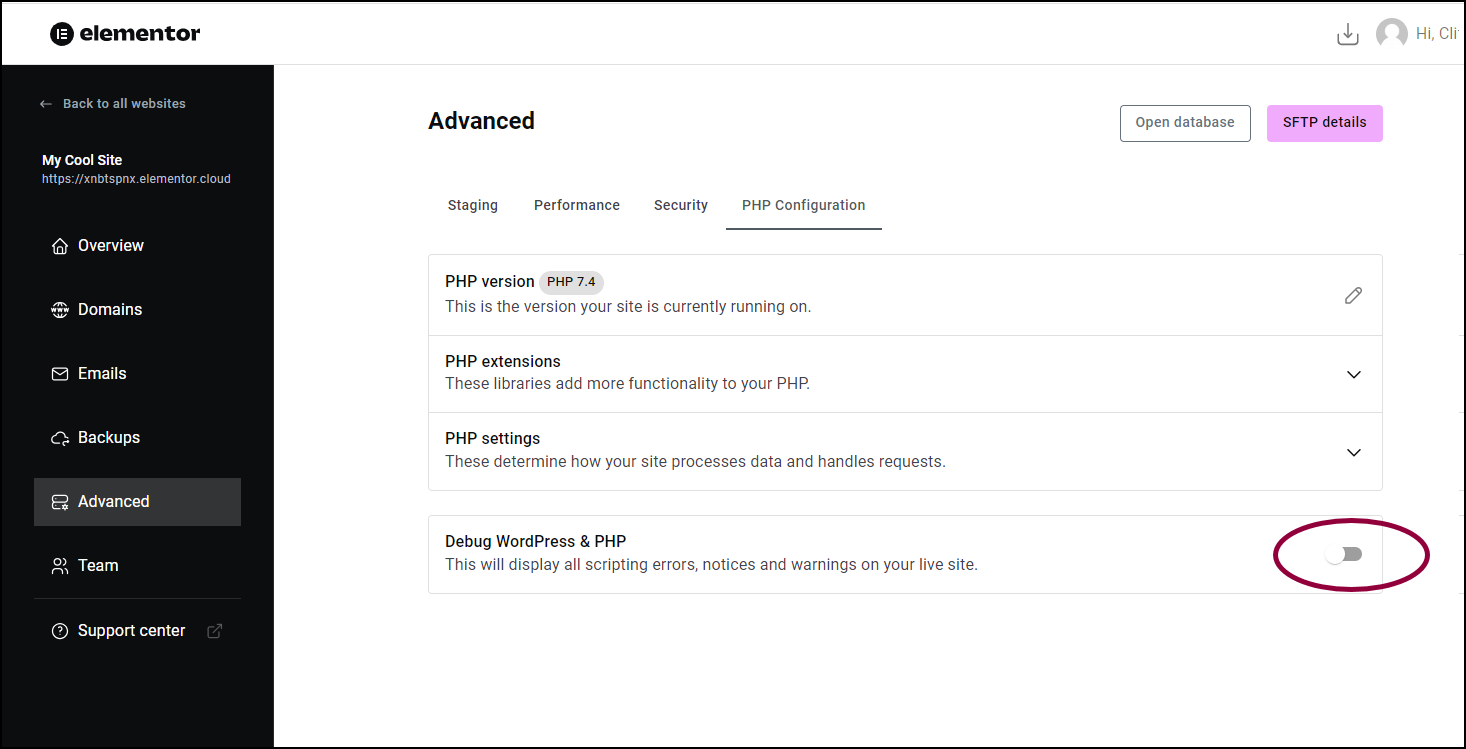
- Toggle Debug WordPress & PHP to on.
Debugging mode is not on.

