There are many reasons why WordPress users choose Elementor over other page builders. For starters, you can create an amazing-looking website without ever having to write a line of code. What’s more, you won’t have to spend weeks or months designing it.
Did you know that Elementor can also streamline your design and content creation workflow?
Sure, there are plentiful page and block templates as well as dozens of widgets that spare you the trouble of building a website from scratch. However, you can work even faster and smarter with Elementor if you know how to leverage some of its lesser-known features.
My colleague Asaf Rotstain and I got together and came up with a list of features that will improve your workflow and make Elementor even easier to use. Below we’ll take a look at where you can access these features and provide you with tips on how to use them the way the experts do!
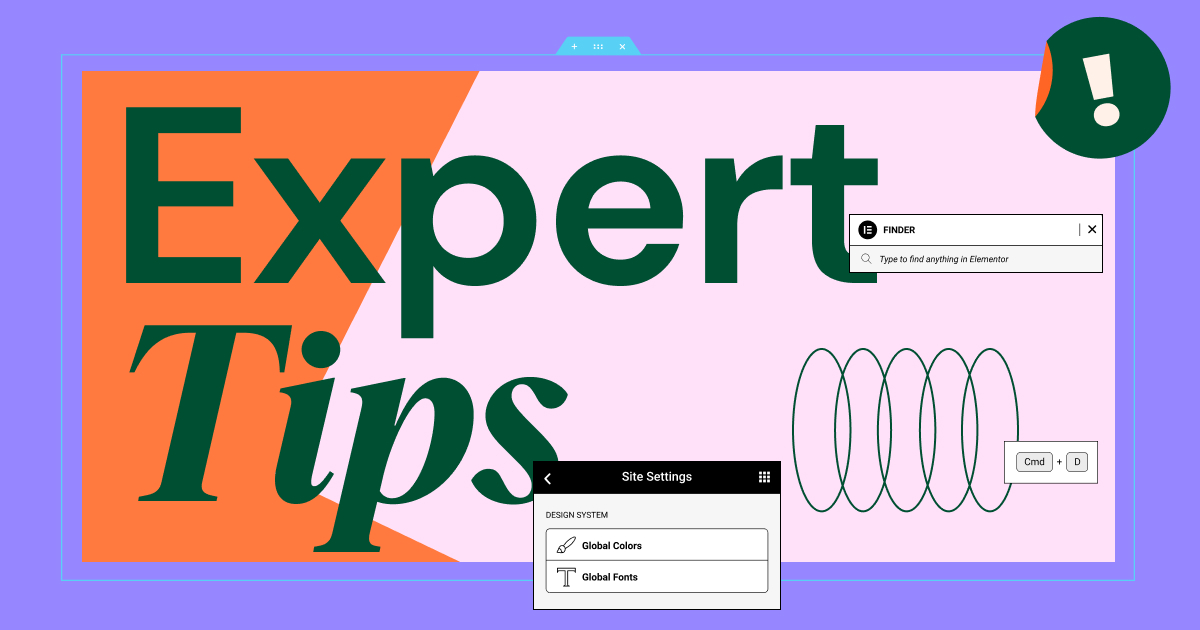
How To Improve Your Workflow With Elementor
As web creators, you don’t have a lot of time to waste. Even with the loosest of deadlines, you’re still under a lot of pressure to work as quickly as possible because you never know what’s around the corner. An unexpected personal emergency. A rash of new clients. A troublesome website or client holding up everything else.
This is why an efficient design workflow is key.
Here are some tips on how to improve your workflow even further with Elementor:
Tip 1: Use Keyboard Shortcuts To Quickly Access Features or Perform Tasks
The time you save by using keyboard shortcuts can quickly add up, especially when you perform the same actions over and over again in Elementor. In addition to quickly executing tasks like Copy, Paste and Undo, Elementor’s hotkeys enable you to quickly access features and perform actions.
To access the list of Elementor’s keyboard shortcuts:
- Hold down CMD + ? on a Mac
- Hold down Ctrl + ? on a PC

Let’s explore some of the Elementor team’s personal favorites that they use on a daily basis:
Show / Hide the Widgets Panel (CMD / Ctrl + P)
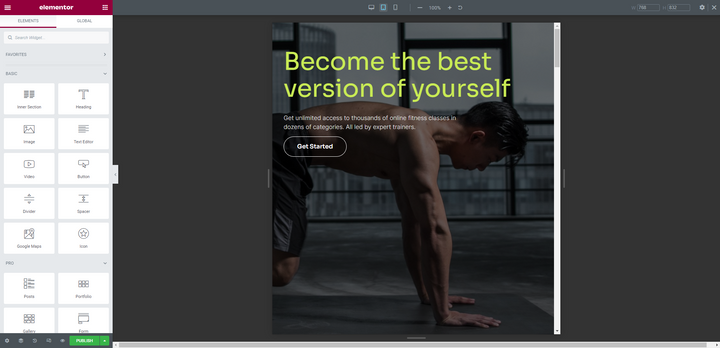
When using the editor, the default view pins the widgets panel to the left side of the screen. It’s useful for when you’re designing, but not so much when you want to preview how everything looks on the page.
One way to collapse the panel is to click the arrow along the right edge of it:
You can accomplish the same thing by holding down CMD or Ctrl along with P. Using the hotkey once more will take you out of preview mode and bring back the widgets panel.
Navigate to a Different Page (CMD / Ctrl + E)
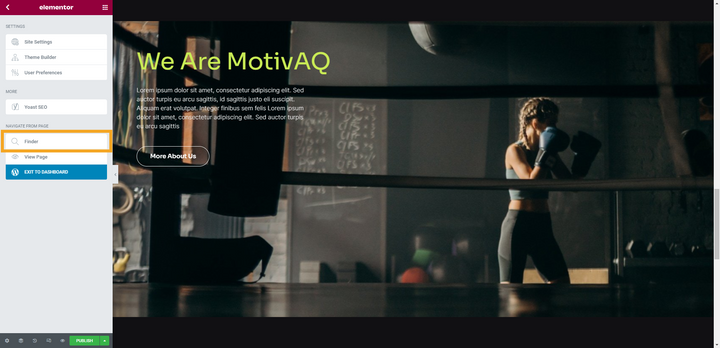
Regardless of where you’re working in WordPress, you can use the Finder search feature to quickly open a page, post, or template and start editing it. There are two ways to access it.
Inside of the Elementor editor, click on the hamburger menu icon and then select Finder:
You can also access this feature by holding down CMD or Ctrl plus E. When you do, the Finder search bar will appear:
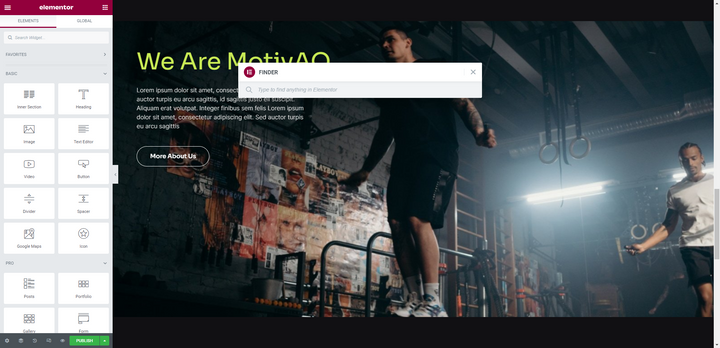
Start typing and the Finder will auto-populate pages, posts and templates that match your query. Click on the one you want to go directly to in the Elementor editor.
You can also use this tool to instantly create a new page or post without having to return to the WordPress dashboard.
Open the Navigator (CMD / Ctrl + I)
You can create very complex designs inside of Elementor. However, as you add more complexity to your designs and the pages get longer, it can become difficult to find, select or move the exact element you want.
This is why the Navigator is such an indispensable tool for creators. You can access it by selecting the second-from-the-left icon in the bottom toolbar:
You can also hold down CMD or Ctrl and I to instantly open it inside the editor:
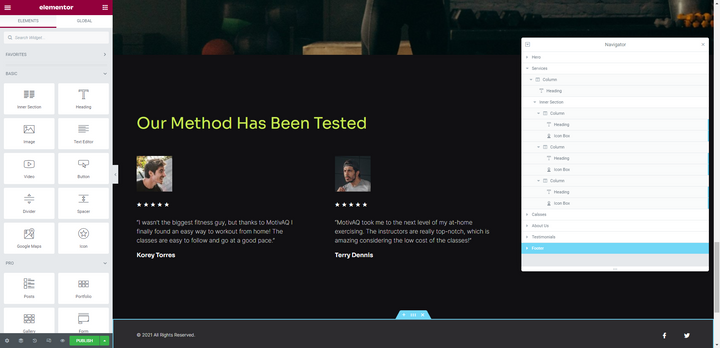
From here, you can see the breakdown of components on the page, find the one you want to edit and even drag-and-drop it to a new position.
Enable Responsive Mode (CMD / Ctrl + Shift + M)
It’s generally a best practice to adjust your web designs to tablet and mobile screens as you create them, rather than saving your responsive edits for the end. To enable responsive mode in Elementor, you can do one of two things.
You can click on the second-from-the-right icon in the bottom toolbar:
You can also hold down CMD or Ctrl along with Shift and M to instantly enter responsive mode:
You’ll use the same keyboard shortcut to toggle between the desktop, tablet, and mobile views.
Tip 2: Use the Template Widget to Add and Manage Identical Blocks
It’s not uncommon to build a website with blocks that appear across several pages. For instance, it could be a call-to-action, testimonial, or contact form block.
Rather than recreate the block every time it appears, templatize the block and then add it to your pages through the Template widget:
It’s easy to set this up. First, go to Templates > Saved Templates from the left panel in WordPress. Select Add New to create the new block.
In this example, we’ve inserted an existing contact block from the library into our new template:
With the template named and saved, you can now add the block to any page you wish using the Template widget:
There are a number of benefits to doing it this way. First, you won’t have to spend time designing the same component over and over again. Second, you’ll only need to make edits to the block from your Templates instead of going one-by-one to each page it appears on.
Tip 3: Use Copy All Content To Duplicate Pages
Out of the box, WordPress doesn’t make it easy to duplicate pages or posts. There are plugins you can use that give you the ability to duplicate your content, but why bother installing an additional plugin when Elementor already provides the functionality for you?
Here’s how to do it:
Scroll to the bottom of the page you want to copy. Right-click the grey folder, and you’ll see a short list of options appear:

Select Copy All Content. You can now open another page and paste the content. To do this, right-click on the grey folder there and select Paste All Content.
Tip 4: Use the Dynamic Link Feature To Create Smart Links
What do you do when you change the slug of a page on your site that’s commonly linked to? You have a few options.
One way to deal with updated internal links is to create a redirect so that users who encounter the old URL automatically get redirected to the new one. This will require you to install a special plugin or edit the .htaccess file.
Another way to deal with this issue is to go through the pages on your site and edit them one by one — this goes for text links as well as buttons. This can be a very tedious task, even on smaller sites.
The better option is to create internal links using Elementor’s dynamic links feature instead. So rather than enter a static link (i.e. the actual URL) into your widget’s settings, you’ll create a smart link.
Let’s say you have a button that points to the same page across your site. In this example, we want to point it to “Book consultation”:
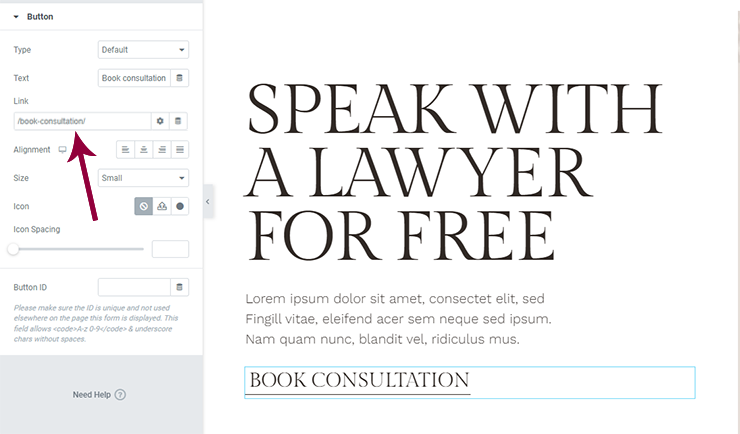
In this screenshot, you see the static link many of us are accustomed to using. However, this is where we run into the issue of having to program redirects or do excessive editing to fix internal links.
Instead, what you want to do is set it as a dynamic link.
To do this, open the linked element (like the button in this example). Go to the link field, select the “Dynamic Tags” icon beside the settings icon. Scroll down to Site and select Internal URL.
Click on the link field once more, and you’ll see a Settings dropdown. Set the Type as Content. Then do a search for the page’s or post’s name in the search bar:
Choose the content you want to link to and save your changes. Elementor will take it from there.
Tip 5: Sort Global Colors and Fonts for Faster Retrieval
Being able to set global colors and fonts in WordPress already saves a lot of time in the web design process. However, Elementor takes it a step further by allowing you to sort your custom settings.
For Colors:
You may want to sort your global colors by:
- Frequency of use — with the most used at the top and the least used at the bottom
- Color set — like if you have certain colors for buttons, hover states, etc.
- Alphabetical order — if that makes it easier to find your custom colors
- Hue — if you find that a neater and more logical arrangement of colors is easier to use
To sort your colors in Elementor, click on the hamburger menu icon, go to Site Settings and choose Global Colors.
As you hover over each color, you’ll see the HEX code get replaced by a drag-and-drop icon along with a trash can icon. Grab onto the color strip where the drag-and-drop icon is and then move it into its new place:
You can also use this tool to add and delete colors.
For Fonts:
Even if your site has only two or three fonts, you may have additional font styles which apply to different elements on the site — like CTAs, different heading levels, navigation menus, footer text and so on. As such, your global fonts may need some organizing, too.
You can sort fonts by:
- Frequency of use — placing the most commonly used closer to the top
- Alphabetical order — if there are a lot and you think they’ll be easier to find by name
- Use case — grouping headline fonts separately from text fonts
- Type — grouping them by the type of font they are, like serif, sans serif, etc.
Sort and organize your fonts the same way you do your colors. Click on the hamburger menu icon and go to Site Settings. This time, open up Global Fonts. Then, drag and drop your fonts into place as needed:
This can be a big time saver if you do a lot of customization work inside of Elementor as well as if you build pages and blocks from scratch.
Transform How Efficiently You Build Websites With Elementor
Elementor is full of surprises, isn’t it? Just when you think that you’ve learned all that you need to learn to master this page builder, our experts provide you with additional tips and tricks to help you work faster and smarter than ever before.


