
Setting up cookie consent on WordPress can feel like a lot, with all the privacy rules and technical terms flying around. The good news: it’s simpler than it looks. We’ll walk through it together, step by step, so you end up with a clear, compliant banner that keeps visitors happy and your site protected. You’ve got this.
Key Takeaways
- Legal compliance is essential. Regulations like GDPR and CCPA require you to get active consent before running tracking cookies.
- Google Consent Mode v2 is mandatory. If you use Google Analytics or Ads for European visitors, you need a compliant setup to maintain accurate data.
- WordPress-native tools are simpler. Managing consent inside your dashboard cuts external dependencies and speeds up setup.
- Testing matters. Always confirm tracking scripts stay blocked until visitors click “Accept”.
Understanding Why Cookie Consent Matters on WordPress
Every time someone lands on your site, WordPress places small cookie files on their browser. Some are harmless, like keeping a shopper logged in. Others track behavior across the web for traffic analysis or targeted ads.
Because these files collect personal data, regulators set strict rules. Serve visitors from the EU, UK, or California, and you must follow those rules, or risk legal trouble. A transparent banner also builds real visitor trust by showing you respect their privacy.
Privacy rules keep tightening, and Google now requires Google Consent Mode v2 for sites using its ads or analytics tools in the European Economic Area. Skip it, and your marketing metrics and ad performance take a hit.
How Cookies Work Behind the Scenes in WordPress
Before adding a banner, know what you’re managing. Cookies fall into a few main categories that make configuring settings easier later.
- Strictly Necessary Cookies – Handle navigation, security, and shopping carts. No consent needed, but explain them in your policy.
- Analytics Cookies – Track visitor behavior anonymously. Google Analytics relies on these for your top posts and traffic sources.
- Marketing and Tracking Cookies – Follow visitors across sites so advertisers build profiles and show relevant ads, like the Facebook Pixel or Google Ads scripts.
- Preference Cookies – Remember choices like language, region, or dark mode.
Most WordPress setups load a mix of these scripts. Embed a video or add a share button, and those platforms often drop tracking files too. A reliable cookie consent feature blocks them until the visitor gives the green light.
The Essential Prerequisites Before You Start
Gather a few details before you begin, so you’re not jumping between settings later.
- Review your active tools – List the third-party services you use, like Google Analytics, email forms, heatmaps, or ad pixels.
- Draft a Privacy Policy page – Your banner needs to link to a page explaining what data you collect and why. No page yet? Write a quick draft or use a built-in generator.
- Secure administrator access – Log in with full admin privileges so you can manage scripts and settings without restriction.
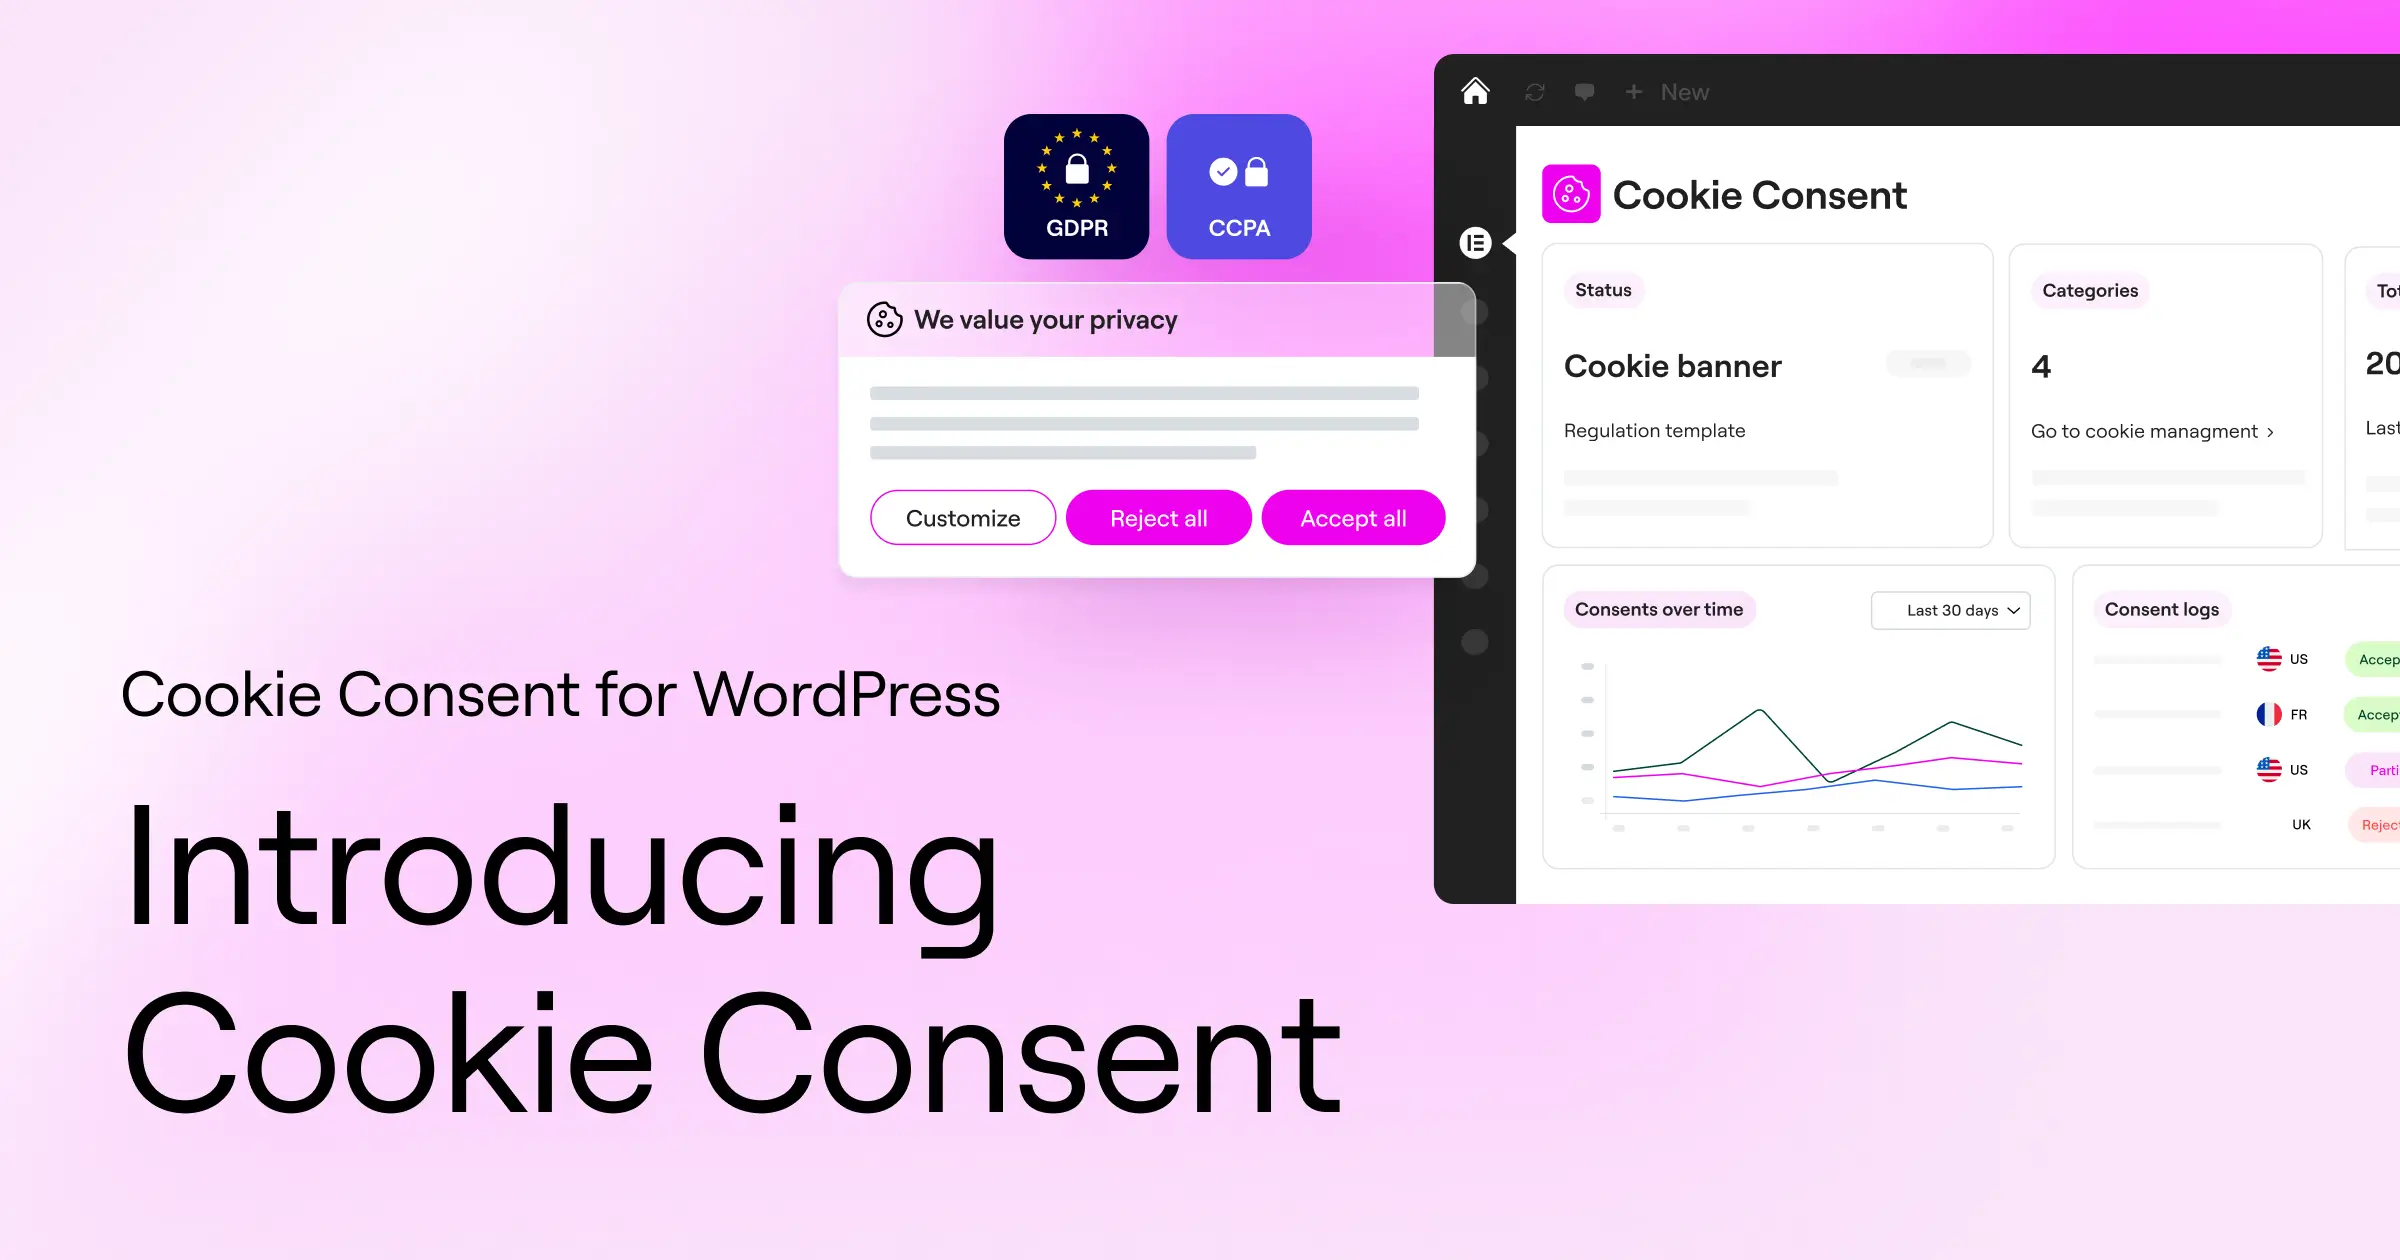
Introducing Cookie Consent for WordPress
For simple compliance, we recommend Cookie Consent, a native capability built for WordPress. Unlike external tools that make you manage banners from a separate cloud portal, Cookie Consent runs entirely inside your dashboard, matching your site’s styling while meeting major privacy standards.
It’s part of the Elementor ecosystem, so it fits naturally into your workflow. Built natively for WordPress, it skips embed codes and external scripts that slow loading speed, keeping setup clean and easy to maintain.
Cookie Consent also gives you multilingual banners, cloud-based templates, and an automatic scanning engine that removes the guesswork from categorizing scripts. Built-in consent logs keep audit-ready records too.
Step 1: Install and Set Up the Capability
Getting your consent tool running takes just a few clicks. Cookie Consent has a free tier and comes included in Elementor One, so it’s within reach for any size site.
Log into your admin dashboard and head to your compliance or tools section to find the feature. The onboarding wizard walks you through a 3-step setup in under five minutes, asking for your audience, privacy policy link, and brand colors before it gets a draft ready instantly.

Step 2: Run an Automatic Cookie Scan
You can’t ask for consent properly without knowing which cookies your site uses. Digging through code by hand is slow and error-prone, so the built-in scanner does the work for you.
- Open the cookie consent dashboard’s Scanner tab.
- Click to start a new scan.
- The tool browses your pages, finds every active cookie, and sorts them into categories like Necessary, Analytics, and Marketing.
- Review the results. Got custom scripts? Adjust their categories or add descriptions.

Running a fresh scan is a good habit. Add a feature or connect a new tool, and scan again to keep disclosures accurate.
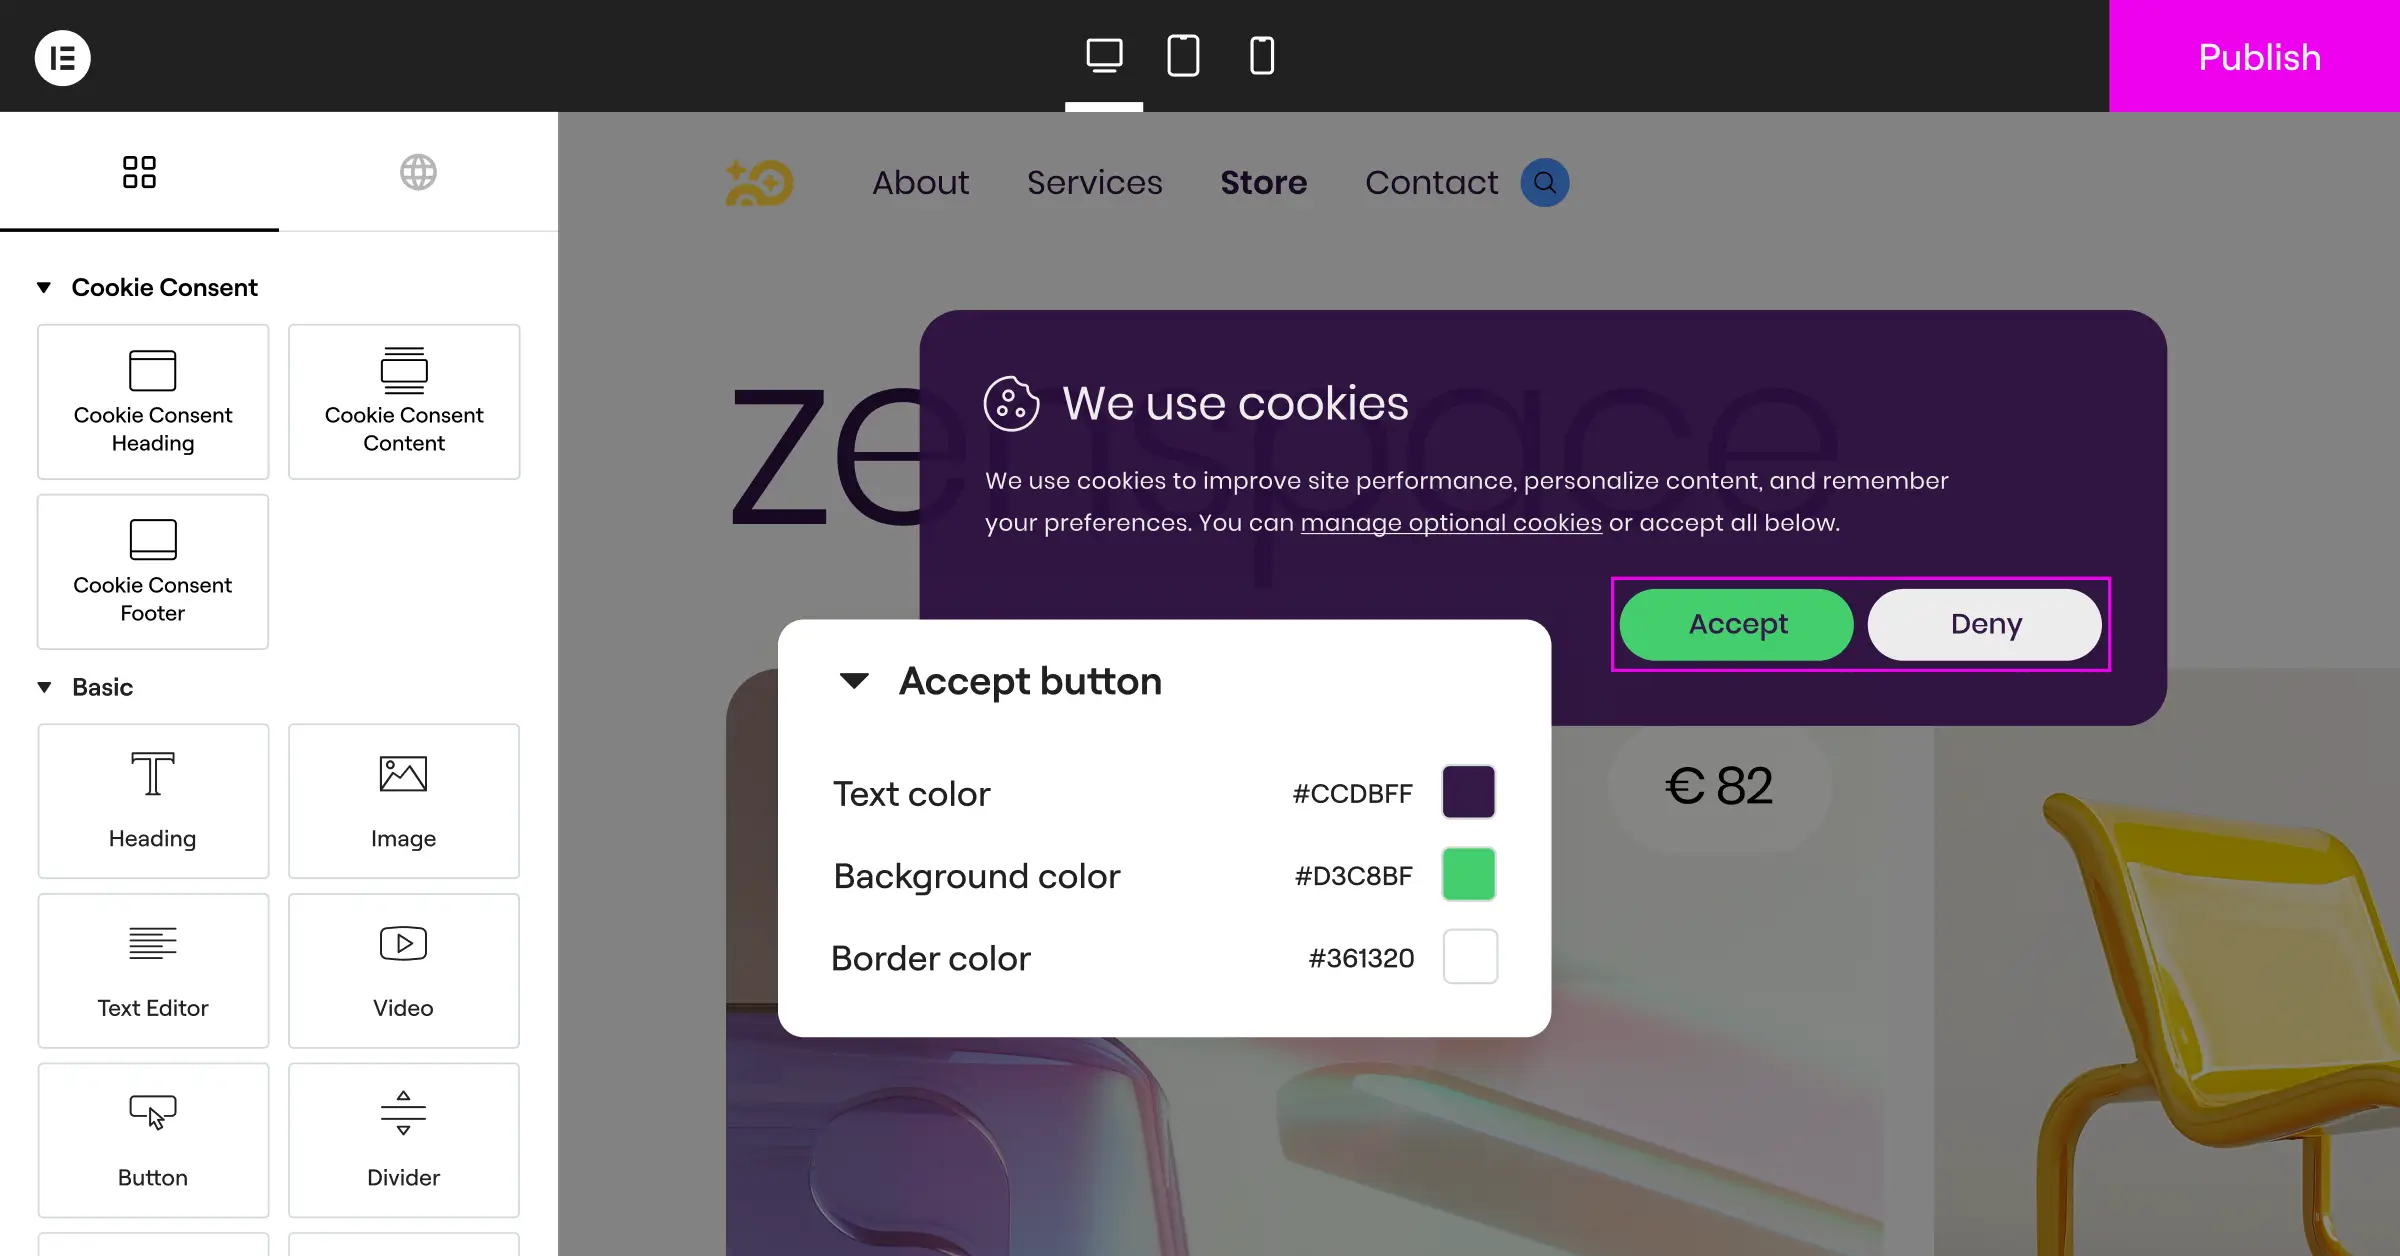
Step 3: Customize the Banner Design to Match Your Brand
A consent banner should protect visitors without looking like an intrusive pop-up. One that looks totally different from your site can make people suspicious and click away, so a unified look matters for trust.
The styling editor lets you adjust every detail of your banner. Show it as a footer bar, a centered modal, or a slide-in corner panel. Change colors, match typography to your theme, and write button copy in your brand voice.
Clean cloud-based templates are included too. In a rush? Import a designed layout and tweak it in seconds, keeping setup fast while still giving you a polished banner.
Step 4: Enable Geo-Targeting and Region-Specific Banners
Privacy laws vary by where visitors live. GDPR requires a strict opt-in model, cookies blocked by default until a visitor clicks “Accept”. US laws like CCPA work more on an opt-out basis, requiring a clear “Do Not Sell My Personal Information” link.
Showing a strict GDPR banner in a looser-rules region can hurt user experience and skew analytics. Turn on geo-targeting to fix that: it detects a visitor’s location and shows the legal format their region requires, so California visitors see a CCPA footer, German visitors get a GDPR opt-in box, and everyone else browses with minimal disruption.
Step 5: Configure Google Consent Mode v2 and GPC
If you run paid ads or deep tracking, these two settings matter most.
First, turn on Google Consent Mode v2. When a visitor rejects cookies, it sends anonymous, cookieless signals to Google, whose models fill reporting gaps without breaking anyone’s privacy. Set it up in your integration settings by toggling Consent Mode on and connecting your Google Tag Manager or tracking ID.
Second, turn on Global Privacy Control (GPC) support. Privacy-conscious visitors often use extensions sending a constant “Do Not Track” signal to every site they visit. With GPC active, your site respects that signal automatically, no click needed.
Step 6: Generate and Connect Your Policy Page
Your banner must link to a clear privacy policy explaining how you collect, use, and secure user data. No page yet? The tool includes a built-in policy generator.
Enter your business name, contact email, and the tracking tools you use, and the generator creates a legal document matching your setup. Publish it as a WordPress page, then connect the link in your settings. Your banner will automatically add a button pointing visitors to the new policy.
Comparing WordPress Cookie Consent Methods
Here’s how the options stack up. Several established tools exist, but a native capability is usually the most practical route for WordPress site owners.
| Consent Solution | Native WordPress Integration | Setup Speed | Key Focus Areas |
|---|---|---|---|
| Cookie Consent | High (Full Dashboard Integration) | Very Fast (Under 5 Minutes) | Smooth design, Google Consent Mode v2, and dashboard simplicity. |
| Cookiebot | Moderate (External Script Required) | Moderate | Deep cloud scans and automatic categorization for larger portals. |
| CookieYes | Moderate (External Connector) | Fast | Highly customizable multilingual banners for global sites. |
| Complianz | High (Traditional Plugin Setup) | Moderate | Heavy legal focus with dynamic generation and region configuration. |
| iubenda | Moderate (External Dashboard Link) | Complex | Complete legal suites containing terms, conditions, and privacy policies. |
| OneTrust | Low (Enterprise-Grade Connector) | Slow | Highly complex compliance tools designed for enterprise organizations. |
A tool built for WordPress keeps you from juggling external codebases or paying for multiple subscriptions. Styling your banner and checking your logs becomes one experience.
Testing and Verifying Your Cookie Consent Banner
Once you’ve configured settings and styled your banner, test it to make sure it works. The most common mistake is a beautiful banner that doesn’t block anything under the hood.
- Open a private or incognito window and go to your site.
- Before clicking anything, right-click the page and choose Inspect, or press F12 for Developer Tools.
- Find the Application or Storage tab, then click Cookies in the sidebar.
- Check the loaded cookies. You should only see strictly necessary files, no analytics or marketing yet.
- Go back and click Accept on your banner.
- Watch Developer Tools. Your analytics scripts and tracking pixels should load right away.
- Clear your cookies, reload, and test Reject too. Tracking files should stay blocked the whole time.
If scripts load before consent, check your integration settings, or route your tracking codes properly through the manager.
Best Practices for a Great User Experience
Designing a compliant site is a balancing act. You want to follow the law without frustrating the people who read your content or buy your products. A few smart approaches worth keeping in mind.
- Keep your language simple – Skip legal jargon. Instead of “We use automated cookies to optimize operational performance,” try “We use cookies to improve your browsing experience and analyze our traffic.”
- Avoid dark patterns – Never hide the “Reject All” button or shrink it to a tiny link. Give visitors equal, clearly styled choices.
- Make it easy to change settings – Add a small floating privacy icon or footer link so visitors can reopen the panel anytime.
- Keep scripts lightweight – A heavy, poorly coded banner slows mobile loading. A native capability keeps bloat to a minimum.
Treat visitors with respect and keep their choices clear, and you build a positive brand image that lifts conversion rates over time.
How Consent Logs Keep You Audit-Ready
One feature that’s easy to overlook but genuinely valuable is consent logging. If a regulator questions your compliance, you need an audit trail proving active consent.

Cookie Consent keeps an anonymous, encrypted record of consent choices right inside your dashboard. No separate compliance platform or spreadsheet needed, it’s all there, which makes running a site a lot less stressful.
Expert Guidance on Website Compliance
For extra perspective, we asked a trusted privacy professional to share their take on website compliance.
“Compliance isn’t just about avoiding fines; it’s about respecting user autonomy. A native, transparent approach to cookie management is the most sustainable way to build long-term trust with your audience while satisfying global legal standards.”
– Itamar Haim, Web Compliance Specialist
Common Compliance Mistakes and How to Avoid Them
Even well-meaning site owners run into trouble setting up banners. Watch for these frequent mistakes.
- Assuming a pre-made template is enough – Every site runs a different mix of tools. Never assume a default cookie list fits yours, run a custom scan instead.
- Blocking essential files – Mark security tools and cart cookies as “Necessary” so they don’t get blocked when a visitor rejects marketing cookies.
- Ignoring mobile users – A banner that looks fine on desktop might cover a phone screen. Test layouts on different sizes before going live.
- Forgetting to save logs – If a regulator questions your practices, you need an audit trail. Built-in consent logging is the easiest way to stay protected.
- Failing to update your policies – Add a marketing tool or switch analytics providers, and it’s time to update your consent categories and policy page.
Wrapping Up and Next Steps
Setting up cookie consent doesn’t have to be a headache. Take a systematic approach, use a native tool like Cookie Consent, and design with your audience in mind. You’ll check this off quickly and get back to building great web experiences.
Running an Elementor site? Check your dashboard for these built-in features. Turn them on, run a quick scan, style your buttons to match your branding, and enjoy a compliant, trustworthy visitor experience in 2026 and beyond.
Frequently Asked Questions
Do I really need cookie consent if my business is outside the EU?
Yes, most likely. GDPR protects users by location, not by your business address. If even one visitor from France, Germany, or California lands on your site, you need a compliant experience for them. A geo-targeted banner is the safest approach for any site owner.
Can I just write a privacy policy and skip the consent banner?
No, a written policy only covers part of compliance. Under GDPR, you can’t load tracking scripts until a visitor gives active, explicit consent. A static page can’t block scripts on its own, so you still need an active banner holding cookies back until someone clicks “Accept”.
What is Google Consent Mode v2 and why does it matter?
Google Consent Mode v2 lets your site pass visitors’ consent choices directly to Google Analytics and Ads. If someone rejects cookies, Google adjusts its tracking while using cookieless signals to model missing data. Skip this setup for European traffic, and your measurement tools lose key conversion metrics.
Will a cookie consent banner slow down my WordPress site?
Some external, cloud-based platforms cause noticeable delays since they lean on heavy external scripts. A native WordPress capability keeps the code light and local, so your banner loads fast without hurting Core Web Vitals or mobile experience.
How often should I run a cookie scan on my website?
Run a scan at least once a month, or whenever you make major changes to your site. New integrations, embedded videos, and social sharing tools often bring new third-party cookies along. Regular scans keep your categories accurate.
Can I customize the design of my cookie banner to match my theme?
Absolutely. A good consent tool gives you full control over fonts, colors, layouts, and button styles, so your banner blends with your site’s look instead of startling visitors with a pop-up.
What is Global Privacy Control (GPC) and do I need to support it?
Global Privacy Control is a browser setting that lets visitors signal privacy preferences automatically. If someone has GPC enabled, their browser tells your site to opt them out of tracking. A modern cookie consent feature respects that signal instantly, no banner needed.
Are consent logs really necessary for my website?
Yes. Many privacy laws require proof a user gave active consent if a dispute arises. Consent logs keep an anonymous, encrypted record of these choices, so you’re always ready for a compliance audit.


