
You’ve closed a sale and received the payment. Your job is done, right?
Setting up your WooCommerce store can take a while, and you may think that once you’ve optimized your checkout page, you’re done.
But you may be overlooking a crucial element to the sale: a thank you page.
A strong WooCommerce thank you page can encourage your customers to tell others about their purchase, engage further with your brand, and start working on a future sale.
You can optimize your thank you page for different actions — like getting your customers to follow you on social media or leave a review.
In this guide, we’ll go over how to optimize your WooCommerce thank you page with Elementor, which elements and widgets work best on a thank you page, and share some examples of optimized WooCommerce stores.
Find the Perfect Resources for Web Design Inspiration
Table of Contents
Why Do You Need To Optimize Your WooCommerce Thank You Page?
When you set up WooCommerce on your website, it automatically creates most of the page templates you need for your store. This is one of the reasons the plugin is so popular.
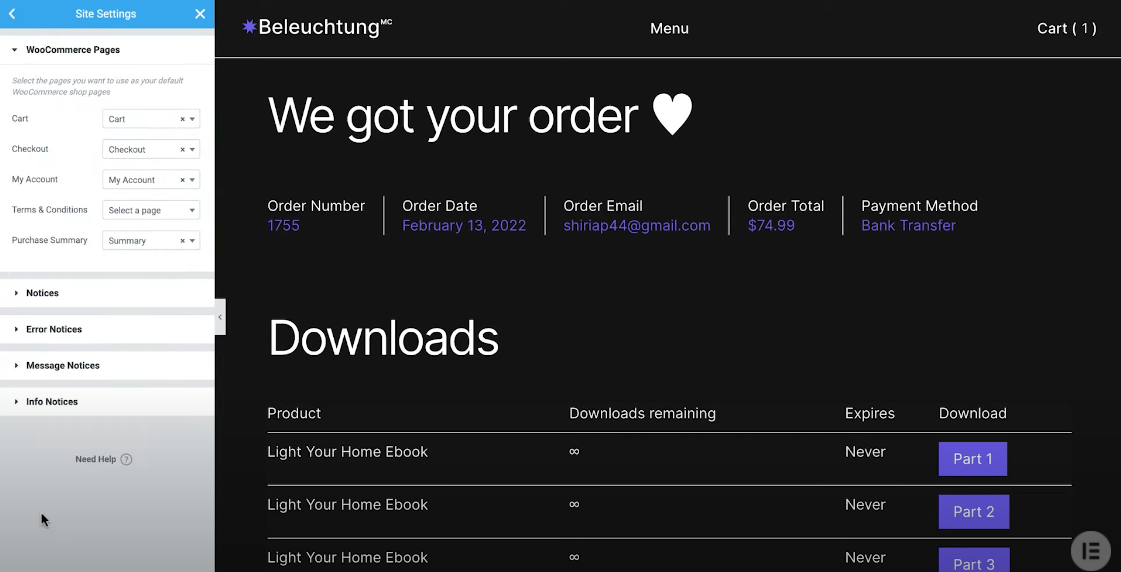
You can check your standard checkout behavior by clicking WooCommerce > Settings > Advanced in your WordPress dashboard.
You’ll find a list of Checkout endpoints that handle specific actions of users during the checkout process. Among these, you will have an order-received page.
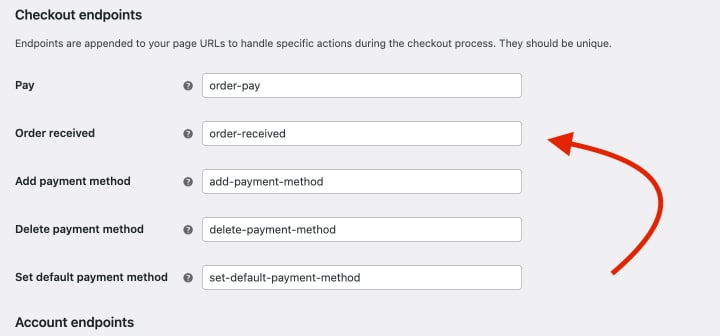
By default, your thank you page redirects customers to order-received unless you’ve changed this property. You can edit this page or create a new one to customize your thank you page. Make sure you change the endpoint to your new URL if you decide to make a new page.
The default page is simple and shares a note with details like:
- Confirmation of order
- Payment method
- Order date and time
The page is often white unless your theme overrides the style CSS WooCommerce has set up.
Why You Want To Change This
The standard thank you message delivers the minimum information necessary to your customers. But besides that, it serves as a clear exit point — something you never want as an ecommerce store owner.
By optimizing the page with a few more elements, you can encourage customers to engage with your brand for longer.
A 2020 Gartner Study attributes two-thirds of brand loyalty to the customer experience (CX). The thank you page is another place to work on the customer’s experience. You can either encourage customers to stay or conclude buyers’ journey on a good note.
Configuring Your WooCommerce Custom Thank You Page
What can you add to your thank you page?
That depends on your goals as a business. But here are a few ideas:
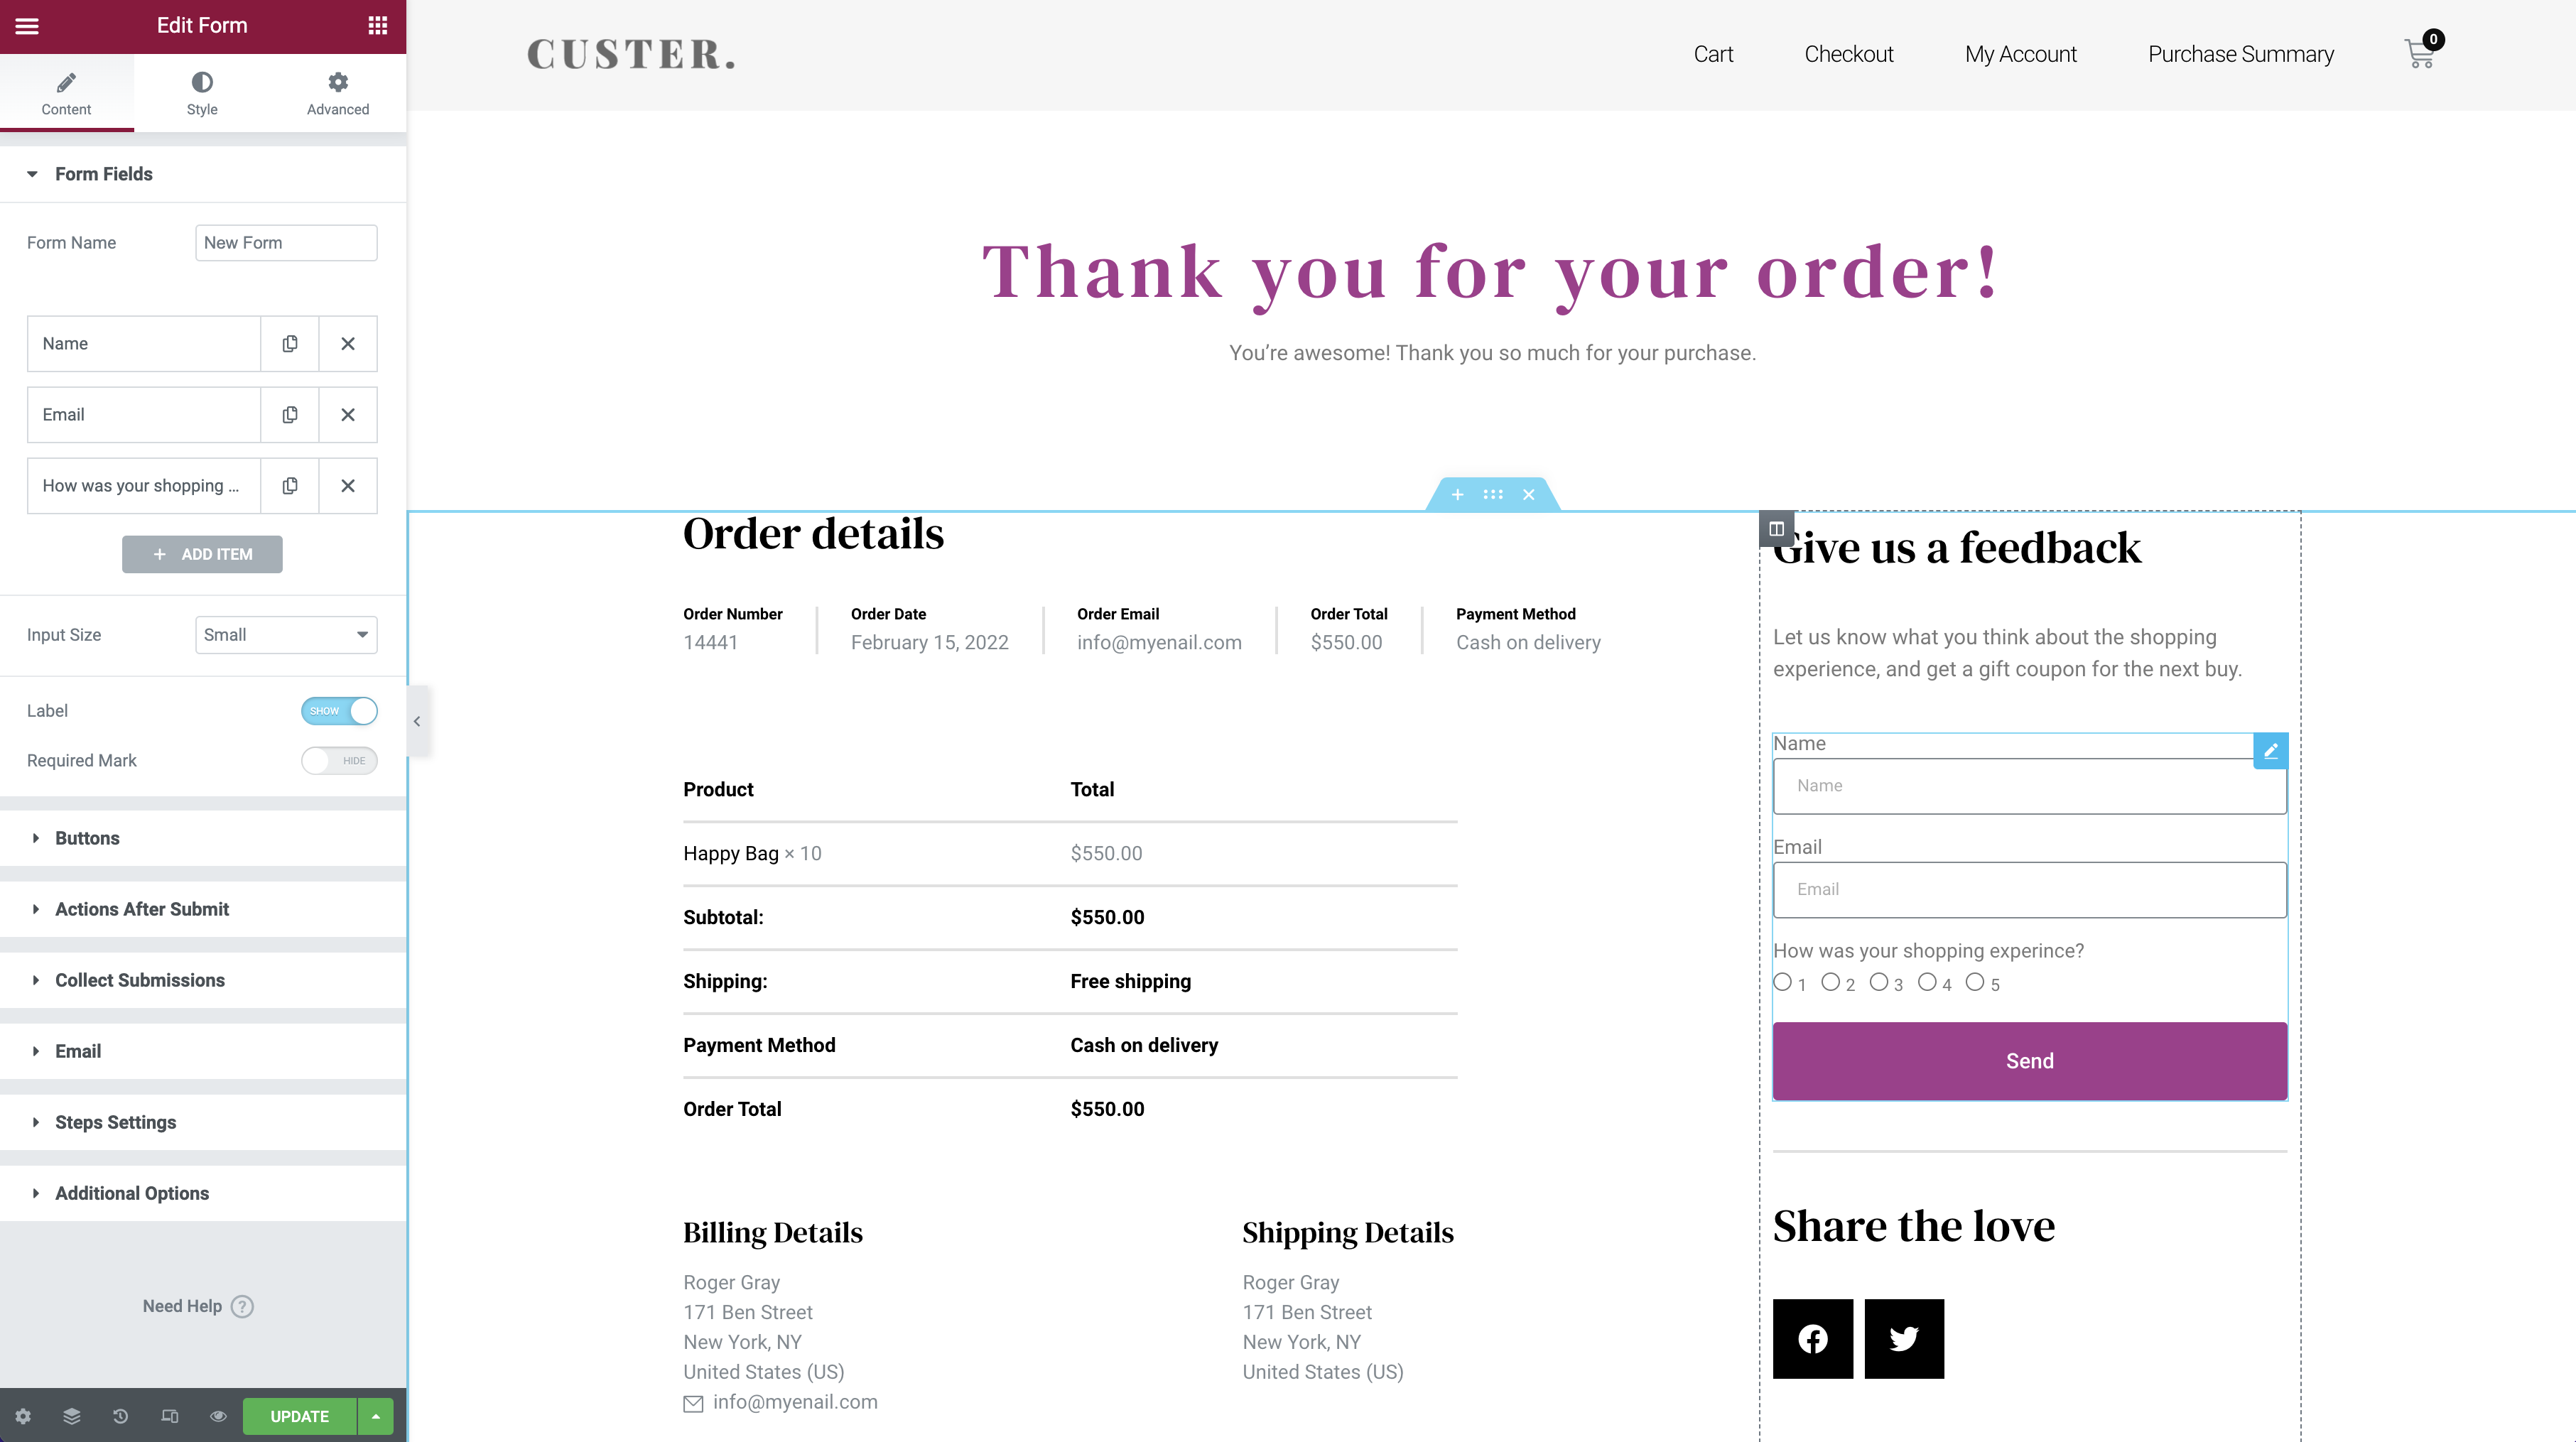
- Ask for feedback — add a quick form to your page with a few questions. Learn what they like about your website or why they prefer purchasing from you.
- Showcase recent content — Use a post widget to add some of your latest, or popular, posts to the bottom of the page to direct customers to other products. You can configure this to display related content by using tags.
- Embed a video — 81% of marketers say video has increased their sales. You can drop a short explainer video about your product or share a general message.
- Encourage sharing on social media — Add social sharing for popular social media networks. Let your customers share the specific products they purchased by using the share feature on the thank you page.
- Offer a discount — Work on converting your shoppers into repeat buyers. Offer a coupon if they subscribe to your email list, follow your social media page, or complete a survey. You may benefit from a WooCommerce plugin to add this functionality.
These features keep your customers engaged and on your website for longer. However, you may also need to supplement these with a few design changes.
Here are a few design changes you can implement:
- Add your branding — Customize your thank you page with your brand colors and text to increase brand awareness.
- Keep it simple — Ensure everything is easy to read. Customers want to find their order details, so make it accessible for them. Opt for your alternate colors for form fields if your website uses darker tones.
- Configure your header and footer — You can remove your header or footer or configure them to direct your customers to preferred links.
You can show/hide the header and footer by going to your theme builder, selecting the element, and going to the display conditions. You can include these on your entire website or exclude specific pages like the purchase confirmation page. - Highlight important information — Modify padding, borders, or font size of important fields like order numbers to draw attention to them.
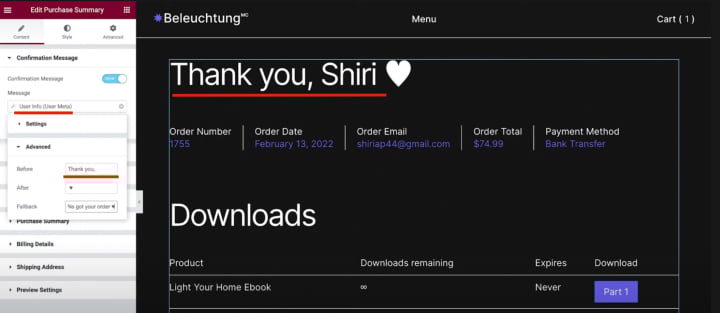
- Use dynamic tags — Orders come with meta information from the buyer. You can use that information to thank them by name. This enables a personalized shopping experience.
By adjusting your thank you page’s content and appearance, you can offer a better customer experience to your WooCommerce buyers.
How To Optimize the WooCommerce Thank You Page Using Elementor
The default WooCommerce plugin creates pages or new product listings using an editor reminiscent of the old WordPress editor. It’s a bit clunky in places, and customizing each part of your ecommerce store can tire you if you’re editing in WooCommerce alone.
However, you can use a page builder like Elementor to drag and drop your preferred functions to customize your ecommerce store effortlessly.
Elementor simplifies customizing your WooCommerce thank you page with key elements like the purchase summary widget. This pro feature is part of the WooCommerce specific widgets on Elementor.
Here’s our video explaining how to customize your thank you page with the purchase summary widget:
Basically, you need to:
- Make a new page and label it as thank-you or similar
- Add the purchase summary widget from the WooCommerce section of elements
- Adjust colors, fonts, padding, spacing, and other sections of your page
- Check how the page looks in mobile view and make corrections
- Select a few meta details like your customer’s name to customize your thank you page
- Add additional elements like videos, featured posts, or sharing widgets as desired
If you are new to WooCommerce page customization, the thank you page is a great place to start. It is simpler than the cart page and product page and lets you get comfortable with the design.
6 Examples of Optimized WooCommerce Pages
It’s one thing to share the widgets to use. It’s another to turn your WooCommerce store into a seamless shopping experience.
Are you struggling with what features to add to your WooCommerce store?
We’ve rounded up some examples of stores that follow good design practices and use great widgets to grab attention and increase conversions.
1. Daelmans Stroopwafels
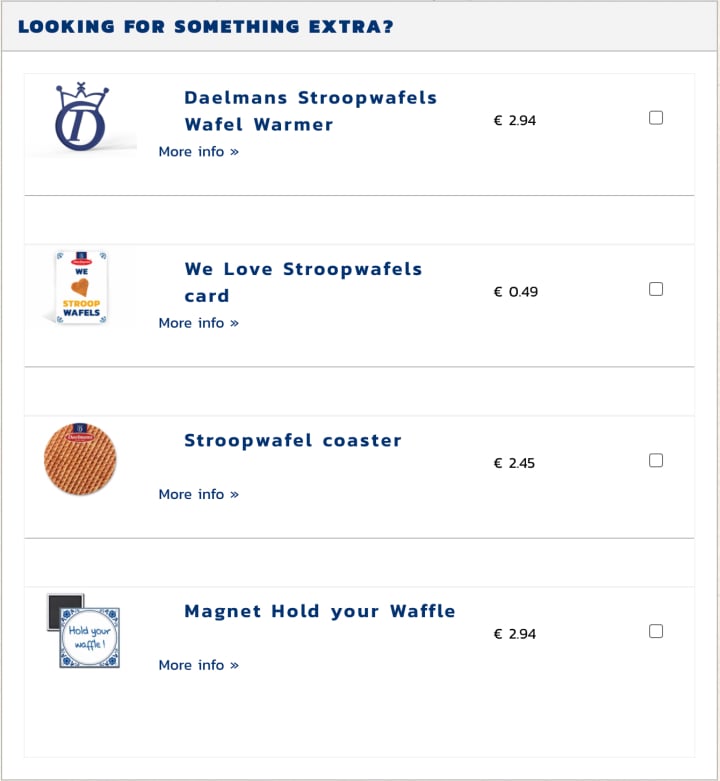
Daelmans Stroopwafels knows how to get an upsell. It has an easy-to-navigate store with clear photos and contrasting blue and orange text. On the cart page, you can find several upsells positioned right by the checkout button.
If you want something similar, use the related products to upsell, cross-sell, or display similar items. You can place this widget on the checkout page as Daelmans Stroopwafels does or add it to your product pages.
2. Kawaii Box
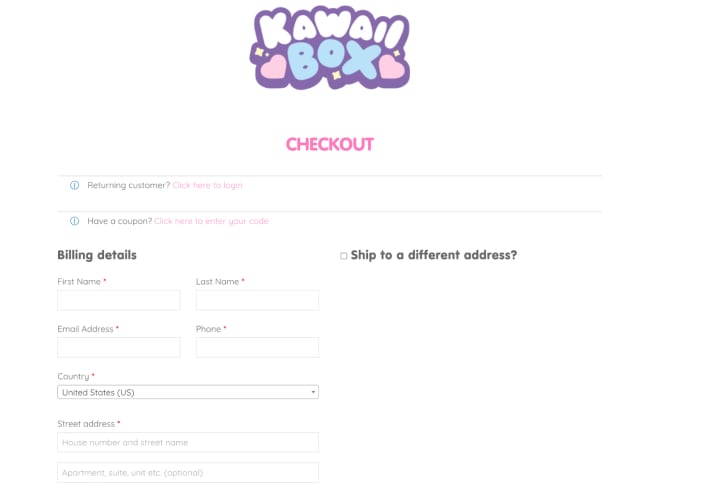
Kawaii Box ships adorable goods and candy from Japan to fans worldwide. It uses metadata from visitors’ browsers to automatically detect the shipping country, making it easier to order.While it has a colorful and fun website design, it keeps the checkout clean. Easy to read text ensures visitors have an easy time completing their purchase.
3. Roberto Coin
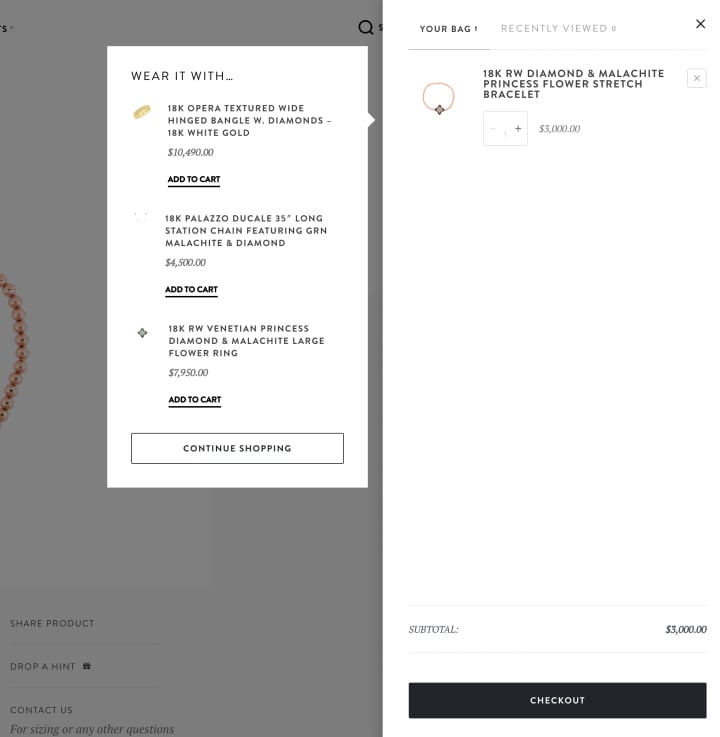
Roberto Coin‘s website uses Elementor to add animations and videos that help their products stand out. When you add an item to the shopping cart, the website shows a quick view of your bag and recommends similar products. You can add this effect using the menu cart widget on your shop.
4. Magna-Tiles
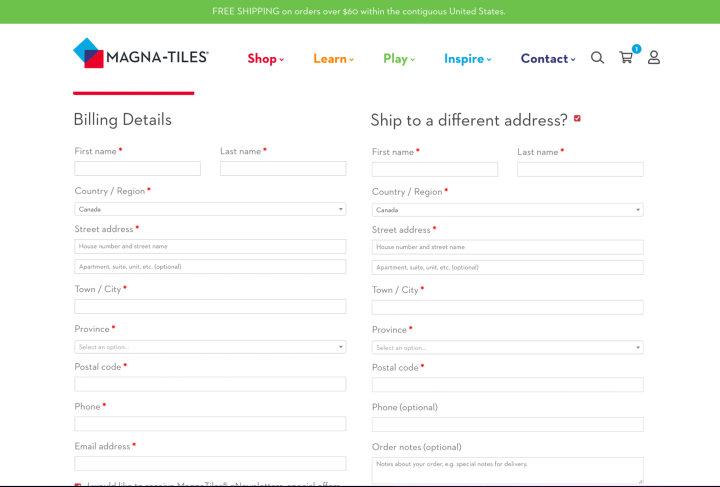
Magna-Tiles makes educational building toys, and their website’s bright colors reflect their products. It receives several users purchasing their products as gifts. So they have made it easy to enter a different shipping address.5. Sodashi
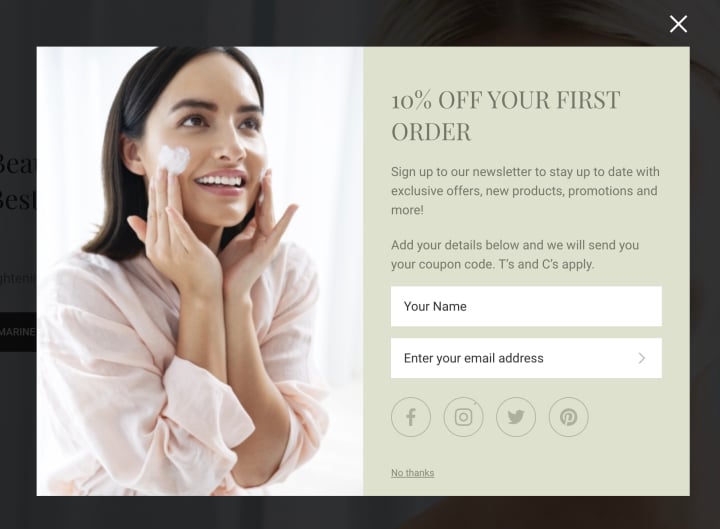
Sodashi, an Australian skincare brand, focuses on natural beauty. It relies on recommended products, social sharing, and coupon codes to build up its mailing lists.You can make a similar discount offer with the pop-up builder and set conditions on where to display it with Elementor.
6. Aru Eyeware
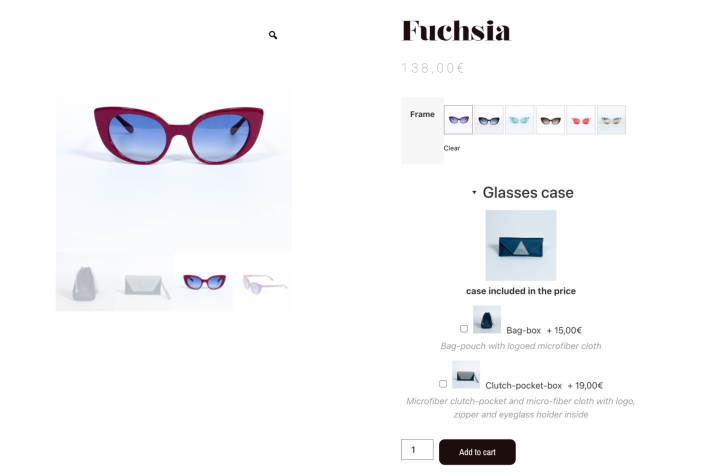
Aru Eyewear uses WooCommerce and Elementor to open its stylish, fast-loading storefront. While videos and animation make their front page stand out, the store design is kept simple to let the products shine.With a check-box option for cross-sales, Aru Eyewear makes it easy to add additional related products.
Final Thoughts: Optimize Your WooCommerce Thank You Page In Elementor
Building a WooCommerce store involves more than just listing your products. You need to optimize each page of your customer’s journey to increase your conversion and close your sales.
Besides that, you should keep your visitor’s experience on your website the best it can be. With a customized thank you page, you have the chance to ensure that and extend your relationship further.
The WooCommerce thank you page helps you solidify your message and reach a receptive audience.
Mix visuals with structured CTAs. You may notice a huge increase in your click-through rate If your thank you page is beautiful and optimized to include additional posts or a form for customers to refer a friend.
Using Elementor, you can easily change both the design of your thank you page and the actions your visitors can take from there.


