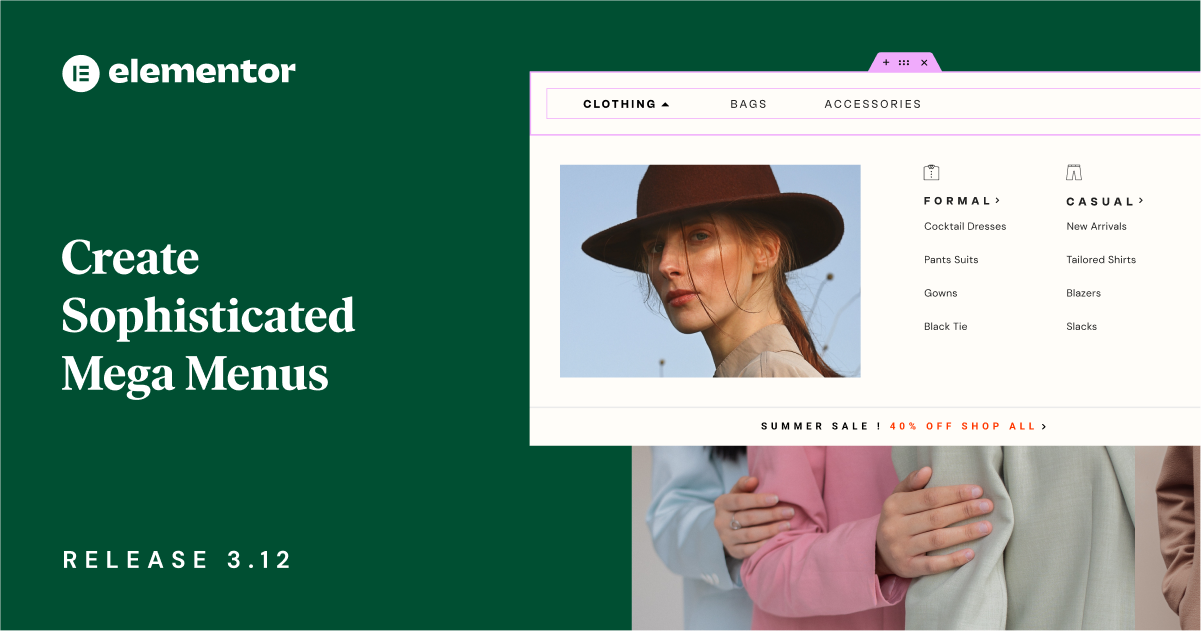
Elementor 3.12 includes a number of exciting features, including a new Menu widget, which will empower you to visually create sophisticated Mega Menus in Elementor. This version also includes a new feature that empowers you to further customize your website listings and create an alternate template in the Loop Grid widget. Lastly, this version also broadens existing capabilities and provides you with additional design, and customization options.
[Pro] Introducing the Mega Menu in Elementor With the New Menu Widget
This version introduces one of the most requested features – the Mega Menu, available with the new Menu widget. Using the new Menu widget, you can create an expandable menu that allows you to display more content. This improves the visitor experience by making it easier for site visitors to find certain categories and subcategories, and enables you to create website designs that are unique and stand out. To use the new menu widget, be sure to enable the Menu, Flexbox Containers, and Nested Elements features by going to your WordPress Dashboard → Elementor → Features.
Setting up Your Website’s Navigation
With the new Menu widget, you can create as many menu items as you’d like, from scratch – without having to necessarily create any menus in the WordPress Menus screen. Each menu item can be linked to any page, giving you more flexibility to structure your website’s navigation. For best-practice navigation, it is recommended that you use the dynamic Internal URL tag to ensure your menu items always link to the page you intended.
For each menu item, you can decide if the menu item includes dropdown content where you can add subcategories, or not, and choose an icon for the dropdown indicator. If you choose to add dropdown content, you can set a dropdown effect to set the menu item to open upon hover or click, and choose if you want the dropdown content to fade in with an animation effect.
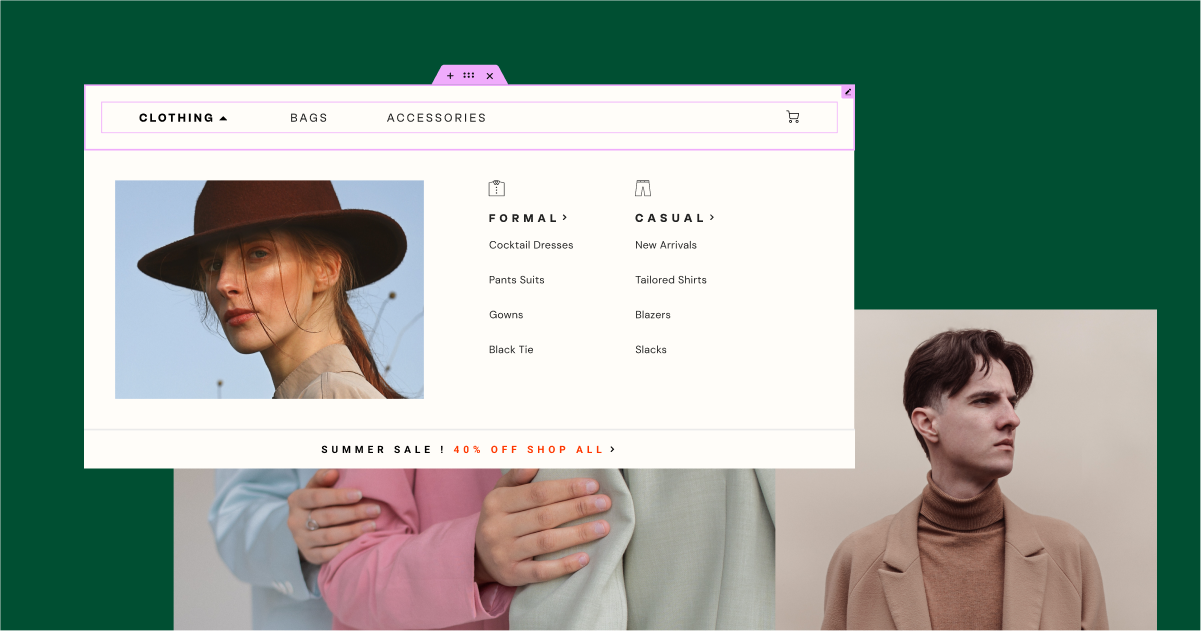
Create a Mega Menu with Dropdown Content
By enabling the Dropdown content, per menu item, and leveraging the power of Containers and Nested Elements, you can create beautiful and sophisticated Mega Menus. When you enable the dropdown content on a menu item, a new container will be added to the menu item, where you can drag in any widget, style the content area and design any layout you want, leading to a better visitor experience, and improving their engagement. Learn how to create a Mega Menu here.
Responsive Settings
To adjust the visitor experience to each device, you can choose the breakpoint at which the menu becomes a toggle menu, and adjust the way dropdown content areas are designed to match the screen they are being viewed on.
Please Note: As part of this update, the Nav Menu widget has been renamed WordPress Menu, and you can still use it anytime, even within your Menu widget to create Menus based on the Menus screen in WordPress.
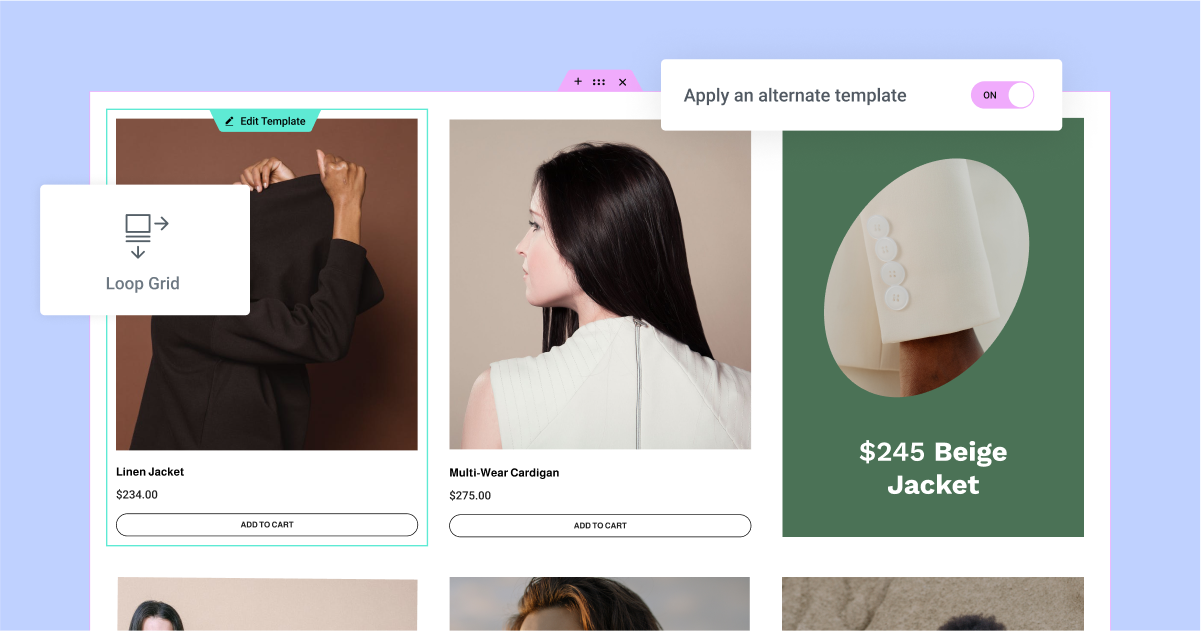
[Pro] Diversify Your Design with a Loop Alternate Template
Loop Alternate Template, a new feature in the Loop Grid widget, allows you to achieve a higher level of design flexibility by applying a different template on specific items within a loop grid.
Add an Alternate Template To Make Items Stand Out
To add another template in your loop grid, switch the ‘Apply an alternate template’ toggle on. Clicking Create a Template will take you to the Theme Builder, where you can design a new Loop Item, alternatively, you can choose any of the Loop Item Templates you’ve previously created as your alternate template. You can create up to 20 different templates for each Loop Grid on your website.
Once you’ve chosen the template you want to use, you can determine what item position in the grid you want it to apply to, and whether you want it to repeat or not. For example, you can apply an alternate template to the item in the 2nd position in the grid, and then determine whether you only want it to appear on the 2nd item, or repeat on every 2nd item.
Please Note: As part of this version, applying an alternate template overrides the design of specific items in your loop grid, based on the query you selected for the entire grid. It is not possible to inject an item that’s external to the query yet.
Take Up More Space with Column Span
Set a column span to the alternate template to make specific loop items stand out even more. This will enable you to design a template that takes up more space within your loop grid. For example, if you have a loop grid with 3 columns, you can make an alternate template that covers 2 columns. This means that if you apply the alternate template to the 2nd item and set it to span 2 columns, the 2nd item will take up 2 columns in the first row.
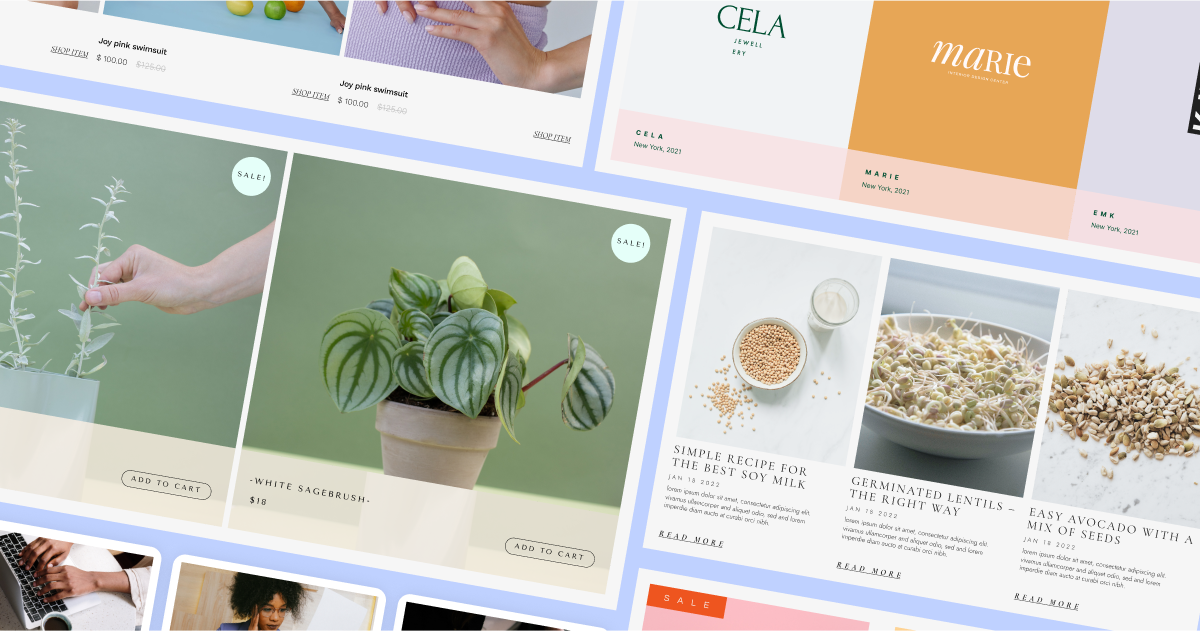
[Pro] Kickstart your Workflow with Predesigned Loop Templates
Accelerate your workflow and get inspired by 10 new loop templates available in the library. This version includes 6 templates for posts, and 4 for WooCommerce products. You can find the templates by clicking the template library icon in the canvas when you create a new loop template. The template library will show you posts or products templates based on the ‘template type’ you choose in the content tab of the loop grid.
Once you’ve chosen the template you want to use, you can customize it further and choose the content and query that you want to display.
Please note: Loop Templates are container-based and are only available to websites that have Containers enabled on them.
Elementor Interface Revamp
Elementor has been around for nearly 7 years, which is also when the Editor’s interface was first designed. Over the years, countless new features and widgets have been added, making it important for Elementor to make changes to the User Interface (UI) and User Experience (UX), to facilitate future product growth.
Over the upcoming releases, Elementor’s interface will undergo a gradual revamp, that will be built in REACT. The changes to the interface encourage best practices in website creation with Elementor, enhance accessibility, streamline workflows, and enable the introduction of new features in the future.
A New color scheme for Elementor
In Elementor 3.12, the Editor’s interface has undergone its first update to align with the new color scheme. As part of this update, the colors in the Editor have been simplified. The new colors are optimized for Dark and Light mode, have better accessibility, and allow you to focus on your website’s content, without affecting any of the product’s functionalities.
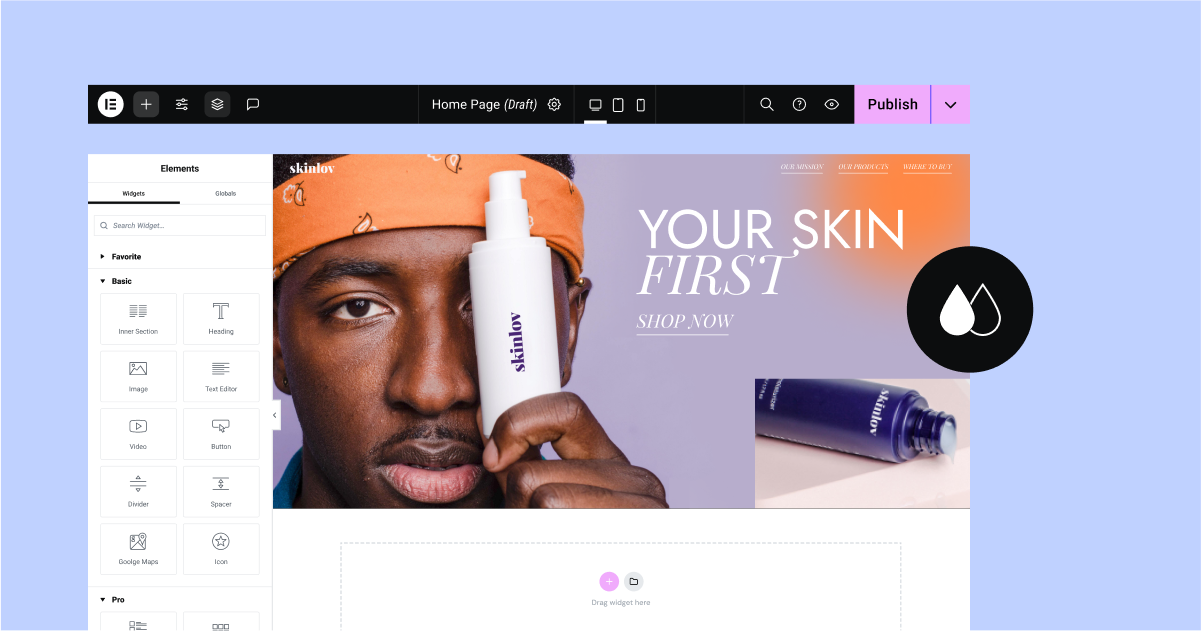
Experiment: New Top Bar
In Elementor 3.12, the new Top Bar is introduced as an experiment that you can enable (from WordPress Dashboard → Elementor → Features). This version showcases the initial stage of the new Top Bar in the Editor, which has been built using REACT to enhance performance and enable future capabilities. The Top Bar brings together all the essential actions required for website creation in a centralized, and easily accessible location.
As part of this version, the Top Bar includes the following items and capabilities:
- Elementor Menu – provides direct access to the Theme Builder, Revision History, User Preferences, Keyboard Shortcuts, and Manage Website (WordPress Dashboard).
- ‘+’ Icon – opens the Widget panel.
- Site Settings – directs to all site settings, as were available before.
- Structure – opens the structure panel (formerly navigator).
- Document indication – clarifies which website part you are working on.
- Cogwheel Icon – leads to Page Settings, where you can adjust the settings of the page you’re on.
- Responsive Icons – enables you to easily move between the different breakpoints available in your website with just one click.
- Magnifying Glass Icon – opens the Finder, enabling you to easily find website parts, perform quick actions, and add new pages or posts.
- Question Mark Icon – directs you to the help center.
- ‘Eye’ Icon – opens your website’s preview.
- Publish – has moved up from the bottom of the widget panel to the right corner of the Top Bar, enabling you to Publish page.
As this is just the first phase, not all capabilities have been fully integrated and it is not recommended to activate this on live websites.
Expanding Existing Capabilities
To keep up with the constantly evolving web design landscape, Elementor constantly introduces updates to existing features to expand your capability and provide you with more customization and precision options.
[Pro] Choose Your Preferred Custom Icons in the Menu Cart Widget
The Menu Cart widget previously offered a selection of only 9 icons for the cart itself, and did not allow the customization of the ‘Close Cart’ or ‘Remove Item’ icons. However, with the latest update, you can select or upload any SVG for any of the three icons. To add a custom icon to the cart itself, first select “Custom” from the icon dropdown list and choose an icon from the library or upload your own SVG. To change the icons of the ‘Close Cart’ or ‘Remove Item’, two new controls have been added to the editing panel so you can choose an icon from the library or upload your own SVG.
Align The Icons in the Icon List Widget
With this update, if your list item’s content in your Icon list spans beyond one line, you can vertically align where the icon is relative to the content. You can align the icon to the top, middle, or bottom of your list item. For a greater level of precision, you can use the slider in the Adjust Vertical Position control to place your icon exactly where you want it.
Choose any Unit Type, Anywhere
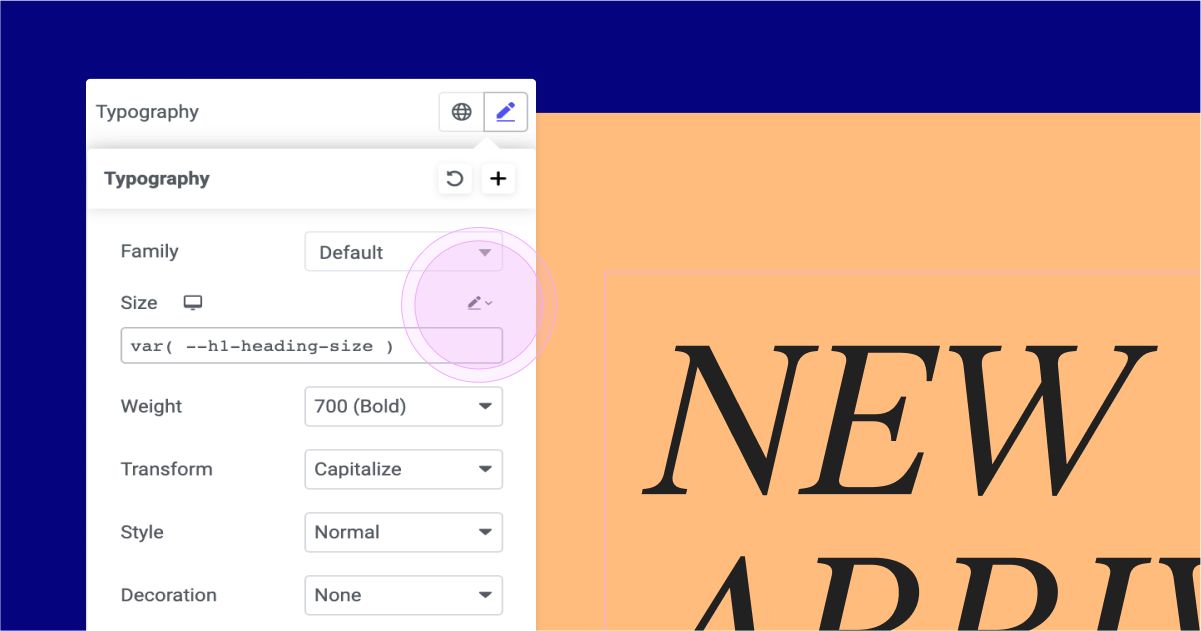
As part of this version, Elementor has aligned all unit-based fields to include anything they may have been missing – EM, REM, pixels, percentages, VW, VH, and Custom.
With the custom units, you can achieve a greater level of precision by using CSS math functions in unit-based fields. For example, you can implement a CSS math function to automatically adjust typography font size based on variables set in Custom CSS on the page or site settings. To achieve this, they can use the CSS function “var(–h1-heading-size)” in the typography font size and set the variables in the Custom CSS of the page or site, as shown: ‘:root { –h1-heading-size: 3rem; }’
Design Sophisticated Websites with Elementor’s New Features
Elementor’s latest version includes a number of exciting features that improve your website’s design and visitor experience. With the introduction of the new Menu widget, you can visually and seamlessly create stunning Mega Menus. In addition, the Loop Grid widget now lets you create alternate templates for your website listings, giving you even more control over your design.
Try out Elementor 3.12 and let us know what you think of these updates in the comments below.


