If you run a WordPress site, you’ve probably noticed how fast privacy rules are changing. A simple cookie notice in the footer used to be enough. Today, privacy laws actually require you to block scripts from loading until a visitor says it’s okay. If that sounds like a headache, take a breath, managing your cookie scripts is more straightforward than it looks, and we’ll walk through it together.
Key Takeaways
- Know your scripts, You need to identify every script running on your site before you can manage compliance.
- Block before consent, Modern privacy laws require you to stop tracking scripts from loading until the visitor gives explicit consent.
- Set up Consent Mode v2, Google services now need proper consent signaling to keep your analytics and ad tracking accurate.
- Pick native tools, Managing cookies right from your WordPress dashboard saves time and cuts down on extra script bloat.
Understanding Cookie Scripts and Why They Matter in 2026
Cookie scripts are small pieces of JavaScript that run on your website to perform specific tasks: counting visitors, powering a live chat box, tracking which products people buy. They make your site work well, but they also collect personal data, and that’s exactly where global privacy laws come in.
The privacy landscape has shifted fast. Major laws like the GDPR in Europe and the CCPA in California aren’t new experiments anymore, they’re heavily enforced standards. If your website serves visitors from these regions, you’re legally required to give them control over which scripts run in their browsers. (It’s simpler than it sounds, promise.)
Browsers are changing how they handle privacy too. Major browsers are phasing out third-party cookies entirely, so tracking scripts now need first-party data and direct consent signals to work properly. Without a solid setup, your marketing data gets shaky and your ad campaigns can lose steam.
Getting this right doesn’t just keep you out of legal trouble, it builds visitor trust too. When people see you respect their privacy and give them clear choices, they feel safer buying from you.
The Core Methods for Managing Cookie Scripts in WordPress
You’ve got three main paths for controlling scripts on your WordPress site. The right one depends on your comfort level with code and how much hands-on control you want.
Method 1: WordPress-Native Compliance Features
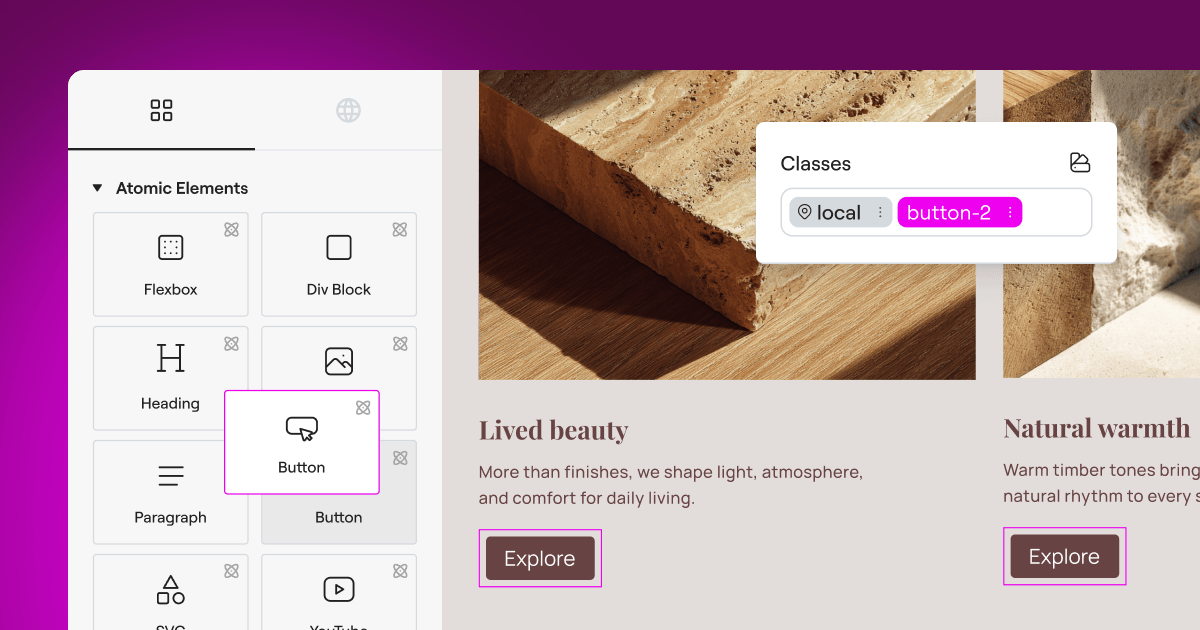
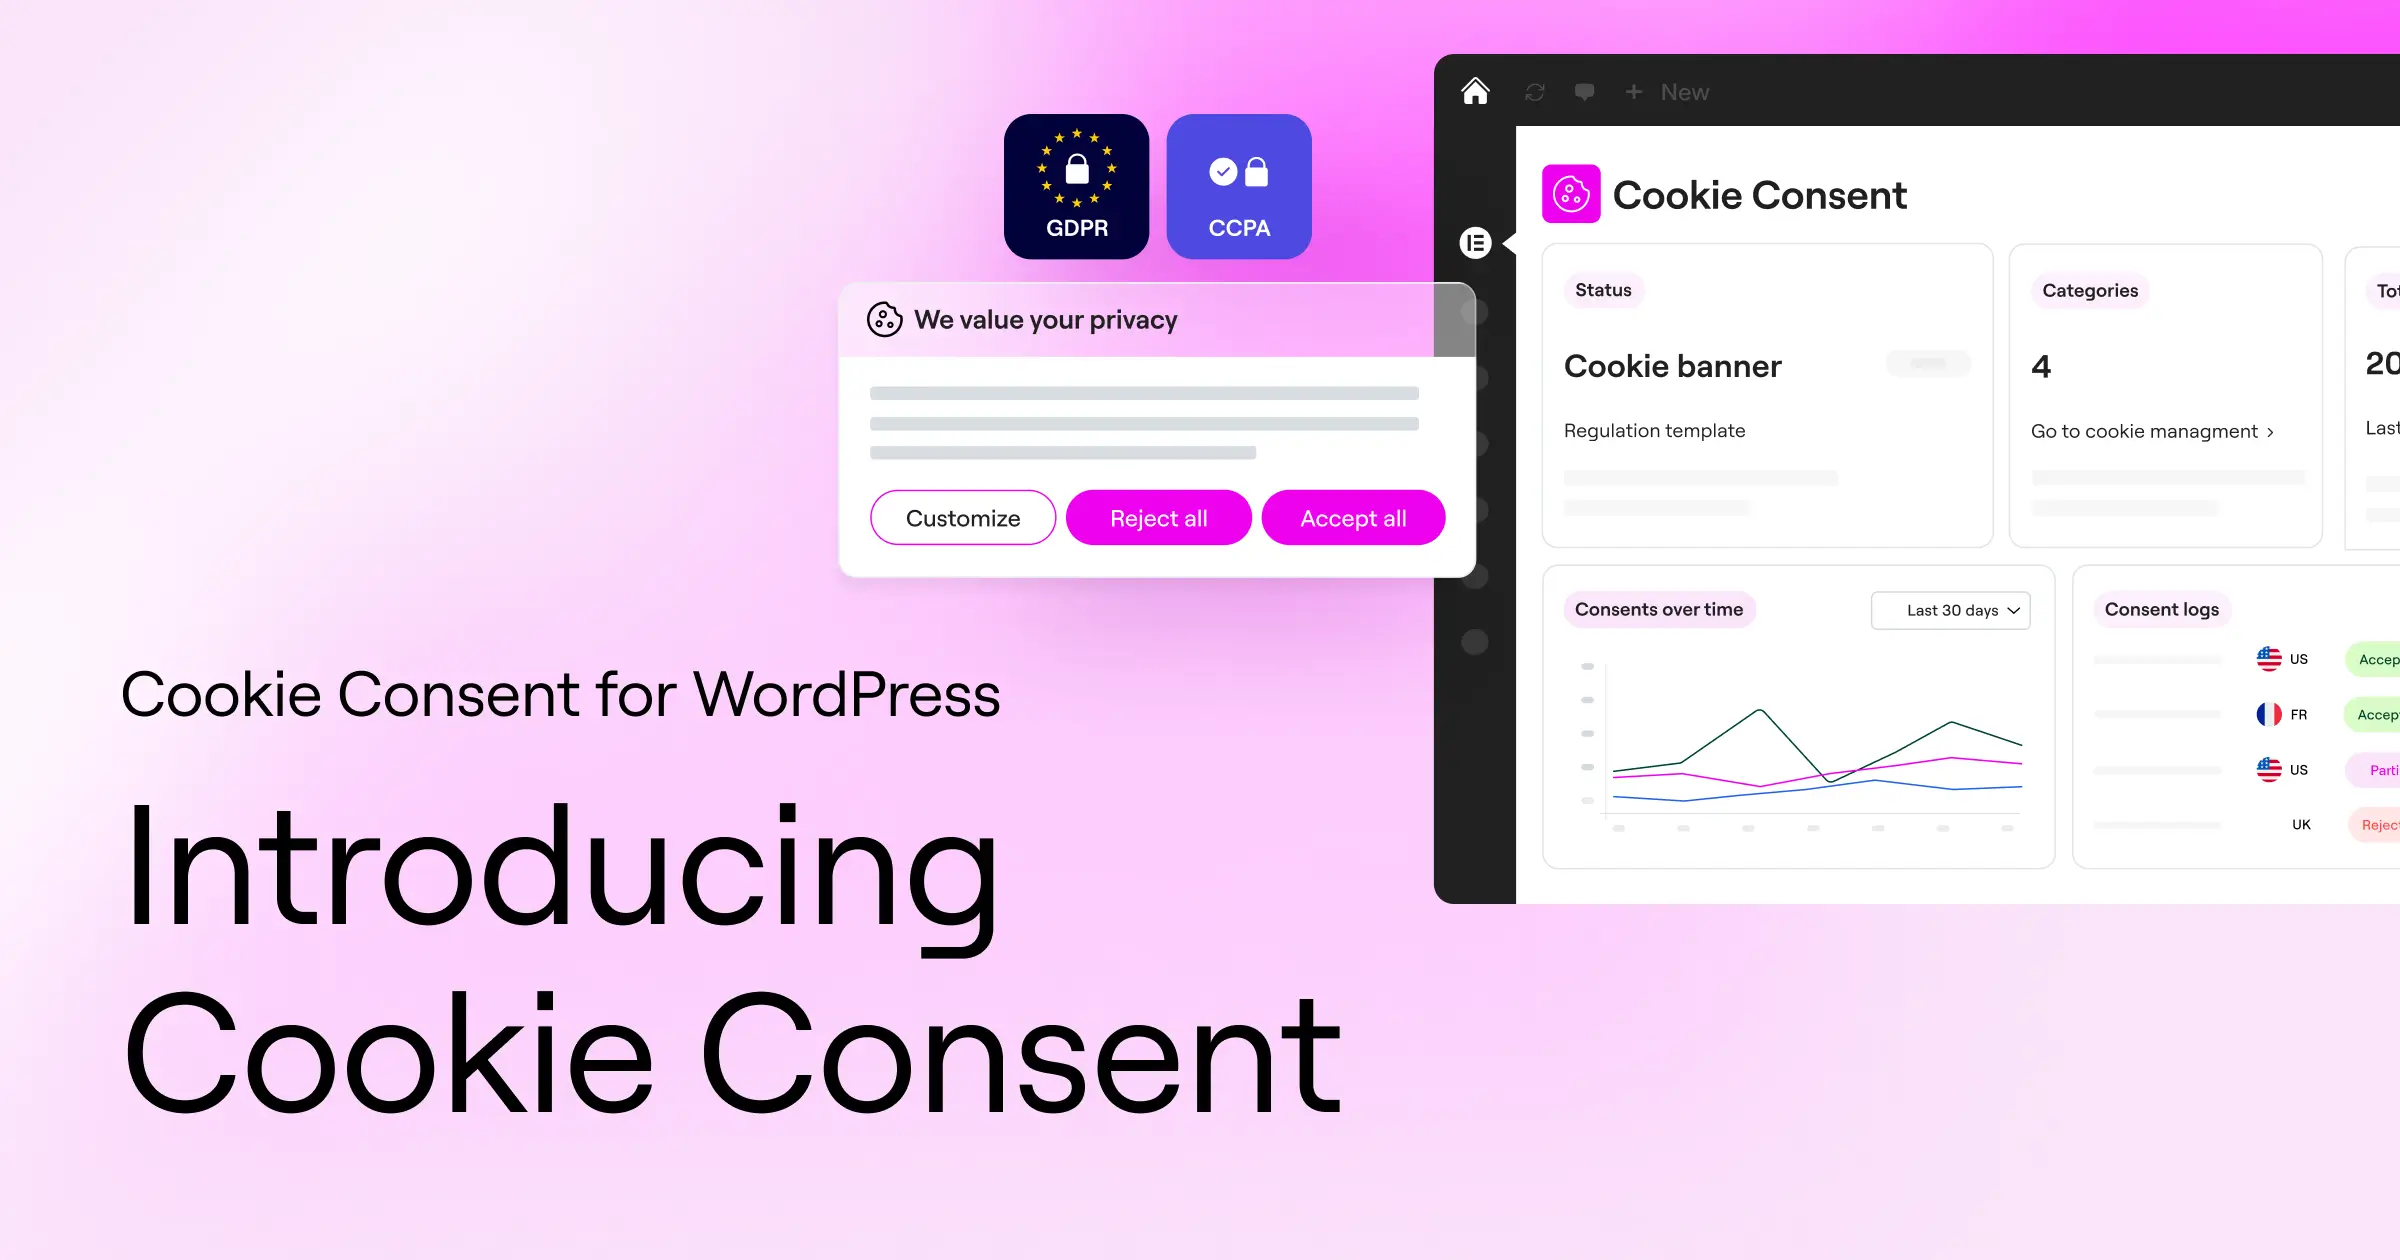
For most site owners, the easiest approach is a built-in dashboard tool. Elementor offers an integrated compliance feature called Cookie Consent, handling your complete consent setup right inside your familiar editor, no jumping between outside platforms.
Going native keeps your site fast, since you’re not loading heavy third-party assets for a simple banner. You design it with tools you already use, run cookie scans, and manage script blocking without leaving your dashboard.
This native Elementor tool is especially handy for growing businesses: instead of paying for a separate SaaS platform, you manage everything in one place, with compliance kept smooth, automated, and light on resources.
Method 2: Manual Script Management via Your Child Theme
If you love to code and want full control, manage your scripts manually, using your child theme’s functions.php file or a code snippet manager to enqueue scripts conditionally.
You write PHP functions that check for a specific consent cookie before running wp_enqueue_script. If the user hasn’t consented, the script doesn’t load. It keeps your site clean, but it needs regular upkeep: every new marketing pixel or analytics tool means writing fresh code to block it.
Method 3: Centralized Management via Google Tag Manager
Another popular option is Google Tag Manager (GTM) alongside a cookie consent tool. GTM acts as a middleman: instead of pasting tracking codes directly into WordPress, you load them inside GTM.
Your on-site consent tool talks to GTM, sending updates whenever a visitor changes their privacy preferences, and GTM decides whether to fire your tracking tags. This is flexible for marketing teams, though it adds complexity, since you’ll need to configure triggers and variables inside GTM itself.
A Closer Look: How to Classify and Categorize Your Scripts
To manage your scripts well, group them into clear categories. Most privacy regulations recognize four main classes of cookies and scripts, here’s what each one does and how to handle it.

Necessary Scripts: Essential for your website to work at all. Without them, visitors couldn’t add items to a cart, log into accounts, or keep the site secure. You don’t need consent to run these, but you do need to mention them in your privacy policy.
Functional Scripts: Remember choices your visitors make to improve their experience, like a language preference, a username, or a localized map widget. If a visitor turns these off, some parts of your site may not work as intended.
Analytical Scripts: Help you understand how visitors interact with your website: which pages are popular, how long people stay, where they click. Google Analytics is the most common script here. Under most laws, these must be blocked until the visitor accepts them.
Marketing Scripts: Track visitors across different websites to build a profile of their interests, so advertisers can show relevant ads. Examples include the Meta Pixel, TikTok Pixel, and Google Ads tracking tags. These need strict, explicit opt-in consent before they load.
When you build your consent system, make sure your categories match these roles. (This is where a lot of people trip up, mixing functional and marketing scripts.)
- Blocks unauthorized tracking cookies, Stops third-party trackers from saving data before a visitor acts.
- Saves visitor language preferences, Remembers a visitor’s selections across multiple visits.
- Tracks general site visitor counts, Gathers aggregate data to see which content is popular.
- Connects targeted retargeting advertisements, Passes visitor interest signals back to social ad networks.
- Holds necessary user session data, Keeps user accounts secure during active checkout.
- Runs essential visual scripts, Generates dynamic layout files safely without tracking visitors.
Step-by-Step Tutorial: Setting Up Consent-Based Script Loading
Ready to make your WordPress site fully compliant? Follow these steps to audit, organize, and control your cookie scripts safely.
Step 1: Audit Your Current Scripts
Before you can block anything, you need to know what’s running on your site. Open your website in a private or incognito window, right-click, and select Inspect. Go to the Application or Storage tab, find the Cookies section, and note the domains listed there before you click any banners.
Step 2: Choose Your Script Blocking Approach

Decide whether you want a native tool or manual code. The native Cookie Consent feature automatically scans your site, finds your tracking scripts, and groups them into the correct categories. The manual route means wrapping your scripts in PHP conditions like this:
if ( isset($_COOKIE['my_consent_cookie']) && $_COOKIE['my_consent_cookie'] === 'accepted' ) { wp_enqueue_script('my-analytics-script', 'https://example.com/analytics.js', array(), null, true);}
Step 3: Set Up Google Consent Mode v2
If you use Google Analytics or Google Ads, you’ll want Google Consent Mode v2 in place. It tells Google’s servers whether the visitor allowed analytics tracking or ad personalization, and a modern cookie consent tool handles this automatically, updating Google’s tags the instant someone clicks “Accept” or “Decline”.
Step 4: Design a Clear Consent Banner
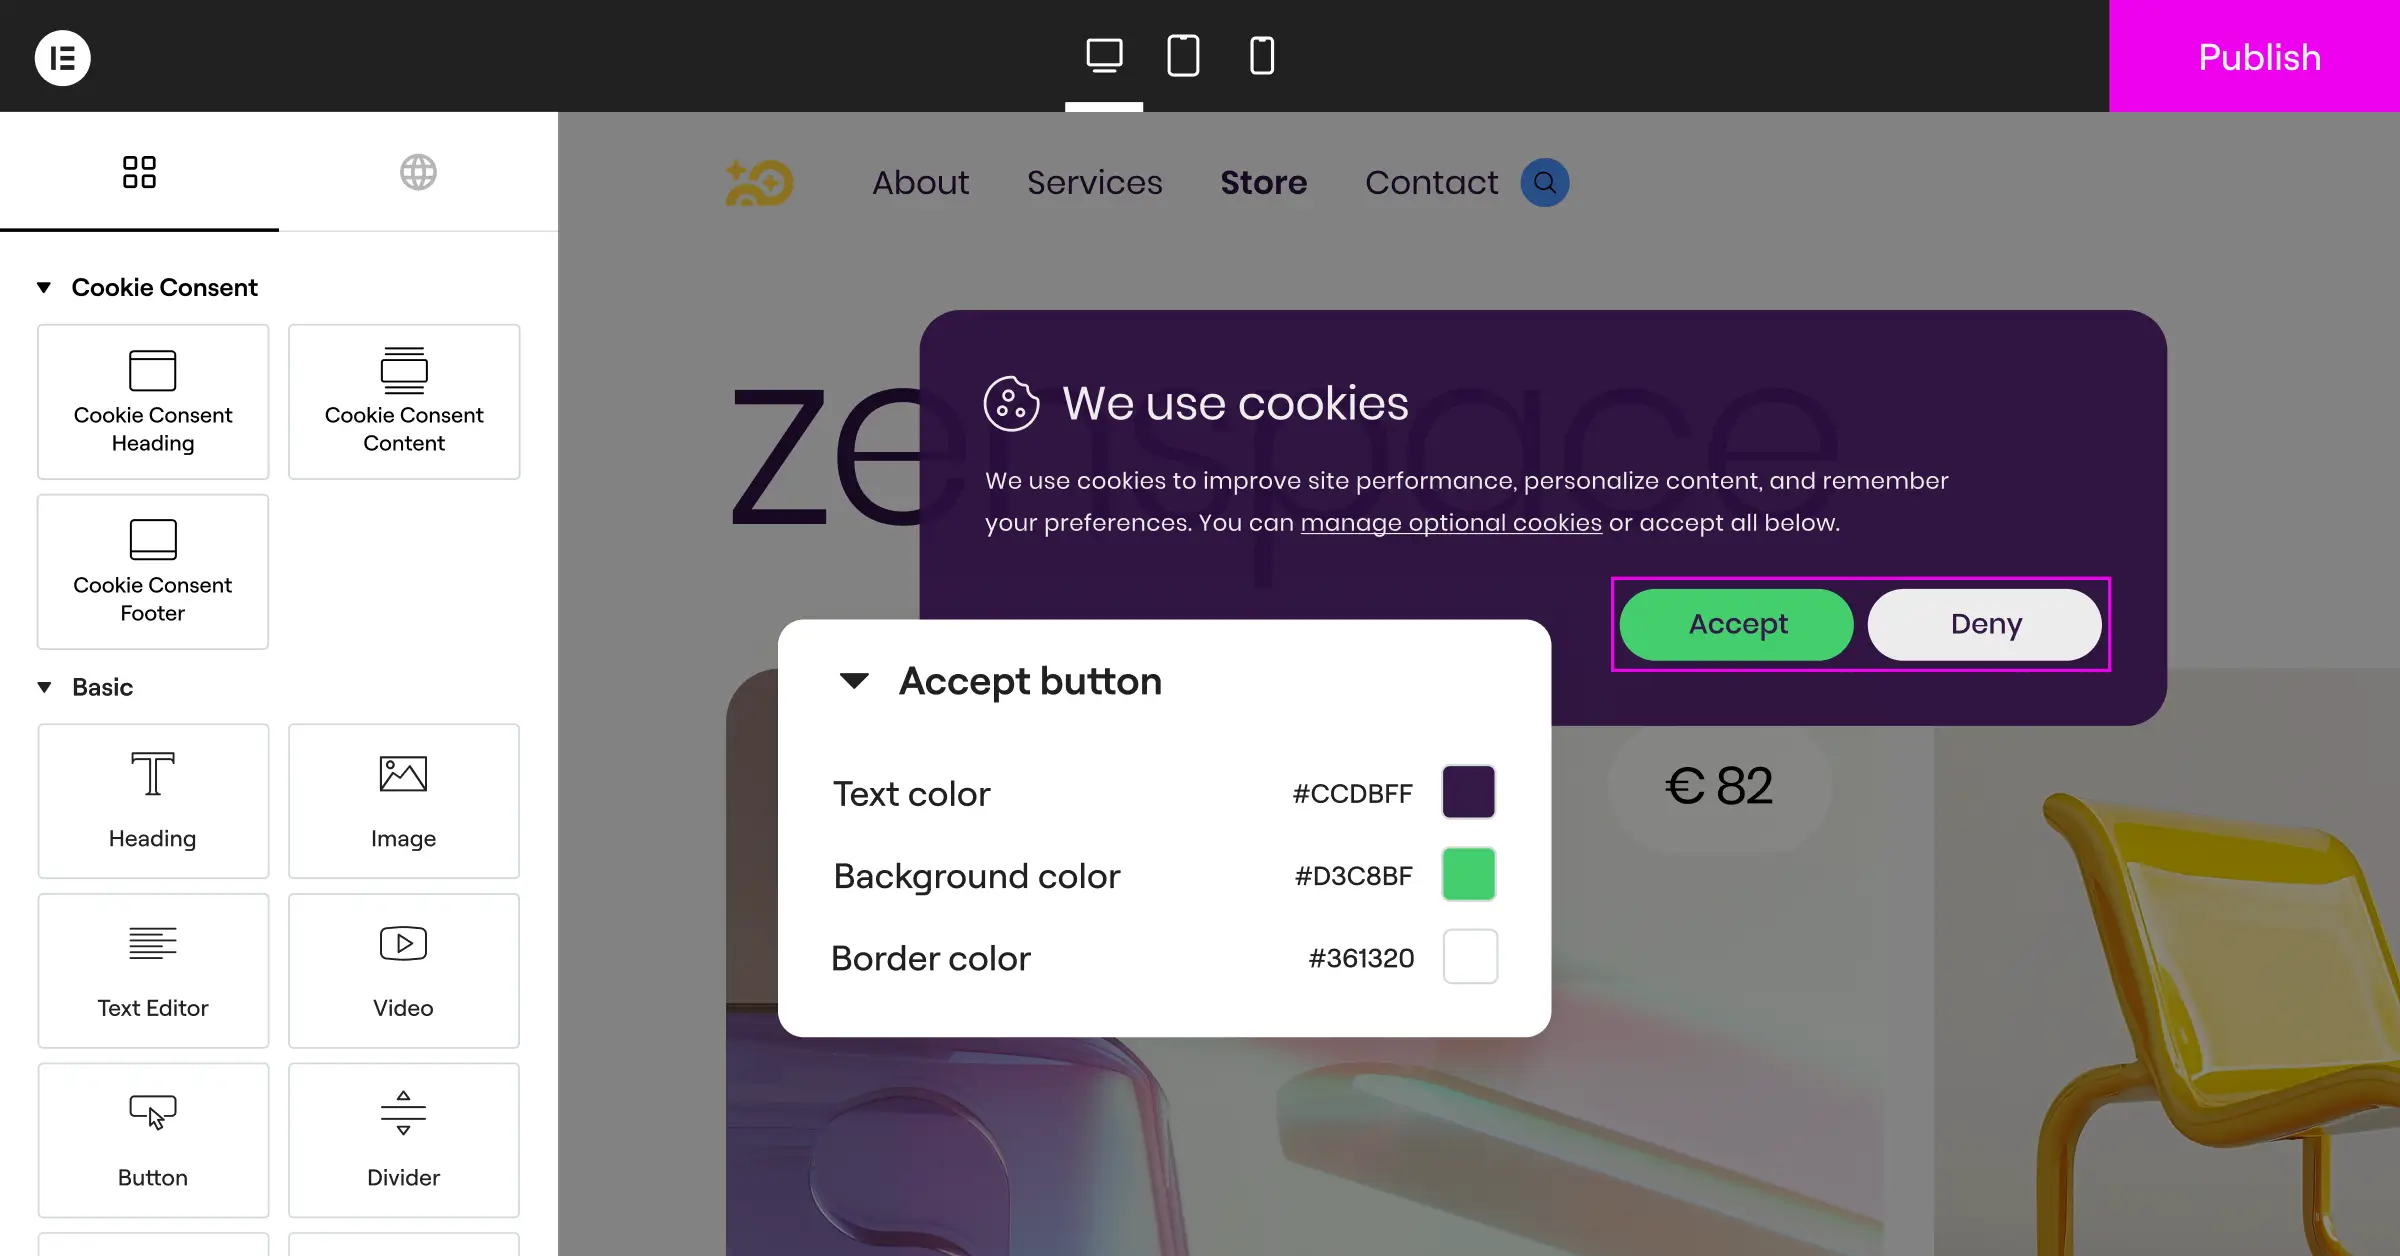
Your banner should match your brand but stay easy to read. Avoid deceptive designs (dark patterns) that try to trick visitors into accepting tracking. Give visitors two equally styled choices, “Accept All” and “Decline All”, plus a smaller “Manage Preferences” link so they can opt into analytical cookies while blocking marketing ones.
- Match the colors and typography to your core theme.
- Write clear, friendly copy explaining why you use cookies.
- Make the “Decline” button just as easy to find and click as “Accept.”
Step 5: Test Your Setup Thoroughly
Once everything’s configured, clear your cache and open your site in incognito mode again. No analytics or marketing cookies should appear yet. Click “Decline All” and verify nothing tracking-related was dropped, then clear cookies, reload, click “Accept All”, and confirm your analytics and marketing scripts load as they should.
Evaluating Popular Cookie Management Tools for WordPress
Choosing the right tool can feel overwhelming with so many options out there. Here’s a factual look at some of the most popular tools in the WordPress ecosystem, comparing their setup style, dashboard location, and site integration.
| Tool Name | Dashboard Location | Setup Time | Google Consent Mode v2 Support | Best Suited For |
|---|---|---|---|---|
| Cookie Consent (by Elementor) | WordPress Native | Under 5 Minutes | Yes, Built-in | Sites wanting simple dashboard-native compliance |
| Cookiebot | External SaaS Platform | Moderate (External setup) | Yes, via integration | Larger businesses needing cross-platform control |
| CookieYes | Hybrid (WP & External) | Moderate | Yes, via integration | Sites looking for a simple cloud-managed tool |
| Complianz | WordPress Dashboard | Longer (Multi-step wizard) | Yes, with configuration | Users who want highly detailed legal wizard setups |
| iubenda | External SaaS Platform | Moderate to Long | Yes, with manual setup | Websites requiring custom legal document generation |
| OneTrust | External Enterprise Platform | Long (Requires training) | Yes, enterprise configuration | Large corporate sites with complex legal demands |
External SaaS platforms work well for large corporate sites with complex needs across multiple platforms. But a native solution like Cookie Consent keeps things simple for most WordPress users, since it runs right inside your dashboard: no external API keys breaking, no extra subscription fees for basic features.
Developer Best Practices for Clean Script Management
If you’re a web developer or designer managing sites for clients, you know performance matters just as much as compliance. Poorly optimized tracking code can drag down a site’s speed quite a bit. Here are a few practices worth keeping in mind.
First, load your scripts asynchronously or defer them. async downloads the script in the background and runs it the moment it’s ready, good for third-party scripts that don’t affect your layout. defer waits to run the script until your page finishes parsing. Both keep your site loading quickly while visitors read your content without waiting on tracking pixels.
Second, cut down on external requests by hosting open-source scripts locally whenever you can. Instead of loading a web font or utility library from an outside server, serve it from your own media library. This gives you more control over caching, helps your page speed scores, and reduces the third-party domains your site connects to.
“Proper script control is no longer just about avoiding a fine. It’s about building real trust with your users and keeping your site speed fast by blocking heavy tracking codes until they’re truly needed.”
– Itamar Haim, Web Compliance Specialist
Finally, use proper WordPress hooks. Avoid hardcoding script tags directly into your theme’s header.php or footer.php files. wp_enqueue_script lets you manage dependencies cleanly, and it makes it much easier for other optimization and compliance tools to detect and block your scripts when needed.
How to Troubleshoot Broken Scripts and Layouts
Sometimes blocking cookie scripts causes unexpected issues: a video widget might stop showing up, or a contact form might fail to submit because its spam-protection script got blocked. Here’s how to fix those without giving up on user privacy.
If a page layout looks broken after you set up cookie consent, check your browser’s developer console first. Press F12, click the Console tab, and look for red error messages. Something like “Uncaught ReferenceError: variable isn’t defined” usually means an active script is trying to use a library your consent manager blocked. Fix it by setting your consent manager to block the parent script and any dependent child scripts together.
If a third-party widget like an embedded Google Map or YouTube video stops working, use a placeholder. Modern compliance features let you show a friendly message over the blocked element, such as “Please accept functional cookies to view this interactive map,” keeping your site professional while giving visitors a clear path to opt in.
Keeping Your Compliance Up to Date

Privacy regulations keep evolving, and new state or national laws show up regularly. Set a reminder to review your script setup every six months: check whether you’ve added new plugins or marketing pixels that might drop unauthorized cookies, and run a quick scan to confirm everything’s categorized correctly.
A tool with cloud-based templates and automated cookie scans takes a lot of this manual work off your plate. Keep your privacy policy updated and your consent banner working correctly, and you’ll maintain a fast, secure, legally compliant WordPress site for years to come. Elementor’s Cookie Consent and Web Accessibility tools work together as part of a broader compliance toolkit, worth exploring both if you’re already thinking about privacy.
Frequently Asked Questions
Do I really need a cookie banner if my site has low traffic?
Yes. Privacy laws like the GDPR protect users based on where they live, not your traffic numbers. Even a few dozen visitors a month could include people in protected regions like Europe or California, so your site still needs to follow their local laws.
What happens if I don’t block cookies before users consent?
Under strict regulations like the GDPR, loading tracking cookies before a user consents counts as a violation. If your site gets audited or reported, you could face warning letters or fines, so block scripts until consent is given.
Will blocking scripts hurt my search engine rankings?
No. Search bots like Googlebot don’t accept cookies or consent to tracking, and don’t need to. As long as your necessary scripts and main content load correctly for crawlers, your cookie consent setup won’t touch your SEO.
How does Google Consent Mode v2 work?
Google Consent Mode v2 lets your site pass your visitors’ privacy choices directly to Google’s tracking tags. If someone declines tracking, Google Analytics still gets basic, non-identifying signals, so you keep general conversion data without violating anyone’s privacy.
Can I customize the look of my cookie banner?
Absolutely. With a native capability like Cookie Consent, you can customize your banner’s layout, colors, buttons, and fonts, so it blends with your brand instead of looking like a generic pop-up.
What is the difference between first-party and third-party cookies?
First-party cookies are created and stored by your own website for basic features, like keeping a user logged in. Third-party cookies come from other services, like Facebook or Google, to track users across sites for advertising and analytics.
What is Global Privacy Control?
Global Privacy Control (GPC) is a browser setting that lets users set privacy preferences once. Their browser then signals every site they visit, asking you not to sell or share their data, and modern consent features pick up on that automatically.
Is there a free way to manage cookies in WordPress?
Yes. Many tools, including the native Cookie Consent feature in the Elementor ecosystem, offer an entry-level plan with the essentials for creating banners and managing cookie scripts safely, a solid starting point for small sites that want to stay compliant without extra cost.


