
Setting up a cookie policy page on your WordPress site might feel like just another task on a long to-do list, but it’s one of the better investments you can make in visitor trust. Privacy rules keep getting stricter, and a clear, accurate policy has moved from a nice extra to something most sites genuinely need. Here’s the good news: it’s easier than it looks. Pair it with a native tool like Elementor’s Cookie Consent capability, and you can get compliant without touching a line of code.
Key Takeaways
- Privacy laws require transparency – GDPR and CCPA make a dedicated cookie policy page a must for most WordPress sites.
- Cookie Consent simplifies things – this native capability manages scripts, scans cookies, and logs choices from your dashboard.
- Regular scanning matters – frequent scans keep your categories and disclosures accurate.
- Google Consent Mode v2 matters – it keeps your data flowing if you run Google Ads or Analytics.
- Building the page is quick – a built-in generator and native editor get you a compliant page in minutes.
What is a Cookie Policy and Why Does Your WordPress Site Need One in 2026?
A cookie policy is a document that spells out which cookies run on your site, what data they collect, and where it goes. People often confuse it with a general privacy policy, but it focuses only on the trackers and scripts running in the background, giving visitors insight into what’s happening on their device.
If you get visitors from the EU, the UK, or California, privacy frameworks like GDPR and the CCPA already apply to you, and they require you to disclose how you use tracking technology. Regulators have handed out real penalties to sites that skip this, and browsers keep phasing out third-party cookies too.
So you need a reliable way to respect visitor choices and keep your marketing tools working. If you serve the EEA and use Google services, you need Google Consent Mode v2, which tells Google’s servers what each visitor agreed to, or your ad accounts and analytics can stop gathering data. That’s why an accurate policy, backed by an active Cookie Consent banner, matters: it keeps your business running while respecting your visitors.
“An accurate cookie policy isn’t just about avoiding legal trouble. It’s a direct reflection of how much you respect your audience’s digital autonomy. Pair clear policy language with active, dashboard-managed consent, and you build real credibility with your users.”
– Itamar Haim, Web Compliance Specialist
Step 1: Scan and Categorize Your Site’s Cookies
Before you write a policy, you need to know what cookies your site actually drops on a visitor’s device. Themes, embedded videos, share buttons, and optimization scripts often drop trackers you never knew were there, so you need a tool that runs a full, automated scan.
The Cookie Consent capability built for Elementor runs that scan right from your dashboard, no external platform or API keys needed, so you see exactly what your site is doing.
How to Run a Cookie Scan in WordPress
- Open your dashboard and go to Cookie Consent settings.
- Click Scanner and start a scan.
- Give it a few minutes to crawl your pages for scripts and cookies.
- Review the report of what it found.
- Save results to populate your banner and policy automatically.
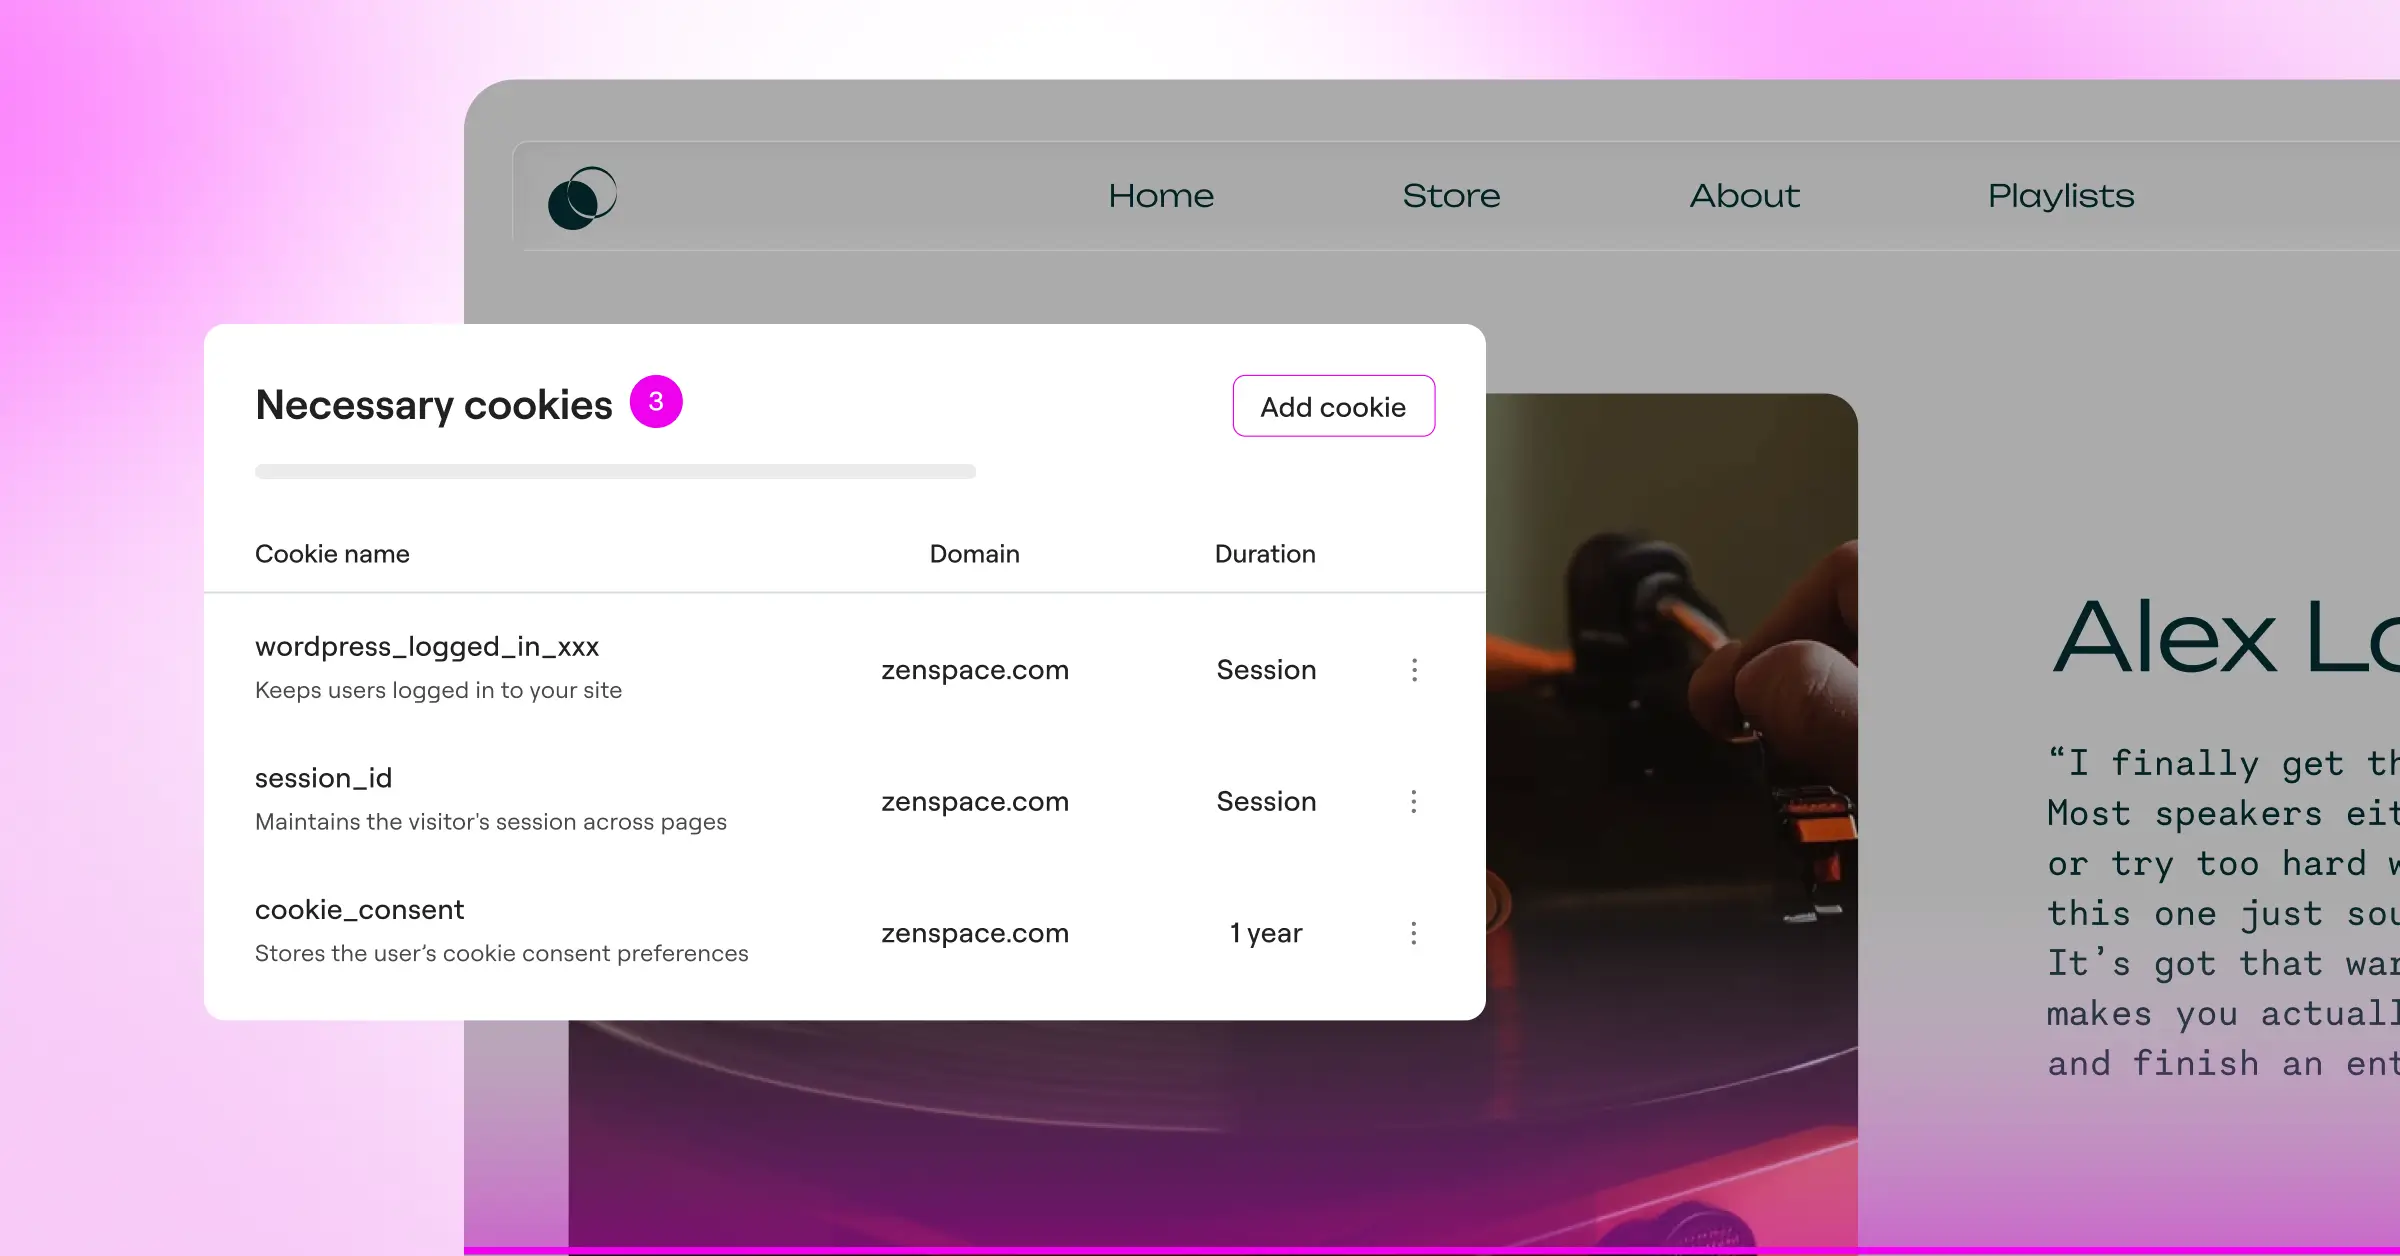
Once the scan finishes, group your cookies into categories so visitors can accept some and block others. Most frameworks recognize four main categories.
The Four Core Cookie Categories
- Necessary cookies – Essential for the site to work: logins, carts, security. No consent needed, but list them.
- Analytics cookies – Show how visitors use your site, like page views and bounce rates. Block under GDPR until consent.
- Marketing cookies – Track users across sites for targeted ads. Heavily regulated, need active consent first.
- Functional cookies – Remember preferences like language or layout. Still need disclosure.
A native dashboard also has a performance perk: it keeps your database clean and cuts external requests that can slow your page load.
Why a Native WordPress Dashboard Matters
- Keeps policy and consent records in one secure, central spot.
- Cuts external JavaScript requests, helping page performance.
- Simplifies database management since logs sit alongside your WordPress data.
- Removes the risk of an outside outage breaking your banner.
Step 2: Draft Your Cookie Policy Content
Now that you know what’s running on your site, it’s time to write the policy text. Keep the language conversational, and skip the dense legal jargon where you can, so any visitor can read it and understand what you’re telling them. A built-in generator can speed this up, but review the draft to make sure it fits your brand voice.
Your policy needs to cover a few key areas to meet legal standards, or you risk leaving your site open to regulatory questions.
Essential Elements of a Legally Sound Cookie Policy
- Definition of cookies – A brief explanation of what cookies are and how they store data.
- A breakdown of cookies used – The name, provider, purpose, and lifespan of every cookie.
- How consent is managed – How users can change their mind or withdraw consent anytime.
- Instructions for browser control – How users can block or delete cookies via browser settings.
- Contact information – An email or address for privacy questions.
Cloud-based templates can give you a solid head start (worth bookmarking). Many are built by legal experts and update automatically when global laws change. Using a generator built into WordPress means you can put together a compliant draft in a couple of clicks, a foundation you can then customize.
Step 3: Create the Physical Cookie Policy Page in WordPress
With your text ready, it’s time to publish the page. The process works just like creating any other WordPress page, so you can probably do it in a couple of minutes. Since this is a legal document, keep the layout clean, distraction-free, and easy to read.
How to Publish the Page
- Log in to your WordPress dashboard and go to Pages > Add New Page.
- Name the page clearly, such as “Cookie Policy” or “Cookie Disclosure.”
- Paste your policy text into the editor, using H2 and H3 tags for the sections.
- Select a clean, simple layout template that removes sidebars, banners, and pop-ups.
- Click Publish to make the page live on your site.
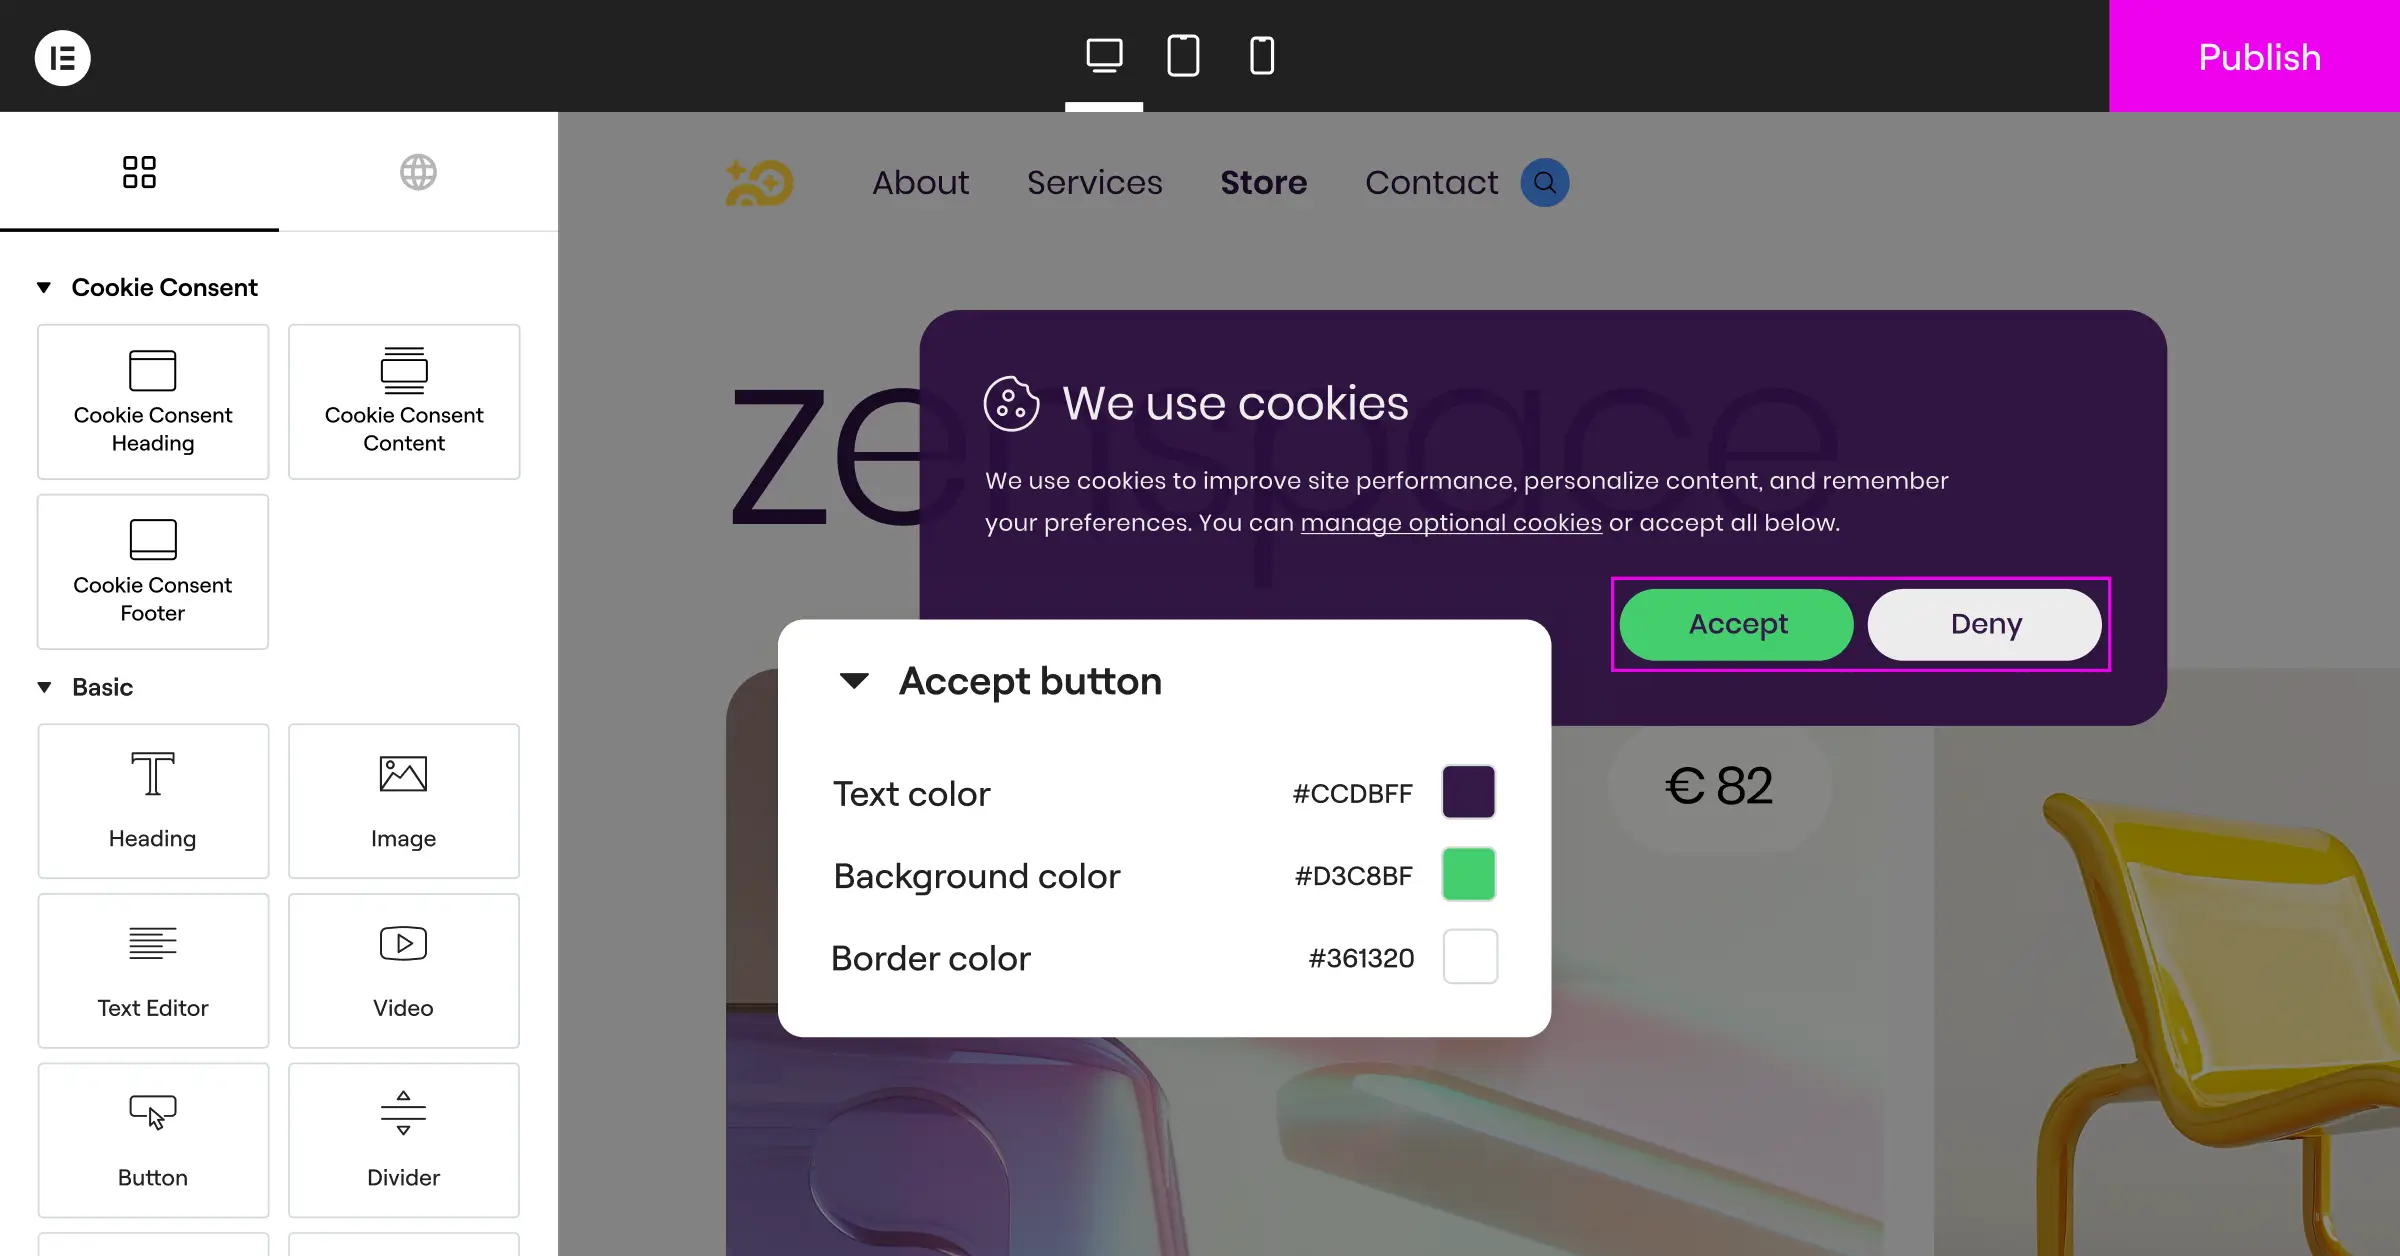
Take a few extra minutes to make this page look like it belongs on your site. Plenty of owners spend hours designing their homepage but leave legal pages looking unfinished, sending the wrong signal to visitors. Style the page with Elementor and apply your global fonts, brand colors, and spacing, so it feels like a natural, polished part of your site, reassuring visitors that you take their privacy seriously too.
Step 4: Display and Link Your Cookie Policy
A policy page doesn’t help much if visitors can’t find it. You need to place links in highly visible, expected locations. The most common and legally accepted spot is your footer menu, which keeps the link accessible on every page without crowding your main navigation.
You also need your consent banner to link directly to the policy. When visitors see the cookie banner on their first visit, they should be able to click through and read the full policy before deciding whether to accept your tracking cookies.
Where to Display Your Cookie Policy Link
- The footer menu – Place it alongside your general Privacy Policy and Terms of Service links.
- The consent banner – Include a clear “Read Our Policy” link next to your accept and decline buttons.
- User registration forms – Add a checkbox linking to the policy on your sign-up or checkout pages.
- Contact pages – Keep it linked near your contact forms to reassure users who are submitting personal information.
Step 5: Implement Cookie Consent Banners and Script Management
Publishing your policy page is only half the job. You also need an active system that blocks cookies until visitors consent. If your site drops cookies before someone clicks “Accept,” you’re not compliant with GDPR, no matter how accurate your policy reads. That’s where a fully integrated Cookie Consent capability makes a real difference.
This WordPress-native tool sets up in under five minutes, blocking marketing scripts, managing Google Tags, and recording consent logs. It also works alongside Elementor’s Web Accessibility capability to keep your site usable and compliant for everyone.
Key Features of Native Cookie Consent
- Blocks unconsented scripts automatically – Keeps analytics and ad pixels from loading until accepted.
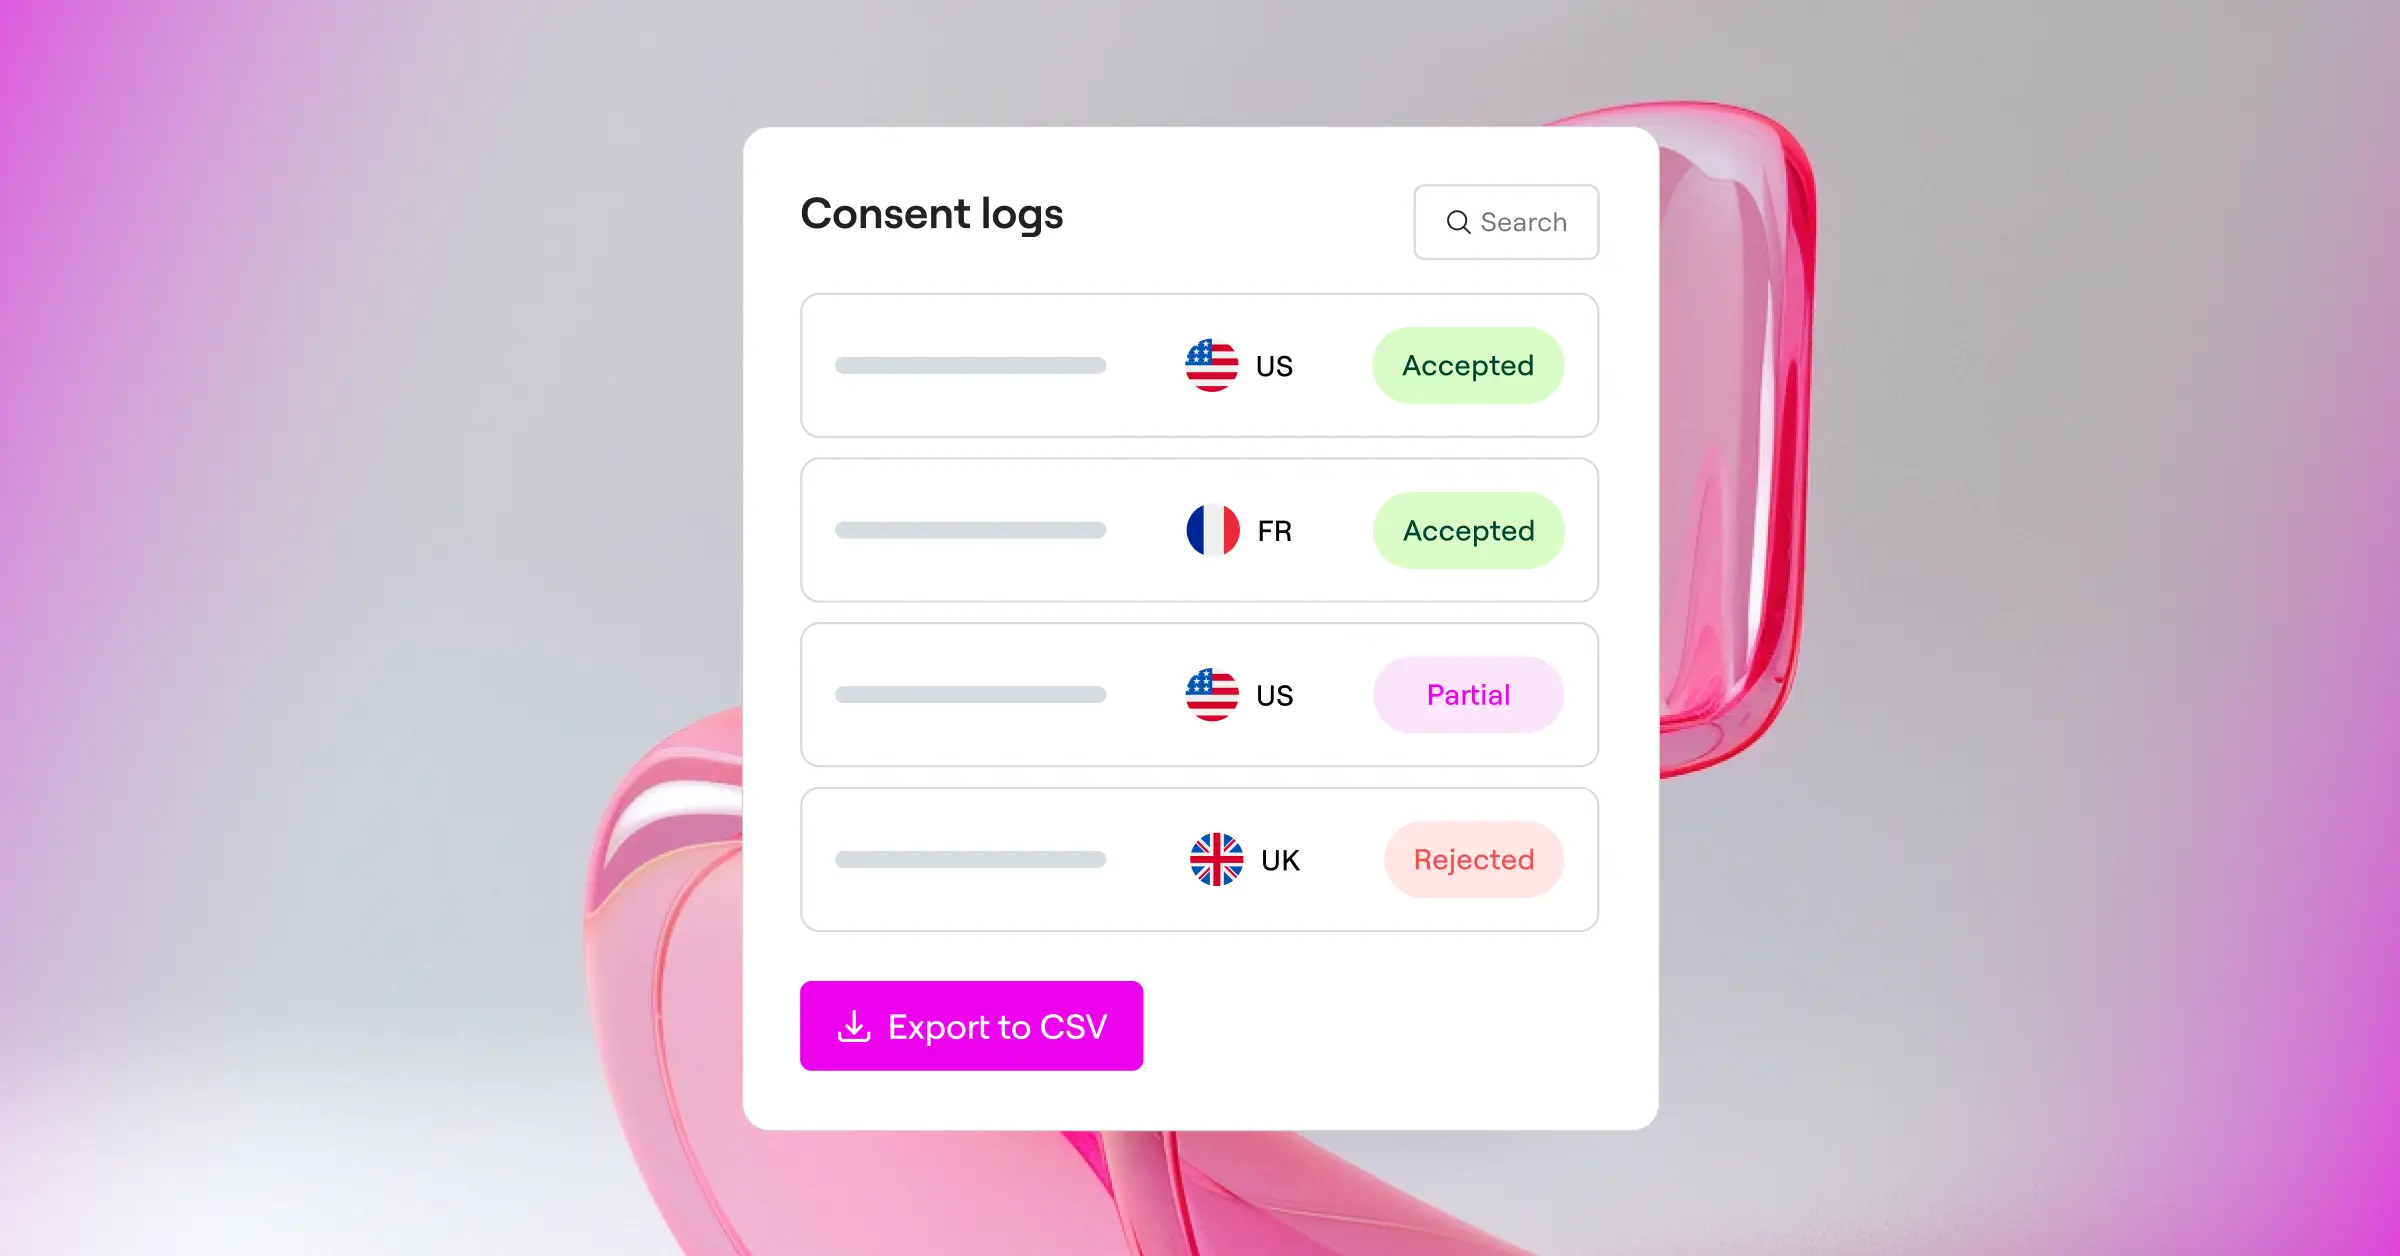
- Tracks detailed consent logs – Builds an audit trail for regulators if they ask.
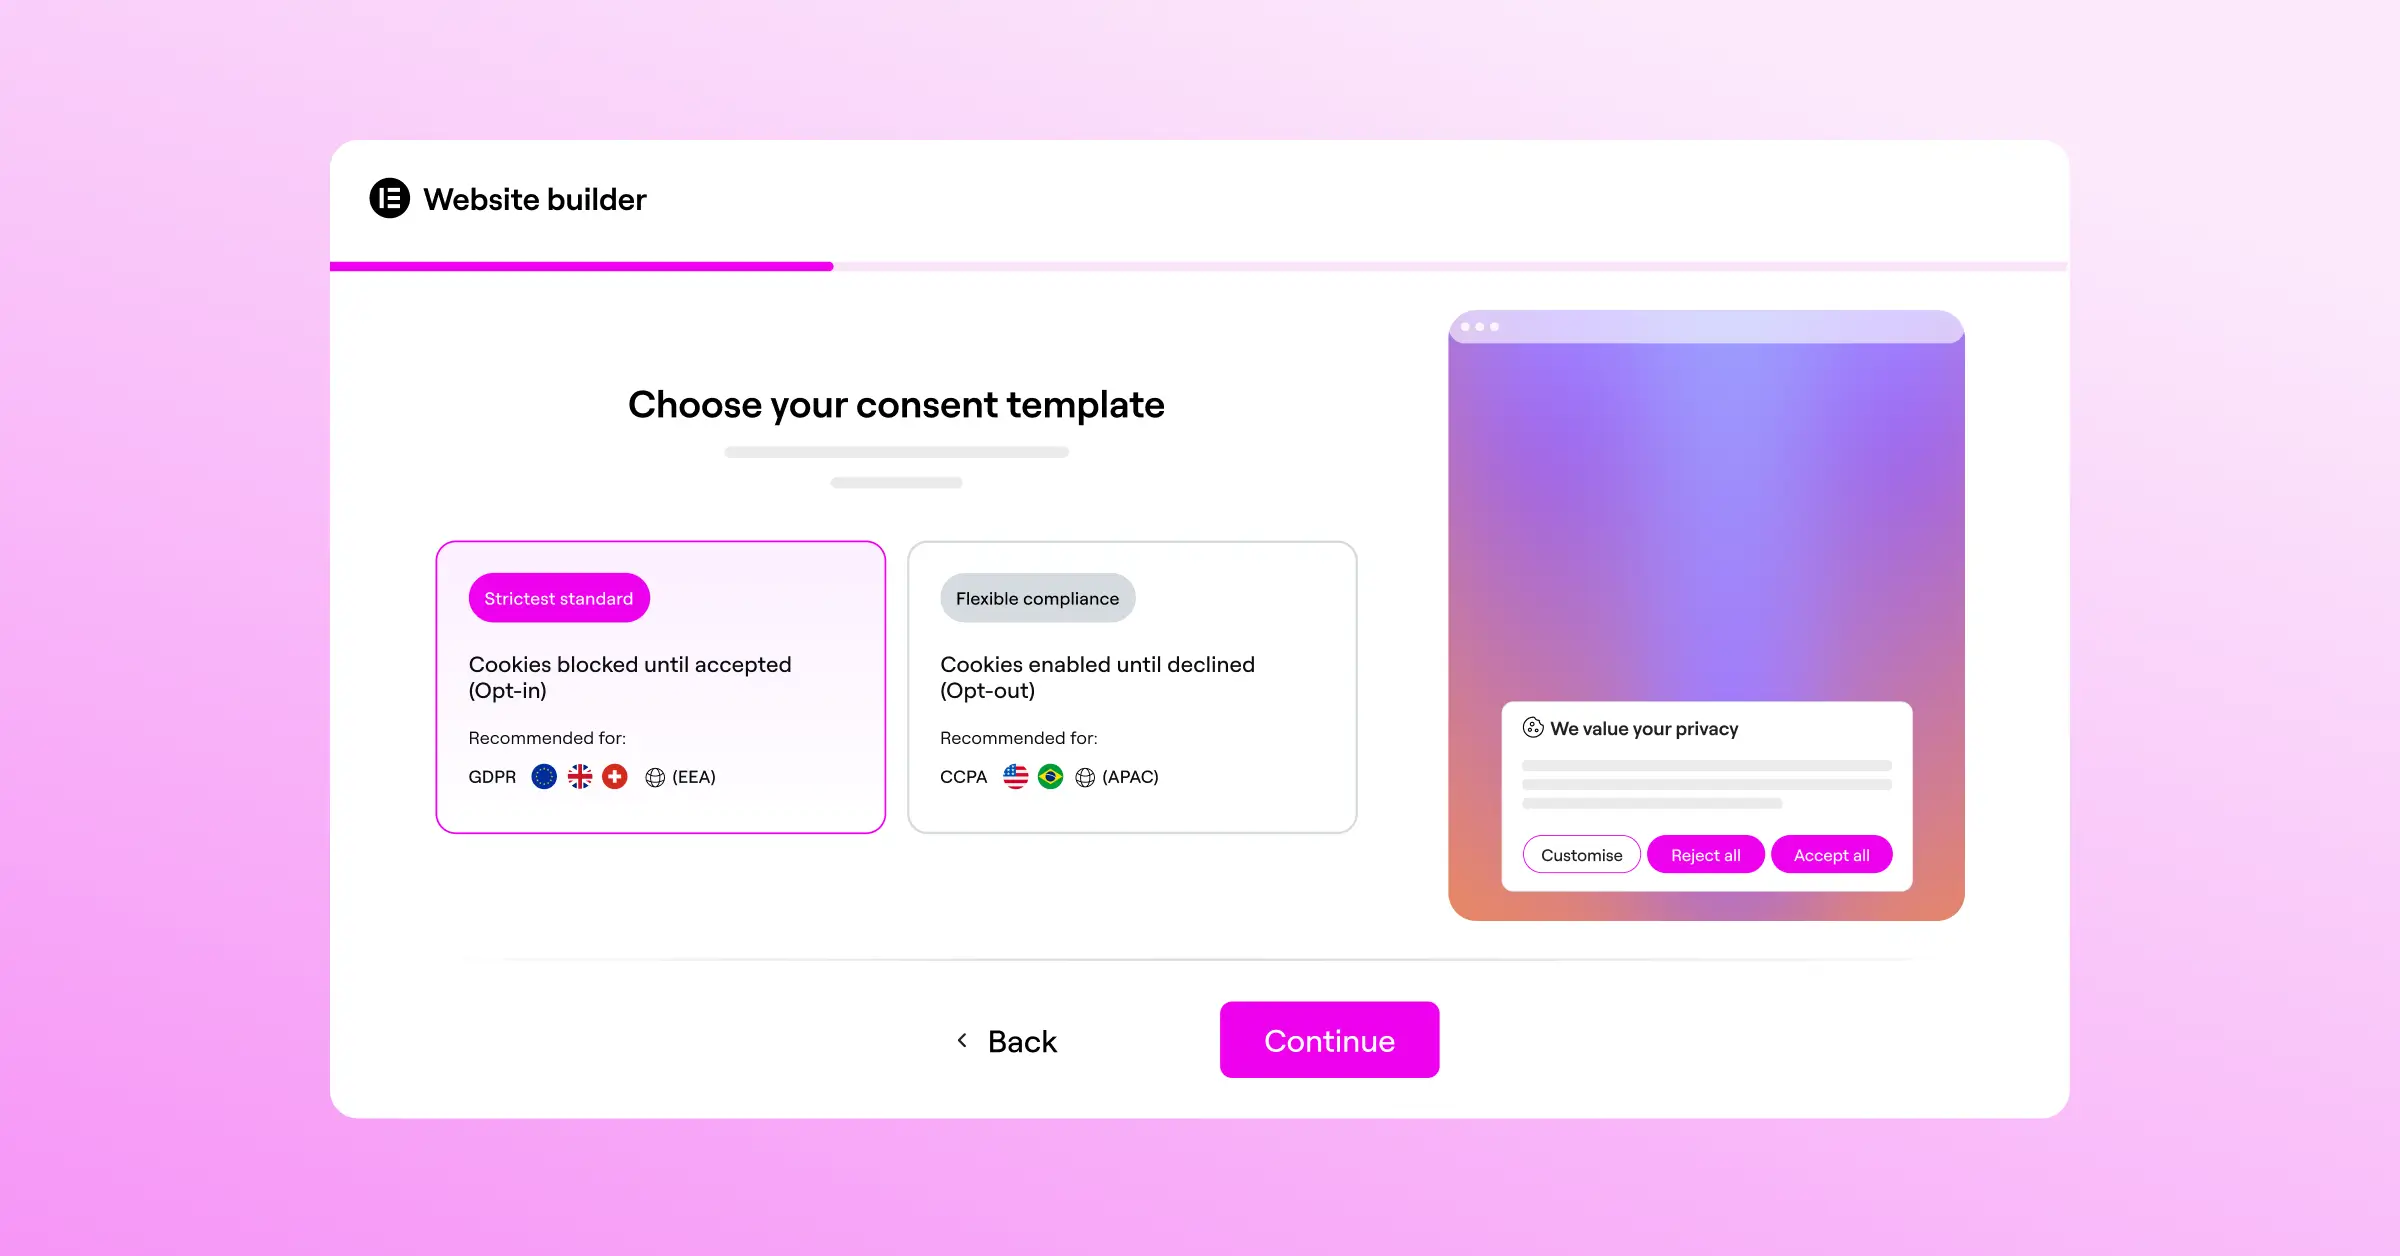
- Displays geo-targeted banners – Shows different layouts and language by location.
- Supports Google Consent Mode v2 – Passes consent signals to Google’s servers to protect ad data.
- Integrates with Global Privacy Control – Detects and respects GPC signals from privacy browsers.
- Translates across multiple languages – Ships with multilingual banner templates.
Because the tool is fully integrated into your design system, you don’t have to worry about styling conflicts or scripts loading at the wrong time. Adjust the colors and layout to match your brand, keeping things clean and consistent.
Comparison: Cookie Policy and Consent Management Approaches
When it comes to managing your cookie policy and visitor consent, you have a few paths open. Some prefer fully native capabilities, others reach for external SaaS platforms or standalone tools. Here’s a factual look at the most common options.
| Compliance Tool | Platform Integration | Primary Strengths | Dashboard Style | Consent Mode Support |
|---|---|---|---|---|
| Cookie Consent | WordPress Native | 3-step setup, zero external dependencies, styling match, built-in logs. | Direct WordPress Dashboard | Google Consent Mode v2 & GPC Built-In |
| Cookiebot | External Cloud SaaS | Automated cloud scans, global compliance templates. | External SaaS Portal | Supported via Integration |
| CookieYes | Hybrid Cloud | Multi-platform support, customizable banner widgets. | External Web Console | Supported via Integration |
| Complianz | WordPress Focused | Deep regional wizard setups, legal document generation. | WordPress Settings Panel | Supported via Integration |
| iubenda | External Cloud SaaS | Generates privacy, terms, and cookie rules in one pass. | External SaaS Dashboard | Supported via Cloud Tags |
Each tool has its place. External SaaS systems make sense if you manage dozens of sites across different platforms. But if you build and maintain your site inside WordPress, a native tool like Cookie Consent keeps your workflow simple and skips the cost of another subscription.
Step-by-Step Testing and Verification
Once your policy page and consent banner are live, check that everything’s actually working. Don’t assume the banner showing up on your homepage means cookies are blocked correctly, so go confirm it for yourself.
How to Test Your Consent Implementation
- Open a new private or incognito window in your browser, so old cookies don’t interfere with your test.
- Navigate to your website and don’t click any buttons on the consent banner.
- Right-click anywhere on the page and select Inspect or Inspect Element.
- Go to the Application or Storage tab in your browser’s developer tools and find the Cookies section.
- Verify that only necessary cookies are listed. Analytics and marketing cookies shouldn’t appear yet.
- Click “Accept” on your banner, then check whether your marketing pixels and analytics scripts load in the developer console.
If you see marketing or tracking cookies firing before you click “Accept,” check your script setup. Make sure your Google Tag Manager or tracking scripts run through your consent manager. Scripts hardcoded into your theme files skip the blocker and load anyway, breaking your compliance setup entirely.
Best Practices for Maintaining Compliance
Compliance isn’t a one-time project you tick off and forget. Your site will grow, and you’ll add new features, update marketing tags, and install new tools over time. If you don’t keep your cookie policy current, it can drift out of alignment with what’s actually running on your site.
Maintenance Tips for Long-Term Compliance
- Schedule monthly scans – Run a regular scan to catch new trackers added during theme updates or tool installs.
- Audit your marketing tags – Review your Google Tag Manager containers and remove pixels you no longer use.
- Monitor regulatory updates – Stay informed about changes in privacy laws so you can adjust settings when needed.
- Review consent logs – Check your dashboard now and then to confirm choices are recorded accurately.
- Keep design patterns honest – Avoid dark patterns that nudge users into accepting cookies they didn’t intend to.
Stay on top of these habits, and you keep your site legal while signaling to your audience that you take their privacy seriously. A clean, honest approach to consent is a genuine asset for any modern business, and it doesn’t take much effort once you have the right system in place.
Frequently Asked Questions
Is a cookie policy legally required?
Yes, if your site collects data from users covered by GDPR or CCPA, you’re legally required to have one. These laws require disclosing your tracking practices and giving users control over their data.
What is Google Consent Mode v2?
It’s a system that passes visitor consent choices to Google services like Analytics and Ads, adjusting how Google’s tags behave so you stay compliant with European privacy standards.
Can I just copy another site’s cookie policy?
You shouldn’t copy another site’s policy. Every site runs a different mix of scripts, themes, and tracking tools, so your cookie footprint is unique too, and copying one can mean inaccurate disclosures. It’s safer to use a generator based on your own site scan.
How does Cookie Consent handle international visitors?
It uses geo-targeting to show different banners by location. EU visitors see an opt-in banner that blocks cookies by default, while other regions might see an information-only banner, keeping things smooth worldwide.
What is the difference between a privacy policy and a cookie policy?
A privacy policy covers how your business collects, stores, and protects personal data, from contact forms to billing information. A cookie policy focuses only on the trackers and scripts monitoring activity on your site. They’re related but serve different purposes.
Do I need a consent banner if I only use basic analytics?
Yes, even standard Google Analytics tracks IP addresses and drops persistent cookies to monitor return visits. Under GDPR, these trackers aren’t considered strictly necessary, so you must block them until the visitor consents.
How often should I scan my WordPress site for cookies?
At least once a month is a good rhythm, catching new tracking cookies added during routine theme or widget updates so your disclosures stay accurate.
What happens if my site doesn’t comply with GDPR?
Non-compliance can bring warnings, corrective orders, and financial penalties from privacy authorities, and unclear privacy options can hurt your reputation too. The good news: getting compliant with the right tools genuinely isn’t hard.

