
Setting up privacy compliance on your site can feel like a lot to sort out. Regulations keep shifting, and third-party cookies are fading out, so staying compliant matters more than ever. You don’t want to risk fines, or a slow, clunky banner chasing visitors off. Here’s a rundown of the top cookie consent tools to help you find the right fit.
Key Takeaways
- Compliance is essential: regulators are active, so Google Consent Mode v2 and Global Privacy Control support matter.
- Native tools cut bloat: a tool running inside your WordPress dashboard keeps your site light and fast.
- Design matters: customizable banners keep your brand intact while meeting strict visual guidelines.
- Geo-targeting protects conversions: showing banners only where required keeps things clean for everyone.
Understanding Cookie Compliance in 2026
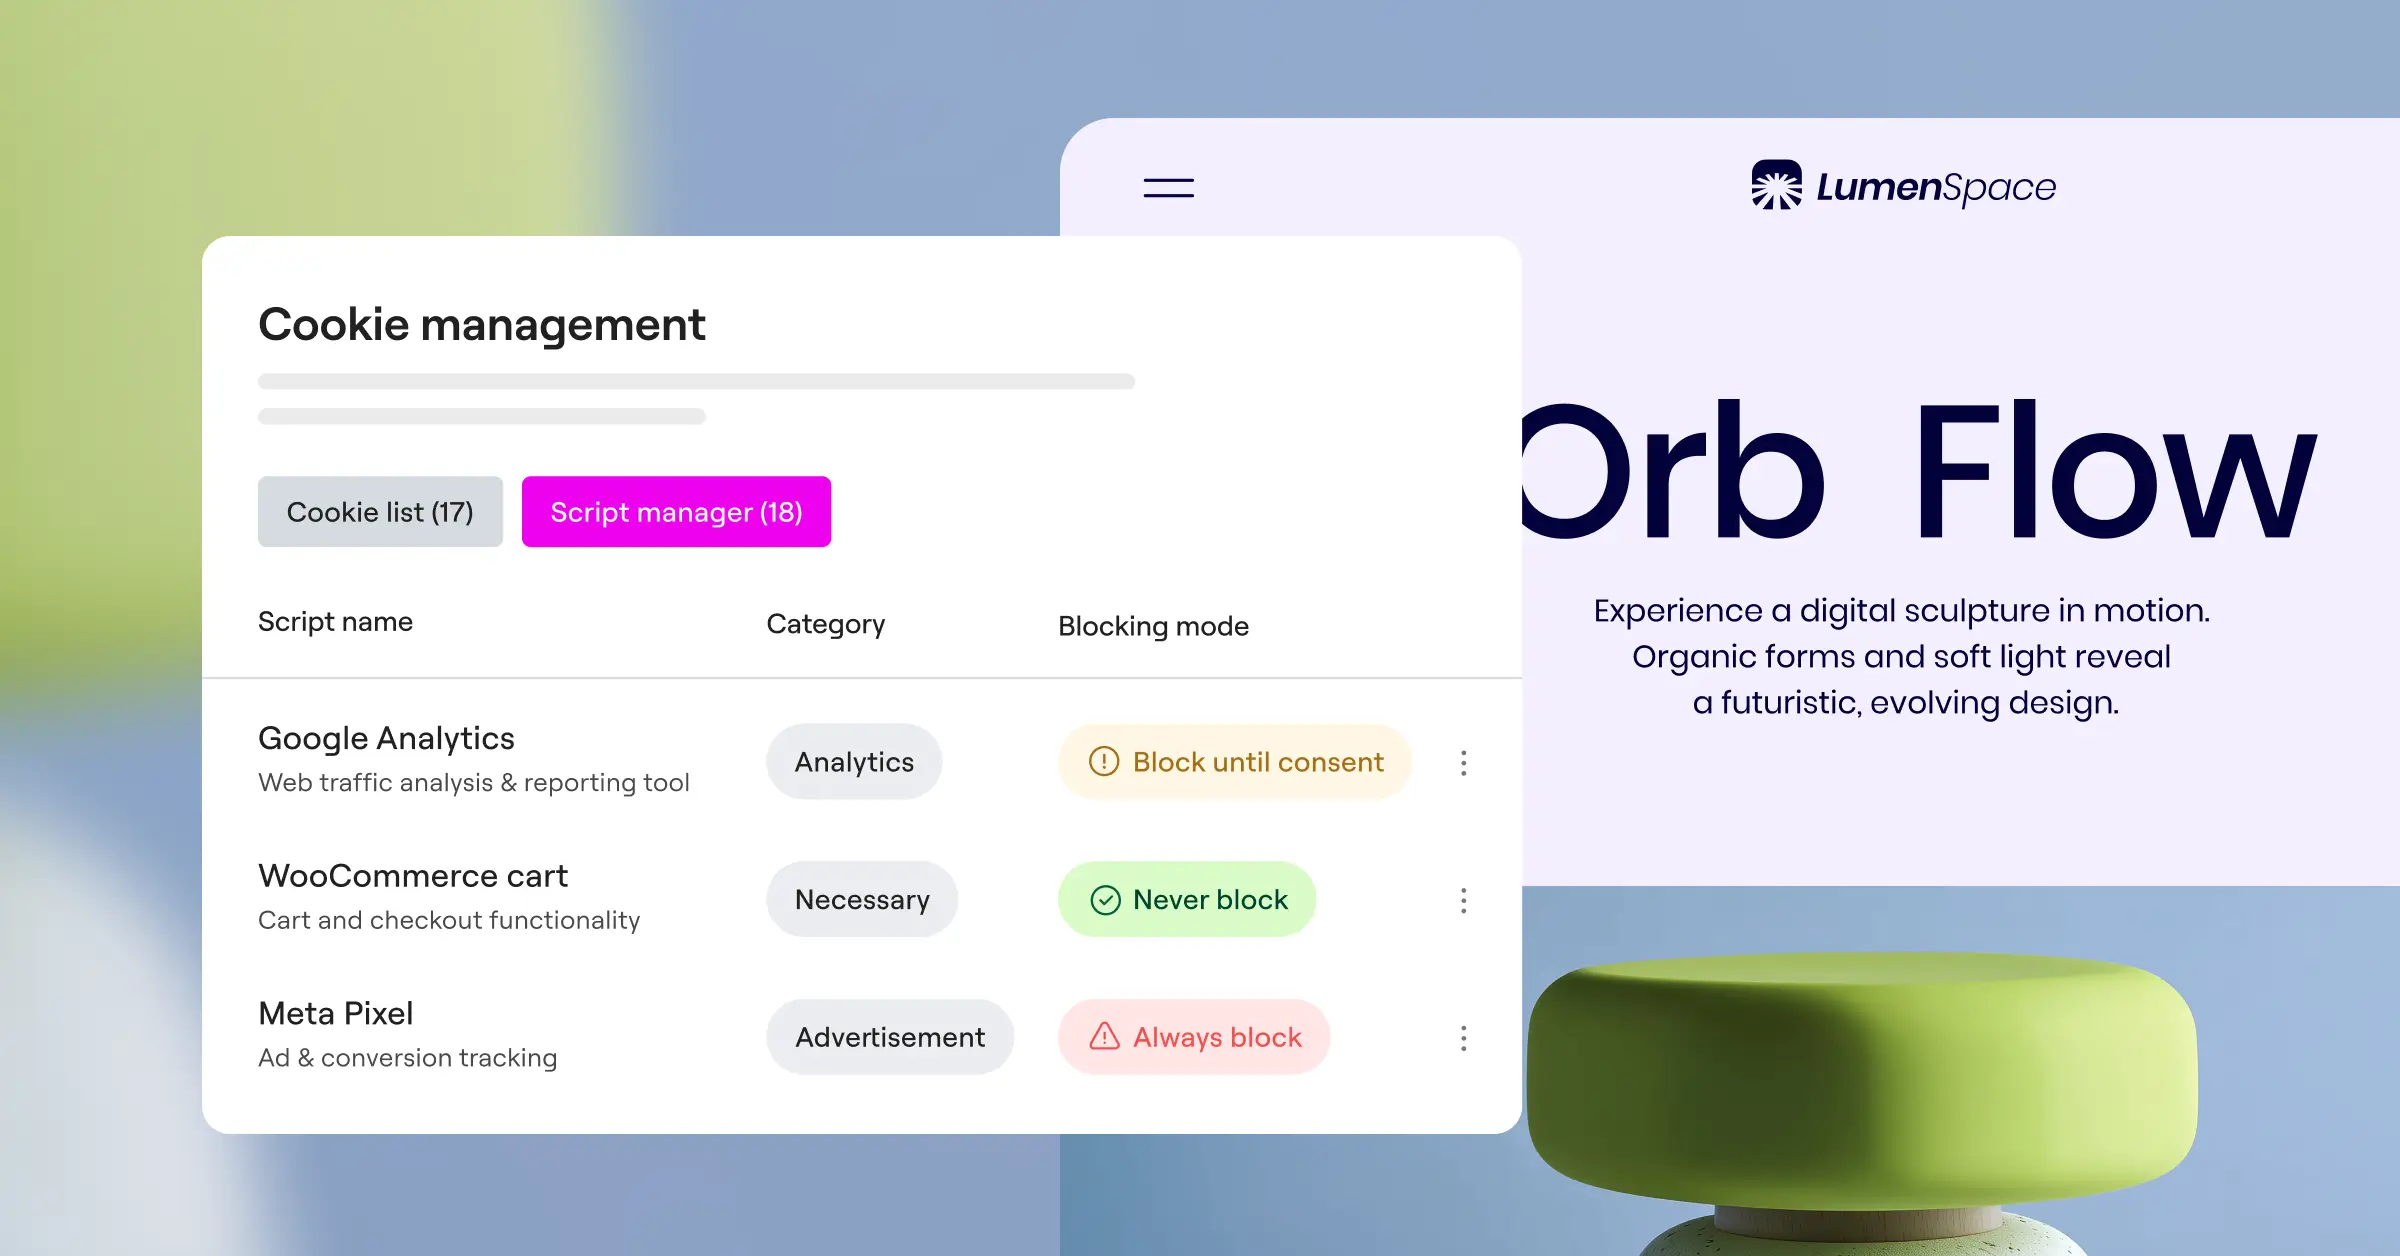
The rules of the web have changed fast. You can’t just toss up a “we use cookies” banner anymore. Laws like the GDPR in Europe and the CCPA in California require real action: give visitors clear choices before any tracking script loads, so your site needs a system that scans, blocks, and categorizes scripts based on what each visitor decides.
Big tech platforms have added requirements too. Run Google Ads or track European traffic with Analytics, and you need Google Consent Mode v2, or your data turns incomplete and your ad campaigns suffer. Privacy rules aren’t just about fines anymore; they’re tied to how well your marketing tools perform.
A lot of site owners worry a banner will slow pages down or break the layout (a fair concern). Heavy external scripts can hurt your Core Web Vitals, which matters for user experience and rankings alike. That’s why the smart move is a tool built into your CMS.
The Best WordPress Cookie Consent Tools Reviewed
Finding the right tool comes down to design, script management, and speed. Here’s how the top privacy tools for WordPress compare.
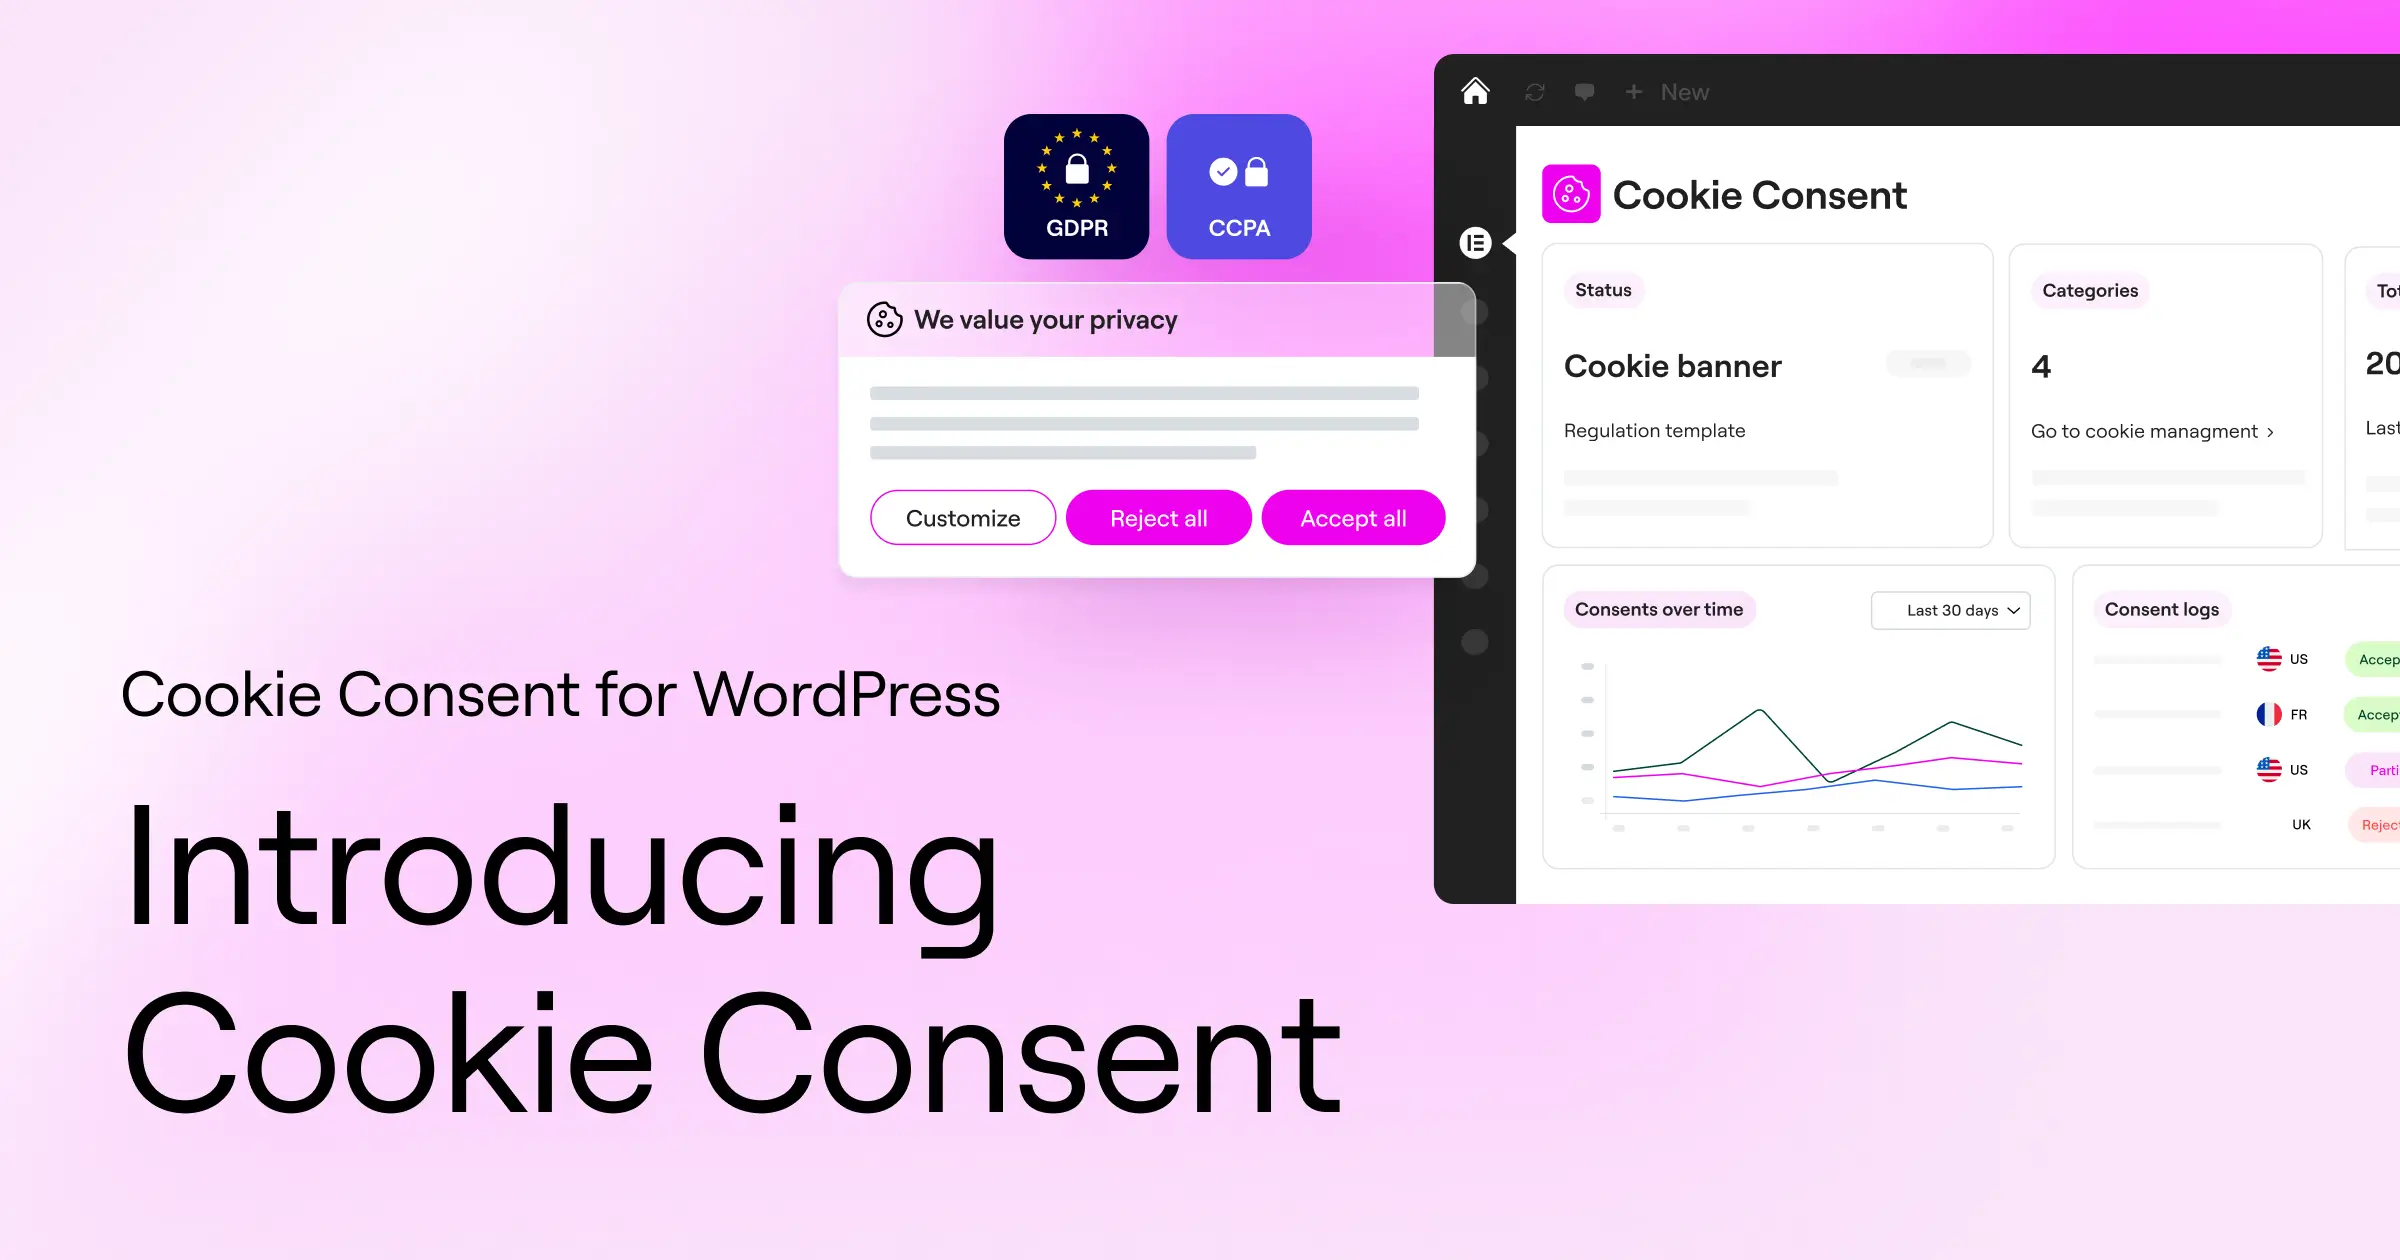
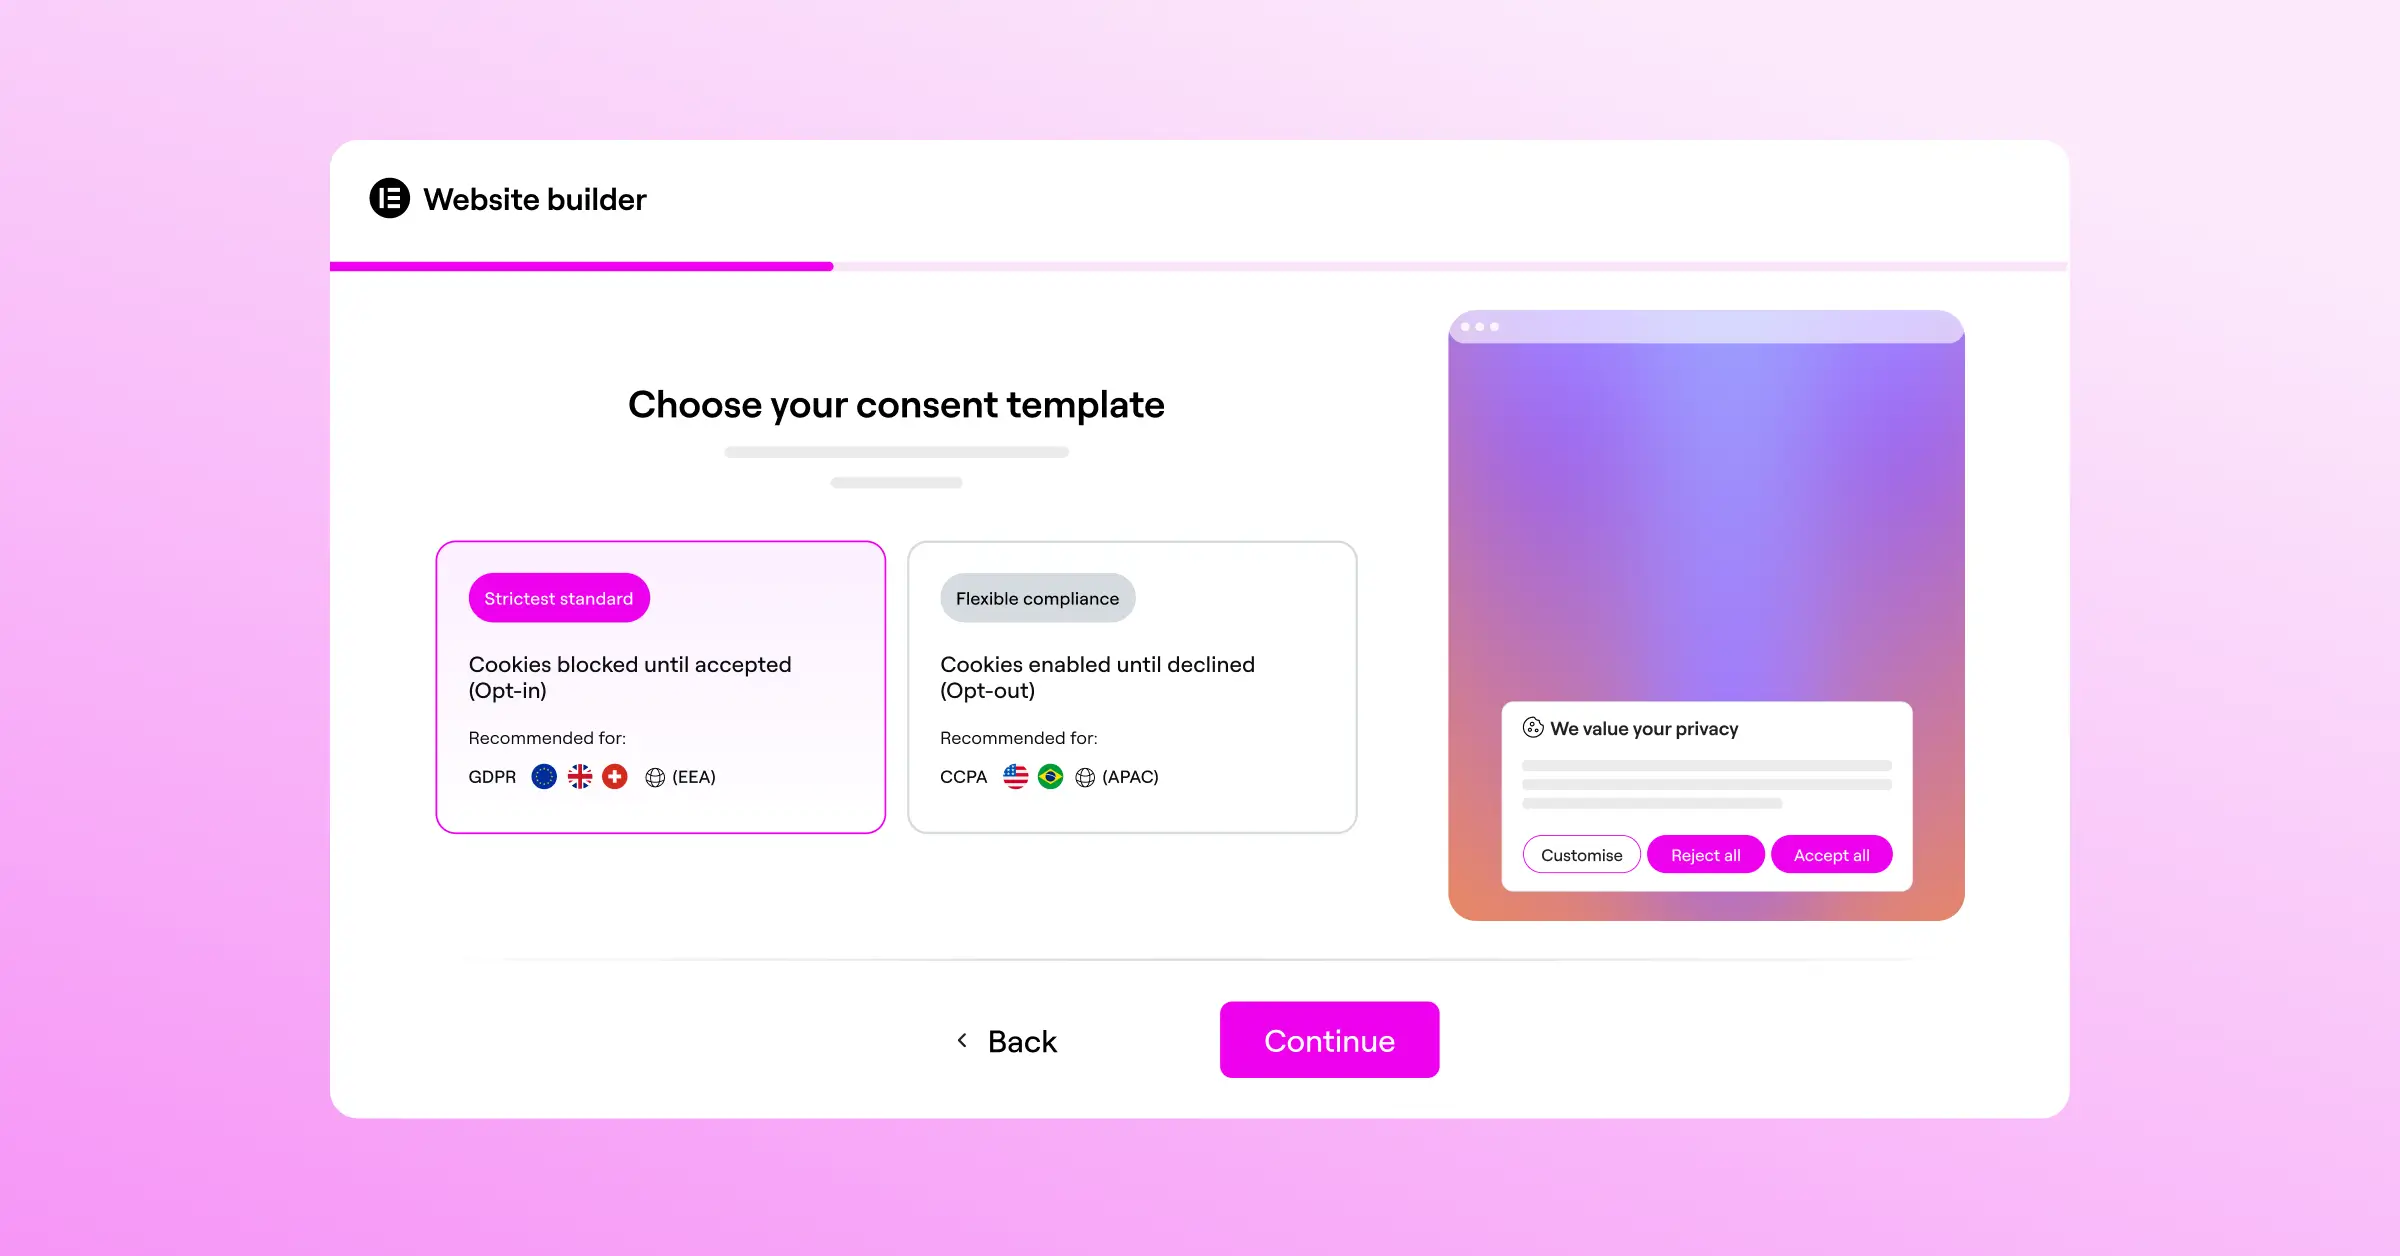
1. Cookie Consent
Cookie Consent is a native privacy capability built for WordPress sites using Elementor. It runs right inside your dashboard, with no need to log into outside services or juggle extra accounts, everything in one familiar place.
“Modern privacy compliance isn’t just about blocking scripts; it’s about building visitor trust through clear design and reliable consent logging without sacrificing your site’s performance.”
– Itamar Haim, Web Compliance Specialist
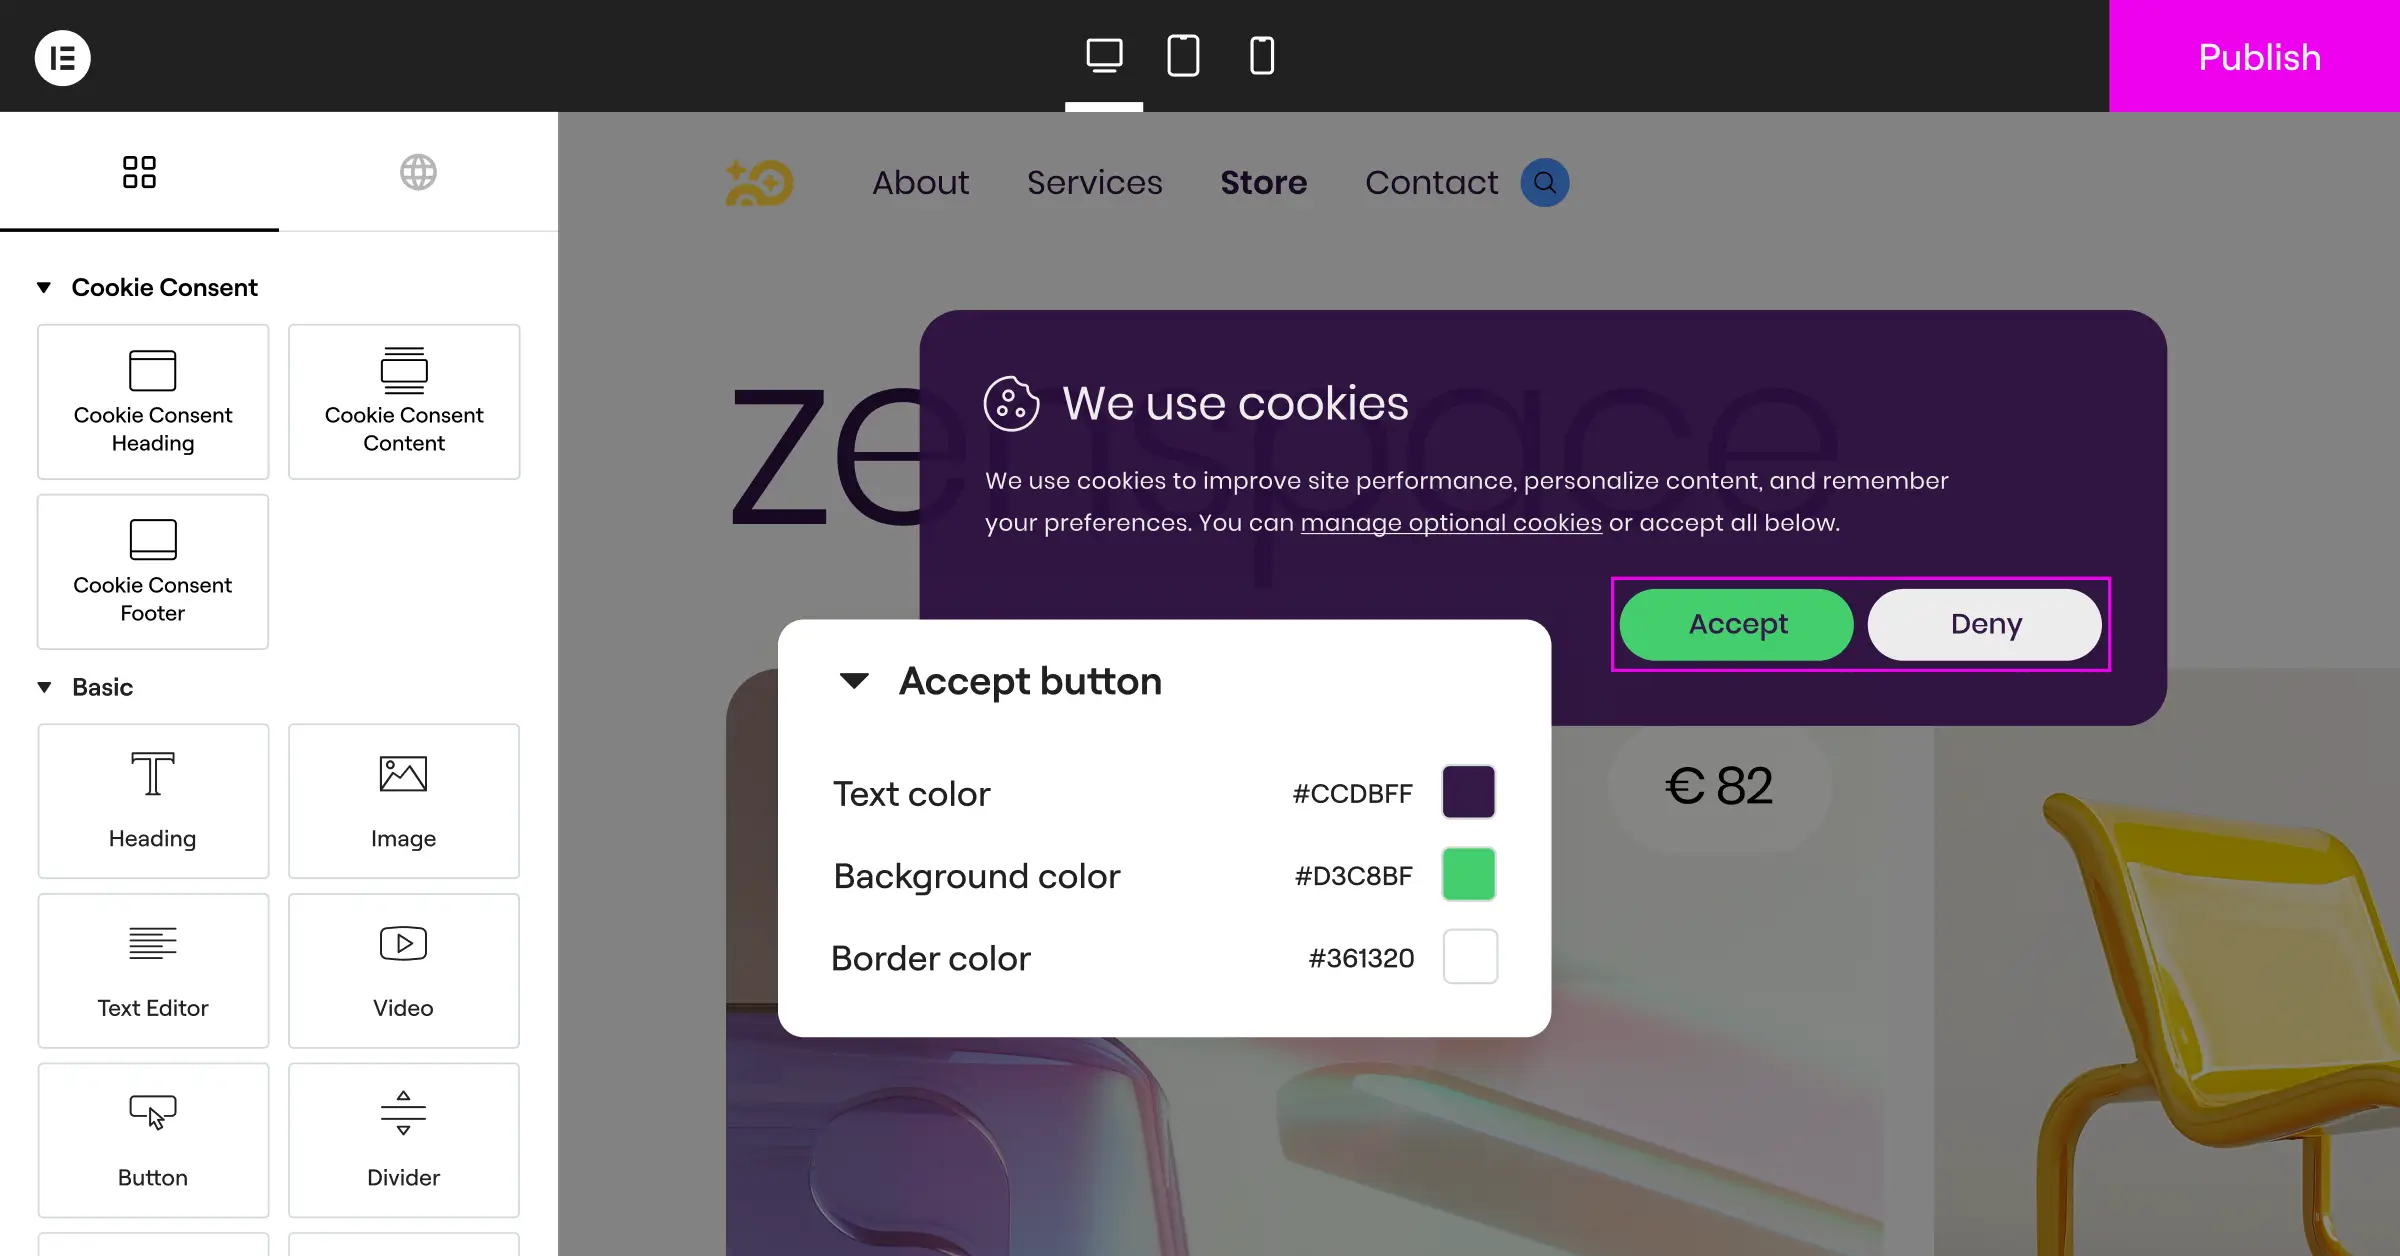
The goal here is quick, painless compliance. A three-step setup gets a polished banner running in under five minutes, and because it’s native to Elementor, it matches your active colors, typography, and button styles without awkward mismatches.
- Scans your site to detect and categorize active cookies and tracking scripts.
- Builds clear consent logs for a secure audit trail.
- Supports Google Consent Mode v2 out of the box.
- Applies Global Privacy Control (GPC) signals to respect visitor preferences.
- Targets banners by location so you only show them where required.
- Generates privacy policies with a built-in tool, saving you writing time.
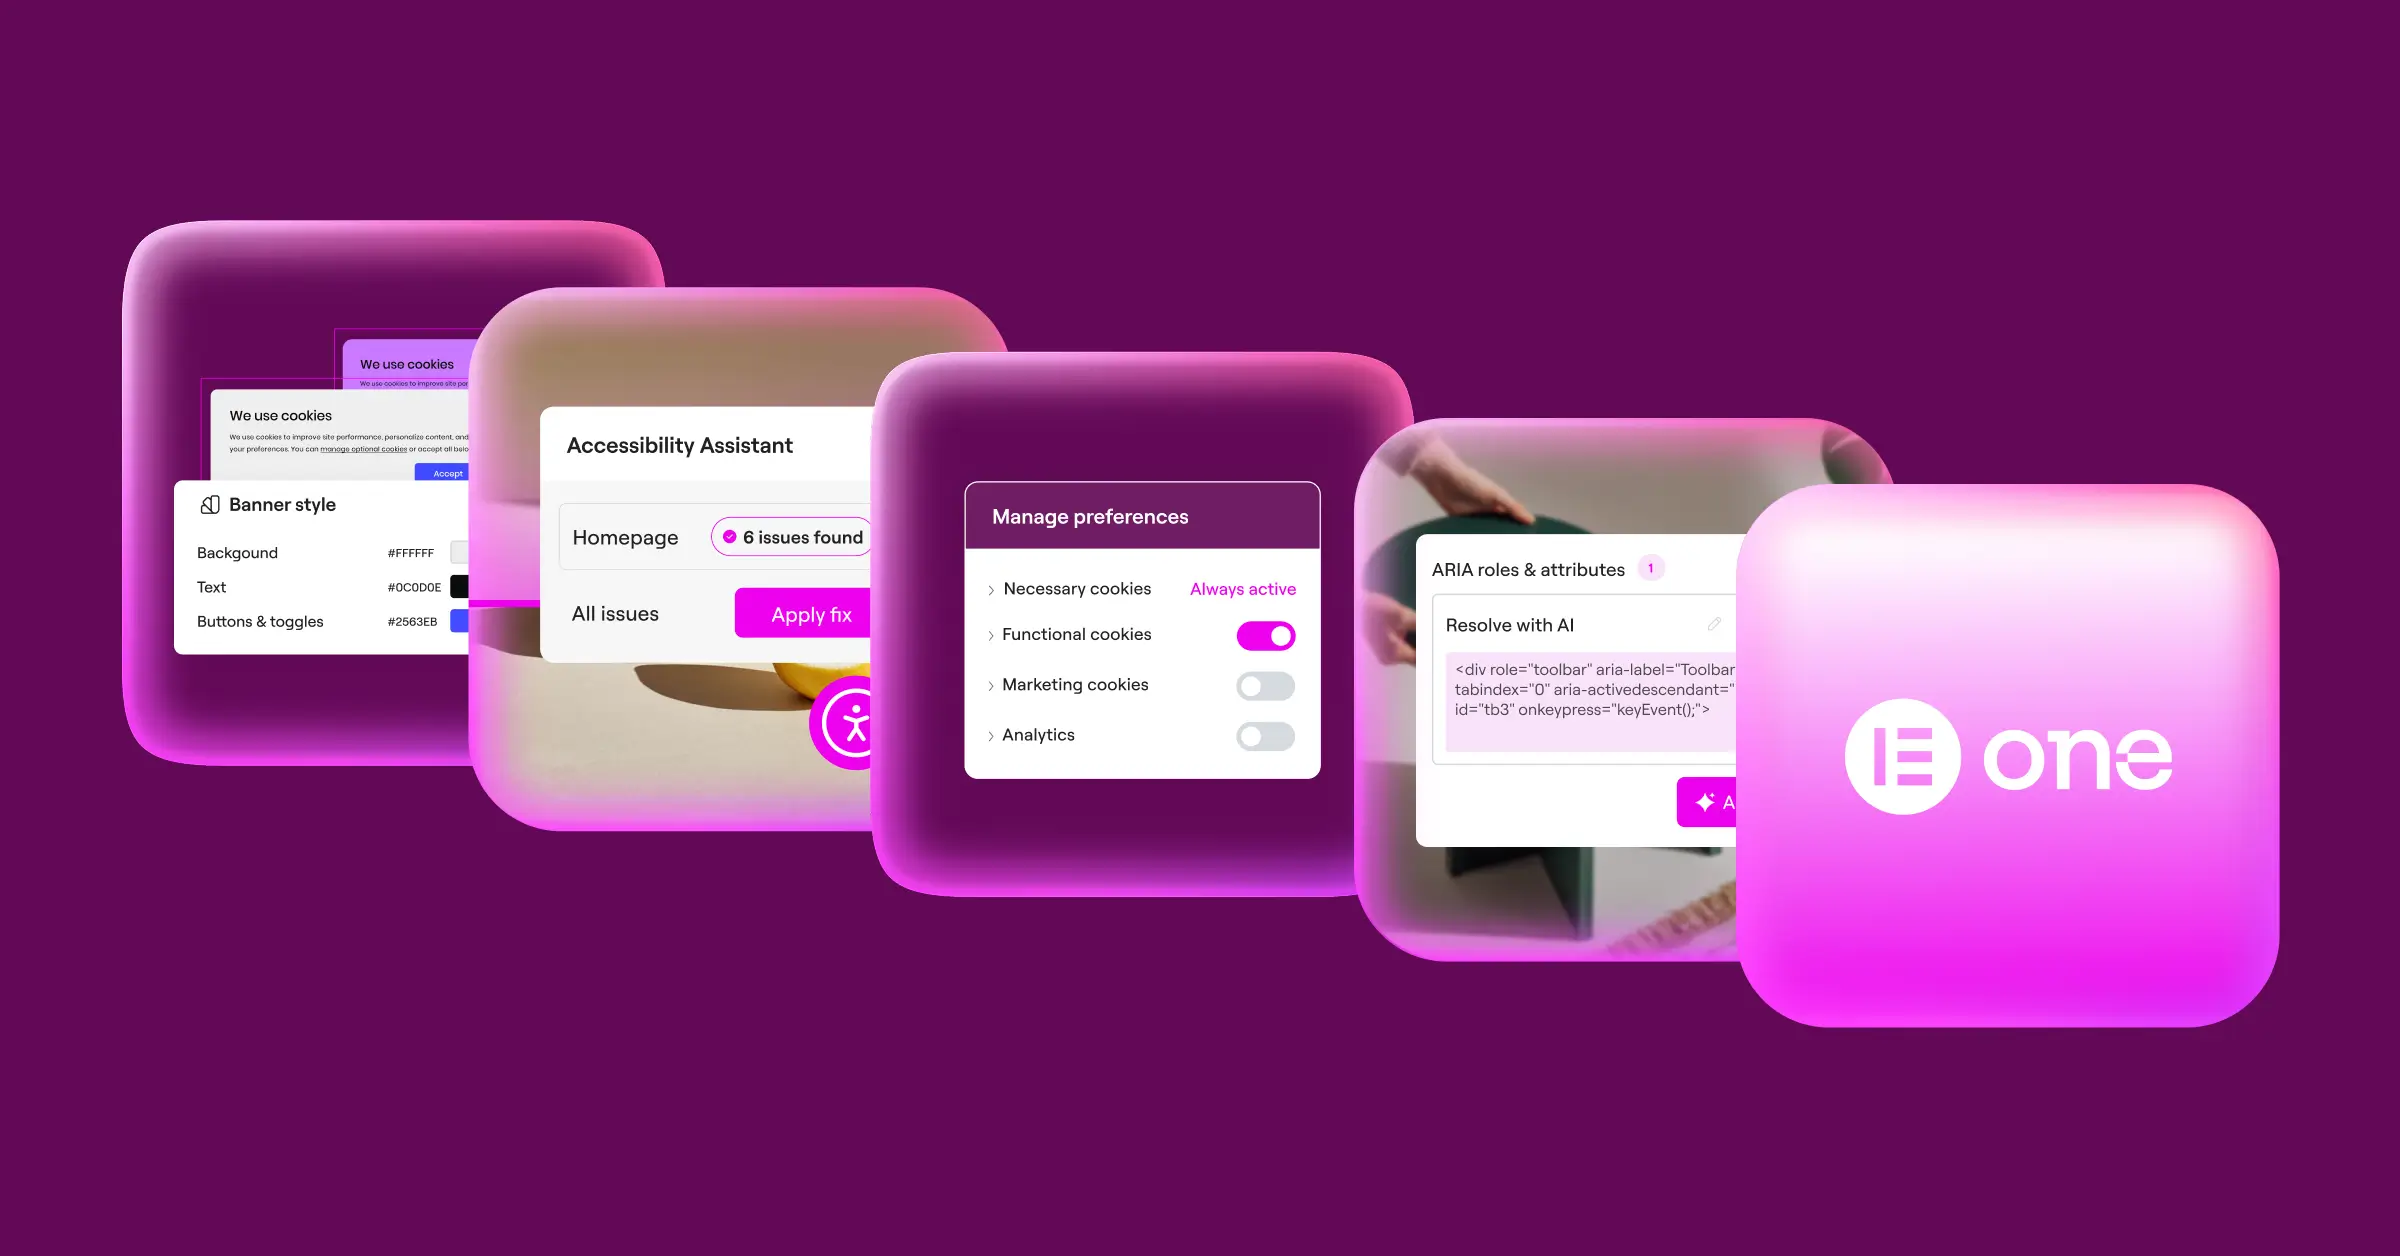
This native capability comes with the Elementor One subscription and includes a free tier for smaller sites. It’s a strong fit for agencies managing privacy across multiple client sites from one hub, with white-label features built in.
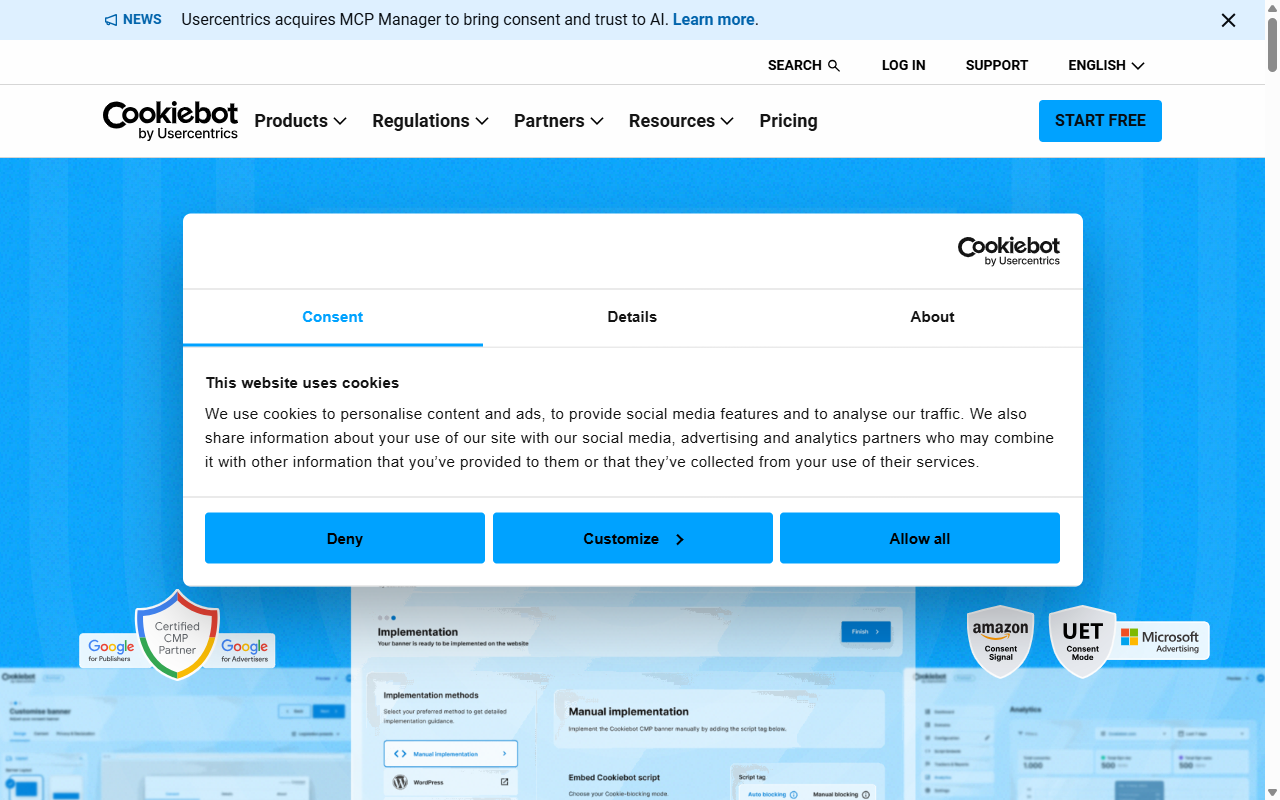
2. Cookiebot
Cookiebot is a well-known cloud-based consent platform used across many sites. Its scanning engine crawls your site for tracking technologies and sorts them into four groups: necessary, preference, statistics, and marketing.
Since Cookiebot runs in the cloud, you manage banners and data through an outside dashboard, added via a script in your header that controls how other scripts load. Your data stays off your server, though you’ll switch between WordPress and the Cookiebot dashboard to make changes.
- Crawls your site regularly for new trackers and cookies.
- Holds consent data on secure cloud servers for easy export.
- Translates banners into over forty languages.
- Adjusts banner display based on visitor location.
- Integrates with Google Tag Manager to coordinate script firing.
- Displays a cookie declaration page that updates after each scan.
Cookiebot offers a free tier for sites under one hundred pages; larger sites or those needing advanced features will want a paid plan, priced by page count.
3. CookieYes
CookieYes is a widely used consent solution with a WordPress connection and a web app, built to help you meet GDPR and CCPA requirements with little coding. The dashboard shows active consent rates and cookie lists in one view.
Setting up CookieYes means connecting your site to their cloud platform, which scans your pages and builds custom cookie policy pages to match your legal needs, and also supports Google Consent Mode v2.
- Identifies third-party scripts and holds them back until visitors accept.
- Records consent actions in an encrypted log for compliance.
- Allows deep CSS customization to match your site.
- Detects Do Not Track (DNT) browser settings.
- Handles geo-targeted cookie banners for international visitors.
- Regulates script firing based on user preferences.
CookieYes offers a free tier with a monthly page-view limit. Grow your traffic or need geo-targeting, and you’ll want a paid plan on monthly or annual billing.
4. Complianz
Complianz is a privacy tool built for the WordPress ecosystem. It runs from your admin dashboard, so your configuration and records stay on your own server, a popular choice for skipping external cloud platforms.
A step-by-step wizard walks you through setup, asking about your business, site features, and third-party services you use. Based on your answers, Complianz builds a custom policy and configures your banner to match regional laws like GDPR, CCPA, or Canada’s PIPEDA.

- Generates policy documents through a guided questionnaire.
- Integrates with popular WordPress analytics and contact form tools.
- Blocks social embeds and third-party frames until consent is given.
- Saves consent data locally, on your own server.
- Adapts your banner design using native WordPress customizer tools.
- Connects with native translation tools for multilingual policy text.
Complianz has a free tier covering basic GDPR needs. For multi-region support, deeper document generation, and ongoing legal updates, you’ll need a premium annual license.
5. iubenda
iubenda is a full compliance service that goes beyond cookie banners, covering privacy policies, terms and conditions, and consent management together. It’s built for complex legal requirements across countries, appealing for businesses operating globally.
Getting started means setting up an account on their site, where you build legal documents with a modular builder, then use their WordPress connector to display your documents and banners. Your legal text stays synced with their system, so policies update automatically when laws change.
- Updates legal documents automatically as compliance laws change.
- Configures detailed cookie banners with multiple consent options.
- Collects consent records through a secure API.
- Builds terms and conditions documents alongside your privacy policy.
- Integrates with major tag management systems.
- Saves custom user preferences across multiple domains.
- Tracks user choices with analytics on consent rates.
iubenda runs on a credit-based subscription: you buy a plan with a set number of license credits and apply them across your documents and sites. It’s flexible for multiple domains, though pinning down your exact needs takes a bit of thought.
6. OneTrust
OneTrust is a large enterprise privacy and risk management platform, built for organizations and e-commerce brands that need thorough compliance tracking across many domains. Cookie consent is one part of a much broader software suite.
Setup is highly detailed, with deep customization, advanced reporting, and audit-ready logs. It’s not managed from WordPress; everything runs inside the OneTrust cloud dashboard, built to scale for teams with dedicated compliance staff.
- Maintains a detailed log of user consent for audit readiness.
- Triggers specific banners based on IP geo-location.
- Scans large numbers of pages to classify tracking technologies.
- Integrates with enterprise CRM and marketing platforms.
- Optimizes banner layouts through built-in A/B testing.
- Supports a broad library of languages for global business.
OneTrust suits enterprise organizations with real compliance budgets, not small sites or independent creators.
The Ultimate Cookie Consent Comparison Chart for 2026
Here’s a side-by-side look at features, dashboards, and compliance standards across all six tools.
| Tool Name | Dashboard Location | Setup Speed | Google Consent Mode v2 | Geo-Targeting Support | Best Fit For |
|---|---|---|---|---|---|
| Cookie Consent (by Elementor) | WordPress Native | Fast (Under 5 mins) | Yes (Built-in) | Yes | Agencies, WordPress creators, and Elementor users |
| Cookiebot | External Cloud | Moderate | Yes | Yes | Medium-sized business sites using multiple platforms |
| CookieYes | External Cloud & WP | Moderate | Yes | Yes | Standard blogs wanting simple external analytics |
| Complianz | WordPress Native | Slow (Wizard setup) | Yes (Paid plans) | Yes (Paid plans) | DIY users who want document generation on WP |
| iubenda | External Cloud | Slow (Legal questions) | Yes | Yes | Businesses needing complete terms and legal document suites |
| OneTrust | External Cloud (Enterprise) | Very Slow | Yes | Yes (Advanced) | Enterprise organizations with dedicated legal teams |
What to Look For When Choosing a Cookie Consent Tool
Picking the right tool isn’t about grabbing the first search result. Think about how it fits your site’s day-to-day operations and your visitors’ experience. Here are three factors worth weighing.
1. Dashboard Location and System Integration
Where you manage your tool matters. Some options need an external cloud dashboard: a separate account, API keys, another tab just to change a banner color or check your logs. That’s also a point of failure: if their servers have a problem, your banner might not load.
A native WordPress option, like the Cookie Consent capability, keeps everything inside your admin panel, working with your existing database on your own hosting. That keeps things tidy and centralized.
2. Performance and Page Speed Impact
Banners loading heavy external scripts can hurt your Core Web Vitals, and since Google factors page speed into rankings, a bulky script can affect search performance. Compare how much code each tool adds and whether it blocks content from rendering.
Native tools tend to load alongside your page elements without extra external requests, keeping load times down. A fast banner keeps visitors from bouncing and your pages performing well. See these WordPress performance best practices for the bigger picture.
3. Depth of Compliance Features
A solid privacy tool should do more than show a box with an “OK” button. If a visitor rejects marketing cookies, your tool must stop scripts like the Facebook pixel or Google Analytics from firing, or your banner is just decorative.
Make sure your tool supports standards like Google Consent Mode v2 and Global Privacy Control. These frameworks tell browsers and ad networks how to behave based on user choice, keeping your site legal without disrupting marketing.
Step-by-Step Guide to Implementing Cookie Consent
Setting up privacy compliance doesn’t have to be a headache. Whether you’re configuring this for yourself or a client, here’s how to get a professional system running quickly.
Step 1: Run an Initial Audit and Scan
Before you can block trackers, you need to know what’s running on your site. Use your consent tool to scan your pages; it’ll sort cookies into groups like necessary, analytics, and marketing. Knowing what you’re dealing with is the first step.

Step 2: Configure the Banner Design
Once your scripts are categorized, design your banner to fit your brand, not stick out like a sore thumb. With a native capability like Cookie Consent, match your exact fonts, colors, and border styles, with clear buttons that make it easy for visitors to choose.
Step 3: Set Up Script Blocking Rules
This is where real compliance happens. Configure your tool to hold back non-essential scripts until the visitor clicks accept. Link Google Tag Manager to your consent manager, then test in an incognito window to confirm cookies aren’t loading early.
- Open your site in an incognito browser window to clear out any old cookies.
- Inspect your browser developer tools to see which scripts load before you click anything.
- Click “Accept” or “Decline” on your banner and confirm the scripts react correctly.
Step 4: Enable Geo-Targeting and Privacy Logs
To keep things clean for global visitors, enable geo-targeting. This shows opt-in banners to visitors from regions with strict laws like the EU, with simpler notices or none elsewhere. And turn on consent logging too, so you’ve got a record ready if audited.

- Turn on the geo-targeting feature in your consent dashboard settings.
- Verify that your server can read IP addresses accurately to locate visitors.
- Check your consent log file to make sure user choices are being recorded correctly.
Frequently Asked Questions
Is cookie consent really mandatory for my WordPress site?
Yes. If you have visitors from the European Union, California, or other regions with active privacy laws, you need explicit consent before loading non-essential cookies. These laws apply based on where your visitors are, not where your business is. Not complying can mean legal warnings and fines.
What happens if I don’t use Google Consent Mode v2?
If you use Google Ads or Analytics and serve visitors in the European Economic Area, skipping Google Consent Mode v2 limits your ability to track conversions and measure ad performance. Google uses this mode to adjust how tags behave based on consent, so you keep useful data while respecting choices.
Will a cookie consent banner slow down my website?
It can, if you’re using a heavy third-party tool making multiple external requests on every page load. A native capability like Cookie Consent keeps your code light and fast since it runs on your own server, minimizing the hit to Core Web Vitals.
Can I customize the design of my cookie banner?
Yes, most quality consent tools let you adjust the design. Native capabilities give you the most direct control, matching colors, buttons, and typography to your theme, so your banner reads like a natural part of your site rather than a clunky add-on.
What’s the difference between a cloud dashboard and a native dashboard?
A cloud dashboard means managing settings on another company’s website, adding steps and extra subscription costs. A native dashboard runs inside your WordPress admin area, keeping settings in one place and data on your own server.
Do I need to keep logs of user consent?
Yes, keeping consent logs is strongly recommended. Under rules like GDPR, you need to prove a visitor gave active consent if audited. A good tool records these actions automatically in a secure trail, without storing sensitive personal information.
Does a cookie consent tool generate a privacy policy for me?
Some tools do include built-in policy generators. Elementor’s native Cookie Consent capability includes one that helps write a custom policy based on your site’s actual cookie usage, aligned with what your banner does.
What is Global Privacy Control (GPC)?
Global Privacy Control is a browser-level setting that lets users set privacy preferences once, across all sites, rather than clicking through banners on every page. A compliant tool should detect this signal automatically and respect the choice, which matters for modern CCPA requirements.


