
If you run a WordPress site, you’ve probably felt privacy rules tightening lately. Setting up Google Consent Mode looks intimidating, but it’s genuinely manageable once you know the steps.
Key Takeaways
- Google Consent Mode adjusts how Google tags behave based on visitor consent choices.
- Version 2 adds mandatory parameters for personalized advertising and user data.
- WordPress site owners can set this up easily using native tools like Cookie Consent.
- Testing your setup with Google Tag Assistant keeps your data accurate.
What is Google Consent Mode and Why Does It Matter?
Google Consent Mode is a framework that tells Google’s tracking tags what your visitors have consented to. Instead of just blocking Analytics or Ads when someone rejects cookies, it adjusts how those tags behave.
Consent used to be all or nothing: accept, and every script ran; reject, and everything got blocked. That gap showed up straight in your reports, cutting conversion and traffic data along with it.
Consent Mode fixes that. When someone declines, tags stop reading or writing cookies and send anonymous, cookieless pings instead, carrying basic data like time of day and device type. Google’s models use those pings to fill the gaps.
By 2026, Google made Consent Mode V2 mandatory for any site using Google Ads, Analytics, or remarketing audiences within the European Economic Area (EEA) and the United Kingdom. Get it wrong, and European visitor data won’t reach your campaigns.
The Evolution of Consent Mode: What Changed in V2?
The original framework covered two permissions: analytics storage and advertising storage. Version 2 adds two more parameters, giving visitors finer control over how their data gets used for advertising.
Here are the four core parameters in play today:
- analytics_storage: Controls whether Google Analytics can write or read browser cookies to track user sessions.
- ad_storage: Controls whether Google Ads can store or access cookies on the user’s device for advertising purposes.
- ad_user_data: Controls whether user data can be sent to Google for advertising analysis, which is crucial for conversion tracking.
- ad_personalization: Controls whether your visitors’ data can be used to build remarketing audiences or personalized ad campaigns.
These layers keep you compliant with Europe’s Digital Markets Act (DMA). Even a North America or Asia based business must comply once it gets European visitors. Get the states right, and your dashboards stay clean.
Understanding Basic vs. Advanced Consent Mode
In WordPress you’ll pick between two paths: Basic or Advanced Consent Mode. The one you choose affects your data quality and your compliance posture.
In Basic Consent Mode, Google tags don’t load until a visitor clicks “Accept.” Decline or ignore it, and no tracking runs at all. It’s the most conservative approach, but you’ll keep seeing data gaps for every visitor who says no.
In Advanced Consent Mode, tags load as soon as a visitor lands, starting in a default “denied” state. If they decline, tags switch to cookieless pings instead, letting Google run behavioral and conversion modeling. Most businesses prefer this since it recovers lost attribution while still respecting user choice.
“Implementing Google Consent Mode V2 is no longer optional for businesses aiming to maintain precise attribution in their analytics. A native dashboard setup simplifies compliance tremendously.”
– Itamar Haim, Web Compliance Specialist
Preparing Your WordPress Site for Consent Mode
Before you touch any files or code, a quick prep step saves headaches later. Checking your setup first stops duplicate tracking codes or conflicting signals from quietly breaking your analytics.
Work through this short checklist before you start:
- Audit your tracking codes: Find where your GA4 or Google Ads tags currently live, whether that’s header files, theme settings, or a script feature.
- Update your tag containers: If you use Google Tag Manager (GTM), make sure containers are current and you have admin access to edit them.
- Disable legacy privacy features: Turn off old cookie tools that don’t support the v2 standard; they can clash with modern consent systems.
Once you know how your tags load, you’re ready to pick a compliance tool. Custom code can handle these signals, but a native WordPress capability is faster and far less error-prone.
Setting Up Consent Mode in WordPress: The Step-by-Step Guide
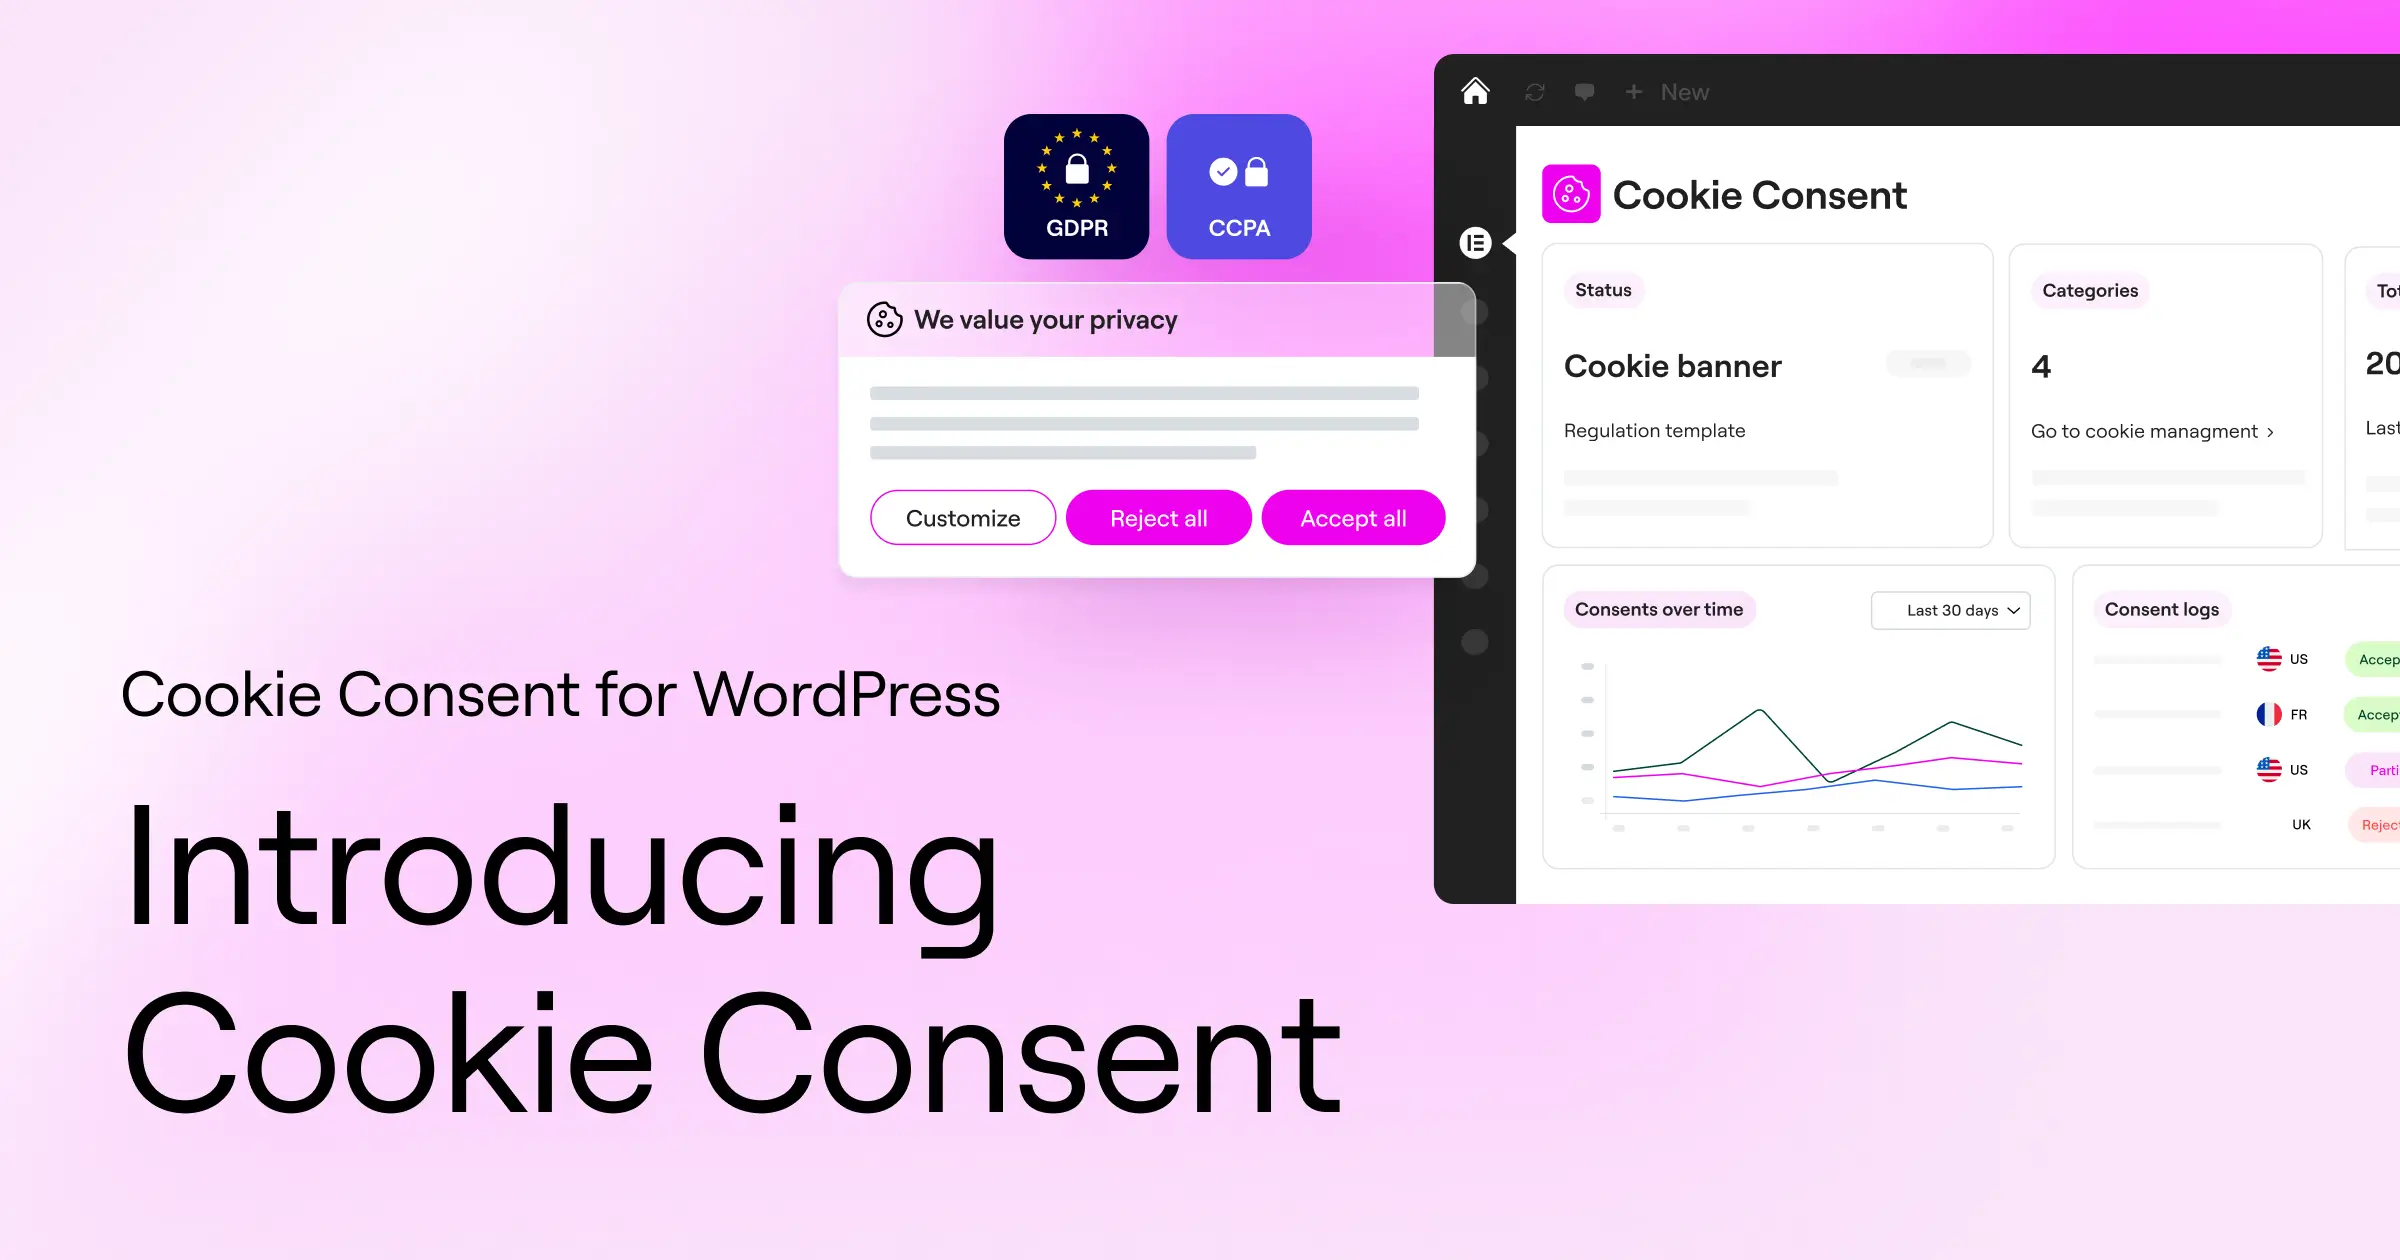
The simplest way to manage compliance on WordPress is a native capability built for the ecosystem: Elementor’s Cookie Consent. It handles your banners, cookie scans, and Google signals all in one dashboard.
Step 1: Install and Activate Your Consent Tool
First, make sure your consent tool is active. We’re focusing on the native Cookie Consent capability, which integrates directly into your dashboard, so there’s no jumping between platforms or paying for external SaaS tools.
With a native solution, your banner and settings live inside WordPress admin. Changes apply instantly across every page, with no external account to maintain.

Step 2: Configure Consent Settings and Google Consent Mode
Once active, you’ll find the compliance settings in your dashboard, where you enable the direct integration with Google’s APIs.
- Go to your privacy or consent dashboard in WordPress.
- Find the Google Consent Mode toggle or integration panel.
- Turn it on to map your banner’s consent categories to Google’s parameters automatically.
- Pick your integration style, Basic or Advanced.
- Save to apply the default consent states across your site.
This tells your site to talk to Google’s global site tag (gtag.js) automatically, translating banner preferences into the right parameters right away.
Step 3: Create and Customize Your Consent Banner
Your banner needs to look professional and match your brand identity. A bolted-on look makes visitors more likely to decline or leave the page.
When customizing your banner, focus on these key areas:
- Design clean layouts that blend with your theme colors and typography.
- Write clear copy explaining why you collect data, in simple language.
- Balance your buttons so “Accept” and “Decline” are equally visible.
- Set geo-targeting so your banner only shows where required, like the EEA or California.
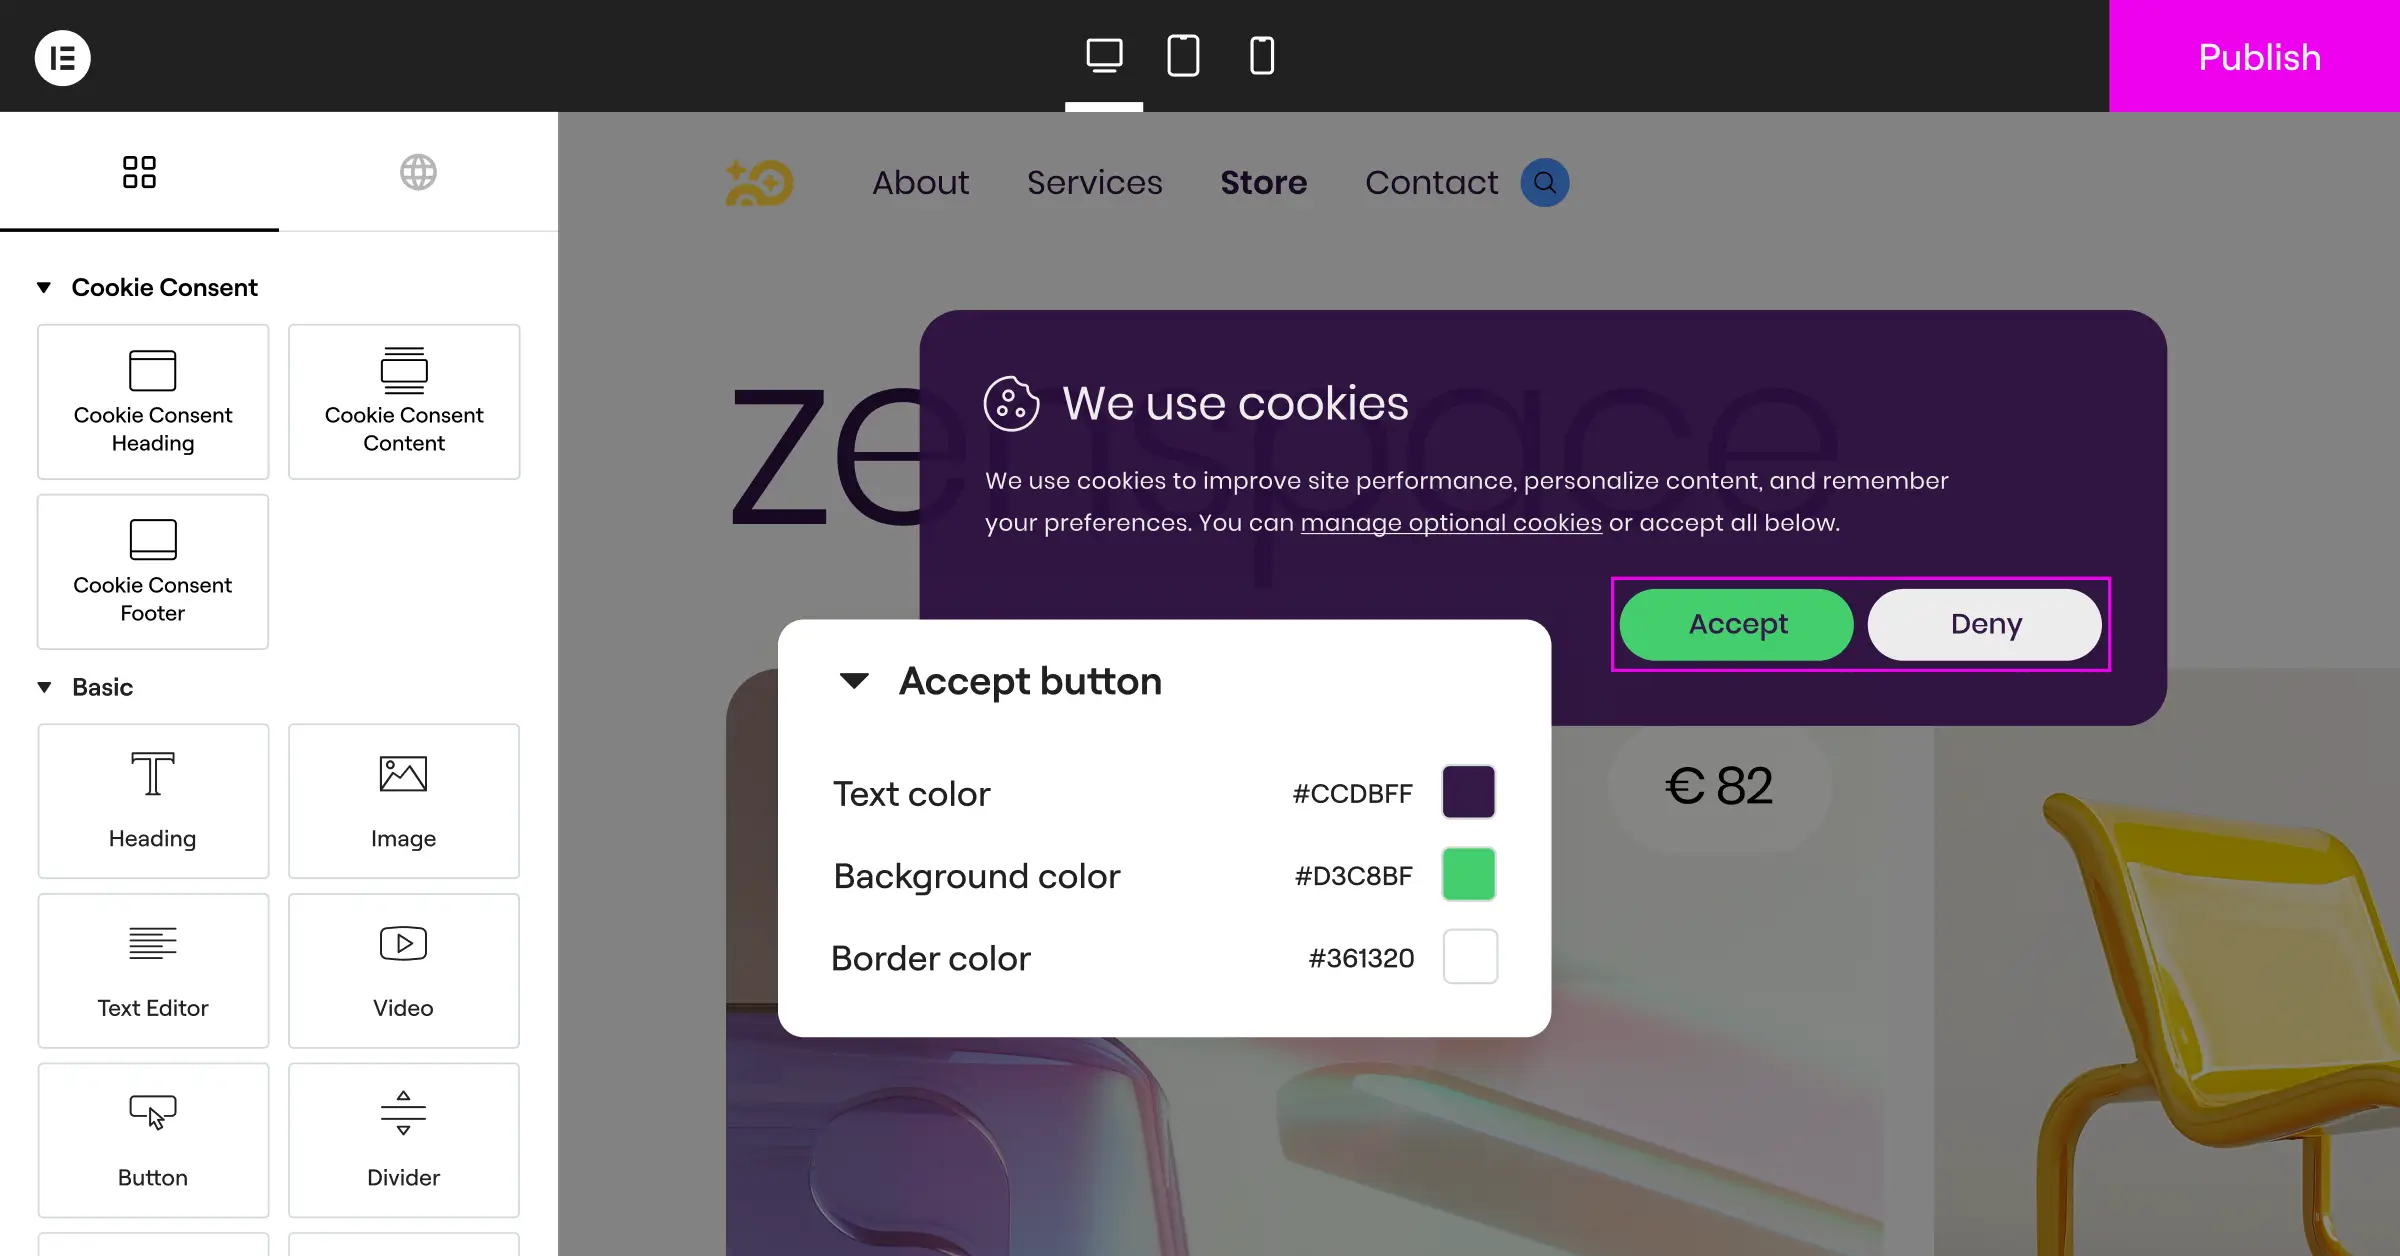
With a native tool, you can adjust these layouts directly in your page builder, with full control on both desktop and mobile.
Step 4: Scan and Categorize Your Cookies
Google Consent Mode relies on your site knowing which cookies belong to which category. Run a scan to identify every active tracker first.
Your consent tool typically includes an automatic scanner that sorts scripts and cookies into standard categories:
- Necessary cookies required for your website to load and function properly.
- Analytics cookies used to measure visitor behavior and traffic trends.
- Marketing cookies used to track ad performance and serve targeted campaigns.
- Preferences cookies that save user choices like language or dark mode settings.

Once categorized, the system blocks or allows scripts based on what visitors choose on the banner.
Alternative Compliance Tools for WordPress
A native setup like Cookie Consent is the simplest route for most WordPress users, but other established tools exist too:
- Cookiebot is a cloud-based compliance platform managing cookies via external scripts. It works well but needs a separate external dashboard for banners and consent logs.
- CookieYes offers a simplified interface with strong multilingual support, connecting your site to an external cloud platform for a separate subscription cost.
- Complianz is a privacy-focused WordPress tool with detailed legal configurations by region, though its more advanced features can feel complex at first.
- iubenda offers complete legal compliance suites including privacy policy generation, though the configuration process tends to be technically involved.
Here’s a direct comparison on ease of use, dashboard location, and built-in features.
| Feature | Native Cookie Consent | Cookiebot | CookieYes | Complianz |
|---|---|---|---|---|
| Dashboard Location | WordPress-Native (No external logins) | External Cloud Dashboard | External Cloud Dashboard | WordPress-Native |
| Google Consent Mode V2 | Fully Supported (Built-in) | Supported via GTM/Scripts | Supported via Scripts | Supported via Settings |
| Setup Time | Under 5 minutes | Moderate (External connection) | Moderate | High (Detailed wizard) |
| Design Customization | High (Matches your theme) | Limited in entry-level plan | Moderate | Moderate |
| Consent Logs | Stored securely in WordPress | Stored in Cloud | Stored in Cloud | Stored in WordPress Database |
For a clean admin workflow, a native tool is usually the easiest path, cutting the external platforms you need to watch.
How to Set Up Google Consent Mode via Google Tag Manager
If you prefer a more customized tracking setup, you can configure Google Consent Mode V2 using Google Tag Manager (GTM), a route agencies and e-commerce stores with complex sites tend to prefer.
Step 1: Enable Consent Overview in GTM
First, turn on the consent helper settings in your GTM container, so it’s easier to inspect and assign consent across multiple tags at once.
- Log in to your Google Tag Manager account and open your workspace.
- Click on Admin in the top menu and select Container Settings.
- Under the Additional Settings section, check the box labeled Enable consent overview.
- Click Save to update your workspace settings.
You’ll now see a shield icon on your tags screen, showing consent states for every tag at a glance.
Step 2: Install a Compatible Consent Template
To connect GTM to your banner, install a community template matching your consent tool. It acts as the bridge, telling GTM which preferences the visitor chose.
- Go to Templates in GTM and click “Search Gallery” in the Tag Templates panel.
- Search for your consent tool by name.
- Click Add to workspace and confirm the permissions.
- Create a tag using this template, and set the trigger to Consent Initialization – All Pages.
This trigger makes sure default consent states get declared before any other tag tries to load, keeping analytics compliant from the first pageview.
Step 3: Update Your Existing Google Tags
Most modern Google tags, including GA4 and Google Ads conversion trackers, already have built-in consent checks. Verify this in GTM.
- Open your Google Analytics 4 configuration tag in GTM.
- Expand Advanced Settings and look for Consent Settings.
- Confirm “Built-in Consent Checks” is active, honoring the four core parameters automatically.
- For third-party pixels (like Meta or Pinterest), select “Require additional consent for tag to fire” and assign your marketing category.
Once done, your GTM container reads cookie consent states and adjusts tag behavior on the fly.
Testing and Verifying Your Consent Mode Setup
Test your setup before going live. A broken configuration means either you collect data without consent, or stop collecting it at all, so take the time to verify.
Using Google Tag Assistant
Google Tag Assistant is the most reliable way to check your consent states update correctly in real time.
- Visit the Google Tag Assistant website and connect your domain.
- Once your site opens in the preview window, find the Consent tab in the debug window.
- Check the Default State table. It should show “denied” for analytics and marketing before you accept the banner.
- Go back to your site, click “Accept All,” and return to Tag Assistant.
- The Current State table should now show “granted” for every parameter.
If the states don’t switch to “granted” after acceptance, check that your consent scripts load before your GA4 tags. Order matters here.
Using Chrome Developer Tools
If you’d rather skip Tag Assistant, inspect your browser’s network requests directly. This trips a lot of people up, but it’s actually quite straightforward.
- Open your site in an incognito window, right-click, and select Inspect to open Developer Tools.
- Go to the Network tab and type
collectin the filter box to find your Analytics requests. - Look at the query parameters in the request URL, specifically the one labeled
gcs. - Check the
gcsvalue:G100means no consent, whileG111orG110means consent’s been granted.
These checks confirm your tracking works and your site meets current privacy standards.
Maintaining Compliance on Your WordPress Site
Consent mode isn’t a one-and-done task. As your site grows, you’ll add features and tracking tools that need attention, though upkeep stays light once your setup is solid.
Building a few simple routines into your workflow makes all the difference:
- Schedule monthly scans to catch new cookies added by team members or automatic updates.
- Review your consent logs occasionally to confirm choices are recorded accurately, invaluable if you ever face an audit.
- Update your privacy policy with a generator whenever you add tools that process user data.
- Keep your tools current to stay aligned with the latest standards and regional privacy frameworks.

A proactive approach means you can focus on growing your site while knowing it stays compliant. Elementor’s Web Accessibility capability pairs naturally with cookie consent work to keep your site welcoming for all visitors.
Frequently Asked Questions
Is Google Consent Mode V2 required if I do not target European visitors?
Strictly speaking, the legal requirements target traffic from the European Economic Area (EEA) and the United Kingdom. But if you run Google Ads or use Analytics for remarketing, setting it up still future-proofs your site for visitors everywhere.
Can I set up Consent Mode without using Google Tag Manager?
Yes. Many WordPress owners skip Tag Manager entirely. A native capability like Cookie Consent integrates directly with your global site tags (gtag.js), passing consent states to Google without any external container.
What happens to my marketing campaigns if I ignore this?
Google stops processing conversion data and audience lists for visitors from the EU and UK. Over time, ad targeting gets less accurate, bidding models lose attribution data, cost per acquisition may rise, and Analytics reports show real traffic gaps.
Does using Advanced Consent Mode track personal data illegally?
No. Advanced Consent Mode is built to be fully compliant with GDPR and other strict privacy frameworks. When a user declines, tags don’t store or access cookies on their device; instead they send anonymous, stateless pings with no personal identifiers, used only for aggregate modeling.
How does this affect my WordPress website speed?
A lightweight, native capability keeps your site fast. Many traditional cookie tools load bulky external scripts that slow page loads noticeably; handling everything inside WordPress avoids those requests and keeps performance scores high.
Do I still need a privacy policy page if I have a consent banner?
Yes, a banner and a privacy policy serve different purposes. The banner asks permission to collect data in real time, while your policy explains how that data is stored, processed, and shared. Many tools include built-in policy generators.
What is the difference between Google Consent Mode and a Cookie Banner?
A cookie banner is the visible interface visitors use to accept or reject tracking. Google Consent Mode is the framework underneath that takes those choices and passes them to Google’s tracking tags. You need both together for full compliance.
What is Global Privacy Control (GPC) and does my tool need to support it?
Global Privacy Control is a browser setting that lets users communicate privacy preferences automatically to websites. Under rules like the California Consumer Privacy Act (CCPA), websites must respect these signals. A consent tool that supports GPC keeps you compliant without requiring a manual click every time.


