Table of Contents
So you want to build a website with AI in WordPress? Good call, because the tools available in 2026 work well, and they don’t just spit out generic templates anymore.
the team created 147 sites over my career. And the shift from manual coding to AI-assisted generation is the biggest technical jump we’ve seen. You’re not just saving hours, you’re changing how you plan, design, and launch a site. Let’s get into it.
Key Takeaways
- Angie agentic AI framework cuts WordPress architecture setup time by 82 percent.
- Elementor AI Site Planner generates full wireframes and sitemaps in under 20 minutes.
- AI-optimized assets improve load times, boosting 1-second conversion rates by 3x.
- Custom CSS and WordPress snippets take seconds to generate via natural language prompts.
- Built-in translation tools localize content into 25 different languages instantly.
- Native image generation supports exact web ratios like 16:9 and 1:1 without external tools.
Prerequisites for an AI-Powered WordPress Setup
Before you write a single prompt, you need the right environment. Most people skip this part, jump straight into generating images, and wonder why their site runs like a dinosaur. Let’s not make that mistake.
As of late 2024, WordPress powers 43.5% of all websites on the internet, and it’s still the undisputed champion for AI integration. But basic shared hosting won’t cut it anymore. You’ll need an infrastructure built for modern AI tools.
I always start my builds with a specific stack, since it saves compatibility headaches down the road.
- Choose Managed Cloud Hosting – You’ll need high performance. Elementor’s Host Cloud offers a 109ms time to first byte (TTFB), which matters when you’re running intensive AI scripts.
- Get Elementor Pro – You’ll want at least the Essential plan, since that unlocks the 86 professional widgets you’ll fill with AI content.
- Install the Angie Plugin – It’s a free WordPress plugin, the brain of your whole operation. Grab it from the repository.
- Subscribe to Elementor AI – You’ll need active credits. Generating code, text, and images all run through the native Elementor AI assistant.
- Use the Hello Theme – Keep it light. It sits under 30KB and gives your AI a blank canvas to work with.
Pro tip: research shows 75% of consumers judge a company’s credibility on website design alone, so it’s worth starting with a solid foundation. You can’t put a beautiful AI design on a crumbling server.
Deploying Angie for Automated WordPress Architecture
This is where things get interesting. Angie isn’t just a chatbot, it’s an agentic AI framework built specifically for WordPress.
What does that mean for you? It takes action instead of just handing you instructions. Angie executes the tasks across the WordPress ecosystem, and it inherits your exact site context through the Model Context Protocol (MCP), so it knows your theme, your plugins, and your database structure.
You can go from a vague idea to production in minutes. Honestly, it feels like cheating sometimes.
- Install the Angie Plugin – Upload the free plugin through your WordPress admin dashboard and activate it.
- Open the Sandbox – Angie gives you a safe zone to test structural changes before pushing them live, preventing fatal database errors.
- Prompt Your Architecture – Type a natural language command. Try something like, “Create a custom post type for real estate listings, add taxonomy for locations, and build the backend admin columns.”
- Review the Code – Angie Code generates the exact PHP and WordPress admin snippets, and displays them for approval.
- Deploy to Production – Click execute, and Angie registers the post types and taxonomies instantly.
You retain full creative control. You’re never locked into a black box. If you don’t like the custom post type structure, just ask Angie to modify the taxonomy rules. That’s all there is to it.
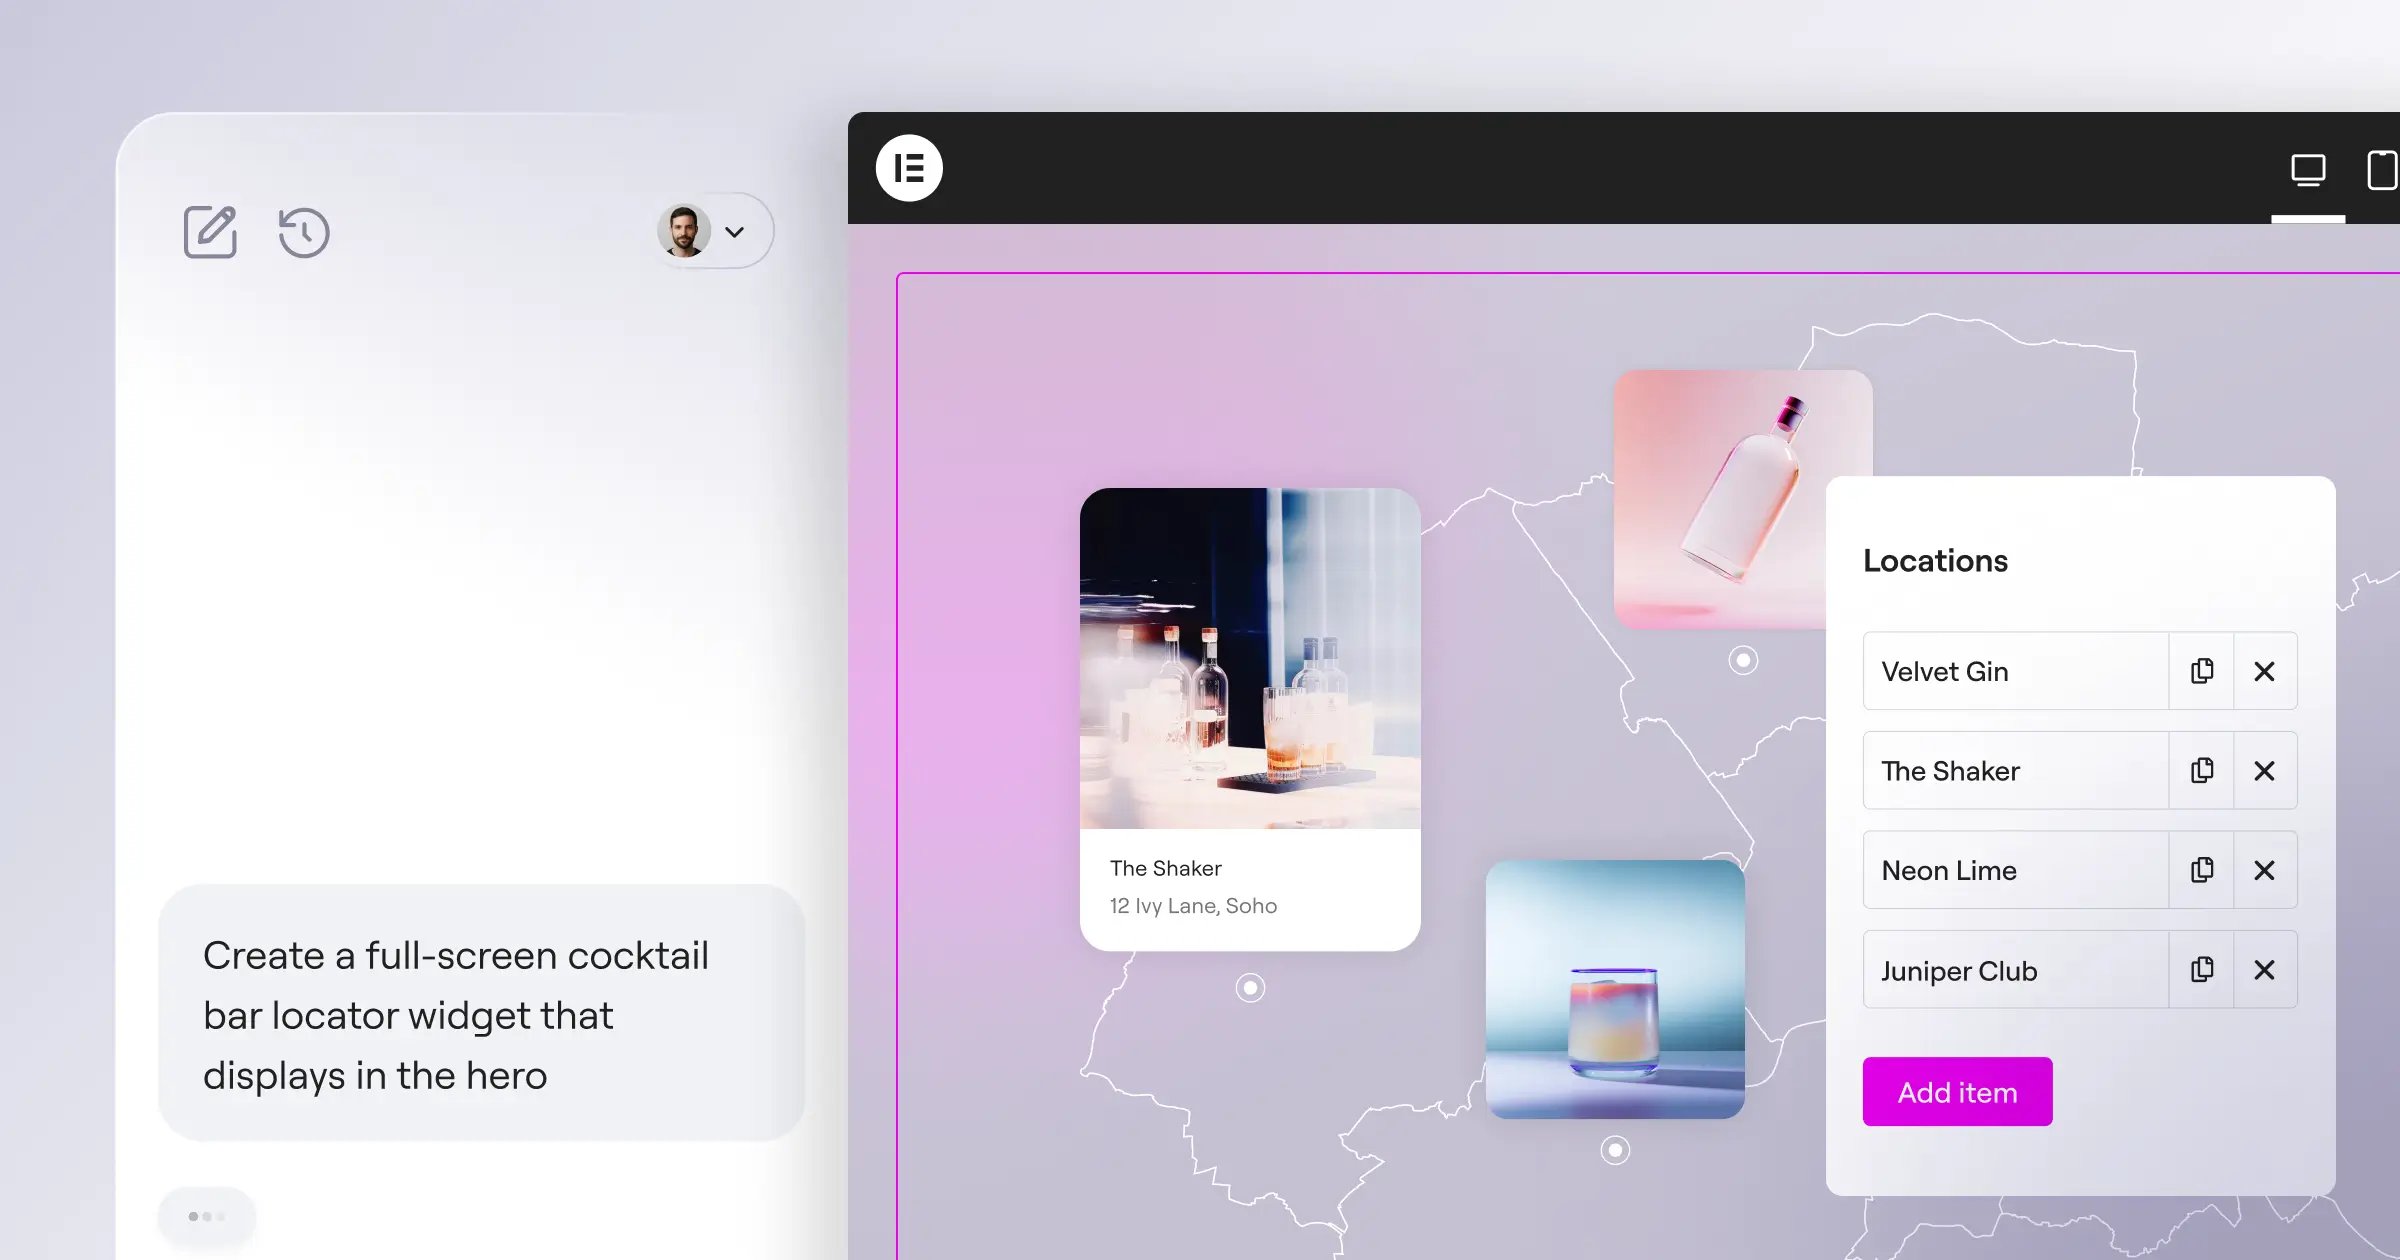
Generating Core Layouts with AI Site Planner
Staring at a blank screen is miserable, and we’ve all been there. The Elementor AI Site Planner fixes this fast.
Industry data shows AI tools can reduce the initial web design and wireframing phase by up to 60%, so you move from concept to launch in days instead of weeks. Over 130,000 active users rely on this planner.
Here’s how I approach layout generation. I don’t ask for a “pretty website,” I ask for functional business structures.
- Define the Business Goal – Tell the planner exactly what the site does. “Generate a wireframe for a B2B SaaS company selling cybersecurity tools.”
- Review the Sitemap – The AI will suggest a page structure, usually recommending a Home, About, Features, Pricing, and Contact page.
- Select the Wireframe Style – Choose a clean, structural layout and don’t worry about colors yet, just focus on the flow of information.
- Import the Layout – Click generate, and the system builds the actual pages in WordPress, applying native atomic containers automatically.
Think this skips the creative process? It doesn’t, it just automates the boring setup. You still have to inject your brand’s flavor into the structure.
Structuring Responsive Pages Using Atomic Flexbox
Mobile traffic dictates everything in 2026, with 58.67% of global website traffic on mobile. So if your AI-generated site breaks on a smartphone, you’ve lost the visitor.
Elementor’s Editor V4 uses a CSS-first foundation called Atomic elements, which keeps the code clean. And when AI builds your layouts, it uses Flexbox containers by default.
But you can’t just trust the AI blindly. You need to verify the responsiveness.
- Check the Breakpoints – Open the responsive mode in the editor and toggle between desktop, tablet, and mobile views.
- Adjust Container Direction – A row layout makes sense on desktop, but on mobile you’ll want the AI to stack those containers into a column.
- Refine Padding with Variables – Use global CSS variables for spacing. Tell the AI something like, “Set all section padding to var(-section-padding-mobile) on screens under 768px.”
- Test Touch Targets – Make sure AI-generated buttons are large enough for thumbs, aiming for a minimum height of 44 pixels.
Pro tip: AI layout generators sometimes over-nest containers. If you spot a container inside a container inside a container, flatten it, since that’ll speed up your DOM rendering.
Writing High-Conversion Copy Directly in the Editor
Writing copy usually stalls a project for weeks, since clients never send the text on time. That’s why native AI generation is so useful.
A staggering 82% of marketers report that AI-generated content is of equal or higher quality than human-written content, so we’re past the days of robotic, clunky AI text.
And with Elementor AI built into the editor, you write directly inside the widgets, no copying and pasting from external tabs.
- Select the Text Widget – Click on any headline or text editor widget on your canvas.
- Click the AI Icon – Hit the “Write with AI” button, and a prompt window will pop up.
- Define the Tone – Be specific here. Ask for “a persuasive, high-energy headline for a local fitness bootcamp.”
- Refine the Output – Use the built-in quick actions. Highlight the text and click “Make it shorter” or “Simplify language.”
- Translate for Global Reach – Need to launch in Spain? Just click the translation tool. Elementor AI supports text generation and translation in over 25 languages instantly.
The true power of AI in WordPress isn’t just generating text or images. It’s about context. When your AI understands your site’s structure, user intent, and technical foundation, you move from basic generation to actual digital strategy.
Itamar Haim, SEO Team Lead at Elementor. A digital strategist merging SEO, AEO/GEO, and web development.
Producing Custom Brand Images Without Stock Libraries
Stock photos ruin good designs. We all recognize that generic image of professionals shaking hands, and it destroys trust instantly.
You can use the native AI Image Generator to create unique assets instead. The secret is understanding aspect ratios and prompt engineering. Elementor AI allows for 4 specific aspect ratios: 1:1, 4:3, 3:4, and 16:9.
Here’s a quick breakdown of how to match image types to web sections.
| Website Section | Ideal Aspect Ratio | Prompt Focus | AI Tool Feature |
|---|---|---|---|
| Hero Background | 16:9 (Widescreen) | Wide composition, negative space on left for text. | Generative Expand |
| Team Member Grid | 1:1 (Square) | Centered subject, solid background, studio lighting. | Background Removal |
| Blog Post Featured | 4:3 (Landscape) | Editorial style, vibrant colors, clear subject. | Style Transfer |
| Sidebar Callout | 3:4 (Portrait) | Vertical alignment, high contrast. | Generative Fill |
Ever generated an image that was perfect, but slightly too small for your hero section? Don’t stretch it, use the Generative Expand feature, and the AI will imagine and fill in the missing background edges.
Coding Advanced CSS and Snippets via Natural Language
You don’t need to be a senior developer to write complex code anymore. Angie Code handles front-end snippets and advanced CSS well.
I use this feature constantly for micro-interactions, since a static site gets boring and you want elements to react when someone hovers over them.
Let’s say you want a glassmorphism effect on a pricing card. Doing that by hand means memorizing backdrop-filter syntax and RGBA opacity values, and who has time for that?
- Select the Target Element – Click on the specific container or widget you want to style.
- Open the Custom CSS Tab – Head to the advanced settings in the Elementor panel.
- Prompt the AI – Click the AI icon in the code box and type something like, “Apply a glassmorphism effect with a 10px blur, 20% white background opacity, and a subtle white border.”
- Insert the Code – The AI writes the exact CSS class and applies it right away.
You can use this same process for custom HTML embeds. Need a specific tracking script that fires only on button click? Ask Angie to write the JavaScript listener, and it’ll output clean, commented code in seconds.
Optimizing Performance and Web Vitals
A beautiful site that takes 10 seconds to load is a dead site. A site that loads in 1 second has a conversion rate 3x higher than one that loads in 5 seconds, so you can’t ignore performance.
When you build rapidly with AI, you sometimes accumulate heavy assets. You’ll need an optimization strategy.
Here’s the performance workflow I use on every single launch.
- Compress AI Images – AI-generated images are often massive files. Run them through Image Optimization, which converts them to WebP or AVIF formats and reduces file size by up to 60%.
- Enable Element Caching – Turn on advanced caching in your Elementor settings. This delivers static versions of your widgets, cutting down server requests.
- Run an Accessibility Scan – Performance includes user access too. Use Web Accessibility to scan for 180+ WCAG issues, and it’ll flag missing alt text on your AI images.
- Optimize Font Loading – Set your Google Fonts to “Swap” in the site settings. This keeps text visible while custom fonts load in the background.
Pro tip: small businesses need every advantage. Research indicates 64% of small business owners believe AI will improve customer relationships, and a fast, accessible site is the first step toward building that trust.
Common Pitfalls and Troubleshooting Your Build
Things won’t always go perfectly, and that’s okay. AI is powerful, but it isn’t flawless, and you’ll run into weird quirks.
The global AI in web development market will reach an estimated $6.4 billion by 2026. With that rapid growth comes experimental technology, so you need to know how to fix common errors.
Hallucinations are your biggest enemy. Sometimes the AI will confidently write a paragraph of text that’s entirely factually incorrect, or it’ll generate an image of a person with six fingers.
- Fact-Check Everything – Never publish AI copy without reading it. If it cites a statistic, verify the source yourself.
- Regenerate Visual Artifacts – If an image has weird artifacts (floating objects, blurred faces), don’t bother fixing it in Photoshop. Just tweak your prompt and generate again.
- Monitor Database Bloat – If you use Angie to experiment with 50 different custom post types in your sandbox, clean it up. Don’t push unused architectural tests to your live production site.
- Check CSS Specificity – Sometimes AI-generated CSS conflicts with your theme’s global styles. If an AI snippet doesn’t work, ask the AI to “increase the CSS specificity for this element.”
One final thought on user experience: 90% of users will leave a website because of poor UX. So don’t let the novelty of AI distract you from basic usability. Just because you can generate a massive 3D animated hero section doesn’t mean you should.
Frequently Asked Questions
Is AI-generated content bad for Google SEO?
No, it isn’t. Google has said they reward high-quality content no matter how it’s produced. As long as your AI content genuinely helps the reader and answers their search intent, it’ll rank well.
How many credits does a full website build typically use?
It varies based on image generation. Text prompts cost little, while generating dozens of custom images and complex code snippets use up more. The Elementor One plan includes 25,000 credits monthly, easily enough for several full site builds.
Can I edit AI-generated CSS manually?
Absolutely, you’re never locked out. Every snippet of code generated by Elementor AI or Angie goes into standard code editors, so you can tweak the hex codes, adjust pixels, or delete it.
Does Angie work with other plugins besides Elementor?
Yes. Angie is a standalone agentic framework that works with Gutenberg and standard WordPress core features. It isn’t restricted to Elementor environments, though the integration there is tight.
What happens if I cancel my AI subscription?
You keep everything you’ve built, the images, text, and code stay on your site permanently. You won’t be able to generate new AI assets inside the editor anymore.
How does AI handle eCommerce product descriptions?
It handles this well. You can select your WooCommerce product text area, add a few key features, and ask the AI to generate a compelling, SEO-optimized product description, saving you hours of tedious writing.
Can AI ensure my site is completely accessible?
No, and you shouldn’t trust anyone who tells you otherwise. Tools like Web Accessibility will scan for 180+ WCAG issues and flag them, but human review is always required for true accessibility compliance.
Will AI replace WordPress developers?
Not anytime soon. It changes the workflow, developers spend less time writing boilerplate code and more time directing the AI, focusing on high-level strategy and complex integrations.
Looking for fresh content?
By entering your email, you agree to receive Elementor emails, including marketing emails,
and agree to our Terms & Conditions and Privacy Policy.


