reCAPTCHA is one of the most popular ways to prevent spam and abuse by preventing bots from being able to submit forms.
To add a reCAPTCHA, you first need to get the reCAPTCHA keys from the Google website.
You can choose from:
- reCAPTCHA v3
- reCAPTCHA v2
We recommend v3 as it is the new more secure, less intrusive method to use.
reCAPTCHA v3
reCAPTCHA v3 enables verification of the legitimacy of interactions without requiring any user input. Version 3 operates discreetly in the background, generating a score based on user behavior. A higher score indicates a higher likelihood that the user is human.
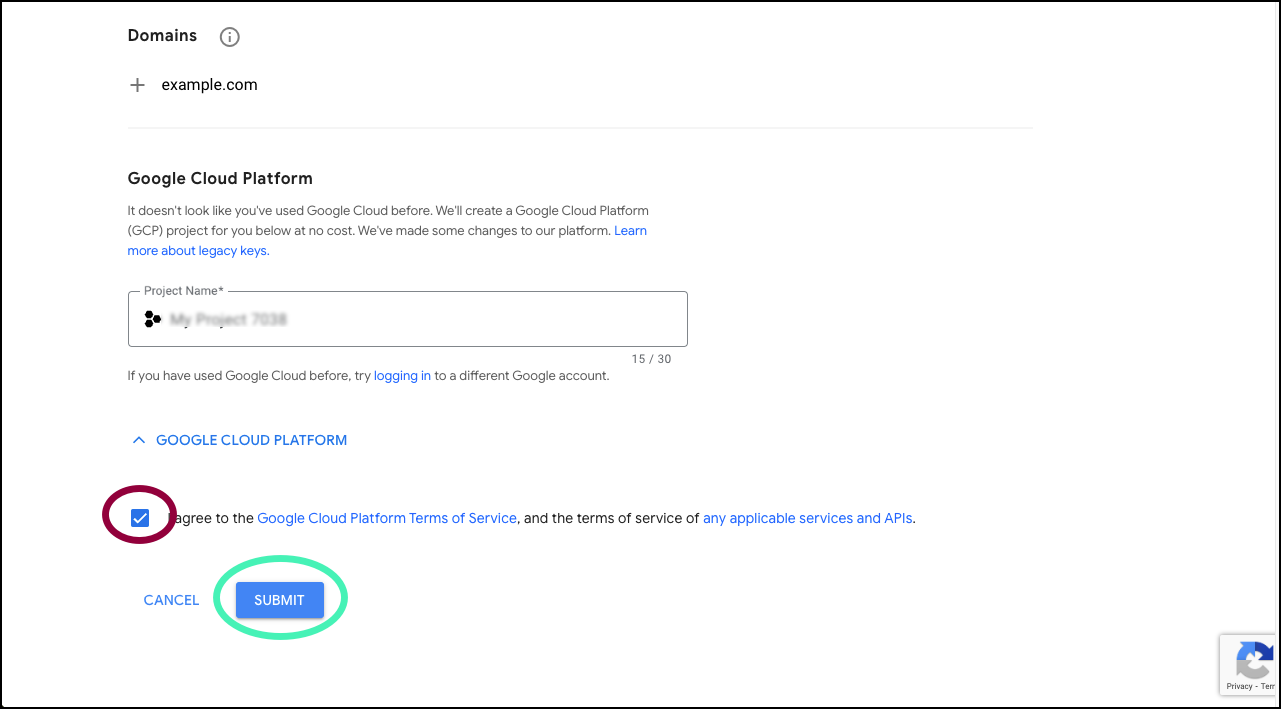
Register reCAPTCHA v3
Follow these steps:
- Go to the Google reCAPTCHA site.
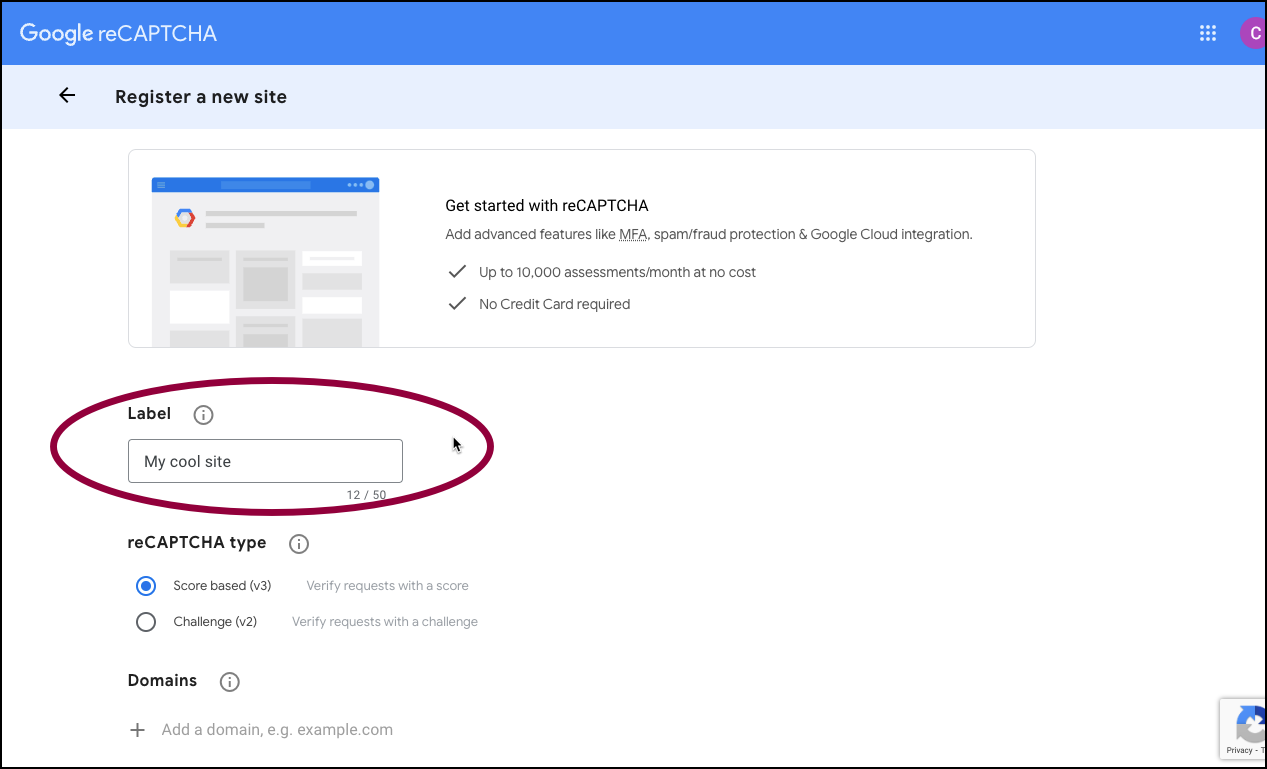
- Add a Label to identify this instance.
- Use the radio button to select Score based (v3).
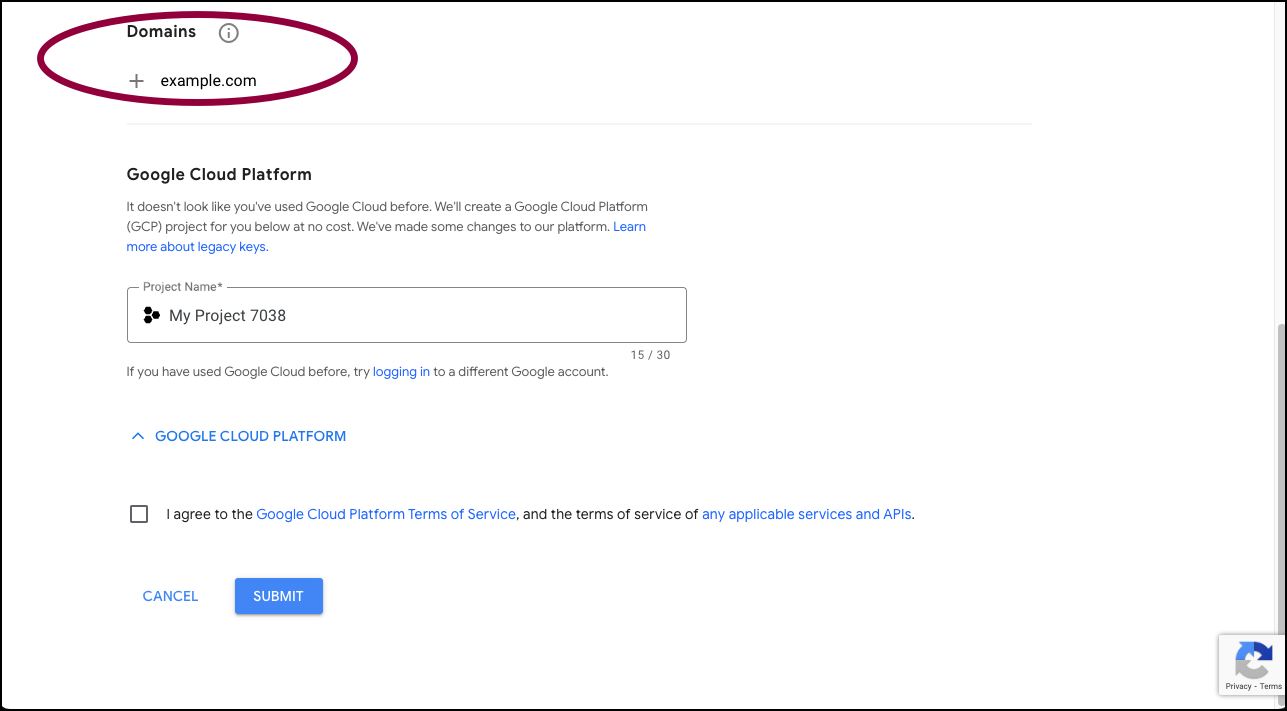
- Enter the Domains you wish to secure.
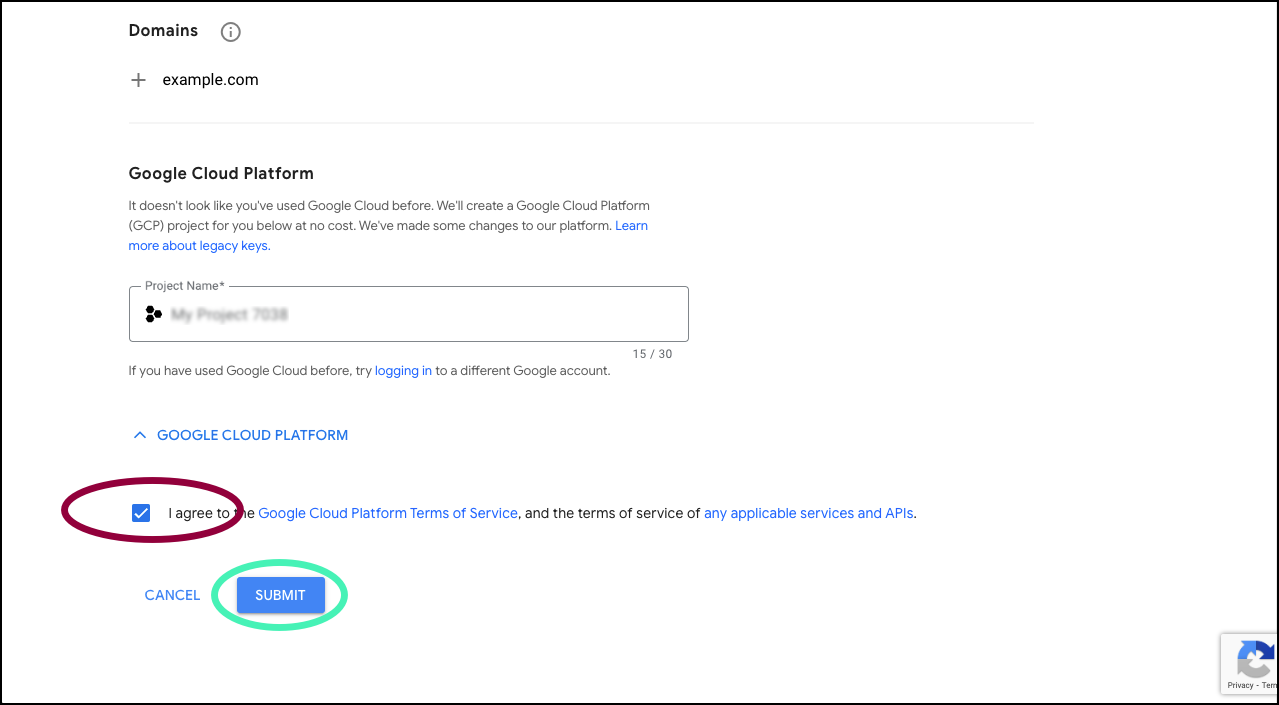
- Agree to Google’s terms and conditions and click Submit.
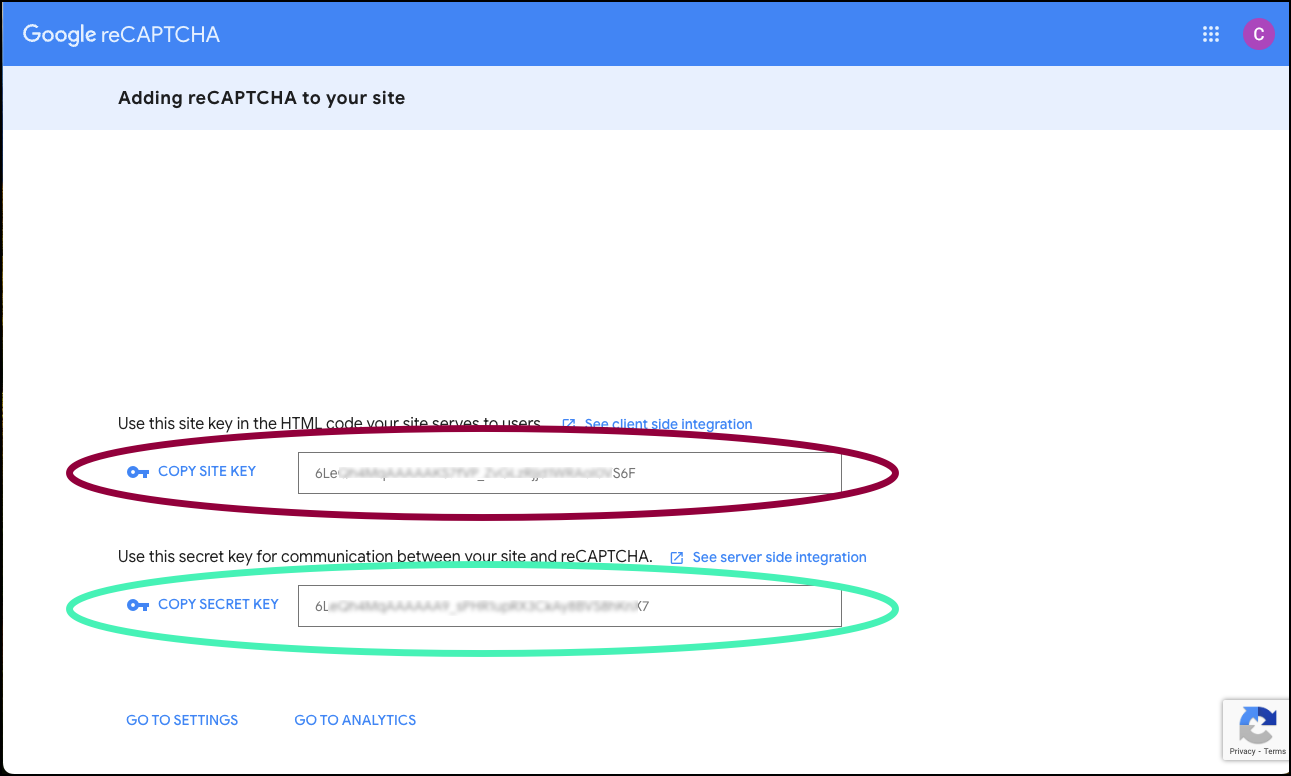
Your Site Key and Secret Key are displayed.
reCAPTCHA v2
reCAPTCHA v2 comes in two forms:
- “I am not a robot” Checkbox: the user has to mark a checkbox to prove they are not a robot.
- Invisible reCAPTCHA badge: reCAPTCHA operates in the background to determine whether or not the visitor is a robot.
Register reCAPTCHA v2
Follow these steps:
- Go to the Google reCAPTCHA site.
- Add a Label.
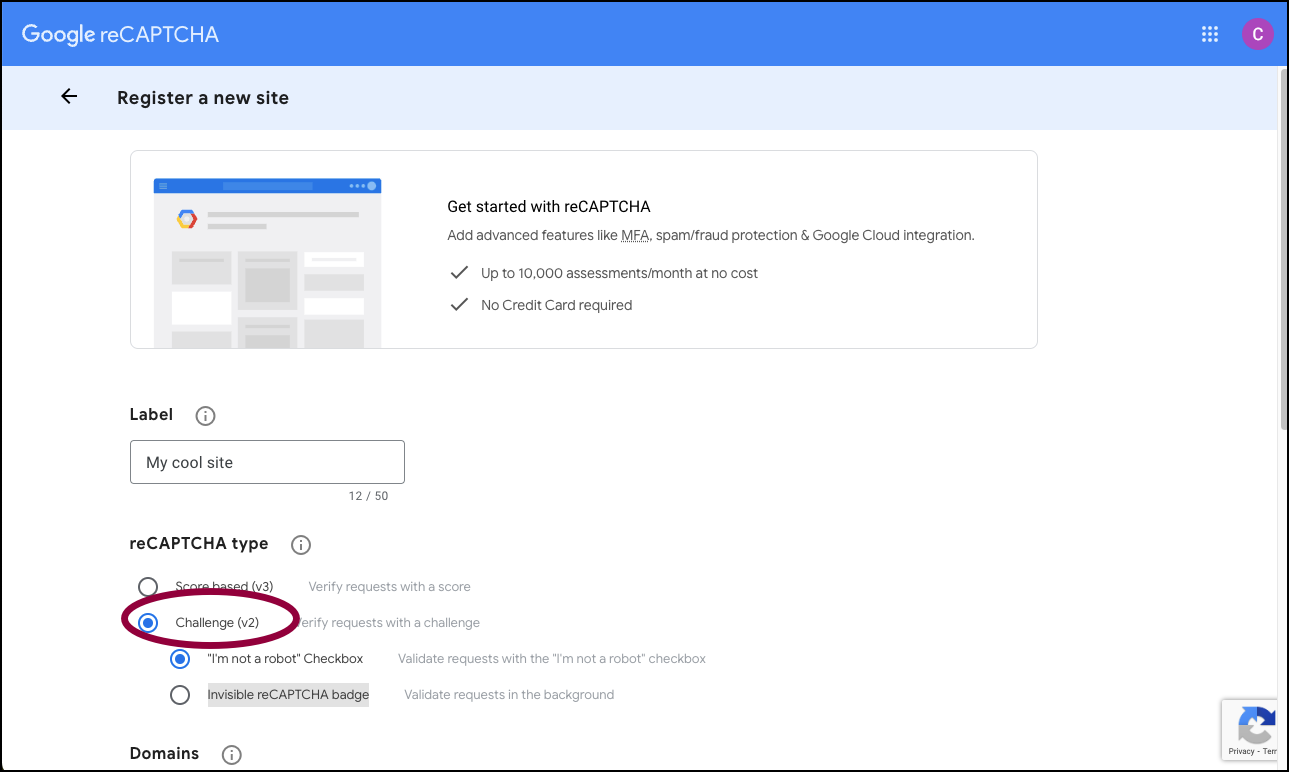
- Use the radio button to select Challenge (v2).
- Use the radio button to choose between:
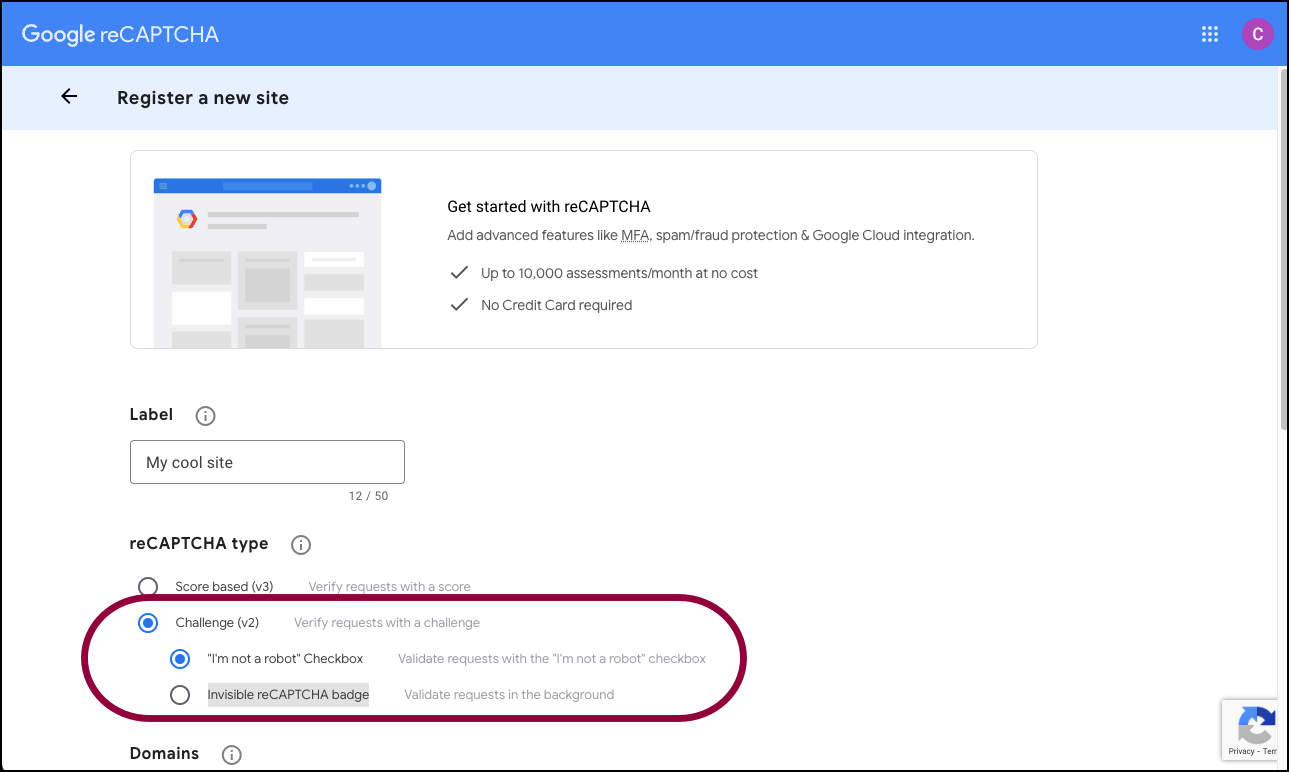
- “I’m not a robot” Checkbox
- Invisible reCAPTCHA badge
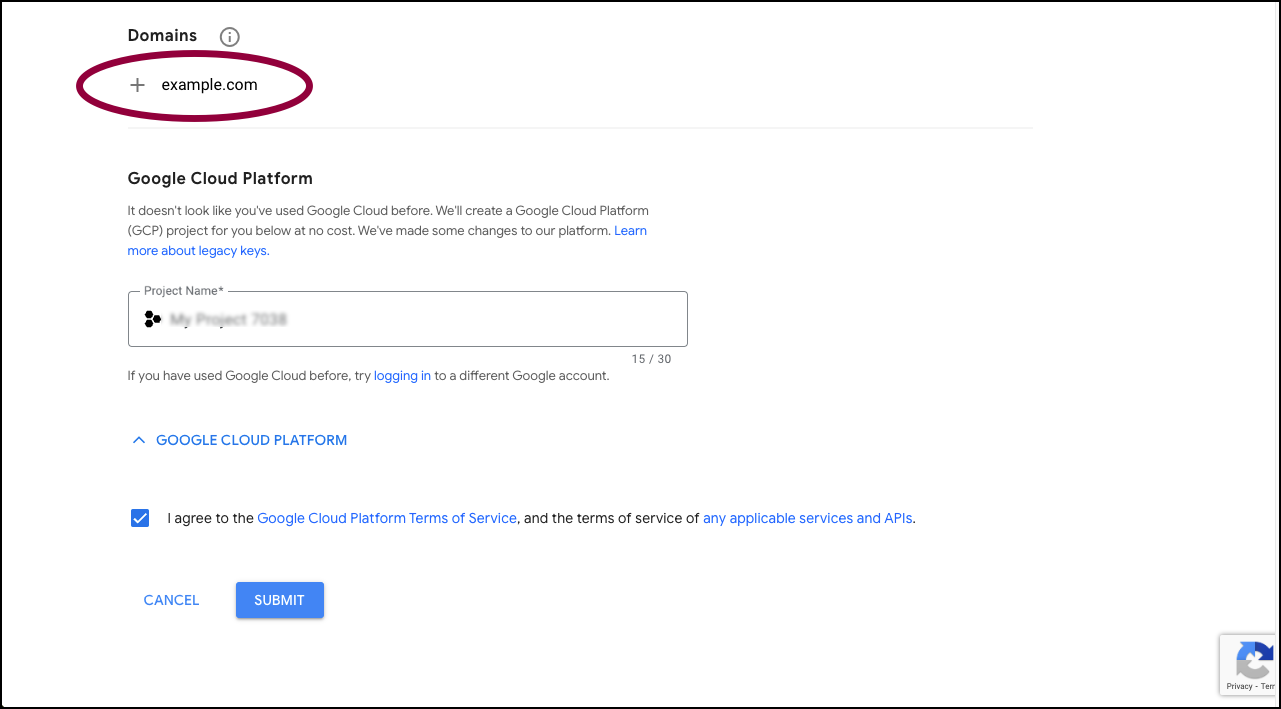
- Enter the Domains you wish to secure.
- Agree to Google’s terms and conditions and click Submit.
Your Site Key and Secret Key are displayed.
Set up keys in Elementor
After registering reCAPTCHA with Google, you need to add the site and secret keys to your Elementor site.
Follow these steps:
- In a separate tab, login to WP Admin.
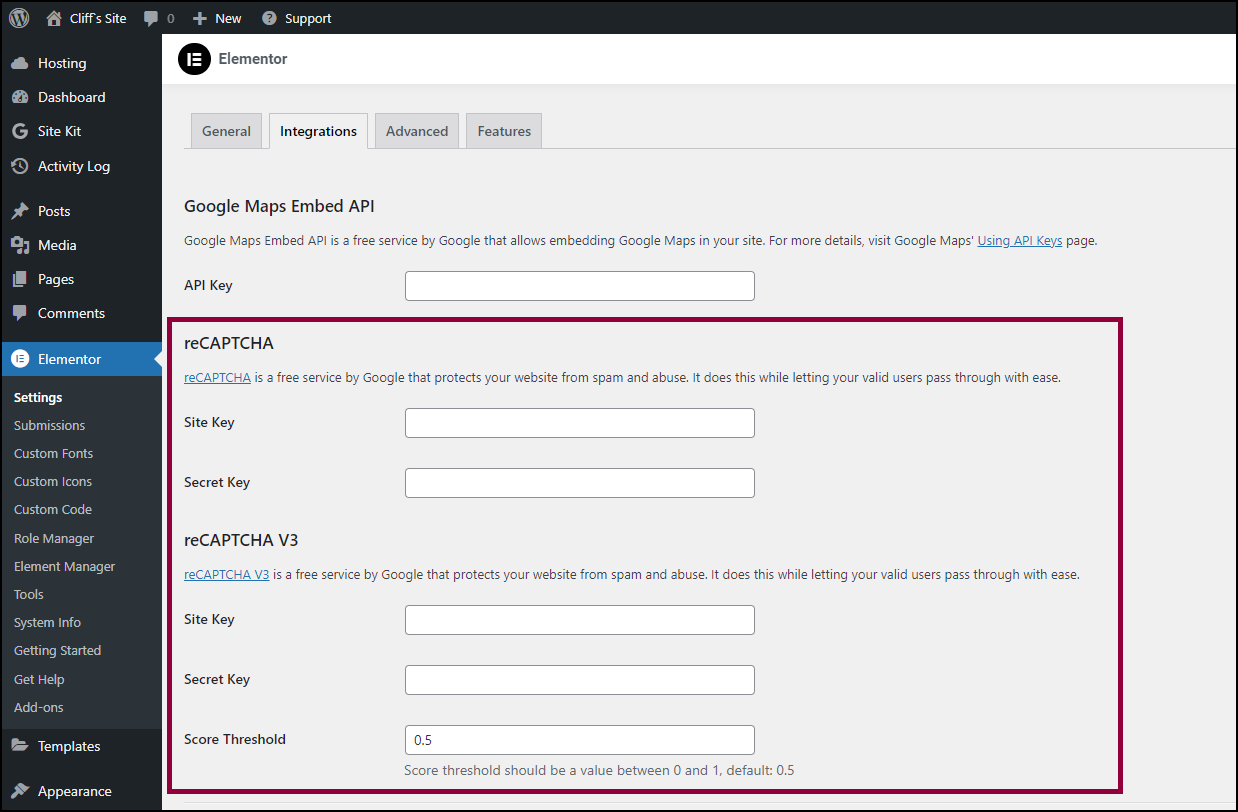
- Go to Elementor > Settings > Integrations.NotereCAPTCHA v2 is called reCAPTCHA in the Integrations screen.
- Copy the following from the Google tab and paste into the Elementor reCAPTCHA fields:
- Site Key
- Secret Key
- (Optional for v3) Add a Score Threshold. If bots manage to get around the reCAPTCHA, increase the score. For details, refer reCAPTCHA v3 | Google for Developers
- Click Save Changes.
Set up reCAPTCHA in form
Follow these steps:
- Login to WP Admin.
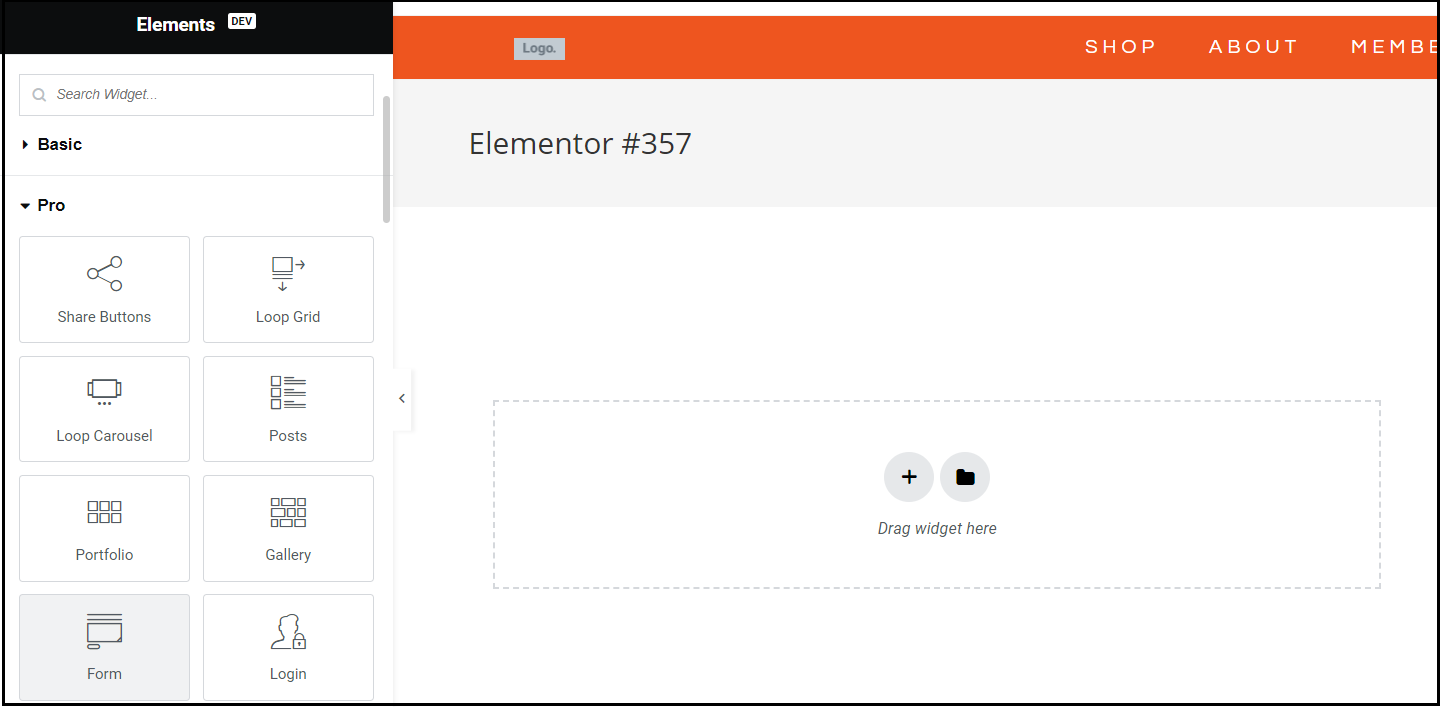
- Go to Add New Page.

- Click Edit With Elementor. An editable page opens in Elementor.

- Drag in a Form widget.
- Click the edit icon
 to edit your form. The Edit Form panel shows.
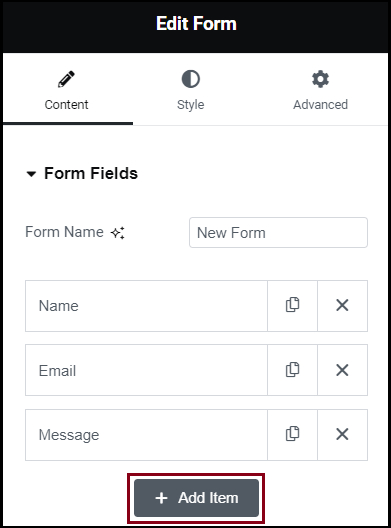
- Click Add Item.
- Enter the following:
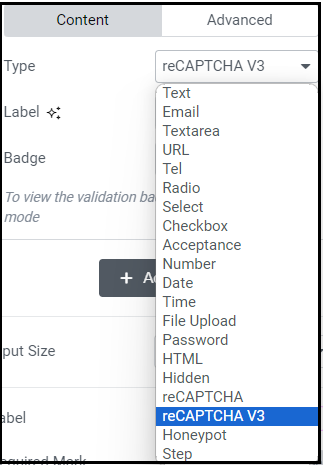
- Type – Choose reCAPTCHA3 or reCAPTCHA for v2.
- Label – Give a label to identify.
- Badge – Choose where to place the badge – right, left or inline.
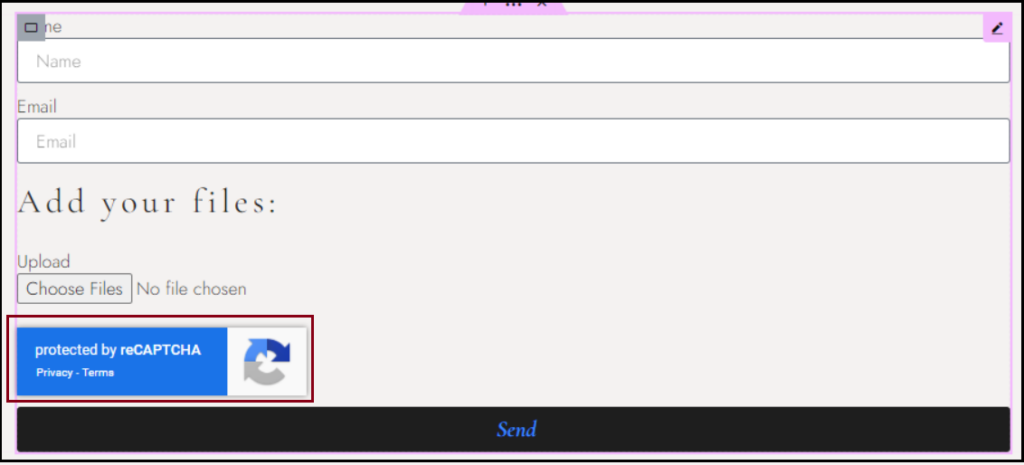
- Click Publish to save. You can also Save Draft.
You will now see the badge on the page.