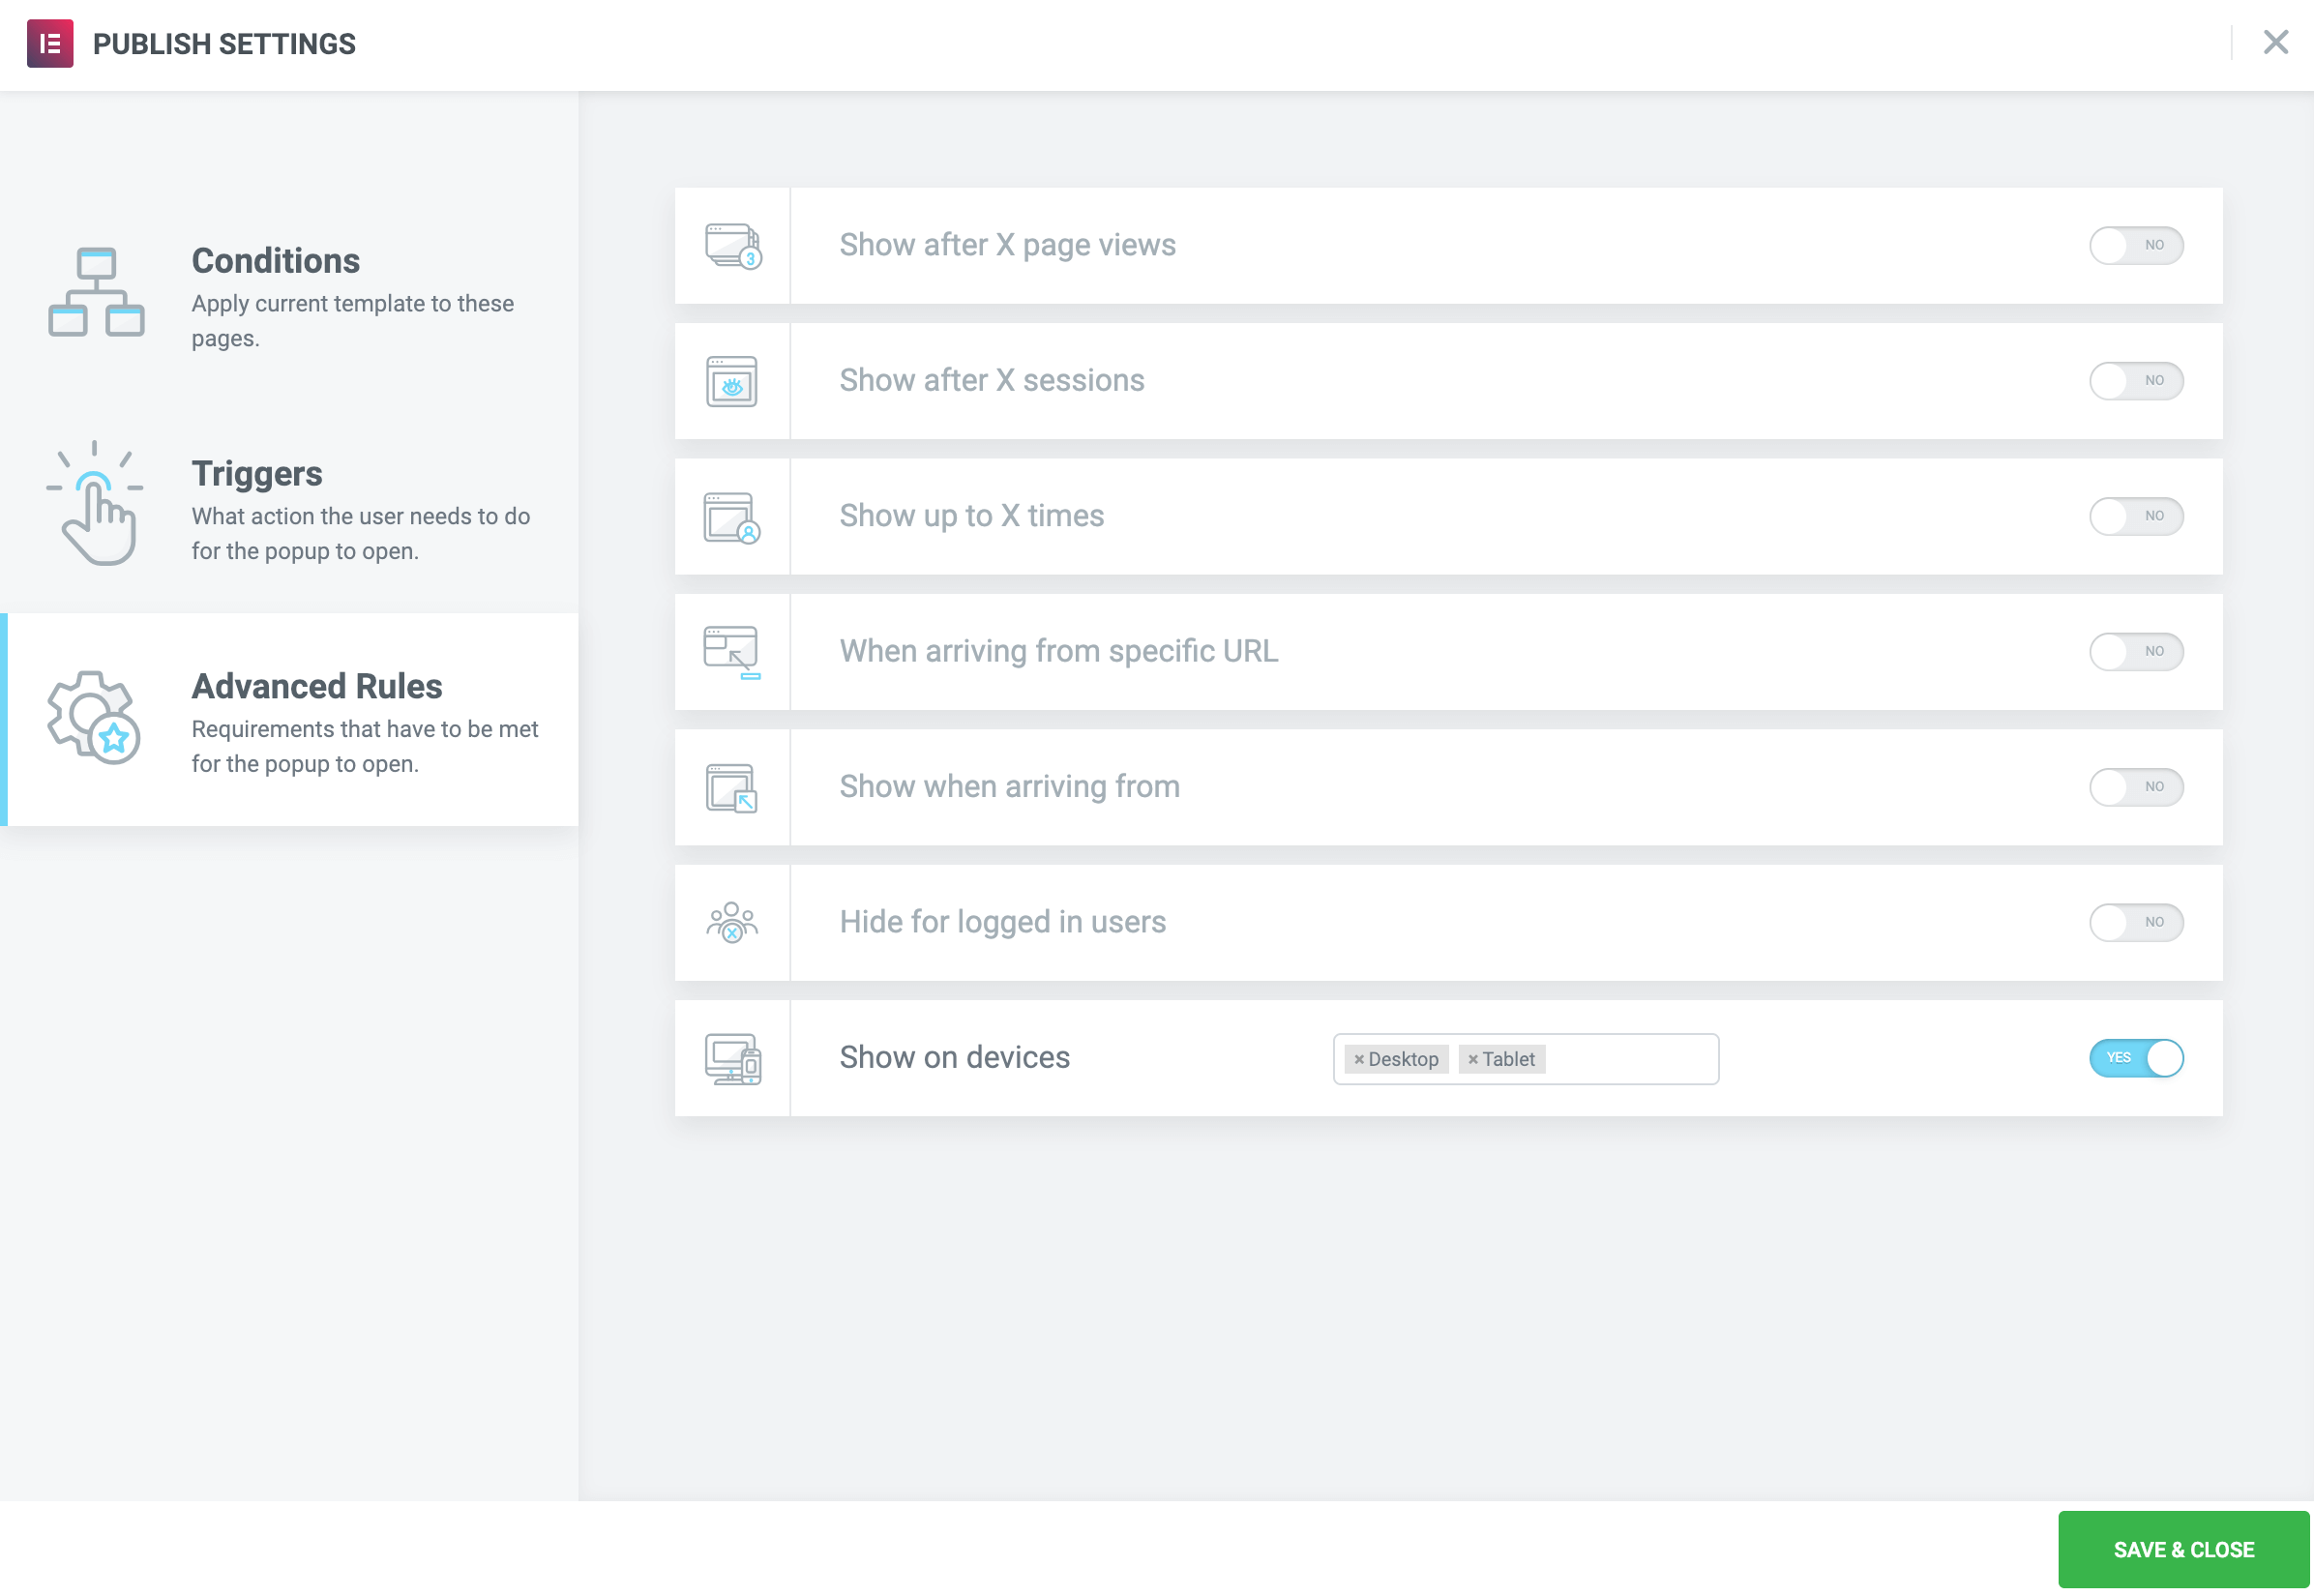
Fly-in popups are effective because they draw a user’s attention, but are relatively unobtrusive. The user’s experience isn’t completely disrupted, and yet the user knows that something of possible interest is available. For this example, we’ll wait for the user to reach the end of an article, and then we’ll popup an alert in the lower right corner that encourages her to read another article. We’ll show the popup on Desktops and Tablets, but not on Mobile devices.
Create Popup
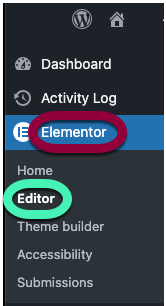
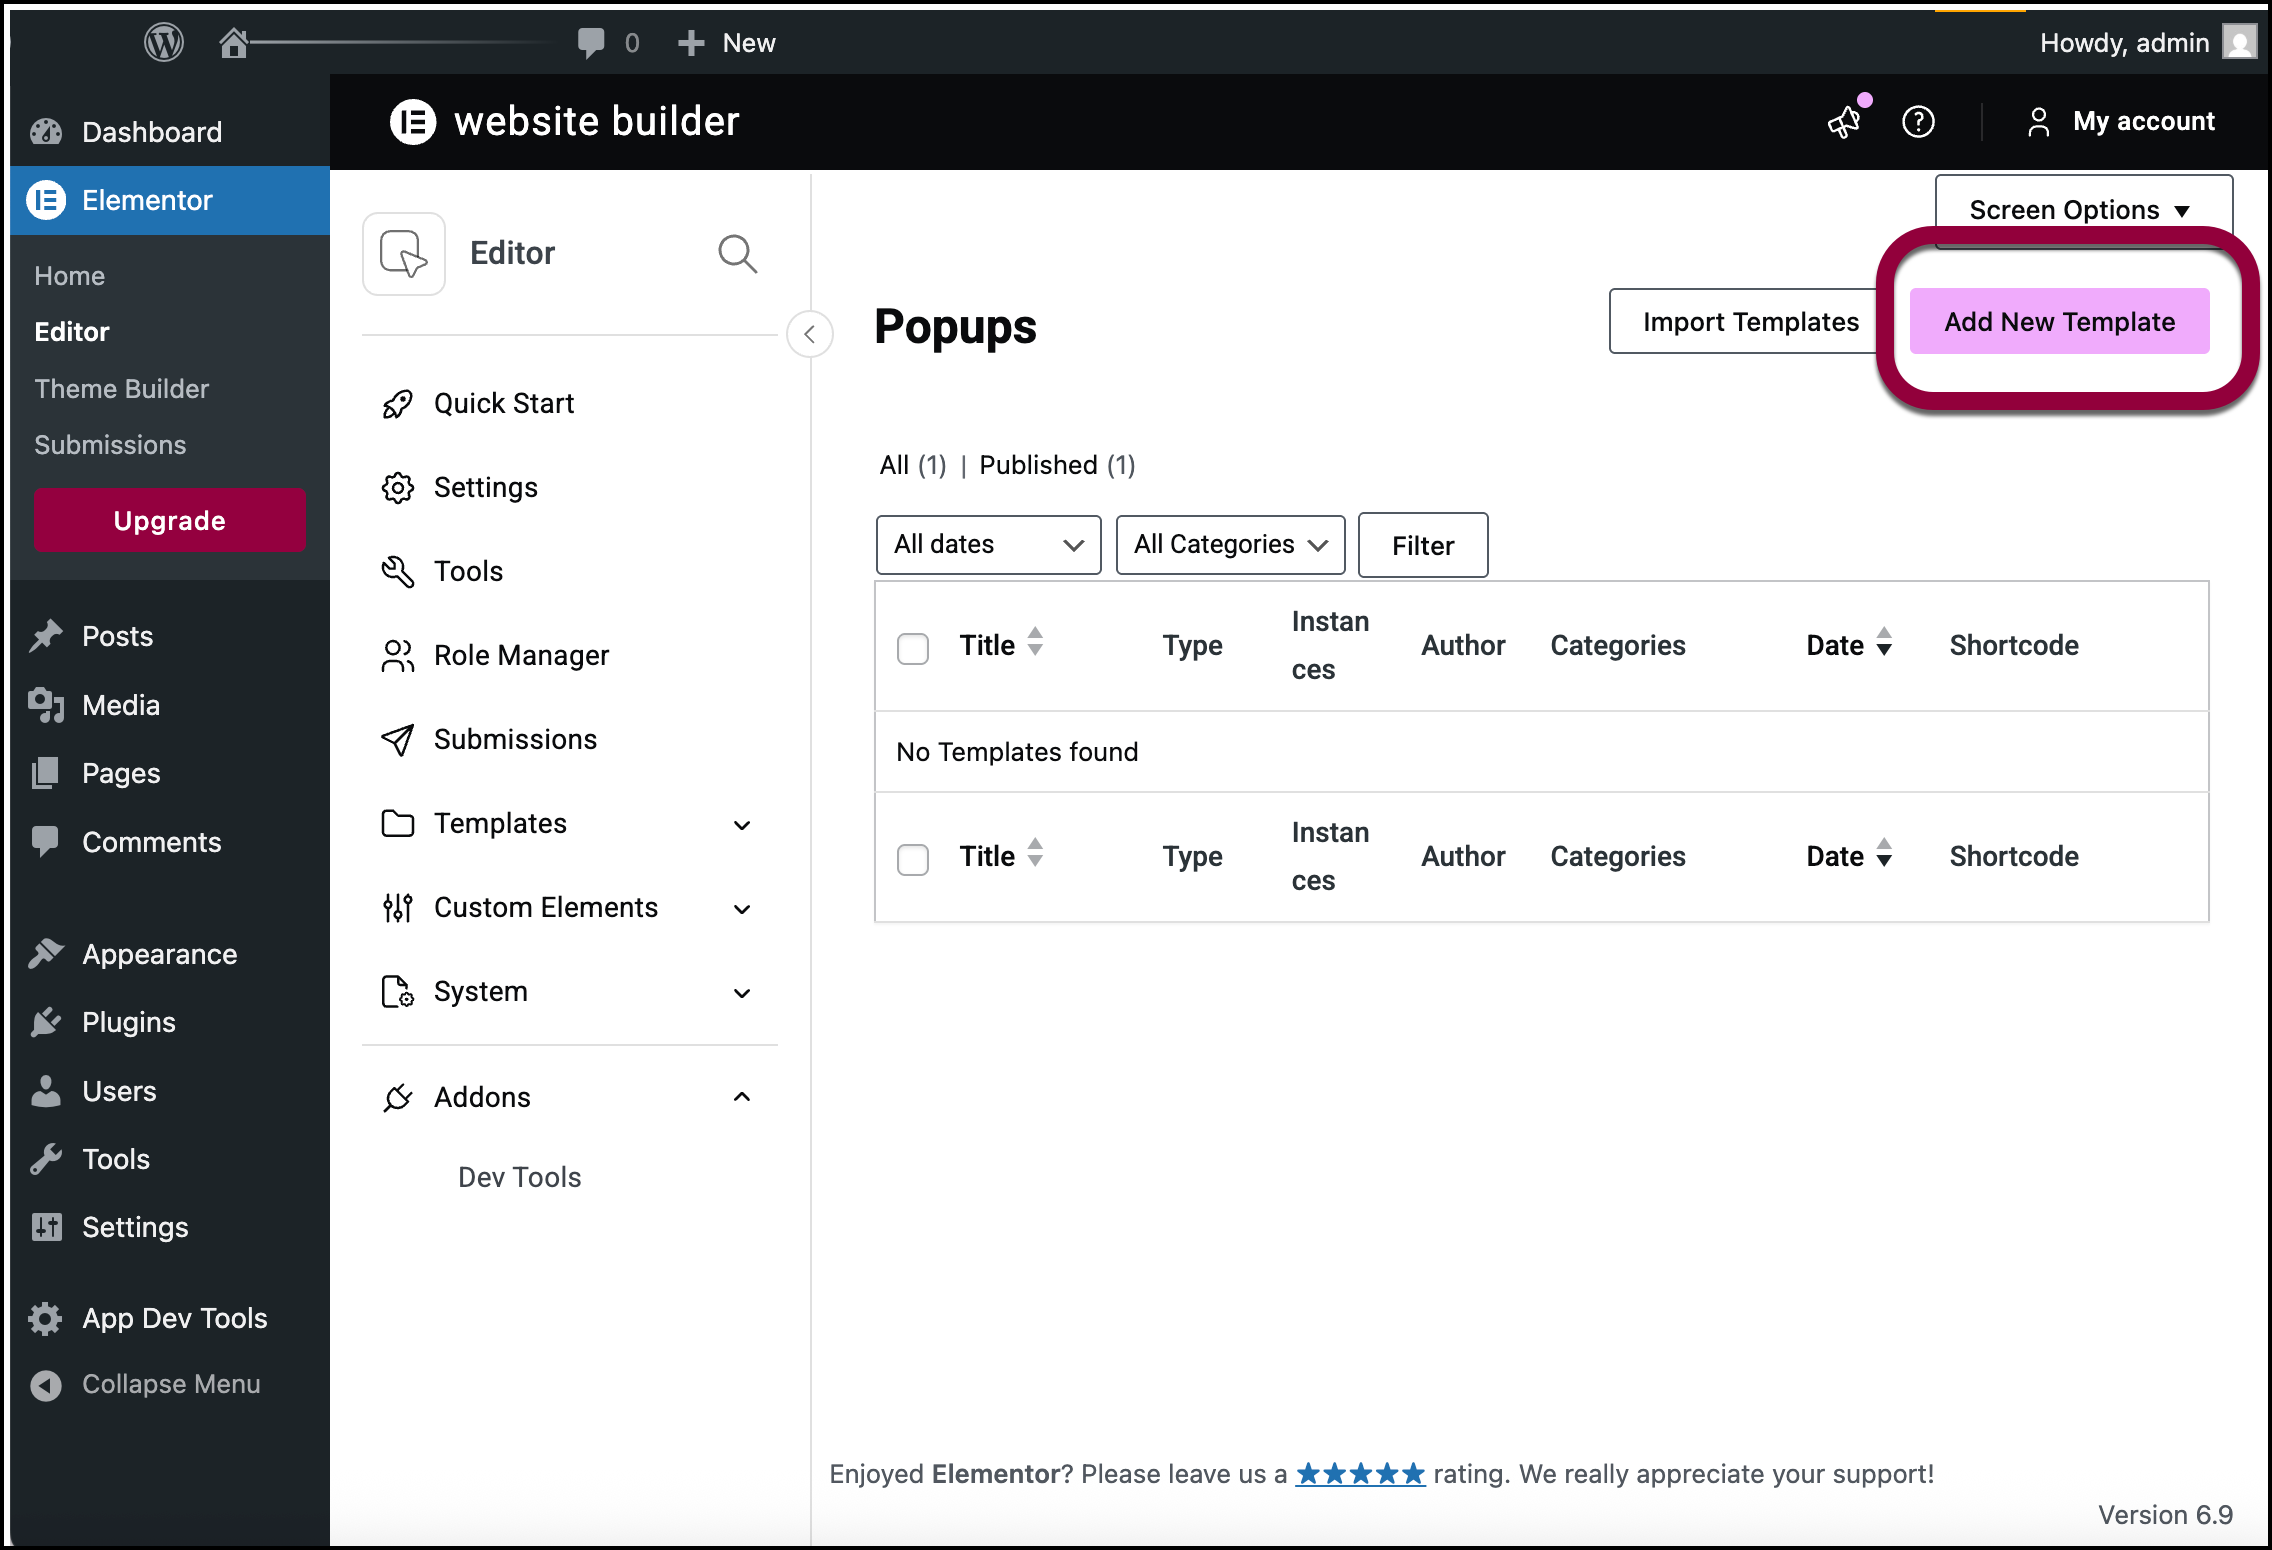
- From WP Admin, navigate to Elementor>Editor.
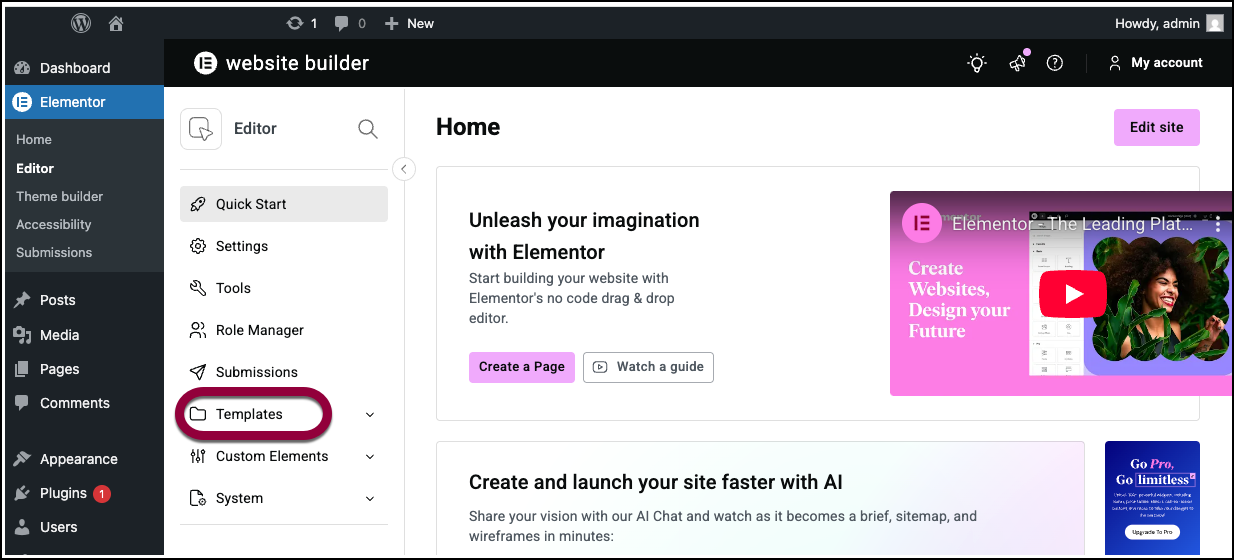
- In the left panel, open the Templates field.
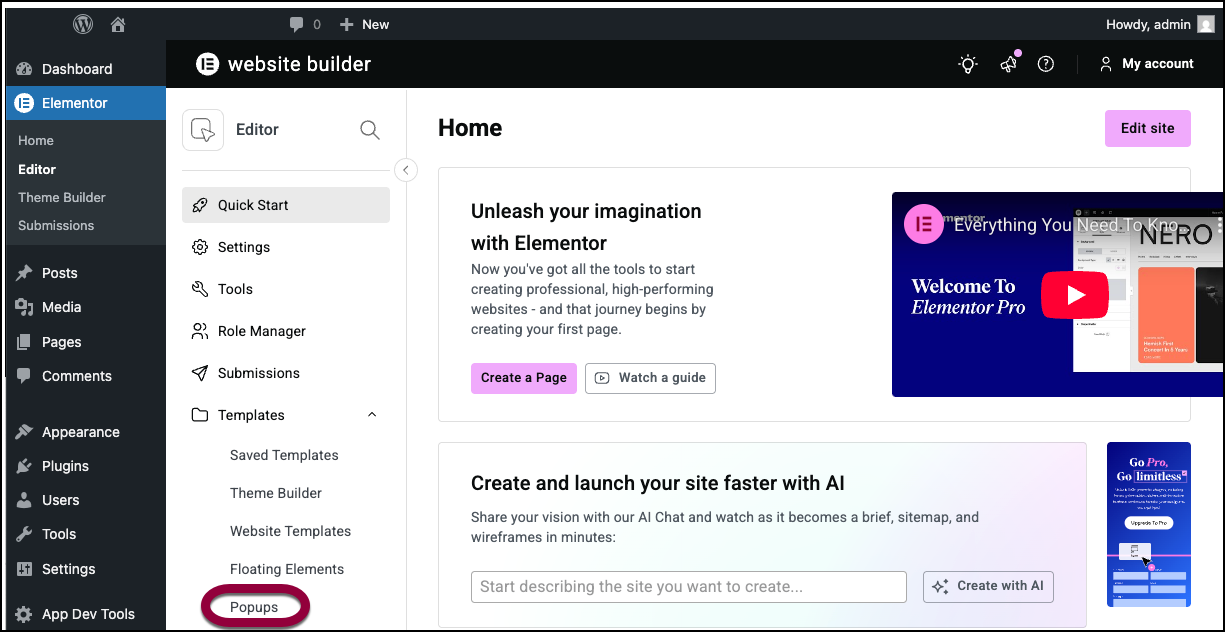
- Click Popups.
- Click Add new template.
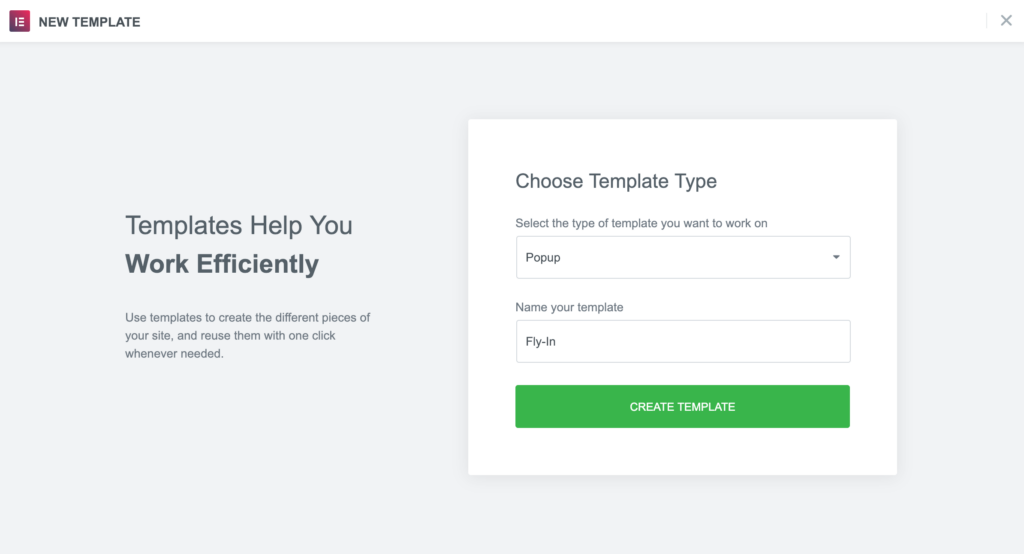
- Choose a template from the Library or create your own design
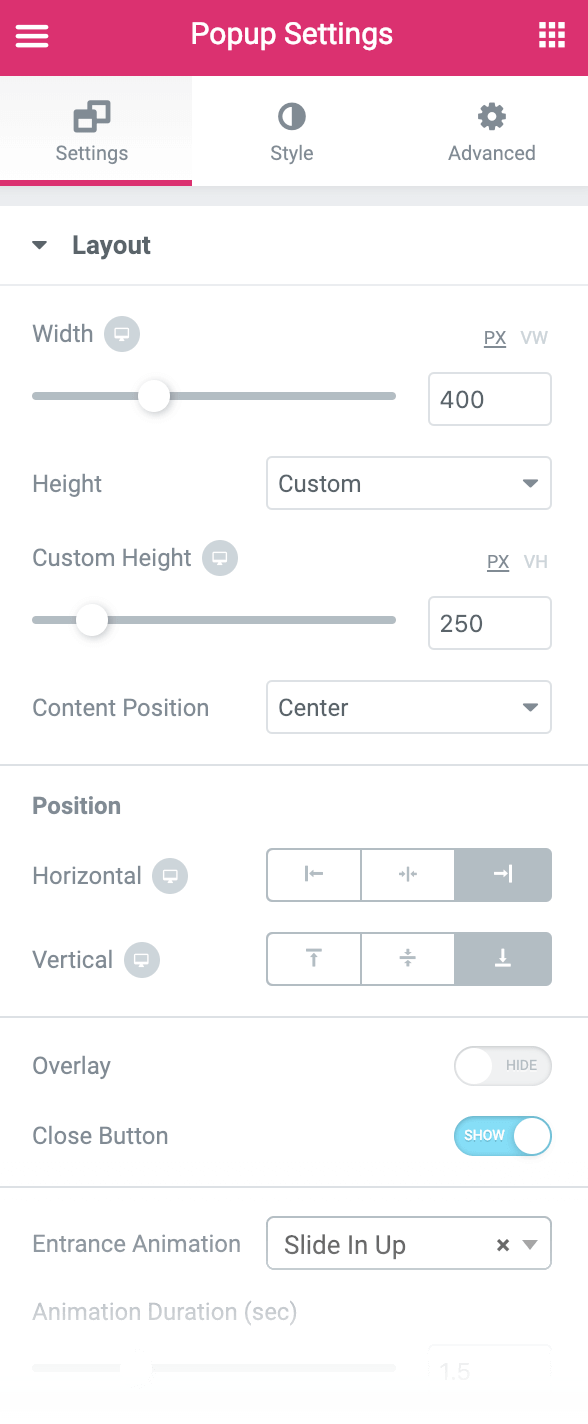
Popup Settings
Settings
- Set a custom width and height
- Set the Horizontal position to Center and the Vertical position to Center.
- Hide Overlay
- Show Close Button
- Set Entrance Animation to Slide In Up
Style
Change text, background image, border, and styling as needed.
Adjust Section Content
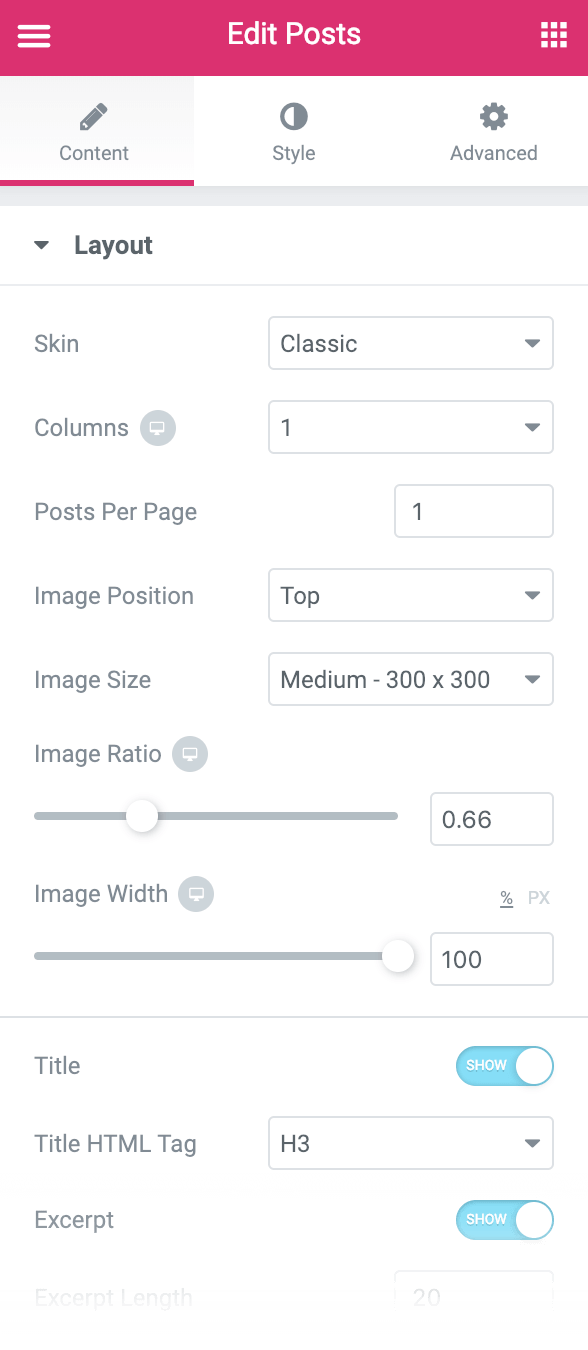
Change content as needed. We used a Headline widget and a Posts widget to show one post from a category of our choice.
Publish Settings
Conditions: Include: Singular > All Singular
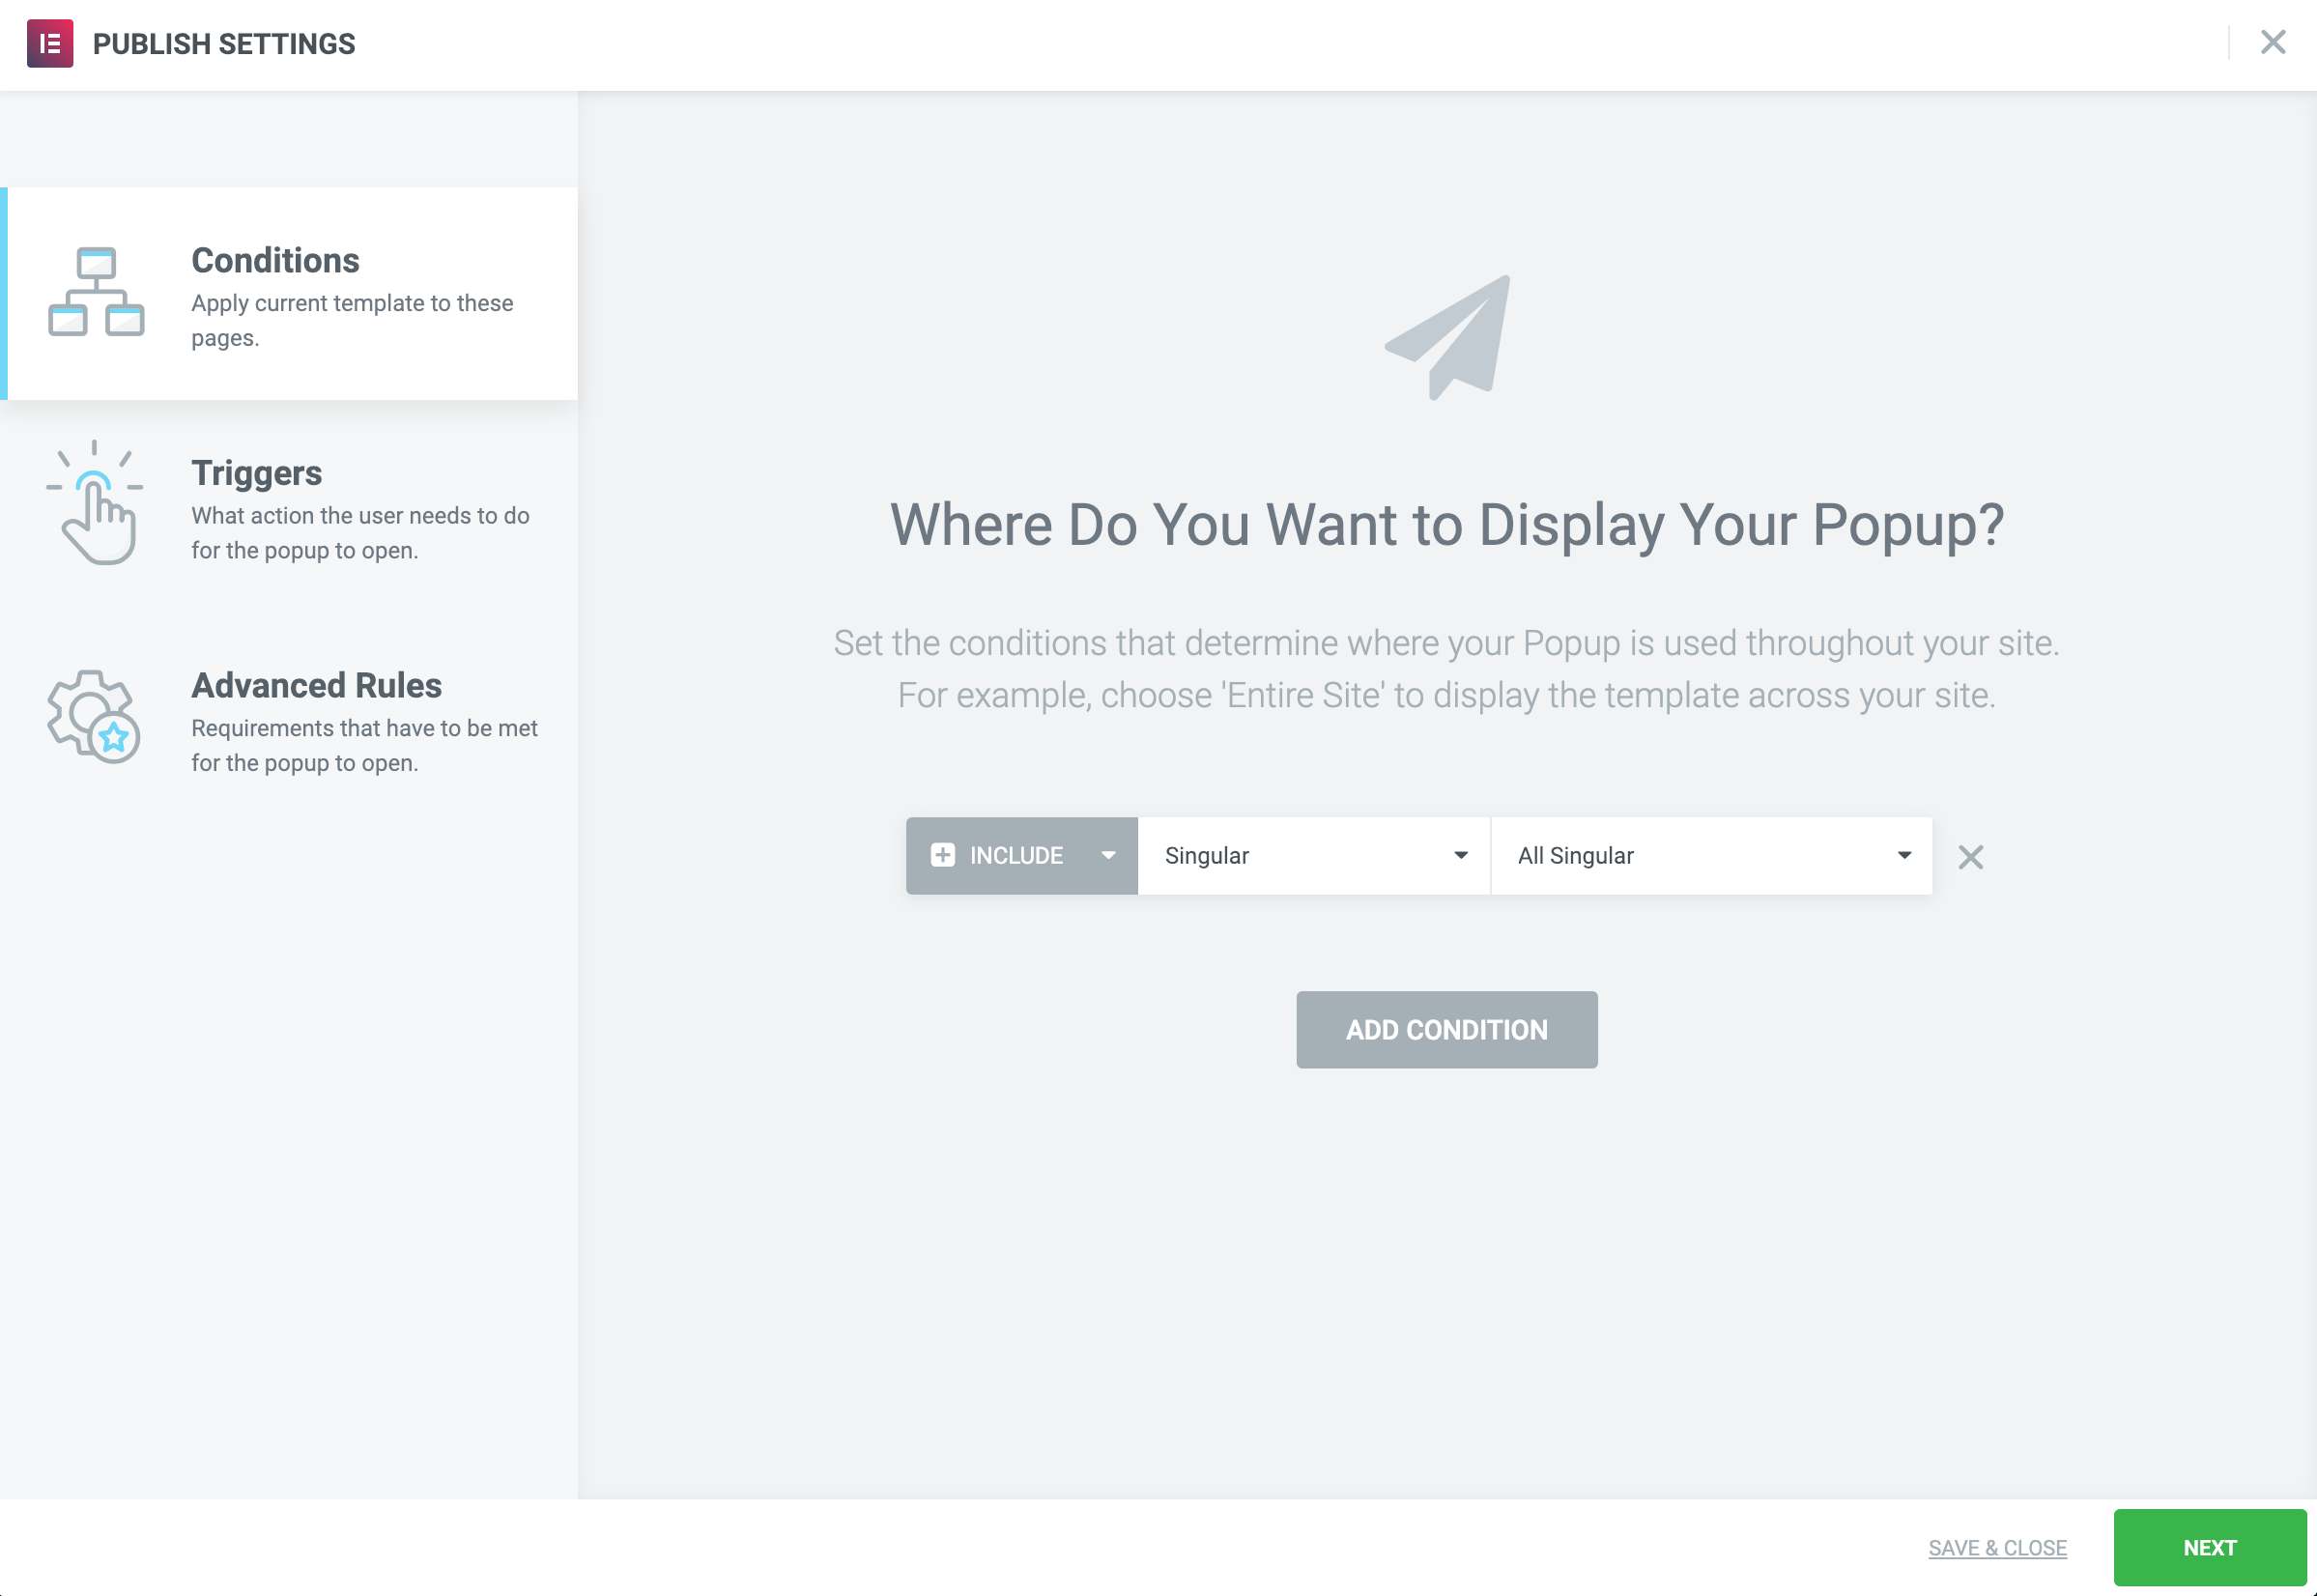
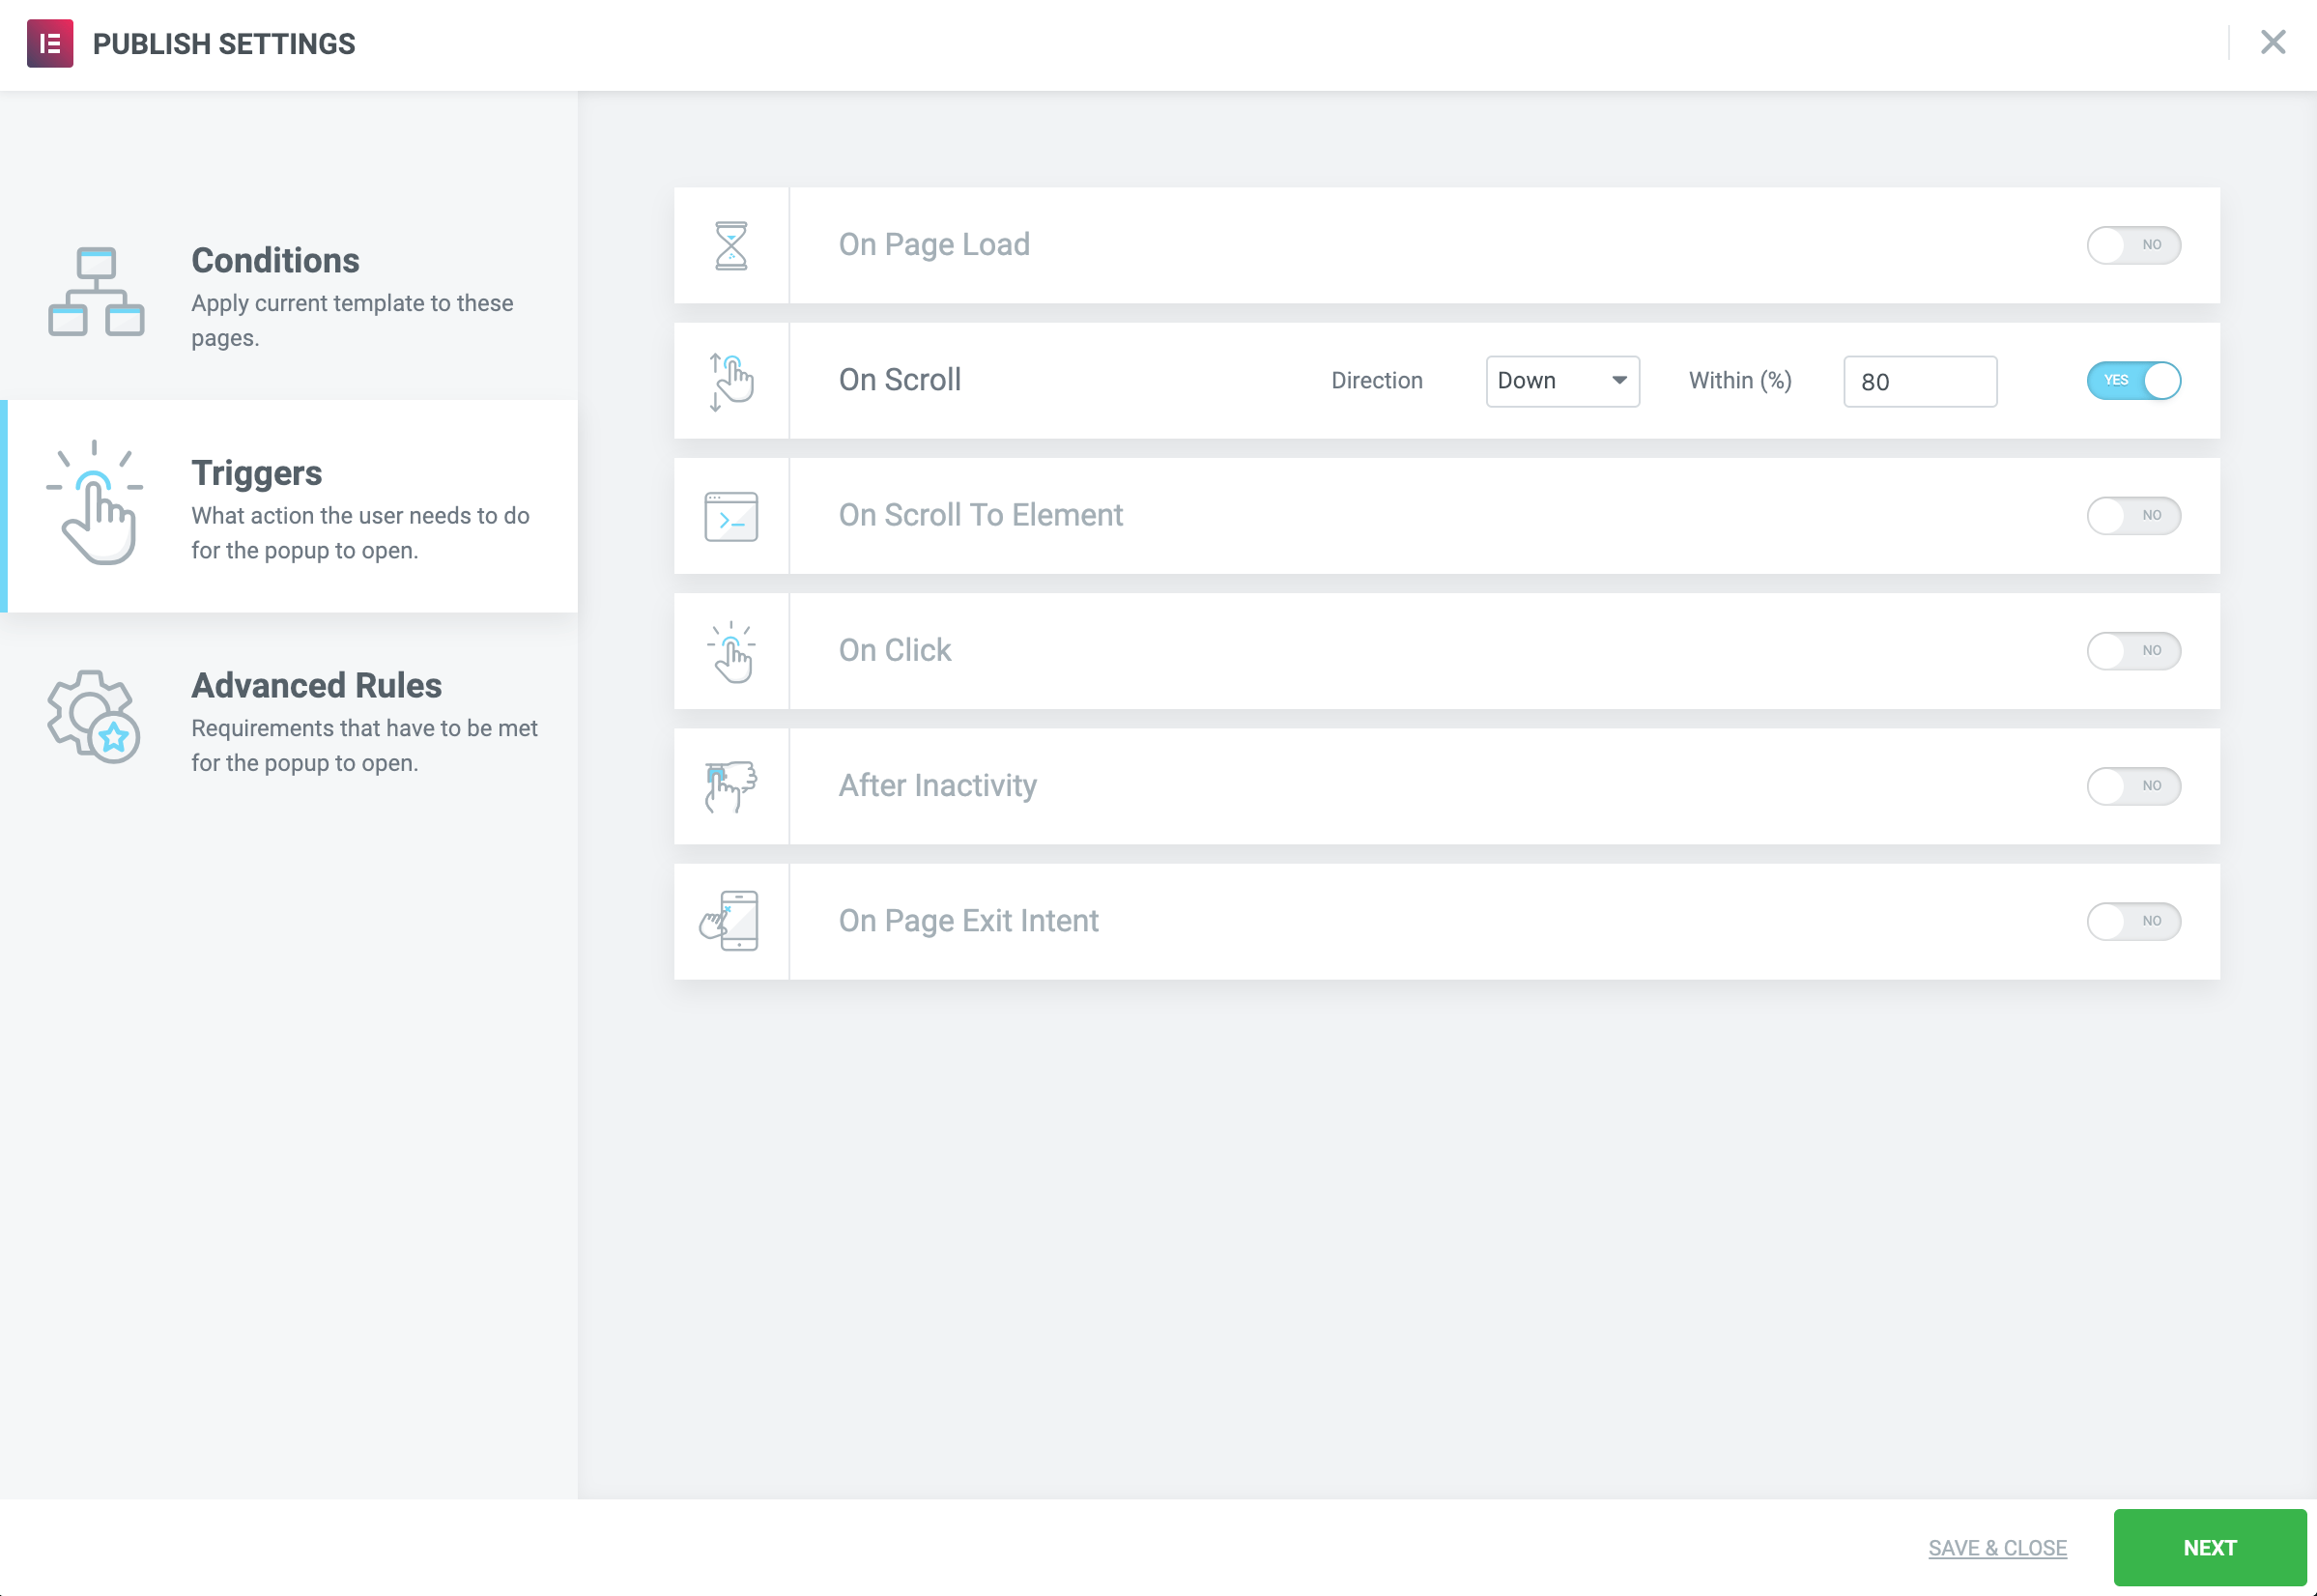
Triggers: On Scroll, Down, at 80%
Advanced Rules: Show only on Desktop and Tablet devices.
