Add the widget

Add the widget to the canvas
- In Elementor Editor, click +.
All available widgets are displayed. - Click or drag the widget to the canvas. For more information, see Add elements to a page.
What is the Page Title widget?
The Page Title is a dynamic widget that automatically retrieves the title of the page directly from the WordPress editor. Although the page title can only be replaced or deleted in the Elementor Site Identity settings or WordPress Customizer, using the Page Title widget, you can customize font size, font family, color, alignment, letter spacing, text shadow, background color or image, padding, margin, and more.
Common use case
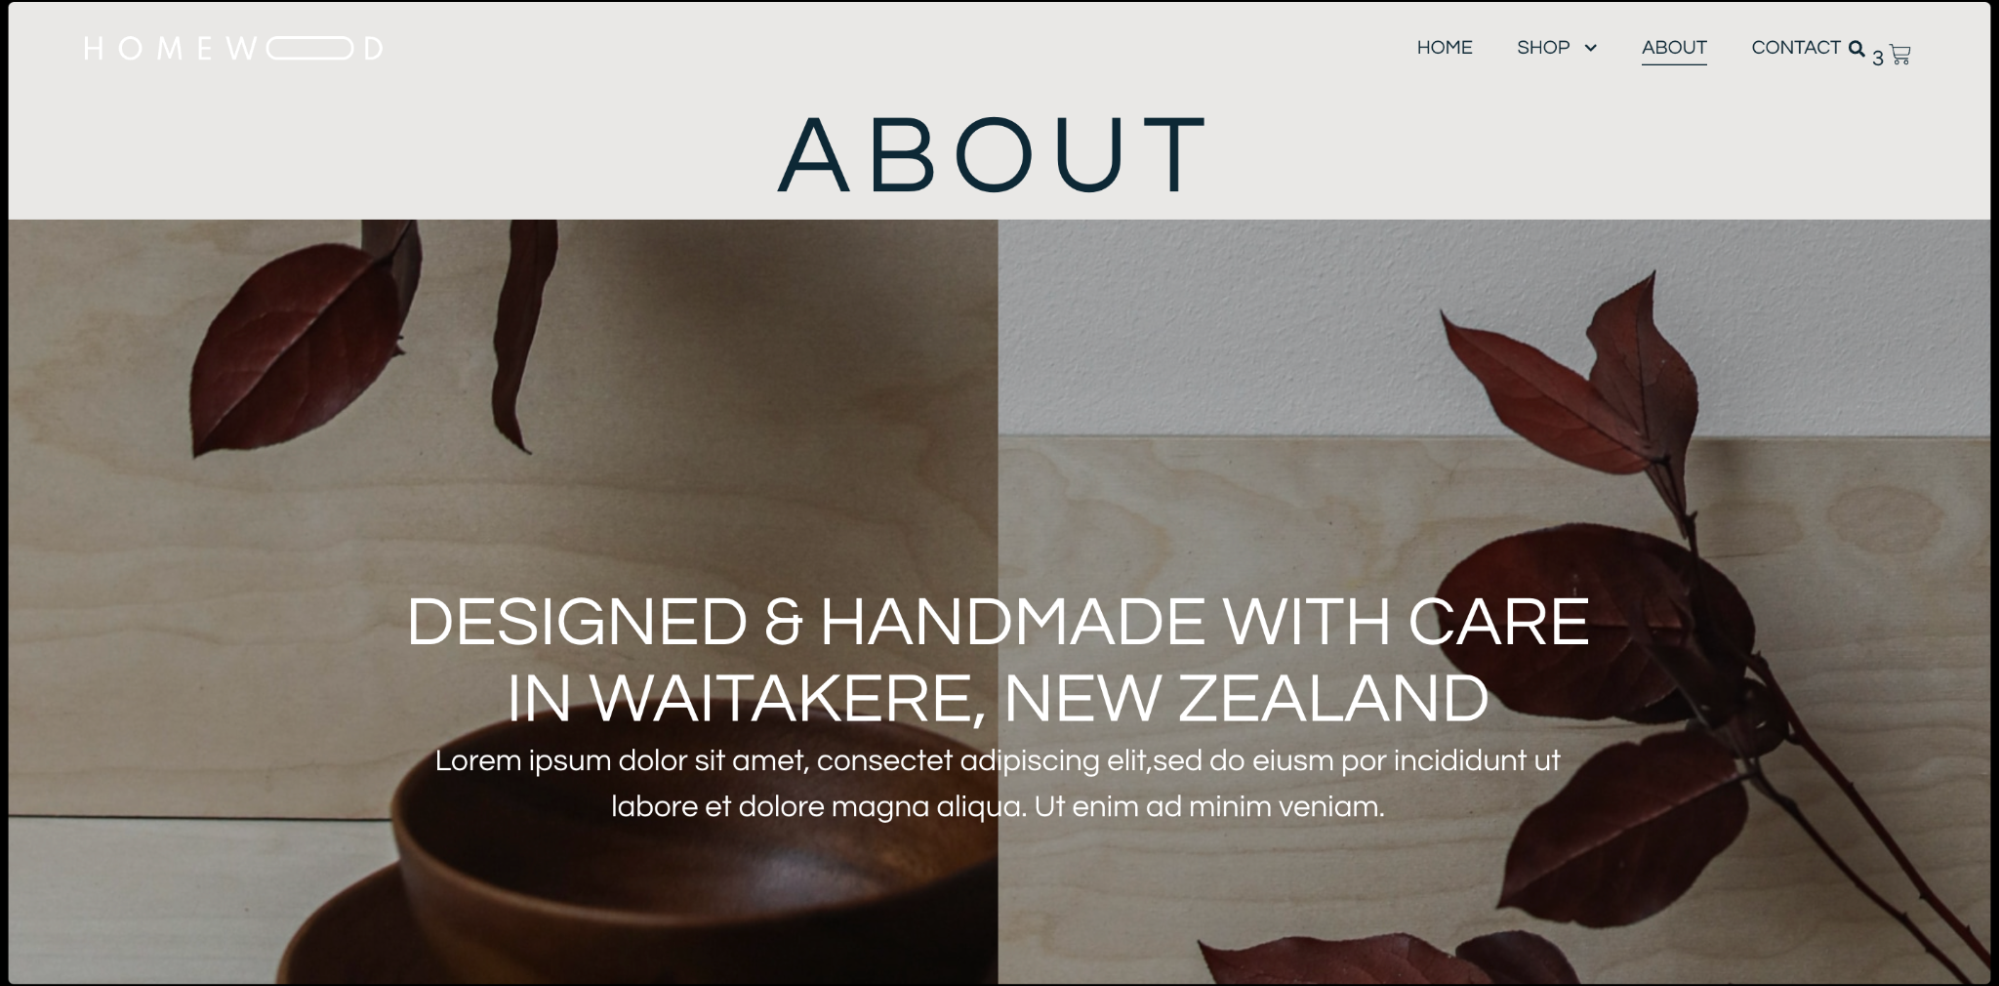
Mark is building an e-commerce website to sell handmade crafts and artisanal products. To maintain a professional and cohesive look, they want to ensure that all the page titles are visually appealing and consistent across the site.
By using the Page Title widget, Mark dynamically displays the title of each page, automatically fetching the titles that are set in the WordPress editor. Additionally, Mark customizes the appearance of these titles, adjusting their size, color, typography, and alignment to match the brand’s style guide.
Additional use cases
- Showcase event titles with consistent styling on an event management platform.
- Present course titles with uniform formatting on an online learning platform.
- Highlight service titles with customized typography on a business website.
Add a Page Title widget: Step-by-step
- Add the Page Title widget to the canvas. For details, see Add elements to a page.
- In the Content tab, the Title field automatically fetches your page title from Elementor Site Identity settings or WordPress Customizer. Whatever title you have set for your page in the WordPress editor will be displayed here.
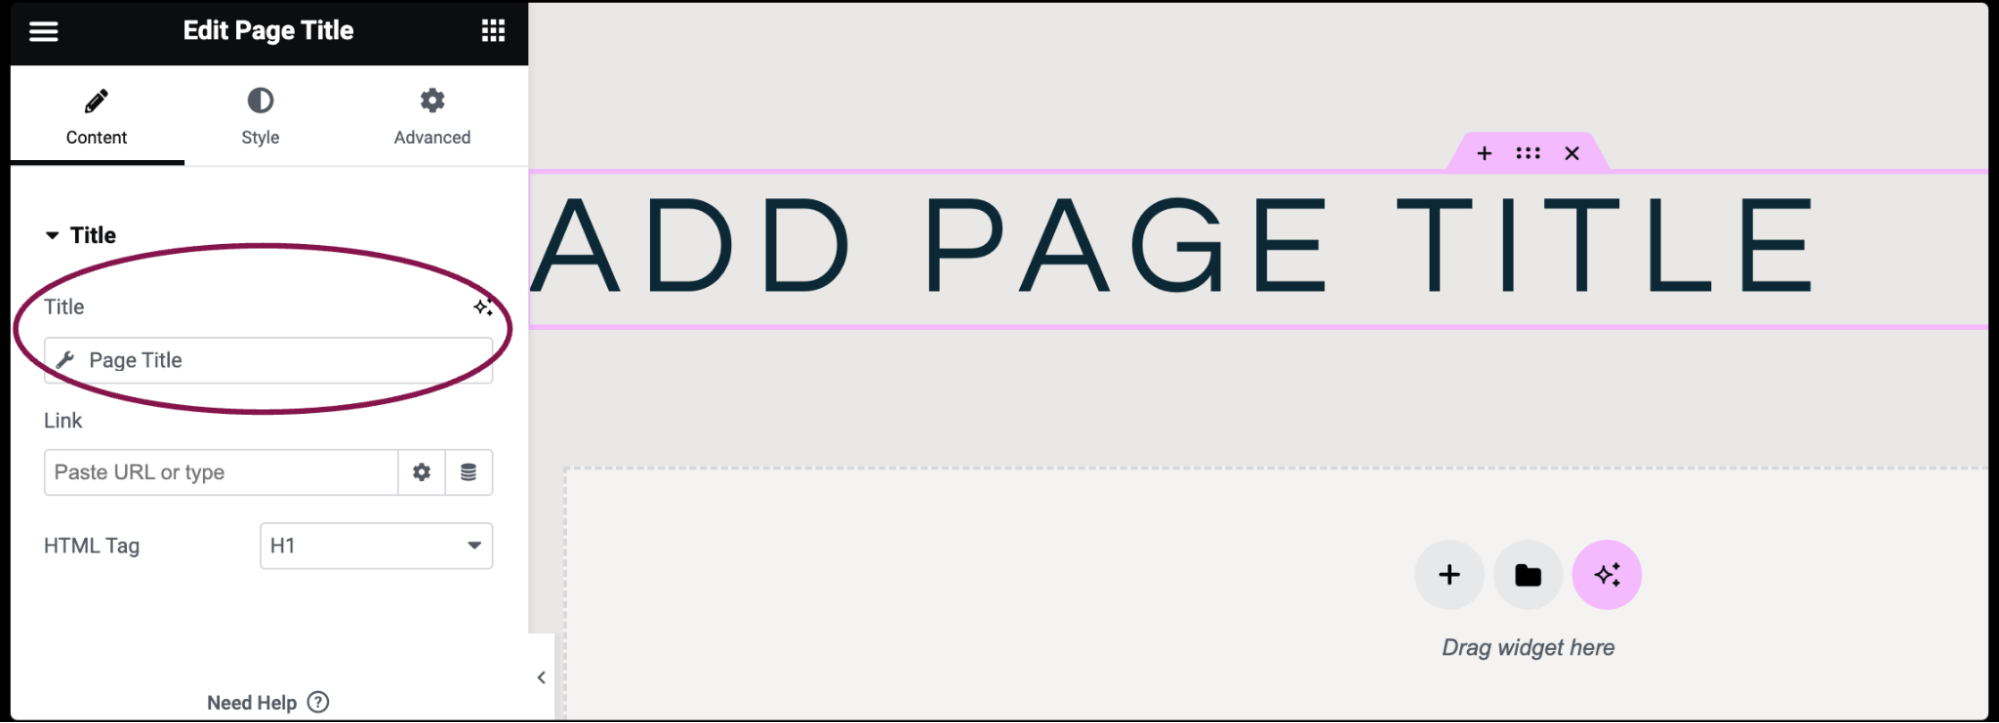
- (Optional) Under the Title field, you get Settings and Advanced options.
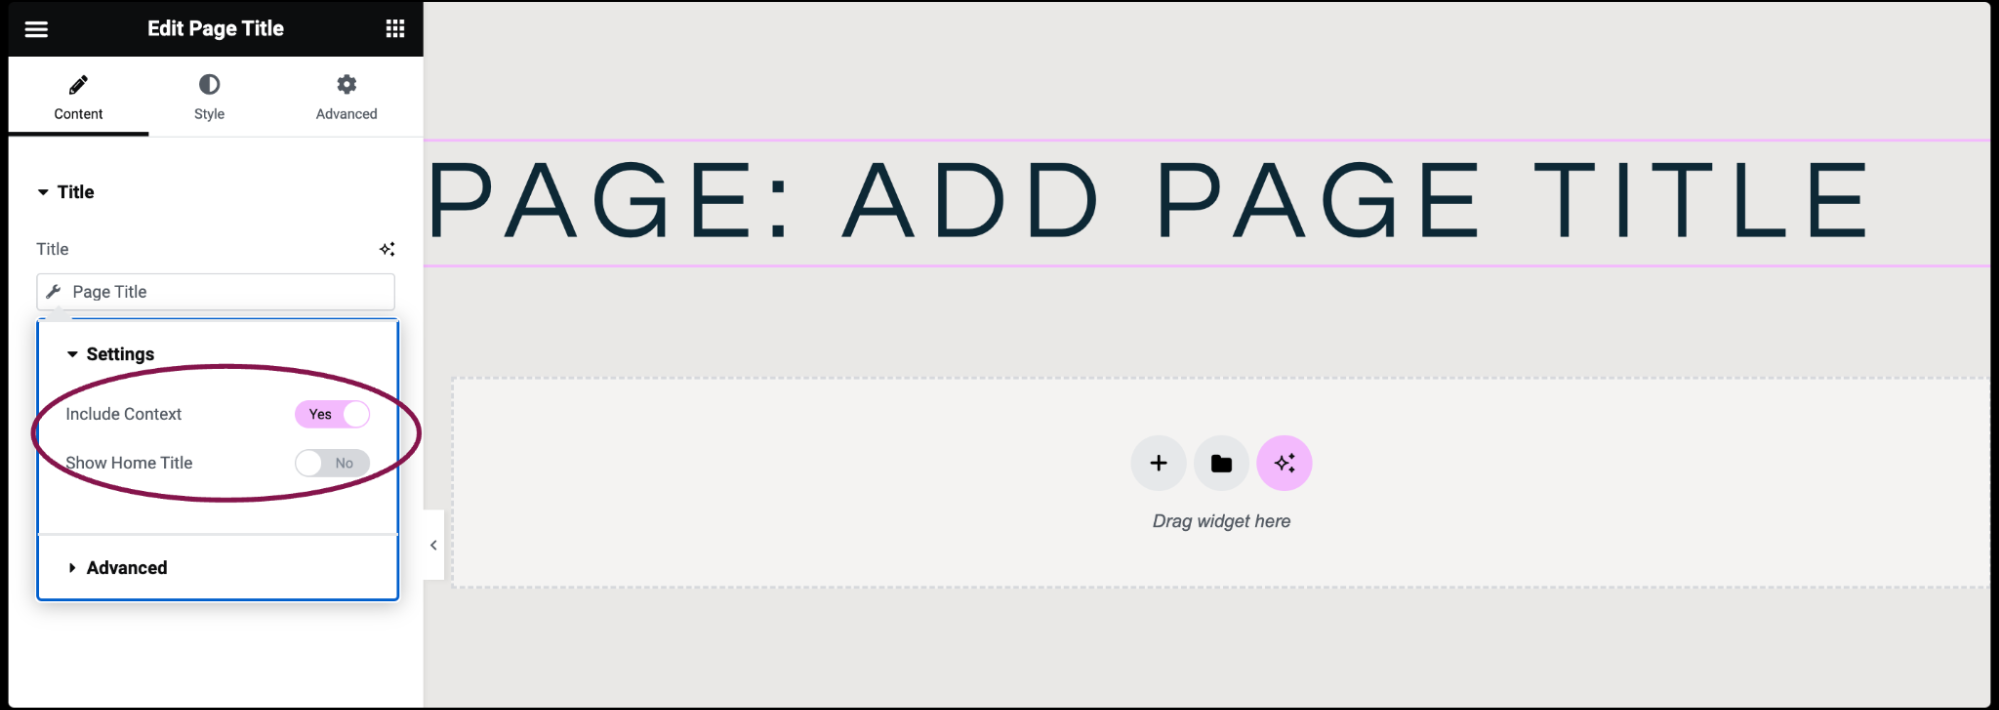
- In the Settings box, slide Yes to Include Context and Show Home Title.
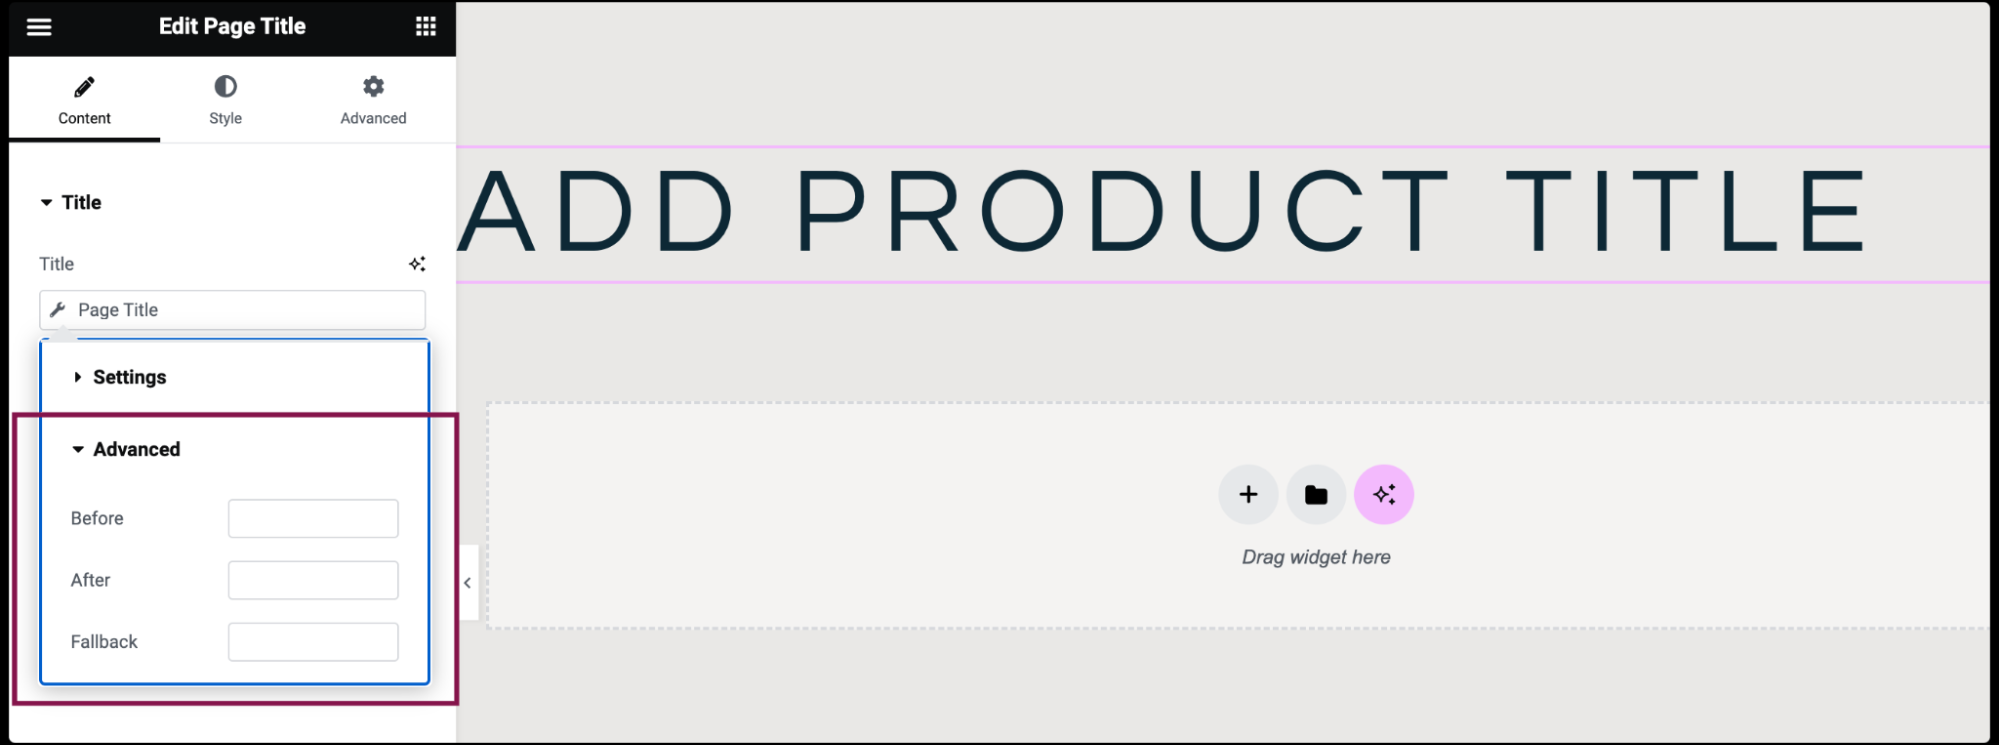
- In the Advanced box, you can add Before, After, and Fallback text.
- In the Settings box, slide Yes to Include Context and Show Home Title.
- (Optional) Under the Title field, you get Settings and Advanced options.
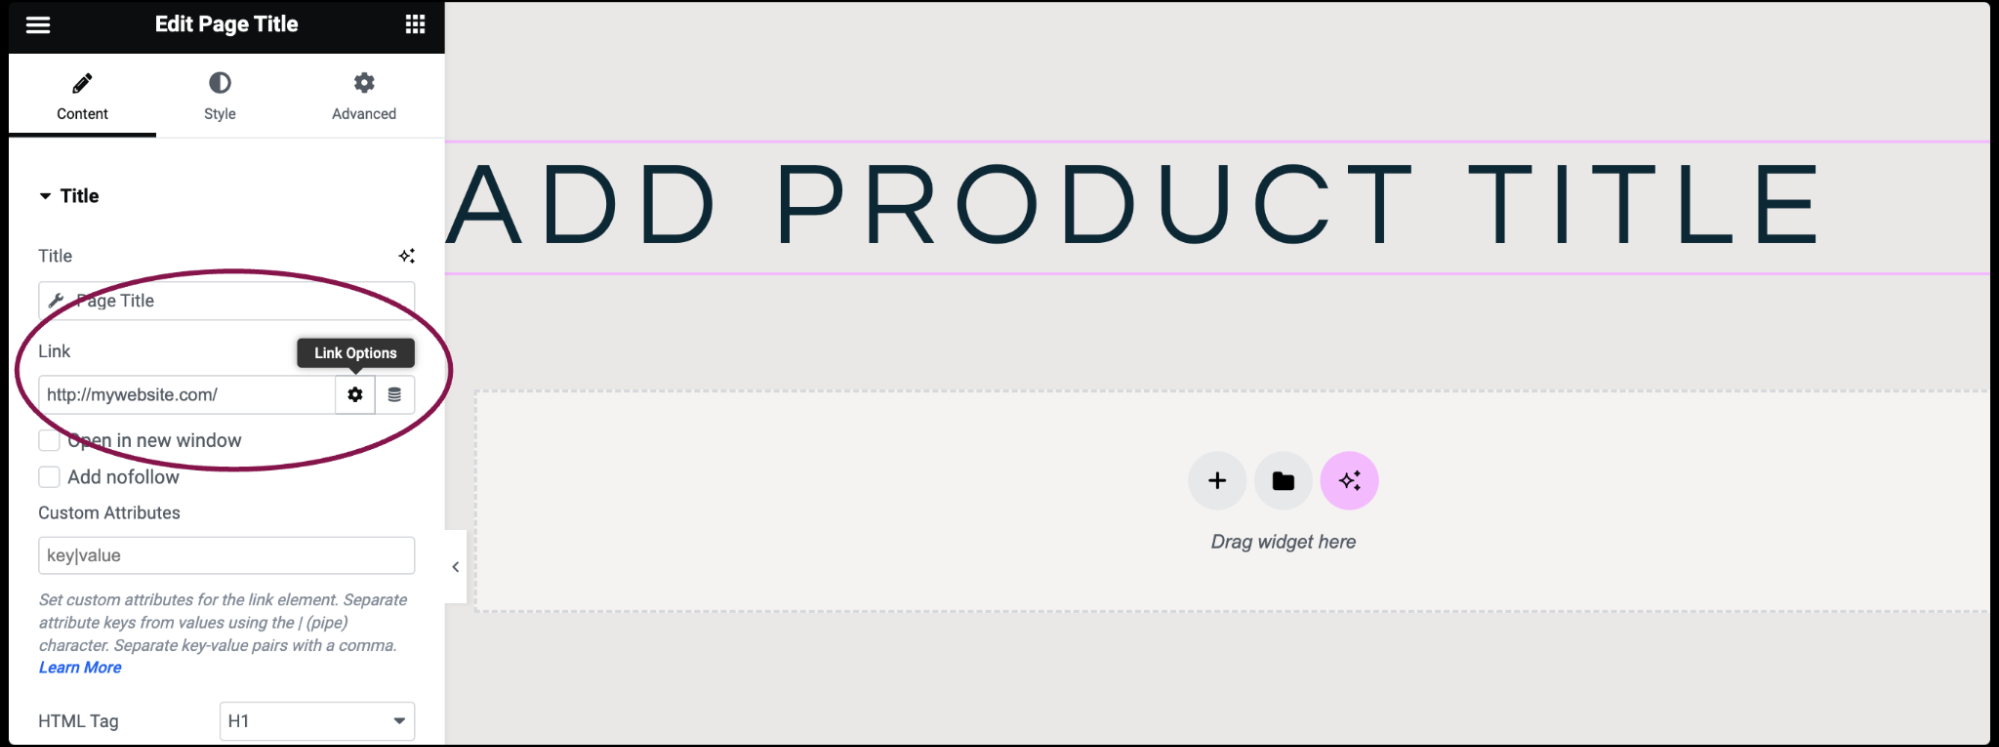
- In the Link field, enter the URL to make your page title clickable. Click the icon
 to set more link options.
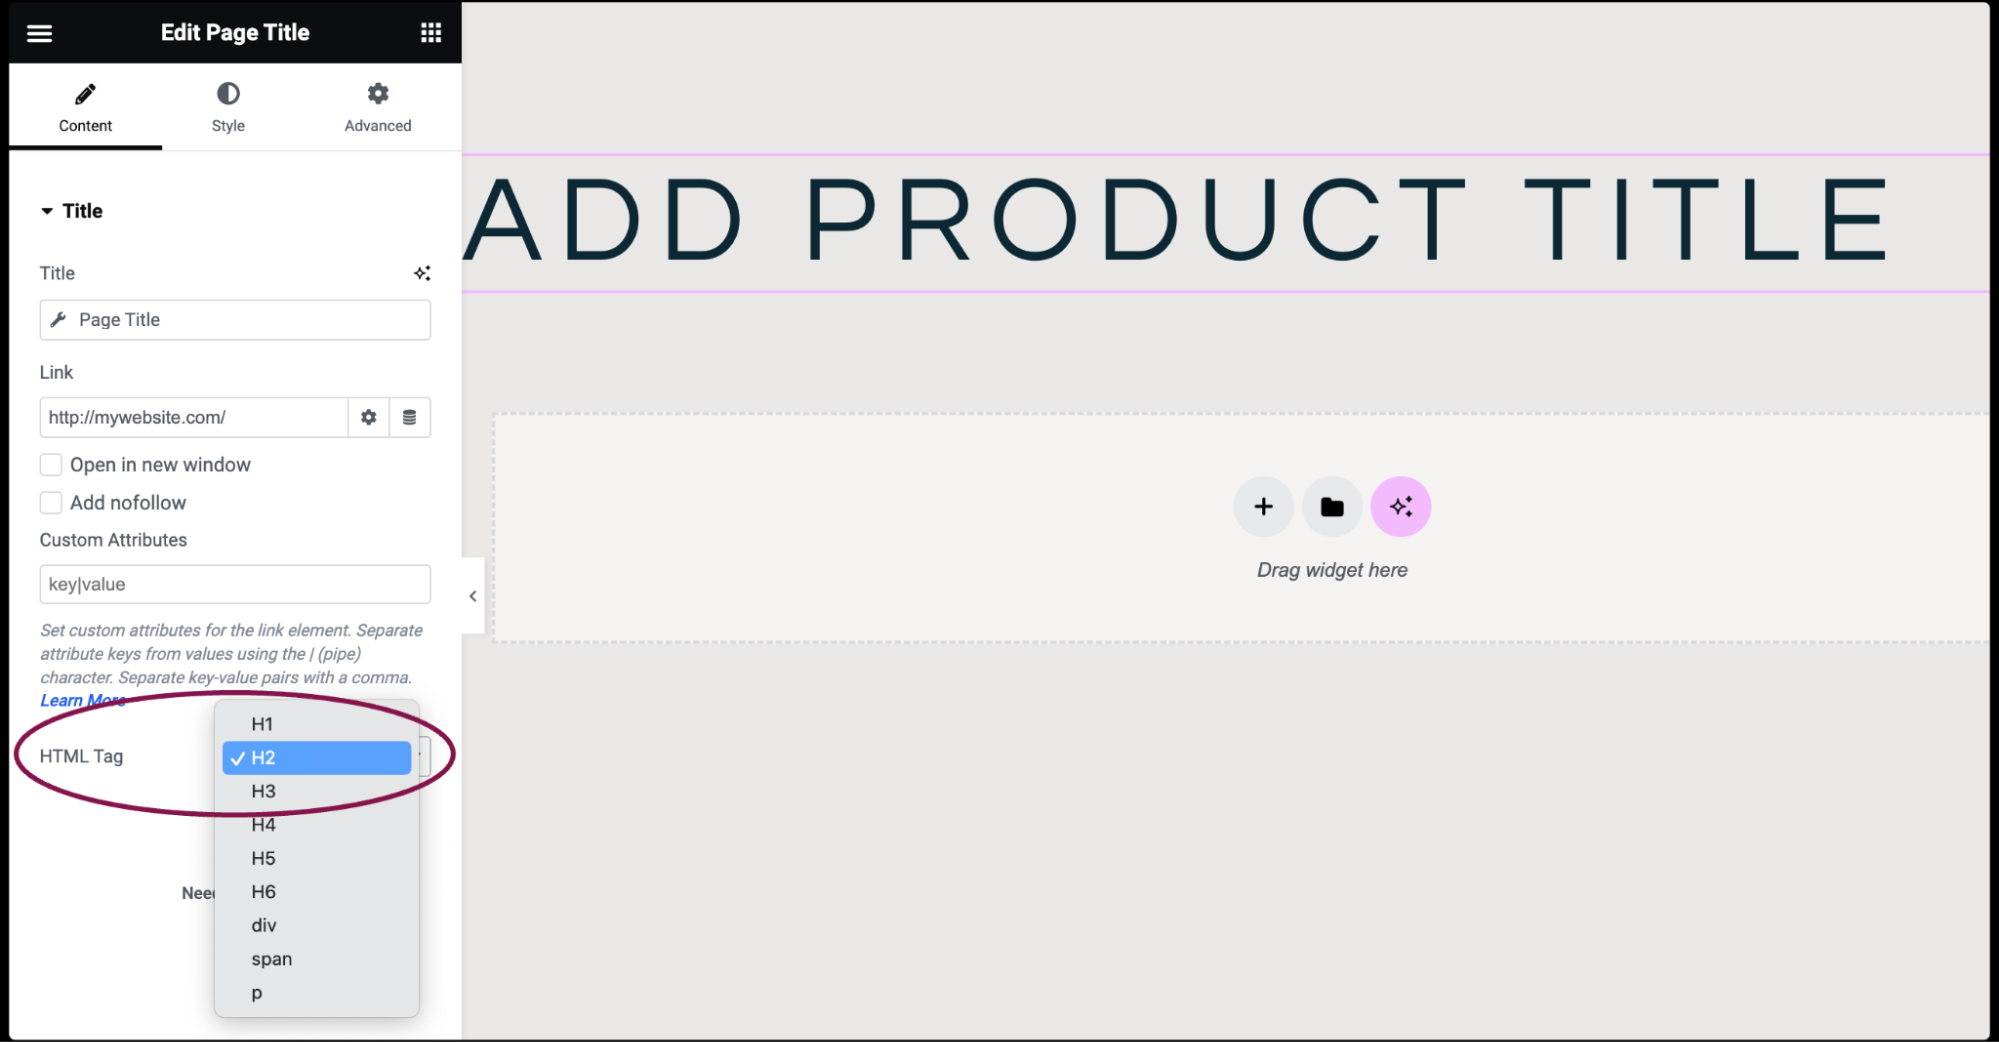
- In the HTML Tag field, choose the page title’s tag. Options include H1 to H6 (heading tags), Div, Span, or Paragraph.
Settings for the Page Title widget
You can customize your widgets using content, style, and other advanced parameters, offering you great flexibility in tailoring them to your needs. Click the tabs below to see all the settings available for this widget.
Content tab
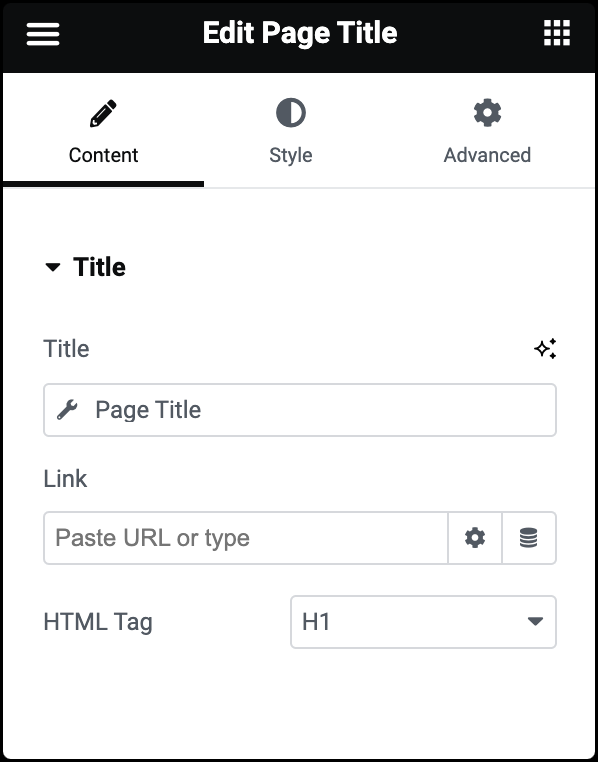
Title
The title is automatically retrieved from the page’s settings in WordPress.
Link
Enter the URL to make your page title clickable. Click the icon ![]() to set more link options.
to set more link options.
HTML Tag
Choose the HTML tag used for the page title text. You can choose from H1 to H6 (heading tags), Div, Span, or Paragraph,
Style tab
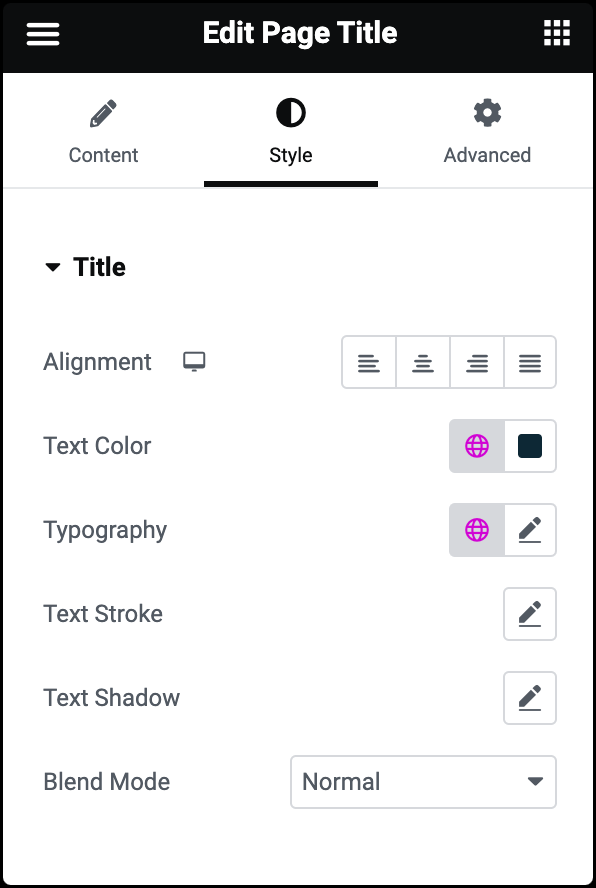
Alignment
Determines how the page title text is aligned within its container. Options included are left right, center, or justified alignment.
Text Color
Choose the color of the Page Title text.
Typography
Adjust typography options such as font family, weight, style, and size for the page title text. For more details, see Typography.
Text Stroke
Click the 🖋️ icon to apply a stroke effect to the page title. Learn more about Text Stroke.
Text Shadow
Click the 🖋️ icon to add a shadow to the page title. Learn more about shadows.
Blend Mode
Apply layer blending effects to the page title text, such as Normal, Multiply, Screen, Overlay, etc.
Advanced tab
The Advanced tab provides options to control widget position, adjust spacing, add custom code, and more.
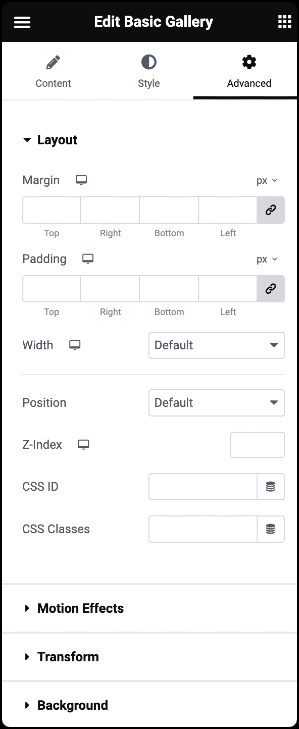
Advanced
Learn more about the Advanced tab settings.

