Heading element

Last Update: May 27, 2025
Who can use this feature:
This article is for Editor v4 users. If you’re using Editor v3, check out the relevant article here: Heading widget

Add and delete the element

Menu widget button Heading element 1

To access and use a widget:

  1. In Elementor Editor, click +.
    All available elements are displayed.

  2. Click or drag the element to the canvas. For more information, see Add elements to a page.

To delete the element:

  1. On the canvas, select the element by clicking it.
  2. Press the delete key on your keyboard. For more information, see Delete elements from a page.

What is the Heading widget?

Headings or titles draw attention to the most important sections of your site. The Heading widget is used to insert and customize page headings without using any code.

See all the options available with the Heading element.  

Common use case

Alex is building a website for a bakery. At the top of the homepage, they add a prominent heading with the text Baking With Love and select the <h1> HTML tag for SEO benefits. They also customize the typography to make the title stand out, using a warm, inviting font style that aligns with the bakery’s brand identity.

Example

4 Set the size 2 Heading element 3

Additional use cases

  • Blog post titles and subtitles.
  • Create testimonial headings.
  • Interactive Call-to-Action (CTA) titles.

Adding a Heading element: Step-by-step​

In the example below, we’ll create an eye-catching Heading for a bakery.

Add a Heading element 

To add a Heading element:

  1. Add the heading widget to the canvas. For details, see Add elements to a page.
    enter the heading title 2 Heading element 5
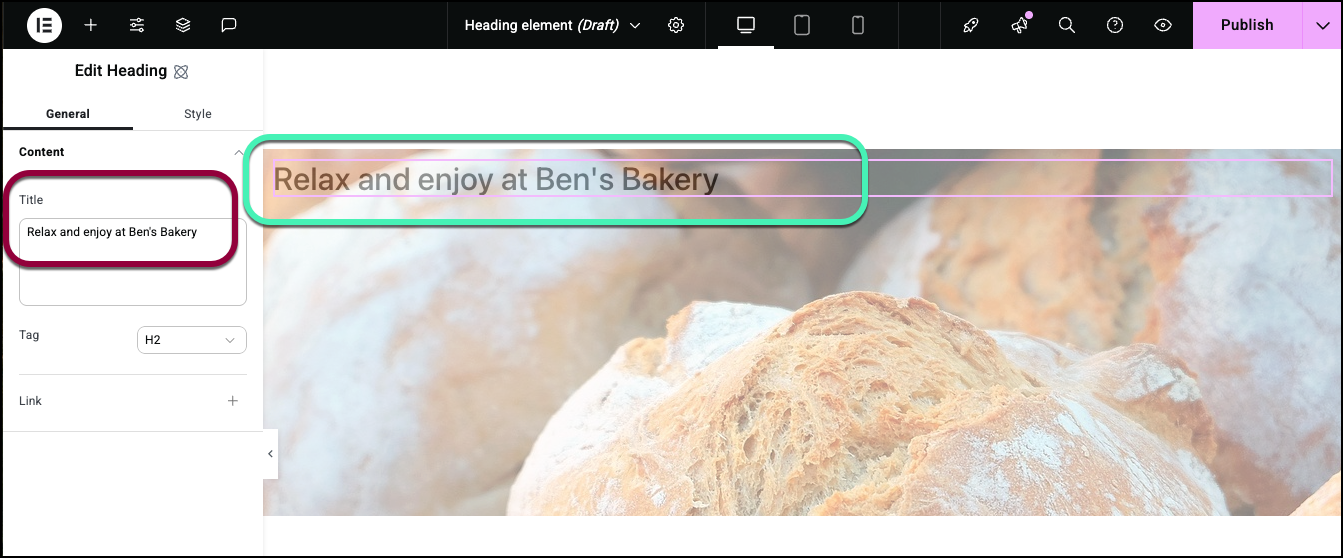
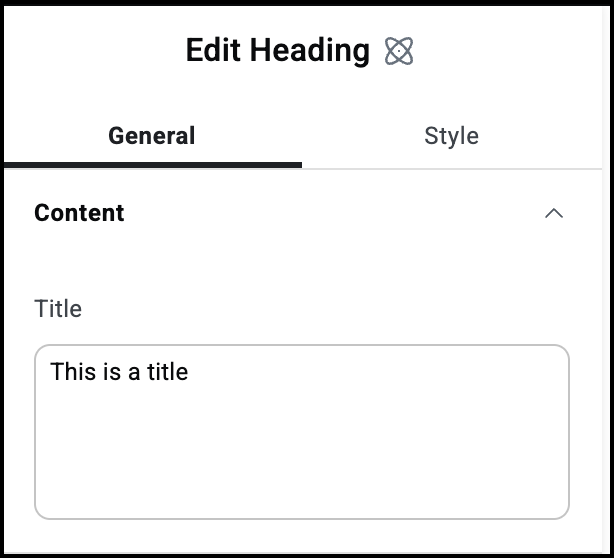
  2. In the General tab, under Title, add the main text for your heading.
    2 click the plus sign 1 Heading element 7
  3. To make a clickable heading, click the plus sign next to Link.
    3 enter the link url 1 1 Heading element 9
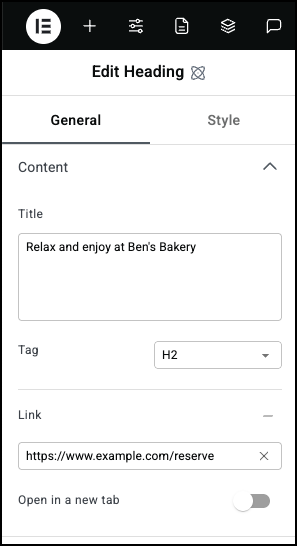
  4. Enter the destination URL you want visitors to go to in the Link field.
    4 Leave as H2 Heading element 11
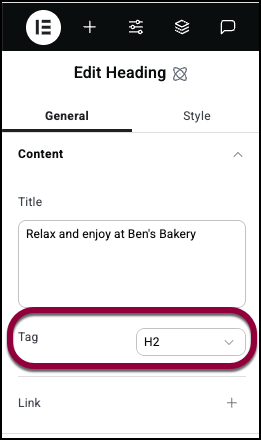
  5. Use the HTML Tag field to define the type of HTML tag for your heading.
    In this case we’ll leave the heading as an H2 to signify its importance.
    5 Click the Style tab 2 Heading element 13
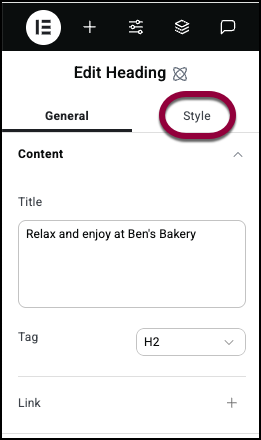
  6. Click the Style tab.
    Open layout 1 Heading element 15
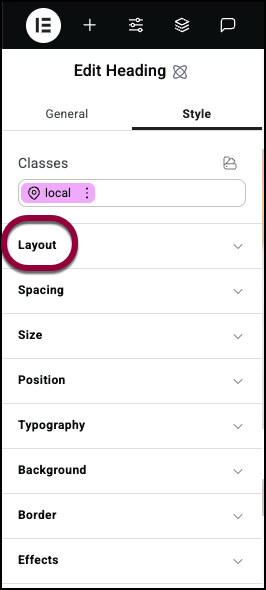
  7. Open the Layout section.
    7 center the heading 1 Heading element 17
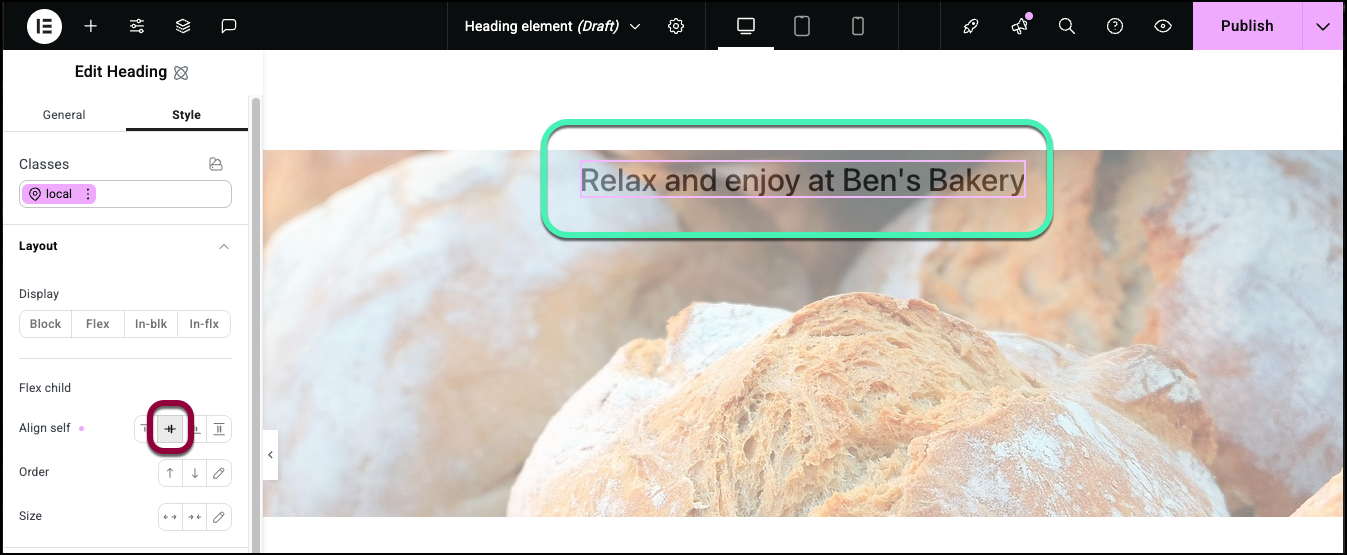
  8. The Align Self field allows you to choose where your heading appears within the parent container. Options available are Start, Center, End and Stretch. For more details about the Layout section see Style tab-Layout.
    In this case, we’ll center the heading.
    8 open typography field 1 Heading element 19
  9. Open the Typography field to configure the size and font type. For details, see Style tab – Typography.
    10 edit the font 1 Heading element 21
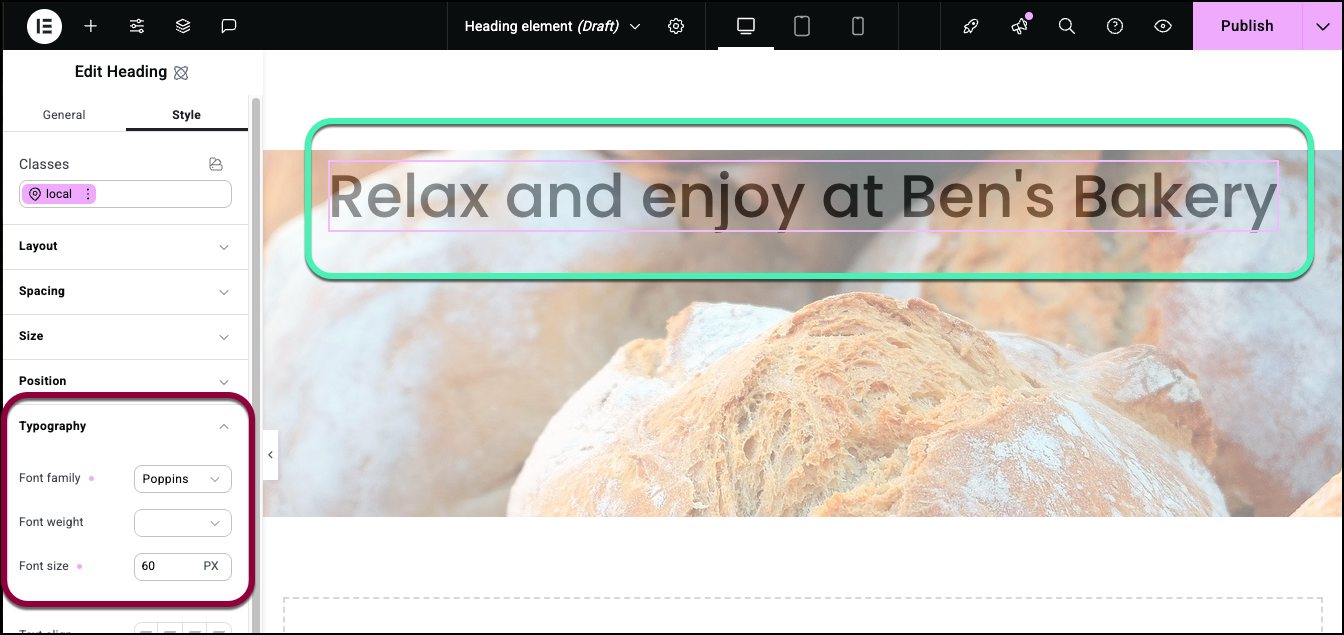
    Here, we’ll give the heading a less formal and larger font.

Settings for the Heading element

You can customize your elements using content, style, and other advanced parameters, offering you great flexibility in tailoring them to your needs. Click the tabs below to see all the settings available for this element.

The example Heading element 23

The text that appears in the heading.

Choose the HTML tag for your heading. Tagging your element correctly helps search engines understand your site and can help SEO. 

Click the plus sign to enter a link. Visitors clicking the Div Block file will open the link. 

If you add a link the following option appears:

Open in a new tab: If the Div Block contains a link, toggle on if you want the link to open in a new tab.

image 16 Heading element 25

View the individual articles on Style options:

On this page

Share this article