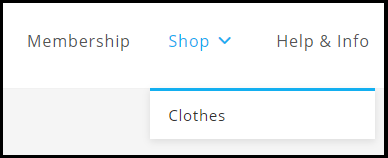
Creating menus is a WordPress function. You can use the Elementor Nav Menu Widget (Pro) or your theme to display the menus. For details, see WordPress Menu Widget.
Create a menu
Follow these steps:
- Login to WP Admin.
- Go to Appearance > Menus.The Menus page shows.
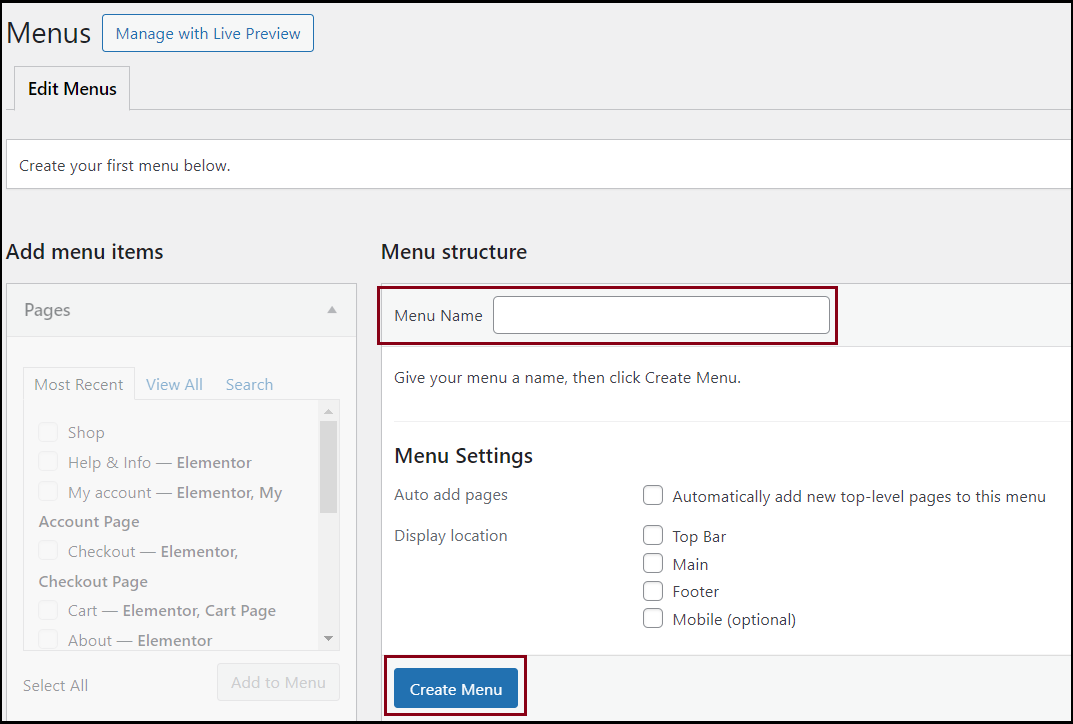
- Enter Menu Name.
- (Optional) If you want to automatically add the top level pages to the menu, check Auto add pages.
- (Optional) Check Display location. This is the location where the menu displays on the website.
- Click Create Menu.
Delete a menu
Follow these steps:
- Login to WP Admin.
- Go to Appearance > Menus.The Menus page shows.
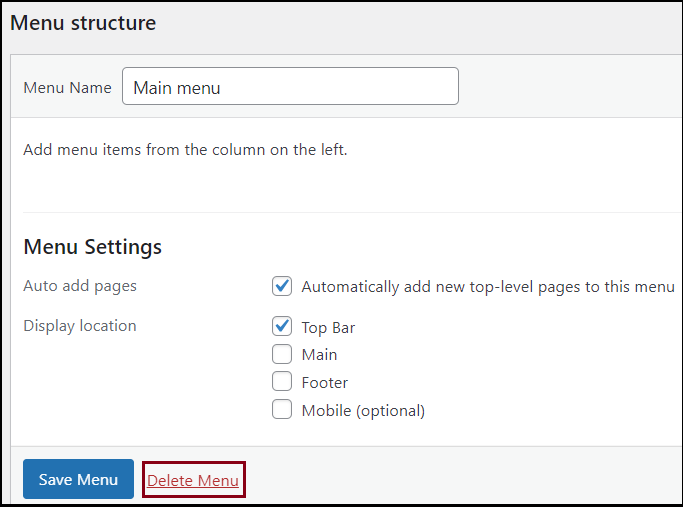
- Click Delete Menu. A confirmation message shows.
- Click OK.
Create multiple menus
Follow these steps:
- Login to WP Admin.
- Go to Appearance > Menus.The Menus page shows.
- Click Create a new menu.

Add pages to menus
Follow these steps:
- Login to WP Admin.
- Go to Appearance > Menus.The Menus page shows.
- Under the Add menu items panel, expand Pages.
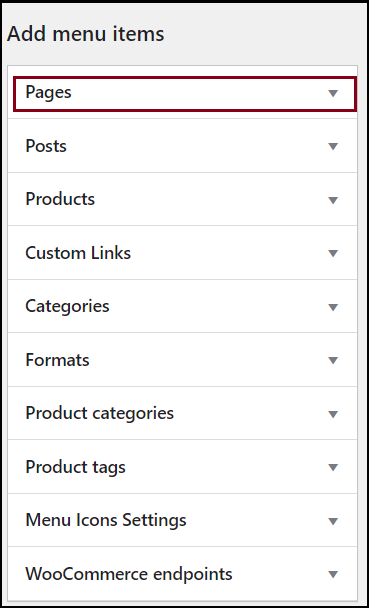
- Select the pages you wish to insert and click Add to Menu. The selected items appear on the right.
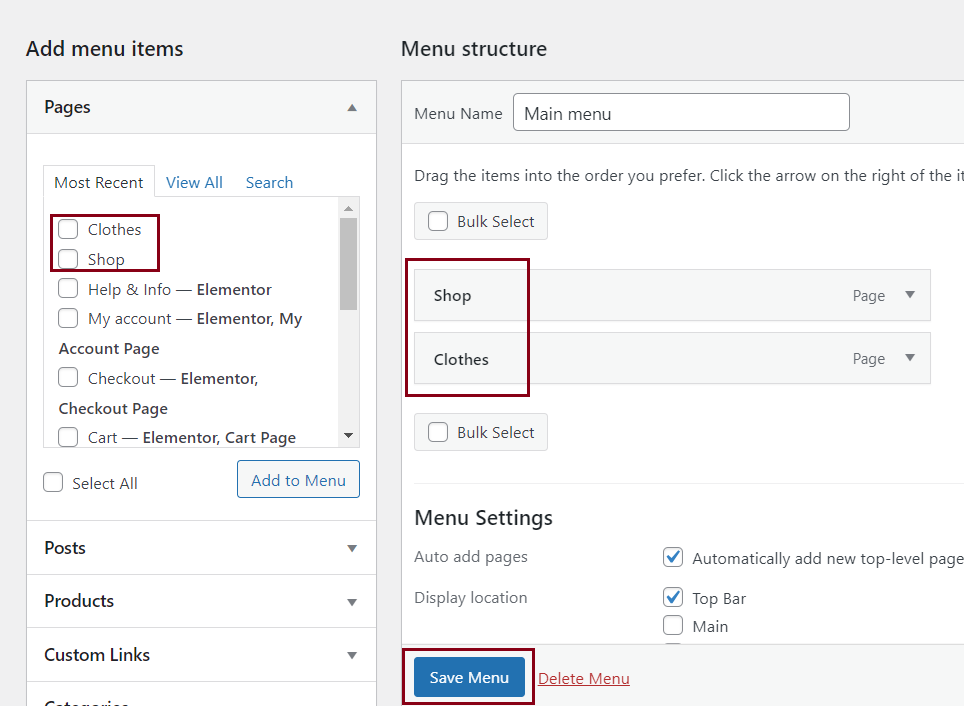
- Click Save Menu.

Remove pages from menu
Follow these steps:
- Login to WP Admin.
- Go to Appearance > Menus.The Menus page shows.
- Click Bulk Select. Checkboxes appear for the list of menu items.
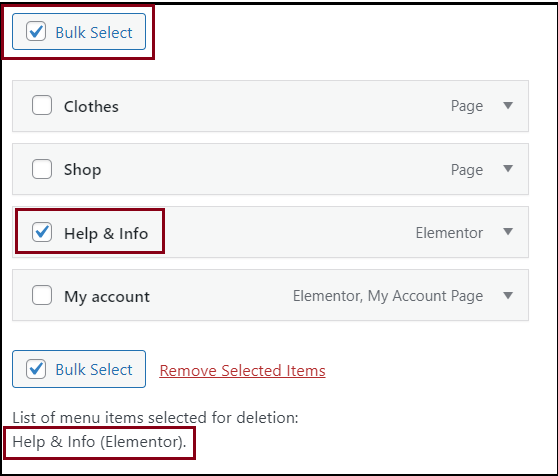
- Check the menu items (pages) that you want to remove. The list of checked items selected for deleted shows.
- Click Remove Selected Items.
The pages get removed from the menu.
Create submenus
Follow these steps:
- Login to WP Admin.
- Go to Appearance > Menus.The Menus page shows.
- Drag and drop an item so that it is placed under the parent item slightly indented.
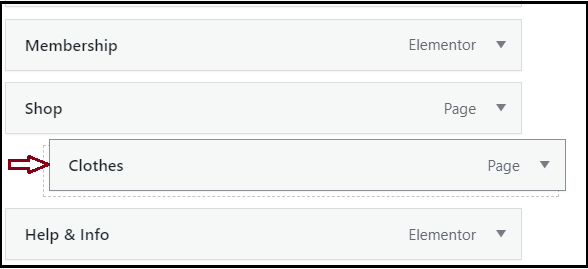
- Click Save Menu.
Add custom links to a menu
You may add external URLs, anchor links, and placeholder links by using the Custom Links option.
Follow these steps:
- Login to WP Admin.
- Go to Appearance > Menus.The Menus page shows.
- Under the Add menu items panel, expand Custom Links.
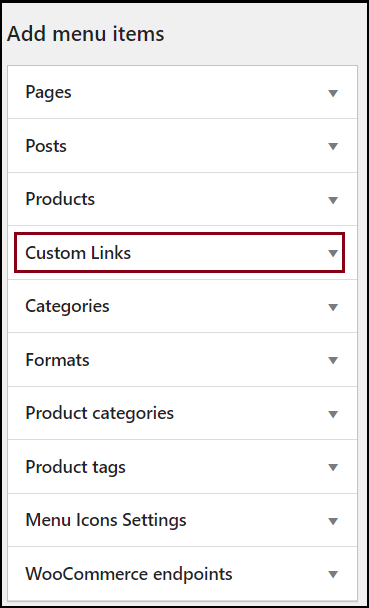
- Enter the following:
- URL – The link that should open on click.
- Link Text – The text that should appear on the menu.
- Click Add to Menu.
- Click Save Menu.
Add blog categories to menus
You may assign blog archive categories from the Categories. For more about WordPress categories, refer Posts Categories Screen.
- Login to WP Admin.
- Go to Appearance > Menus.The Menus page shows.
- Under the Add menu items panel, expand Categories.
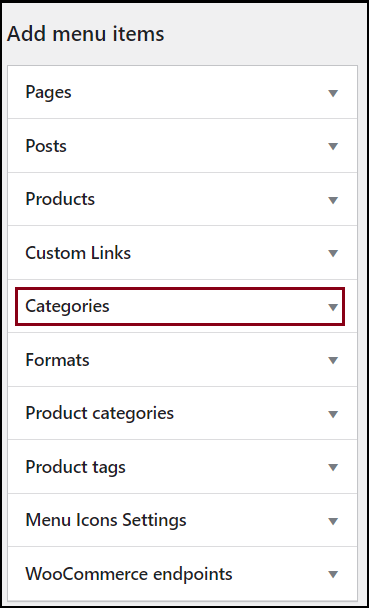
- Choose the desired categories.
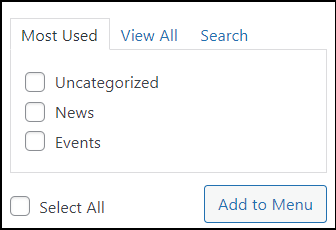
- Click Add to Menu.
- Click Save Changes.
Manage menu locations
Your theme can support multiple menu locations. This means you can create multiple menus and assign them to different locations on the website.
Follow these steps:
- Login to WP Admin.
- Go to Appearance > Menus. The Menus page shows.
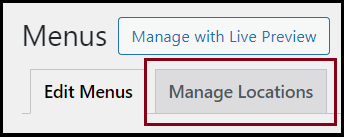
- Click Manage Locations.
- Assign the menus to the different locations appearing under Theme Location.
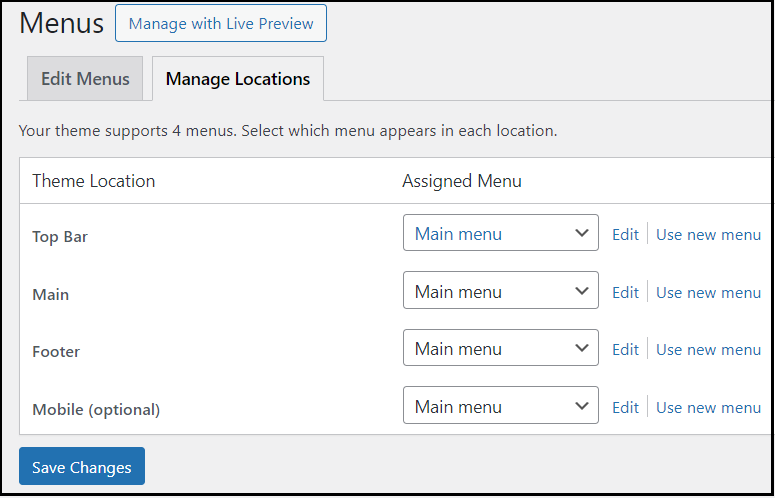 NoteThe number of locations can change according to the theme you are using.
 - Click Save Changes.
View your menu
Follow these steps:
- Login to WP Admin.
- Hover over site name.
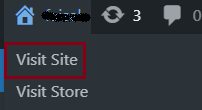
- Click Visit Site.
Your website shows the available menu.
