What is a Header?
Headers appear at the top of most web pages. In general, sites have one standard header used for every page on the site – although some pages on a site may not have a header or need a custom header.
The Header Site Part section of the Theme Builder lists all Headers you’ve created, if any, giving quick access to add, edit, or delete any header.
Create a Header
Create your first header using the Theme Builder.
To create a Header:
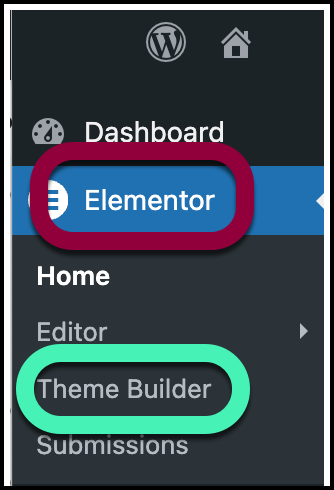
- From WP Admin, navigate to Elementor>Theme Builder.
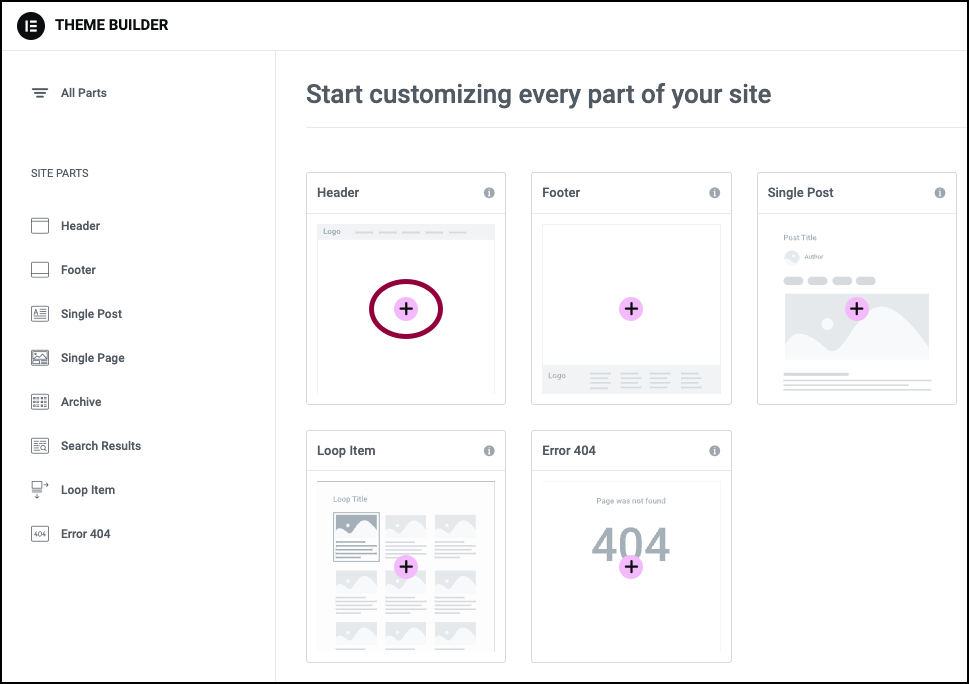
- In the right pane, click the plus sign in the Header card.
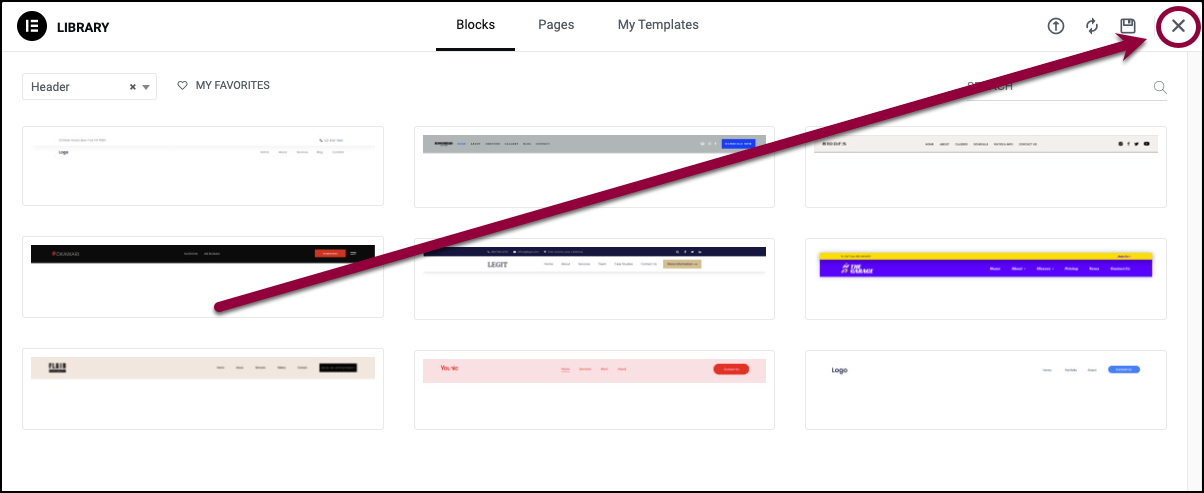
The Template Library opens.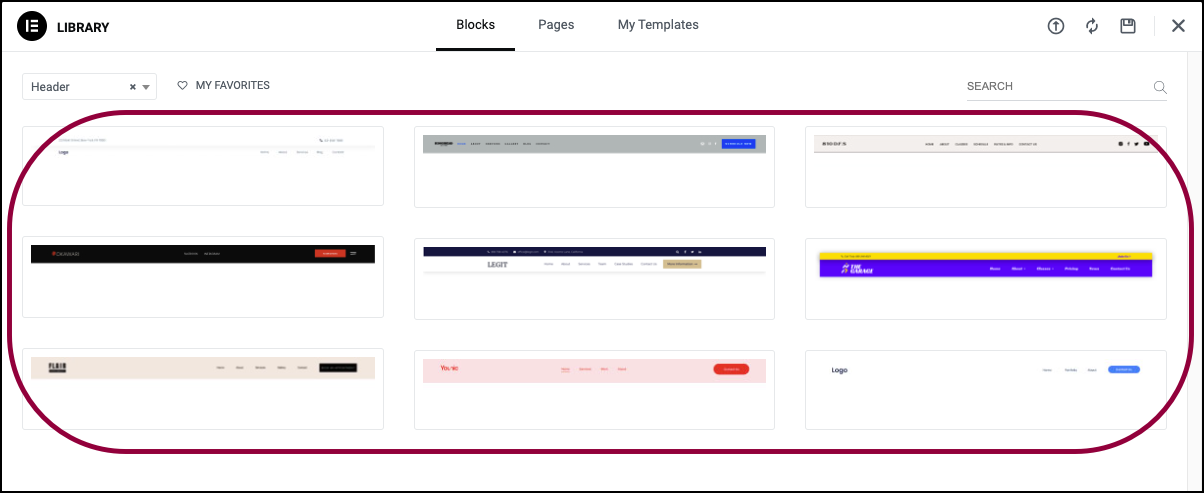
- (Optional) Choose a pre-designed Header from the Template Library.
- (Optional) Close the Template Library to design your Header from scratch.
- Design your Header in the Elementor Editor.
- When you finish, click Publish to save the Header.

You will be asked to choose the pages where the Header will appear. For details, see Set conditions for site part templates.
Edit a Header
You can also edit the Header using the Theme Builder.
To edit a Header:
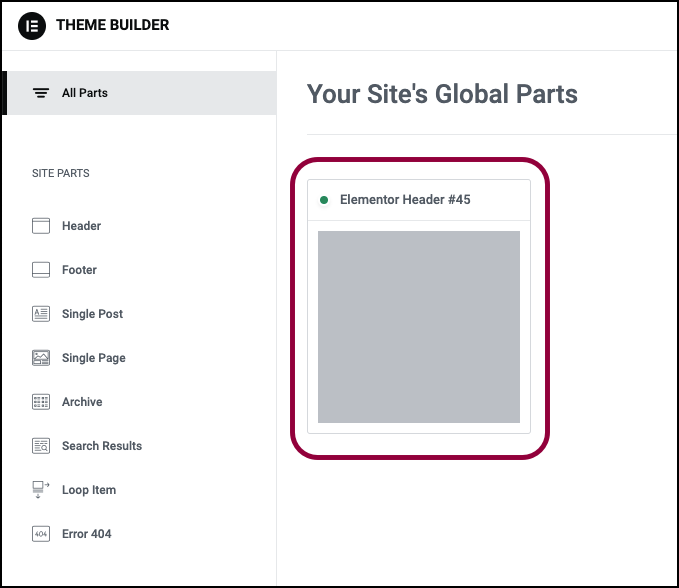
- From WP Admin, navigate to Elementor>Theme Builder.

- In the right pane, click the card of the Header you want to edit.
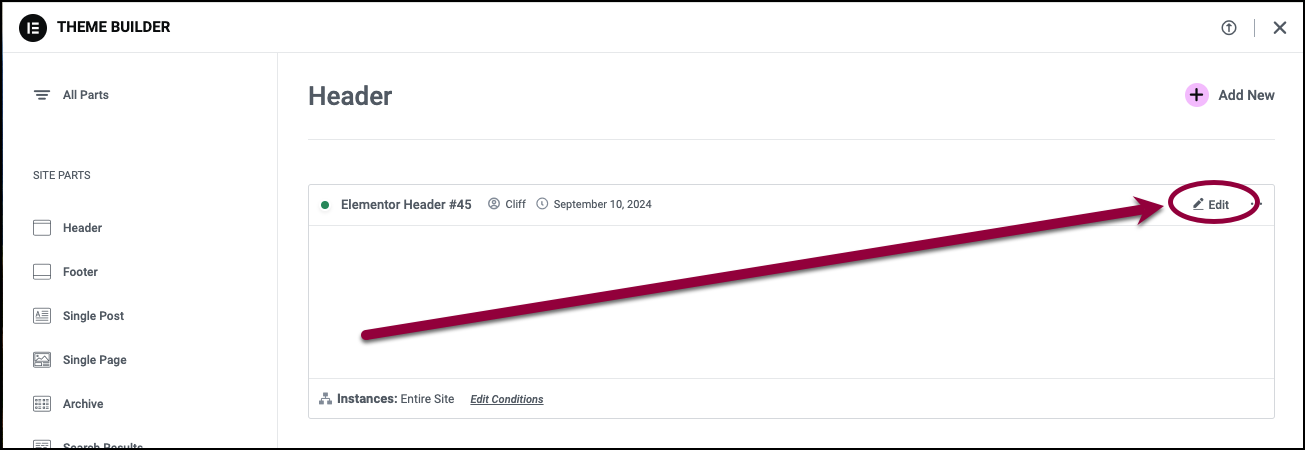
- To edit the contents of the Header, click Edit.
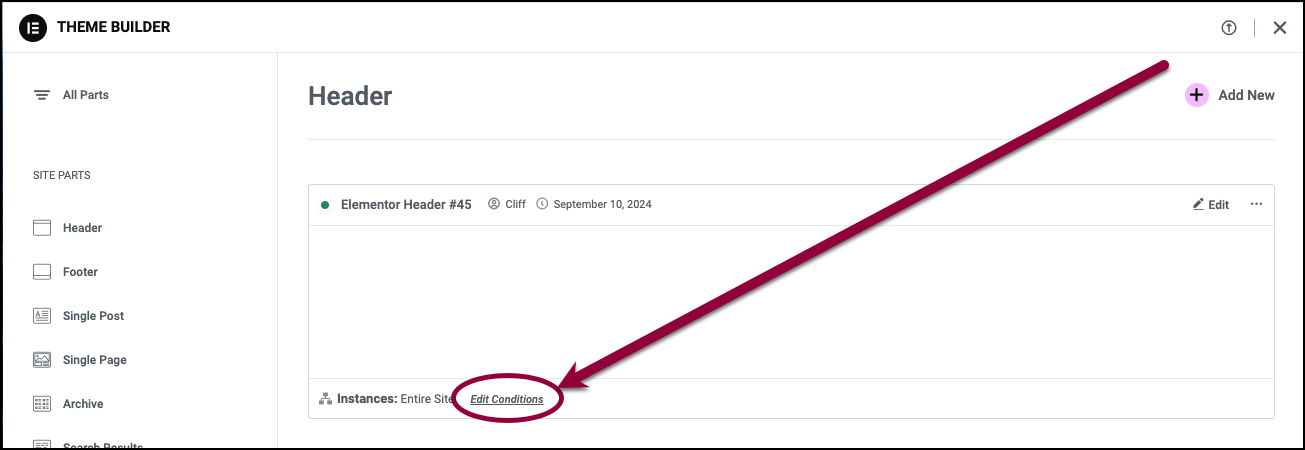
- To change the pages where the Header appears, click Edit Conditions. For details, see Set conditions for site part templates.
Add a HTML tag to your header
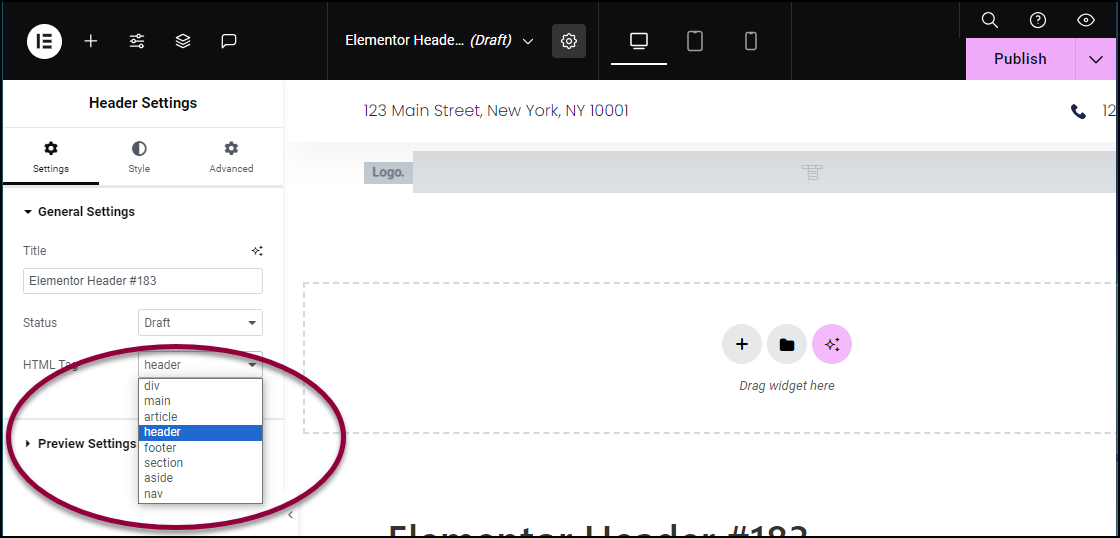
The header HTML tag identifies your header to screen readers and is an important part of accessibility.
To tag your header:
- Open your Header in the Elementor Editor.
- On the top bar, click the Header Settings icon.

- In the panel, use the HTML Tag dropdown to select header.
Export A Header
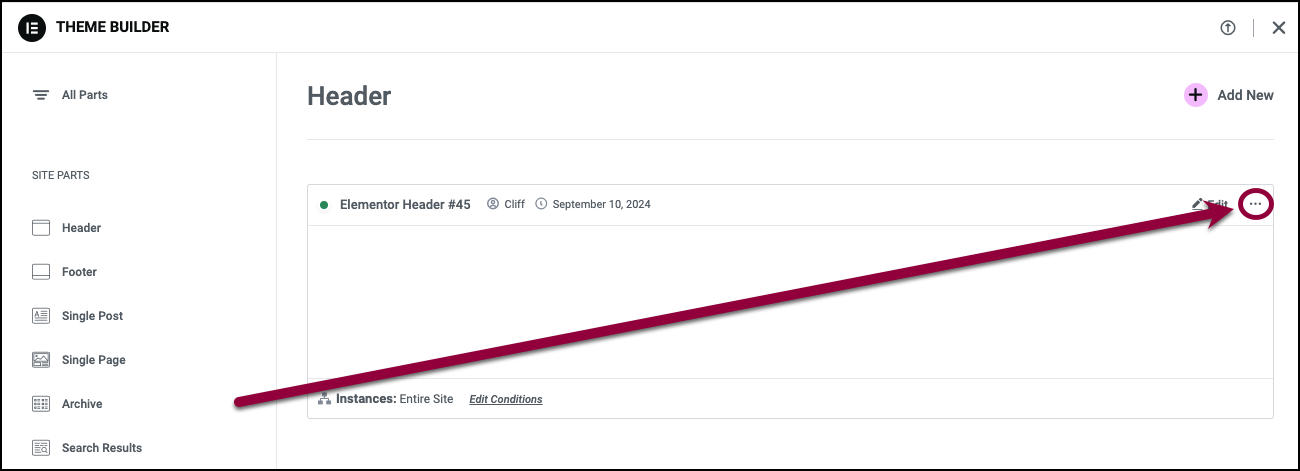
- From WP Admin, navigate to Elementor>Theme Builder.

- Click the Three Horizontal Dots in the upper right of the Header you wish to export.
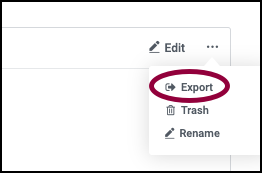
- Select Export to save a .json file to your computer.
Delete A Header
- From WP Admin, navigate to Elementor>Theme Builder.

- Click the Three Horizontal Dots in the upper right of the Header you wish to delete.

- Choose Trash to delete the Header.
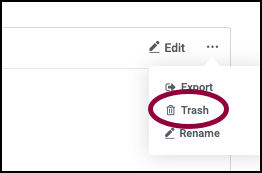
- You need to confirm the deletion.

Rename A Header
- From WP Admin, navigate to Elementor>Theme Builder.

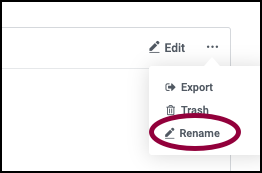
- Click the Three Horizontal Dots in the upper right of the Header you wish to rename.

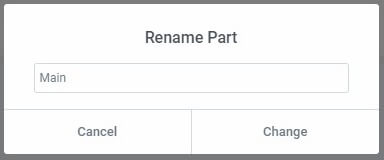
- Choose Rename which will open a Rename Part dialog box.
- Enter the new name and click Change to complete the rename process, or click Cancel if you change your mind and decide you don’t want to rename this Header.
