What do website kits contain?
Each Elementor website kit will vary in terms of what it contains. Most will have headers, which typically include a navigation menu with buttons. Likewise, you’ll normally find a footer containing contact information, a website map, and social media links.
Kits often provide you with common page templates like the 404 error page, About us page, and more. You’ll also find that kits provide you with global colors and global fonts that you can change after importing them.
Elementor website kits are created to give you a common theme or style, so it’s a good rule of thumb to import every element of the kit together.
However, there are certain circumstances where you may want to apply only certain parts of a kit. For instance, you may only want the 404 page or header of a certain kit to use on your site.
Note: Using elements of two different kits on your site is possible, but should only be done by experienced Elementor users.
Applying the website kit
To apply a website kit, follow these steps:
Note: If you want to customize the site parts you import, read about the additional steps you need to follow in the next section.
- Click the Apply Kit button in the top-right corner. (Note: Elementor may ask you to enable the importation of SVGs before you apply the kit.)

Always great to know how to bake! - Select Customize or Apply All. You’ll be asked whether you want to apply the entire kit or customize the parts you want to import. If you’re not an experienced Elementor user, we recommend selecting Apply All.
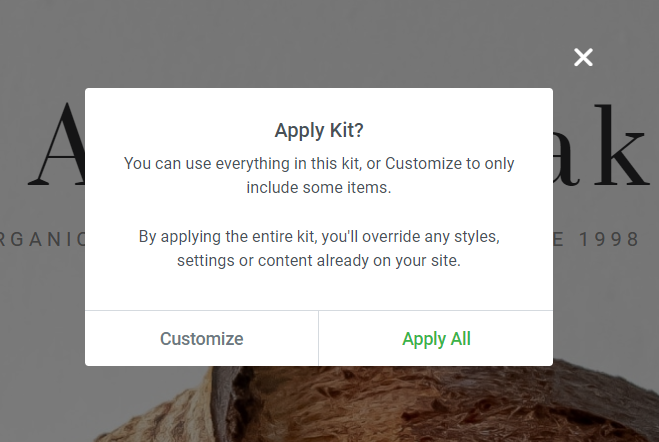
Unless you want leave out some parts of the kit click Apply All. - Select Enable if you’re prompted to enable Elementor to scan the website kit’s SVG files.
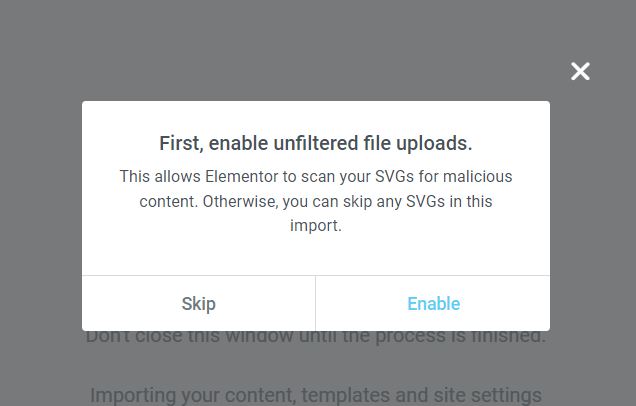
It’s always a good idea to scan SVGs for malware! - Wait for the importer to complete. Don’t close this screen until the process is finished! When your import is successful, you’ll see a screen showing information about the import.
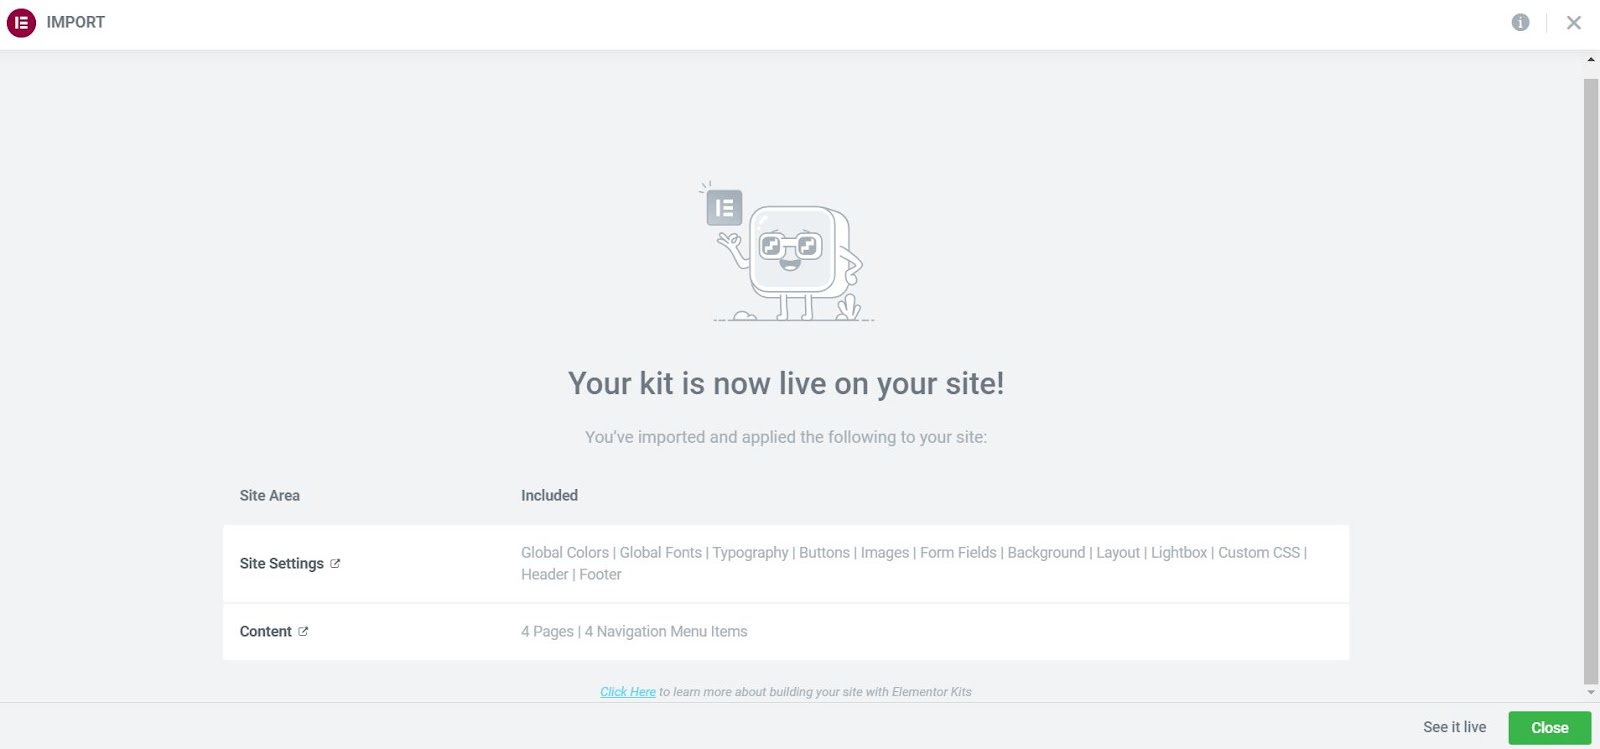
Congratulations, you imports now complete! - Click Close to complete the process and exit the import wizard.
Applying the website kit: customization
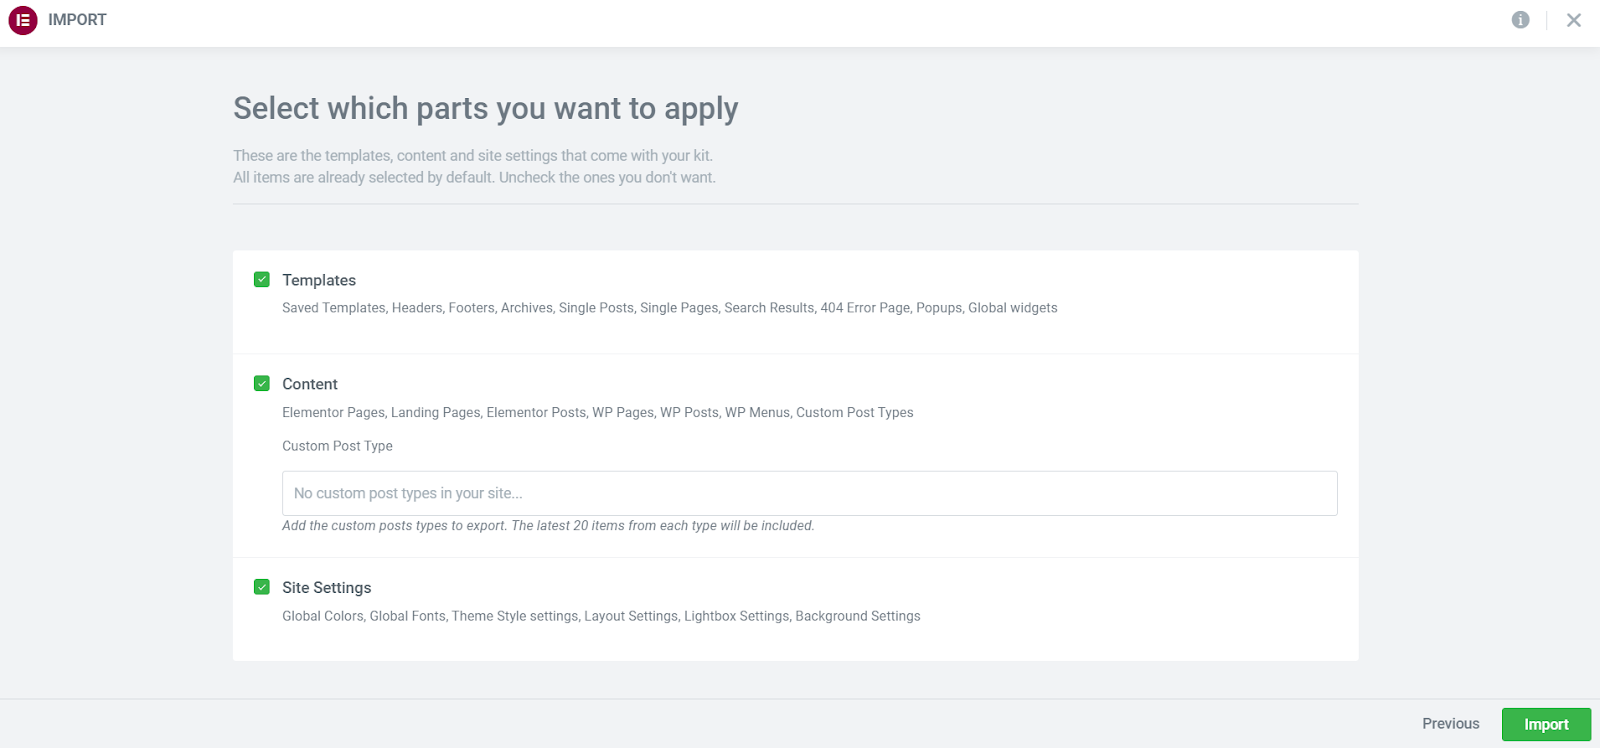
You may be wondering what happens if you opt to customize your website kit import in step 2 above. In this scenario, you’ll see the following screen, which can vary depending on the kit’s contents. On this screen, you can toggle between content like Templates, Content, Site Settings.
- Select the parts you want to apply.
- Select Import and you’ll be taken to step 3 above. This is the only difference during the import process.
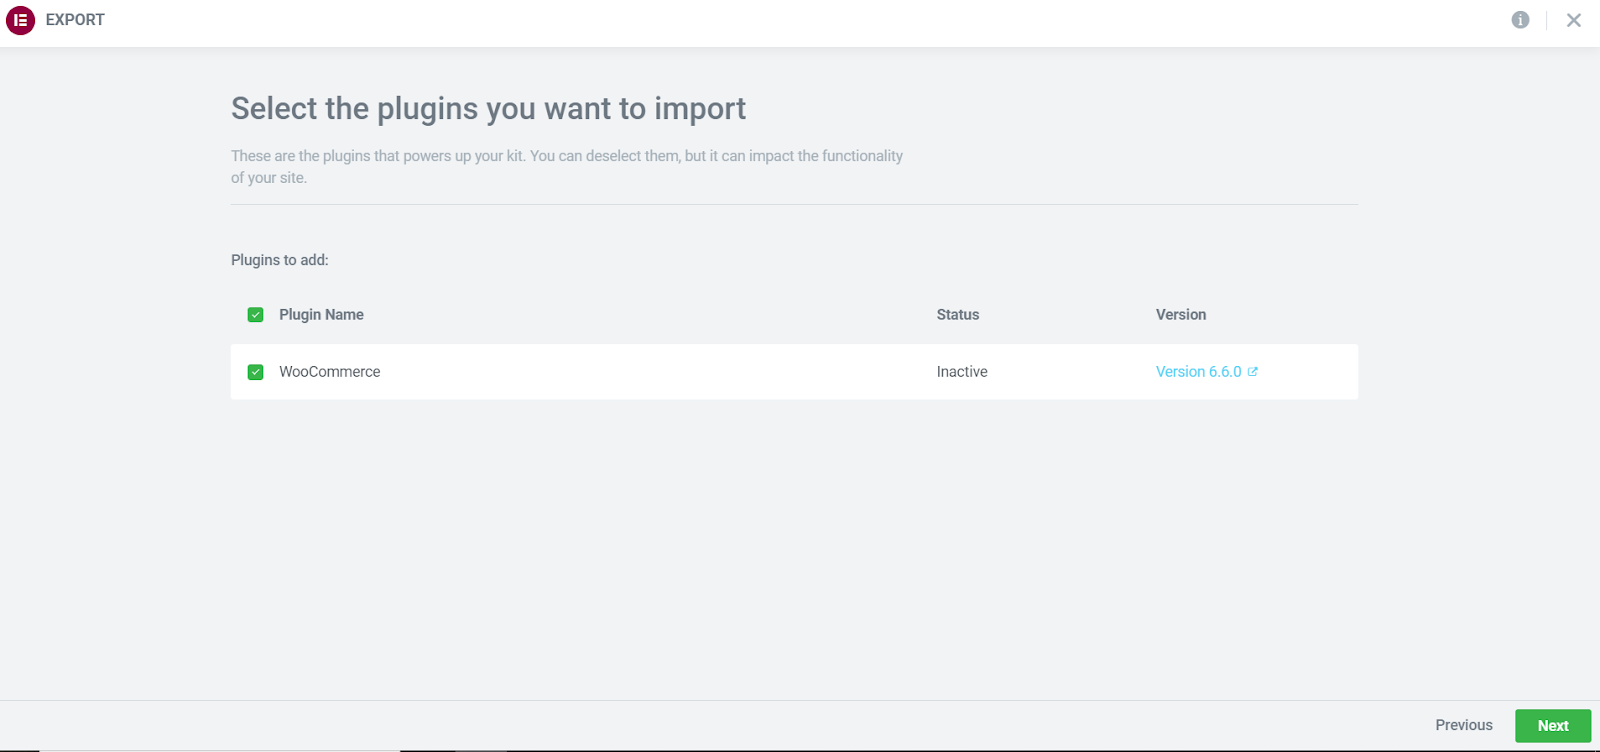
Note: If you’re trying to apply an eCommerce kit, you may be prompted to select additional plugins to import, like WooCommerce, when you select customize.
Select Next when you see the screen below. Doing so allows you to customize the import.
The bottom line
Now you know how to apply select kit parts, and are well on your way to creating a beautiful website. Head over to the Academy to discover more about Elementor’s powerful site building tools. If you’re having any issues with the topics covered in this article, please contact our Help Center.

