
Setting up Google Analytics on your WordPress site used to be a simple copy-and-paste job. These days, privacy laws mean you also need to respect what visitors choose while still gathering the insights your business runs on. That’s where Google Analytics Consent Mode comes in: it lets your site adjust how Google’s tags behave based on what a visitor allows. Don’t worry if that sounds technical. We’ll walk through it step by step, so you end up with a compliant, working setup.
Key Takeaways
- Protects visitor privacy by adjusting tracking tags to match what each person chooses.
- Preserves your analytics data even when visitors decline cookies.
- Requires Google Consent Mode v2 for any site with European Union visitors.
- Saves marketing performance data through conversion modeling.
- Keeps your business compliant with international privacy rules.
Why Google Analytics Consent Mode Matters in 2026
Privacy regulations have changed how we think about website data. Gone are the days of tracking every click without asking first. Global laws now require explicit consent before tracking scripts run in a visitor’s browser, whether you run a store, a blog, or a local business site. It’s not only about avoiding fines. It’s also about building real trust with your audience.
When visitors land on your site, they expect clear communication about what data you’re collecting. If you run Google Analytics 4 (GA4) alongside Google Ads, you need to tell Google whether a visitor granted permission to use their data. Consent mode handles that, translating visitor choices into something Google’s tracking scripts understand, so you respect their privacy while still gathering the data your site needs to grow.
The mechanics here are pretty clever. Instead of switching your analytics off entirely when someone declines cookies, consent mode lets the tags fire in a limited way, so your reports stay populated with general traffic trends. Here’s what the system does for your site:
- Adjusts tag behavior in real time based on each visitor’s consent.
- Sends cookieless pings to gather high-level behavioral data safely.
- Respects visitor choices by blocking storage access when requested.
- Estimates missing conversion data using machine learning models.
The Critical Shift to Google Consent Mode v2
If you’ve run your site a while, you might remember consent mode’s first version: helpful, but mostly voluntary. Google updated to version 2 for the European Union’s Digital Markets Act, and now, if you serve EEA visitors and use Google services for ads or performance tracking, setting up v2 isn’t optional. Skip it, and Google stops receiving the data it needs for retargeting or accurate conversions.
The updated version adds two new parameters to the original tracking controls. These settings tell Google how it can use the data it receives, so understanding them matters for matching your tracking to your legal disclosures. You don’t want to accidentally send data your users asked you to keep private.
Every time a page loads, your site communicates these settings to Google. Here’s a breakdown of the primary parameters:
- Controls user data sent to advertising platforms via the ad_user_data parameter.
- Manages personalized ad targeting via the ad_personalization parameter.
- Blocks cookie storage for analytics when consent is denied via the analytics_storage parameter.
- Restricts advertising cookie storage via the ad_storage parameter.
With these settings in place, your site tells Google’s servers exactly what’s allowed. If a visitor says yes to analytics but no to advertising, GA4 still collects traffic details, but Google Ads won’t use that traffic for marketing profiles. It keeps you compliant without hurting your marketing.
Understanding Basic vs Advanced Consent Mode
When you set up your site’s privacy controls, you’ll choose between two paths: Basic and Advanced. Both respect visitor choices, but handle implementation and data gathering quite differently. The right path depends on your legal requirements, your data needs, and your comfort with conversion modeling.
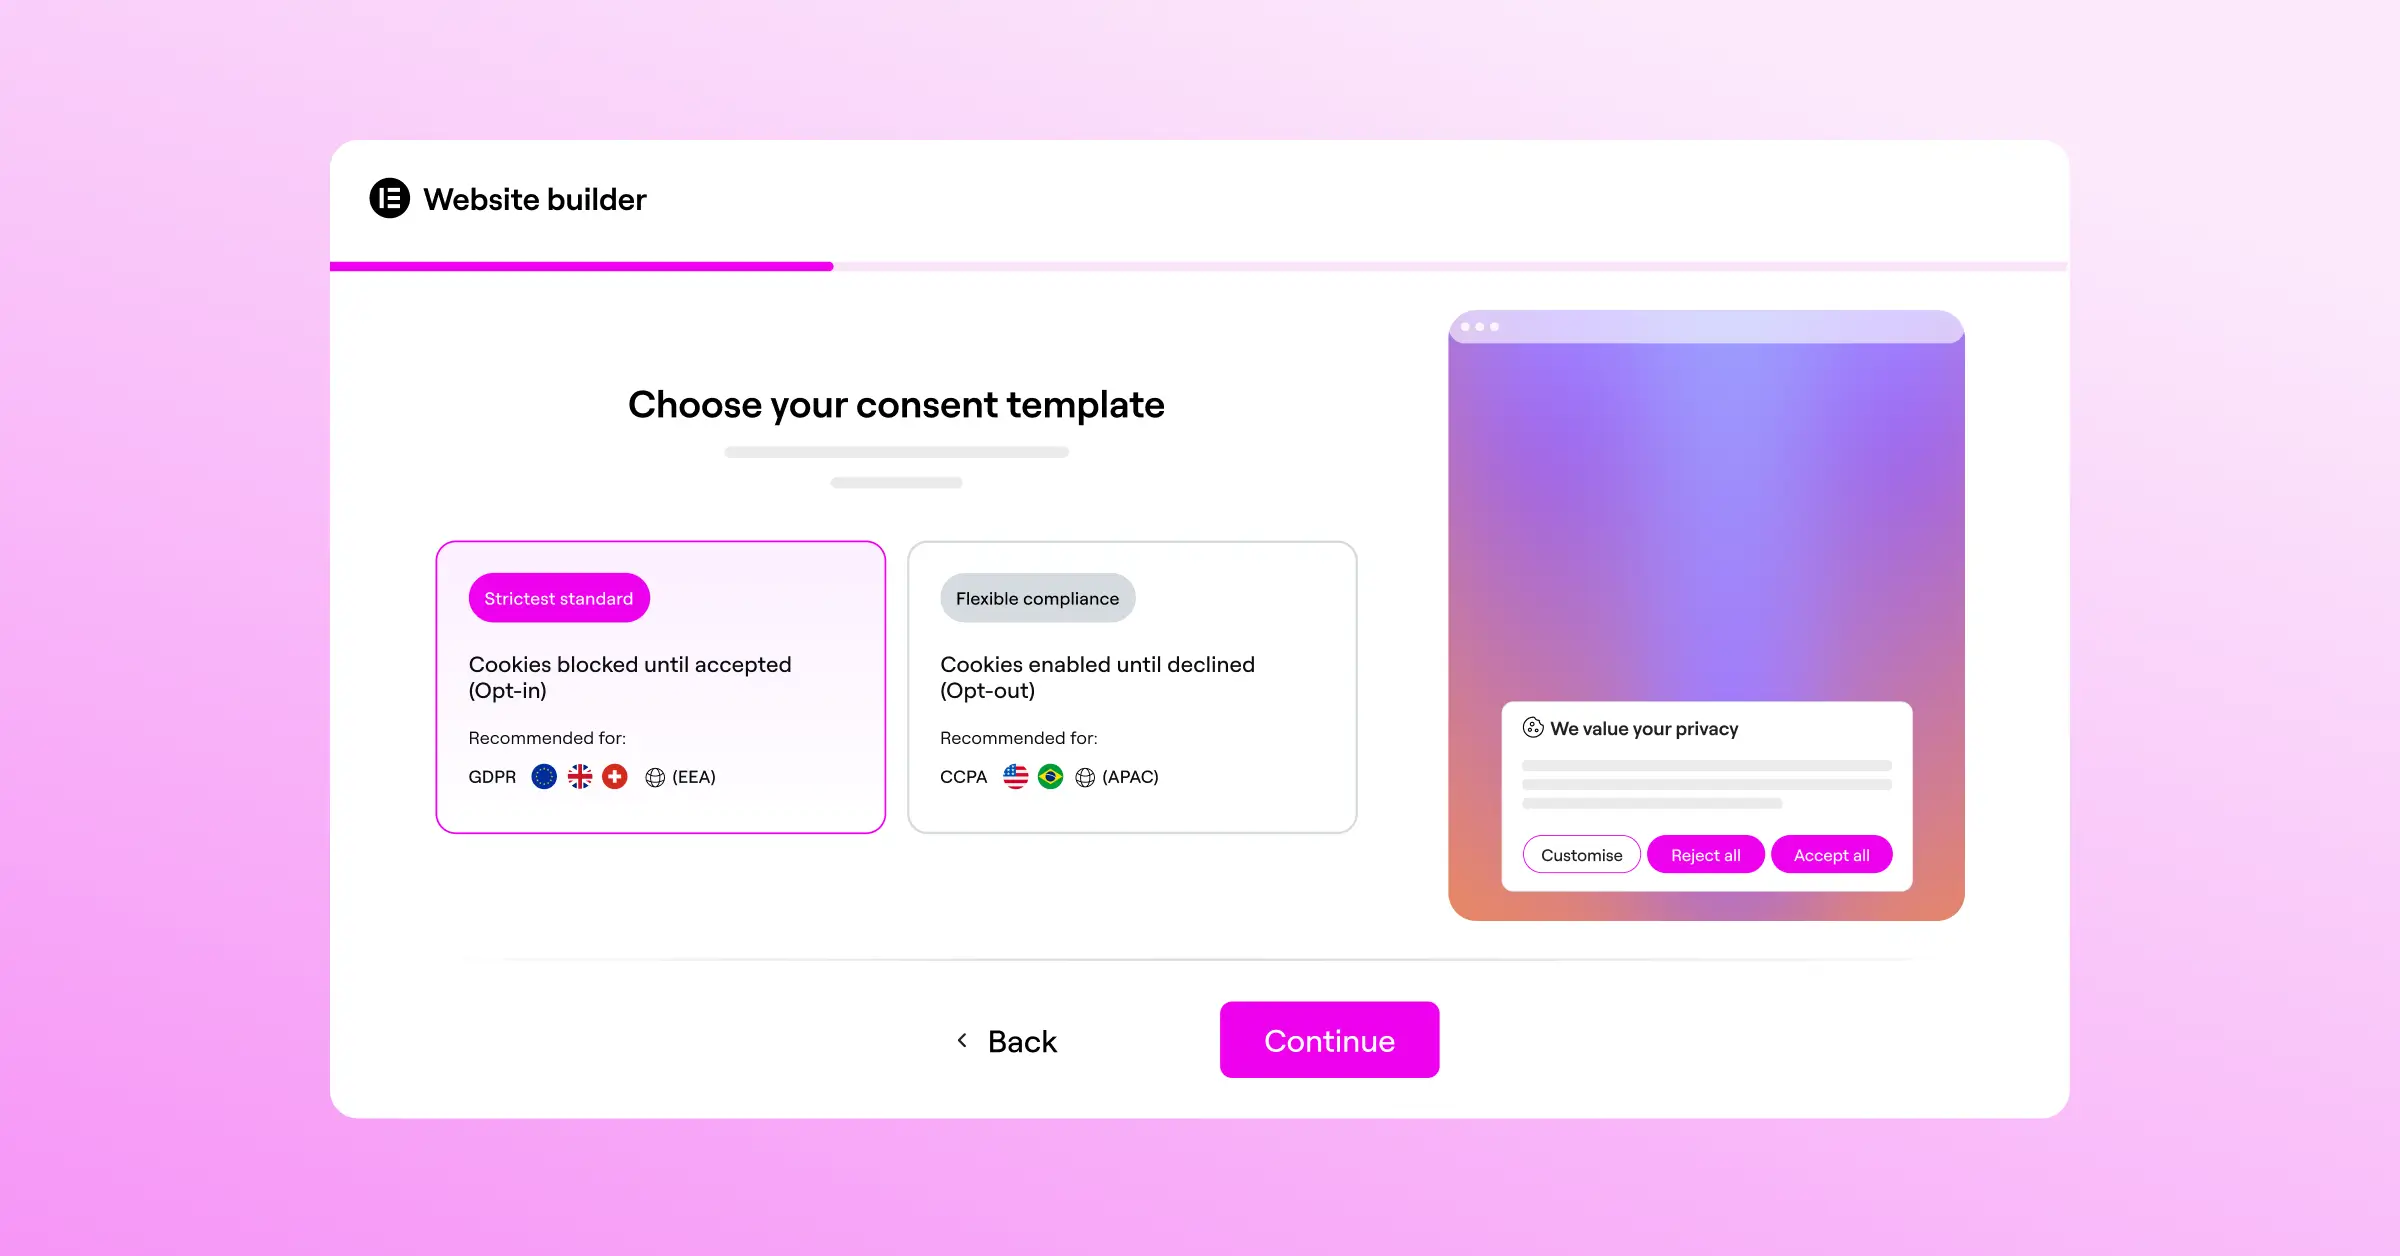
Under the Basic Consent Mode model, your tracking tags stay dormant until a visitor clicks “Accept.” Click “Deny,” or ignore the banner, and the tags never load, so no data reaches Google. It’s the most conservative approach, simple and highly compliant, but it leaves real data gaps: if half your visitors click “Deny,” your dashboard only reflects half your actual traffic.
The Advanced Consent Mode model works differently. The tags load as soon as a visitor lands on your site, before they interact with the banner. If they grant consent, the tags behave normally; if they decline, the tags don’t write or read tracking cookies. Instead, they send anonymous, cookieless pings carrying basic information like device type, country, and page URL, and Google uses machine learning to fill in the missing conversion details, giving you a fuller picture of your traffic without touching anyone’s privacy.
Preparing Your WordPress Site for Consent Mode
Before diving into the technical steps, spend a few minutes prepping your site. Setting this up on an unprepared site can lead to broken tracking, slow load times, or a confusing visitor experience. A quick checklist now saves hours of troubleshooting later.
Make sure you have full administrative access to your WordPress dashboard and your Google Tag Manager account, plus your Google Analytics 4 measurement ID handy. If older tracking scripts are pasted directly into your theme’s header file, it’s worth removing them. Moving all your tracking scripts into Google Tag Manager is the cleanest way to handle consent properly.
Here’s a quick checklist to run through before making any changes:
- Creates a full backup of your WordPress database before installing new compliance tools.
- Locates your Google Analytics 4 measurement ID in your dashboard.
- Verifies administrator access to your Google Tag Manager container.
- Reviews your privacy policy page for outdated tracking disclosures.
- Clears your caching systems so outdated scripts don’t keep running.
Step-by-Step Guide: Configuring Google Analytics Consent Mode
Setting up consent mode doesn’t have to feel overwhelming. Breaking it into manageable steps makes it doable whether you’re a solo blogger or managing a bigger site for clients.
Step 1: Preparing Your Google Tag Manager Workspace
Google Tag Manager is the control center for your site’s scripts. Turn on the consent overview feature so GTM understands your consent settings and shows you which tags require consent to fire.
- Log into Google Tag Manager and go to the Admin section.
- Click Container Settings and check the box for “Enable consent overview” under additional settings.
- Save your changes and return to your workspace, where a new shield icon appears on your tags page.
Once this is active, you can manage consent requirements right from each tag’s configuration menu.
Step 2: Choosing and Setting Up Your Compliance Tool
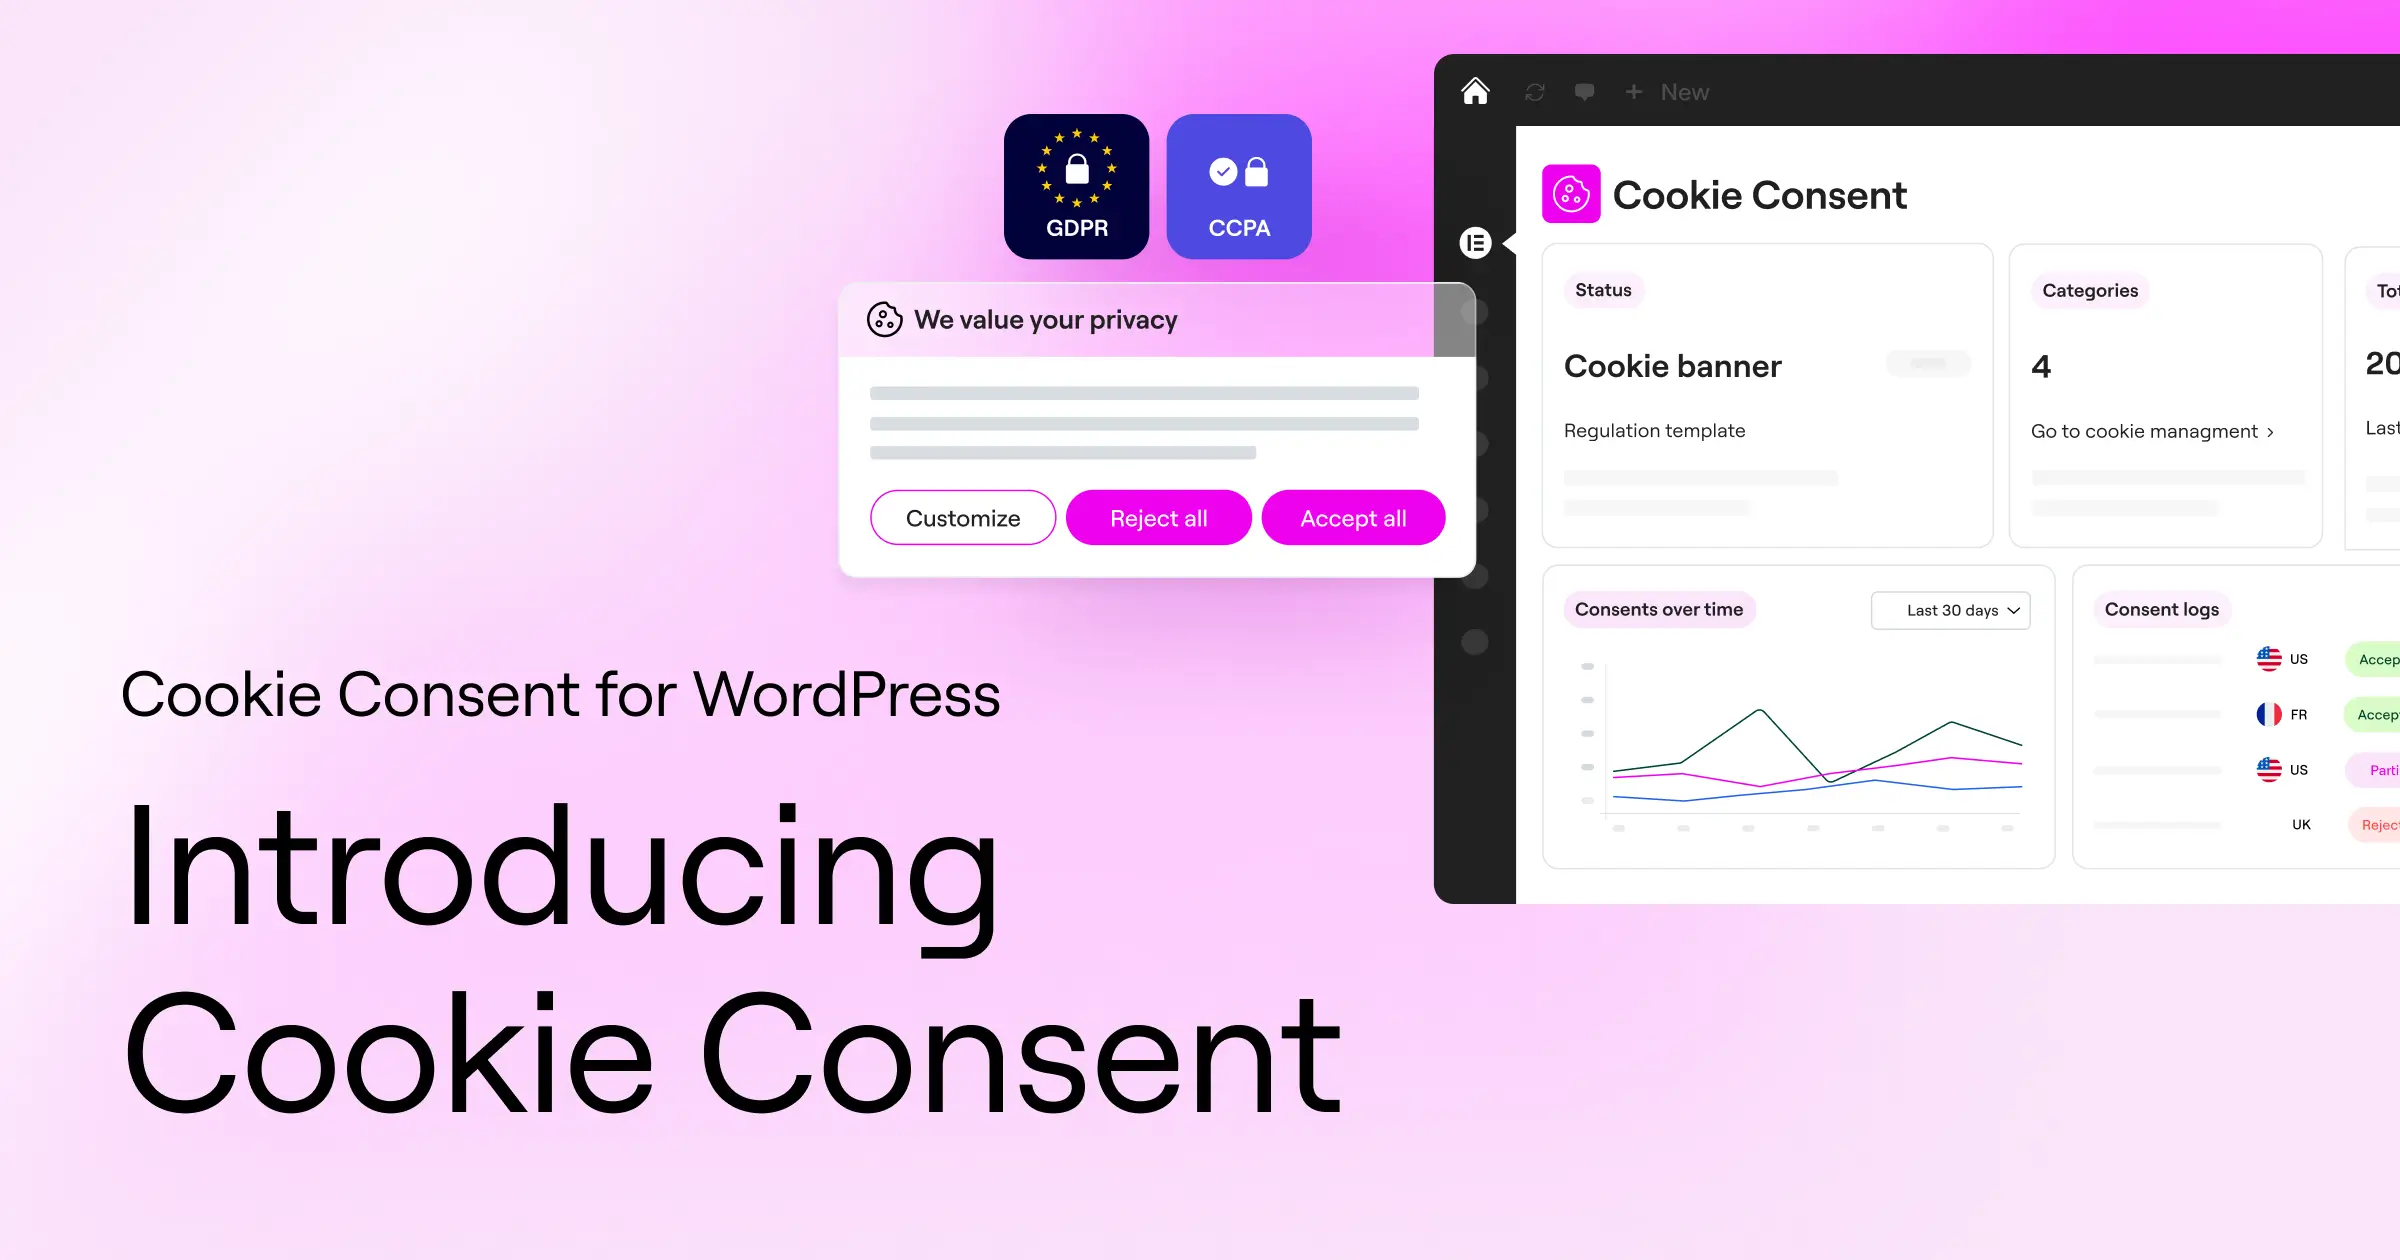
You can use Cookie Consent, built natively for WordPress by Elementor, to keep this setup straightforward. Managing cookie consent from your dashboard skips external services, scanning your cookies and displaying the banner so visitor choices connect directly to Google’s tracking systems.
To get started, follow these steps:
- Go to your Elementor settings and select the Cookie Consent capability.
- Click the scan button to let it analyze your site’s cookies and active trackers.
- Choose a pre-designed layout template that matches your site’s look and feel.
- Enable the built-in Google Consent Mode toggle in the integration settings.

Here’s what this capability does for you:
- Scans your website to catalog active scripts and tracking cookies automatically.
- Builds custom banners matching your brand’s typography and colors.
- Saves consent logs in your WordPress dashboard for easy auditing.
- Supports Google Consent Mode v2 without requiring custom code.
- Detects visitor locations to show banners based on local laws.
- Simplifies privacy policy generation with a built-in step-by-step assistant.
Step 3: Configuring the GA4 Tag in Google Tag Manager
Now that your compliance tool is ready, configure your Google Analytics tag to respond to the consent settings, so it doesn’t run when it shouldn’t.
- Open Tag Manager, click Tags, and select your existing GA4 configuration tag.
- Scroll to Advanced Settings and expand the Consent Settings section.
- Select “No additional consent required” if your tool handles consent automatically, or “Require additional consent for tag to fire” for basic consent mode.
- Save your tag and test your configuration before publishing.
If you’re using Advanced Consent Mode, Google’s tags automatically check the consent state, no manual blocking needed. GTM handles this in the background.
Comparing Top Consent Mode Solutions for WordPress
There are several ways to manage cookie consent and Google Analytics integration on WordPress. Some developers prefer manual coding, but most site owners find dedicated compliance tools make the job easier. When comparing tools, look at dashboard integration, page load impact, and native Consent Mode v2 support.
Here’s a dry, factual look at some popular options:
| Compliance Tool | WordPress Integration | Dashboard Location | Key Benefit |
|---|---|---|---|
| Cookie Consent | Fully native, part of Elementor One | Inside WordPress Admin | Fast setup with direct dashboard logs and zero external accounts. |
| Cookiebot | Plugin integration available | External cloud platform | Strong automated cookie categorization for large enterprise sites. |
| CookieYes | Plugin integration available | External cloud platform | Multilingual support with a focus on quick setup. |
| Complianz | Plugin integration available | Inside WordPress Admin | Highly detailed legal wizards designed for regional laws. |
Choosing a tool that fits your build environment makes a real difference. If you’re already using Elementor, the native cookie consent capability keeps your database clean and skips extra third-party accounts.
Testing and Verifying Your Consent Mode Configuration
Once you’ve configured your tags, verifying that everything works is a must. You don’t want to find out months down the road that your reports have been empty because of a small misconfiguration.
The best tool for the job is Google Tag Manager’s built-in Preview Mode. Launch a preview session and a debugger window opens, letting you inspect every event as you navigate your site and interact with the consent banner.
To test your site thoroughly, follow these steps:
- Open Google Tag Manager and click “Preview” in the top right corner.
- Enter your website URL and click “Connect” to launch the debug window.
- Before touching the consent banner, check the “Consent” tab. The default state for parameters like analytics_storage should show “denied”.
- Click “Accept” on your banner, then check again. The consent state should update to “granted” right away.
For extra validation, inspect the network requests your site sends to Google. Open Developer Tools (right-click and select “Inspect”), go to the Network tab, and filter requests by typing “/gcollect”. Look for the request and examine the payload for a parameter called “gcs”.
The “gcs” parameter carries a short code that tells Google the current consent state. Here’s what each code means:
- G100 means both advertising and analytics consent have been denied.
- G111 means both advertising and analytics consent have been granted.
- G101 means advertising consent is granted, but analytics is denied.
- G110 means analytics consent is granted, but advertising is denied.
Troubleshooting Common Consent Mode Mistakes
Even with clear steps, small configuration errors can creep in. Tracking systems are sensitive to script order and firing triggers, so if your reports look strange, don’t panic. Most issues come down to a handful of common, fixable causes.
The most frequent mistake is loading your Google Analytics tags before your consent tool finishes initializing. If your GA4 tag fires too early, it reads a default “denied” state, even if the visitor accepted cookies on an earlier visit, so your analytics end up missing valid sessions.
Here are some proactive checks to run whenever you hit an issue:
- Checks the console log for errors when tags fail to fire.
- Verifies trigger priorities so tags don’t load too early.
- Clears browser storage and cookies before preview tests.
- Inspects the network tab for proper consent string parameters.
- Matches consent categories to the correct third-party scripts.
Caching is another common hurdle. WordPress caching tools or server-level optimization can serve outdated scripts to visitors. Any time you change your banner or Tag Manager settings, clear your caching layers so everyone gets the latest version.

“Consent mode is no longer just an optional setting for websites looking to optimize their tracking. It’s become a core element of web architecture. Setting it up correctly means you can respect user choices while still preserving the critical data insights your business needs to grow.”
– Itamar Haim, Web Compliance Specialist
Frequently Asked Questions
Do I really need Google Consent Mode in 2026?
Yes. If you use Google Ads or Analytics and serve visitors in the European Economic Area, Consent Mode v2 is mandatory under European privacy laws. Without it, Google restricts your ability to build remarketing lists or track conversions accurately.
What’s the difference between basic and advanced consent mode?
Basic Consent Mode blocks your Analytics and marketing tags until a visitor accepts your cookie banner, meaning complete data loss for anyone who opts out. Advanced Consent Mode loads the tags in a restricted state before interaction, and sends cookieless pings that model behavior when visitors decline.
How does consent mode affect my Google Ads campaigns?
With Google Consent Mode, your ad campaigns benefit from conversion modeling: Google estimates conversions from visitors who decline cookies using historical data and behavior trends. Without it, your campaigns lose that visibility, making your cost-per-acquisition metrics look higher than they really are.
Can I use Google Consent Mode without Google Tag Manager?
Yes, by adding custom code to your WordPress header file. But that takes a solid grasp of JavaScript and can be tricky to maintain. Using Google Tag Manager alongside a native compliance tool gives you a visual interface for managing scripts, triggers, and consent states.
How do I verify if consent mode is working correctly?
The easiest way is Google Tag Manager’s Preview Mode. Launch a preview session and inspect the “Consent” tab to see the default and updated states of your tracking parameters. You can also check your browser’s network tab for “/gcollect” requests and confirm the “gcs” parameter value.
Will setting up consent mode slow down my WordPress website?
When configured correctly with a clean compliance tool, the performance impact is negligible. A native option like Cookie Consent keeps your code lightweight and avoids the heavy external scripts that delay page loading. Just avoid stacking multiple cookie tools, the main cause of slowdowns.
Does cookie consent configuration apply to users outside the EU?
It depends on your business model and target audience. Modern compliance tools let you set up geo-targeting so the banner only shows for visitors from regions with strict privacy laws, like the EU or California, meeting legal requirements where they apply.
What happens to Google Analytics data when a user declines cookies?
If the visitor declines consent under Advanced Consent Mode, GA4 receives cookieless pings rather than normal tracking data, carrying basic context like browser type and page titles but no unique identifiers. Google’s models then estimate total traffic and conversion paths from this data.


