
Setting up Google Consent Mode can feel like solving a puzzle in the dark. You want accurate analytics and real respect for visitor privacy, but one misconfigured tag throws off your whole reporting picture. Don’t worry, it’s easier to fix than it looks. Here’s how to track down, diagnose, and fix the common consent issues.
Key Takeaways
- Verify the trigger sequence so your default consent state loads before any marketing tags fire.
- Read the GCD parameter in your network requests to decode the exact consent status Google receives.
- Use Google Tag Assistant as your go-to tool for watching consent updates in real time.
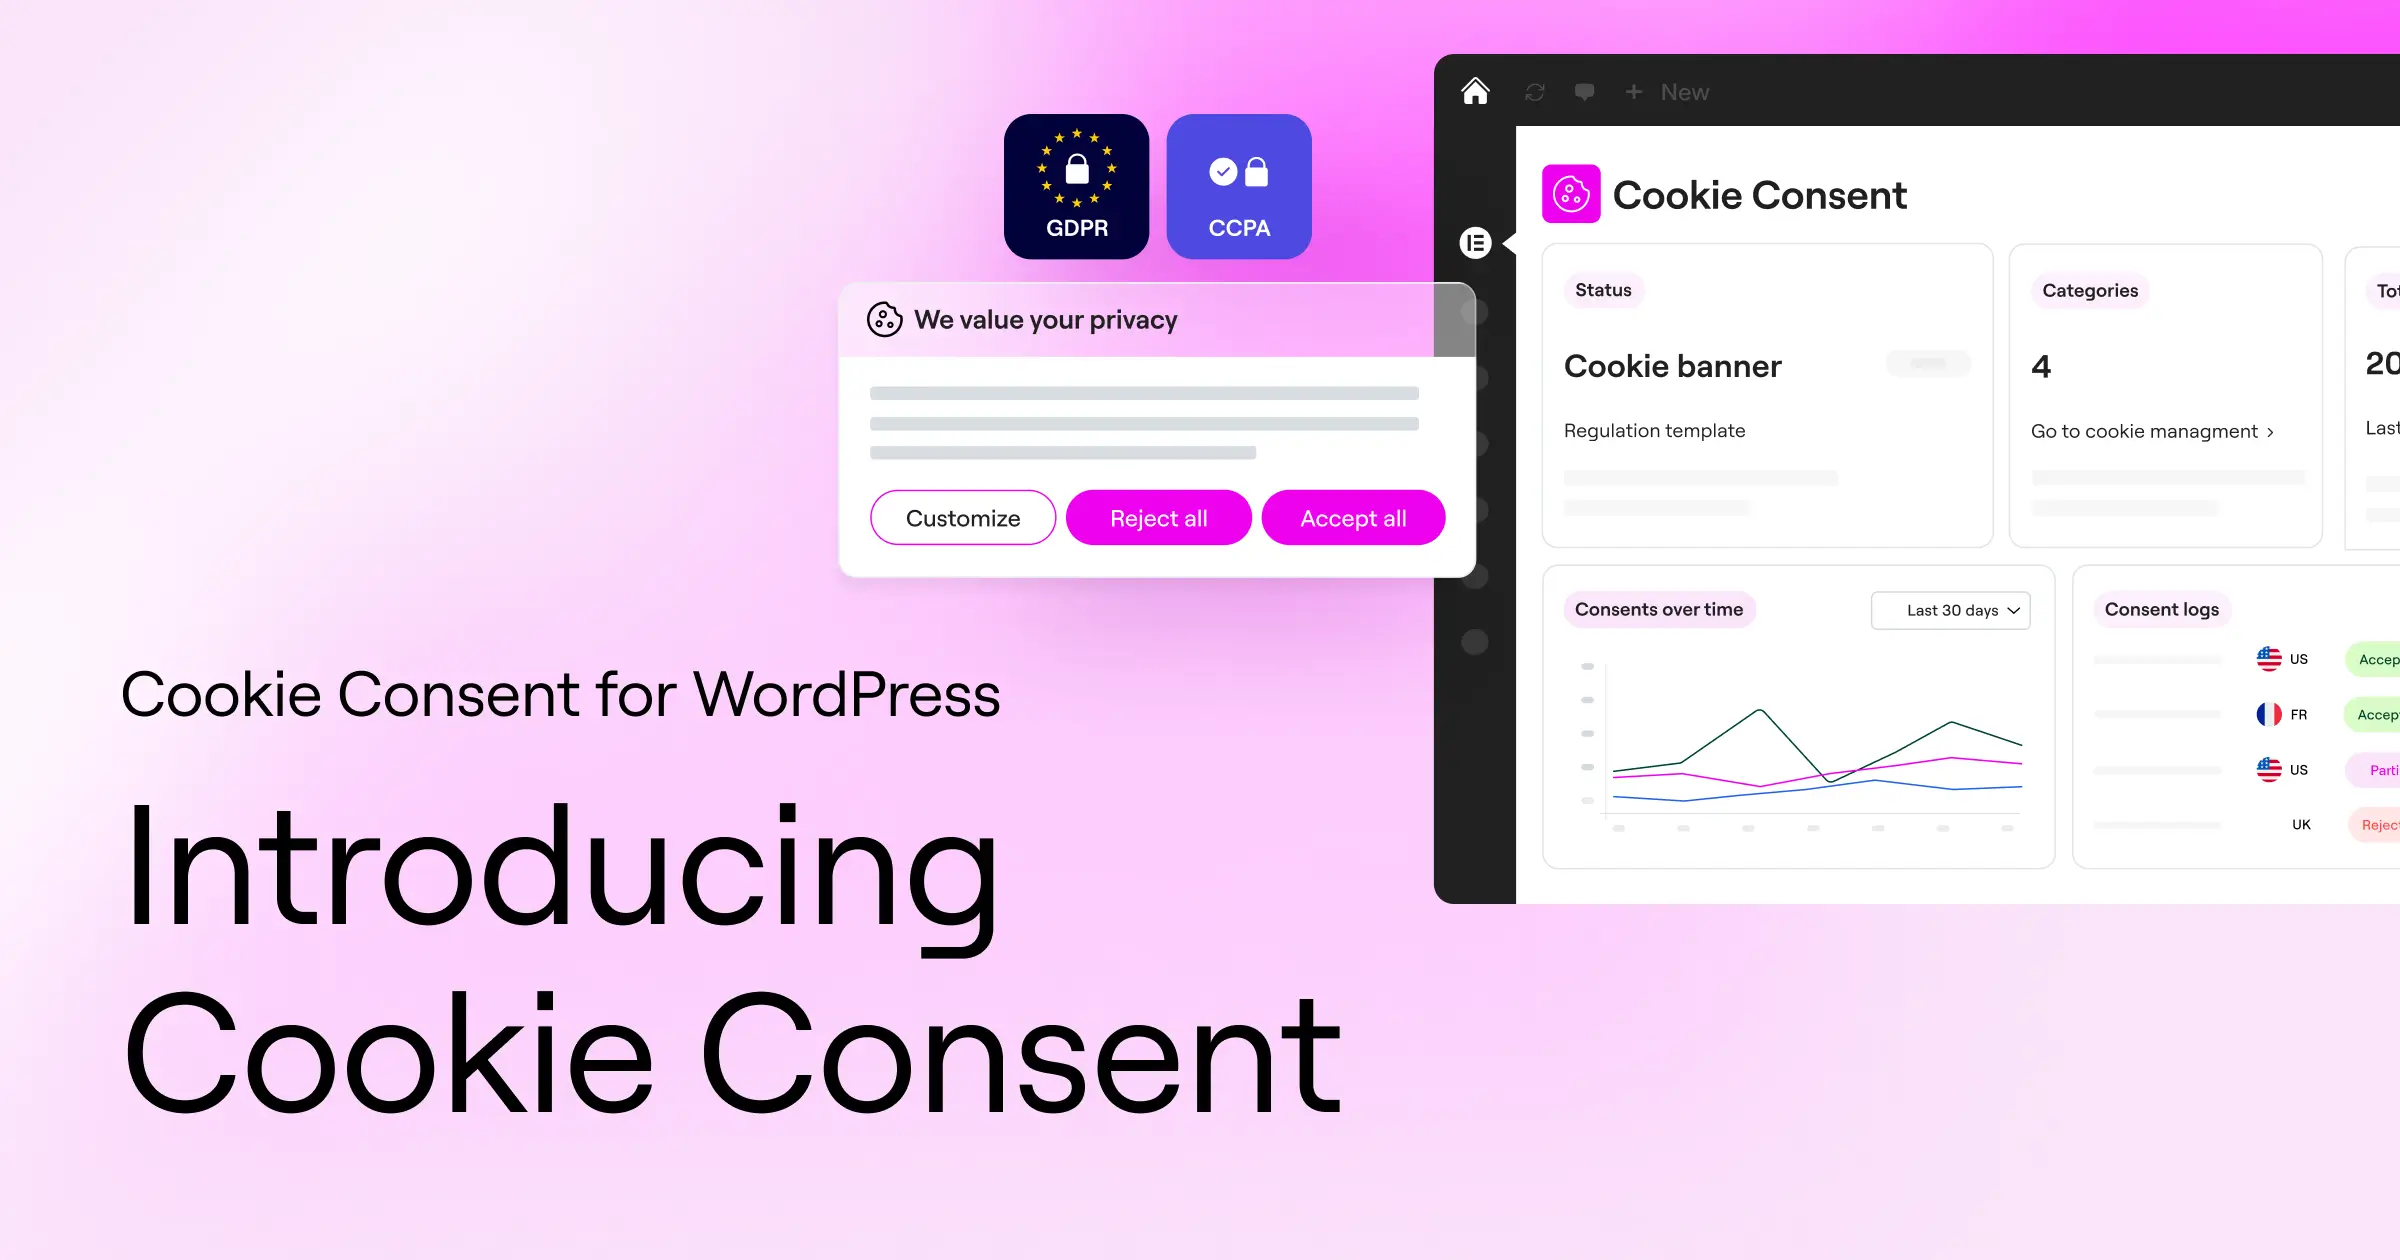
- Deploy a native solution like Elementor’s Cookie Consent to simplify script management without an external dashboard.
- Always test your setup in an incognito window so cached consent states don’t skew your results.
Understanding Google Consent Mode V2 Basics in 2026
Google Consent Mode v2 acts like a translator between your site’s privacy banner and the Google tags you use for tracking. Instead of blocking Google Analytics or Ads outright when someone refuses cookies, it adjusts how those tags behave, so you recover modeled data while respecting what visitors chose.
The system relies on variables representing different permission levels. Early on there were just two: tracking and analytics. The 2026 standard uses a more granular set, and your consent tool needs to handle each one correctly.
There’s analytics_storage (analytics cookies) and ad_storage (marketing cookies). Two newer fields matter too: ad_user_data (whether user data reaches Google for advertising) and ad_personalization (personalized remarketing). Your consent tool needs to communicate these states the moment someone interacts with your banner.
There are two implementation paths. Basic blocks Google tags completely on denial, so no data reaches Google (simpler, but you lose more). Advanced keeps tags firing after a denial, sending cookieless pings so Google can model the gaps. If your site relies on advertising, Advanced is worth the extra setup.
Common Signs Your Consent Setup is Broken
How do you know something’s gone wrong? Usually the warning signs show up in your dashboard before you even open developer tools.
When tracking breaks, you’ll typically see one of these patterns:
- A sudden, unexplained drop in conversion data that doesn’t match your actual sales.
- An unusually high share of unassigned or direct traffic in Google Analytics 4.
- Warning banners appearing inside your Google Ads or Merchant Center accounts.
- Tags firing before the visitor has made any choice on your consent banner.
- Consent status that fails to update when someone clicks “Accept” or “Deny”.
A classic symptom: Analytics traffic plummets near zero right after you launch a new banner, because your default state blocks tags too strictly and skips the update signal on accept. Another common issue is double-firing: tags run once on load and again after consent, cluttering reports with duplicate data.
Prerequisites Before You Start Debugging
Before you touch any code, get a few essential tools in place. Debugging without the right setup is like fixing a watch with a hammer.
Here’s the basic toolkit you’ll want before you begin:
- Google Tag Manager access with publishing permissions so you can inspect tags and edit variables.
- Google Tag Assistant open in your browser and connected to your staging or production site.
- Chrome Developer Tools (or any modern browser console) to watch network payloads and cookie storage.
Full administrative access to your WordPress dashboard helps too. If you’re using Elementor’s Cookie Consent for compliance, make sure your theme settings and scripts stay accessible.
Step-by-Step Guide: How to Debug Google Consent Mode Issues
Now let’s walk through diagnosing and fixing your consent issues, from simple checks to more technical ones.
Step 1: Inspect the Consent Banner Integration
First, check how your consent banner runs. For WordPress users, the Cookie Consent capability built into Elementor handles GDPR and CCPA compliance right from your dashboard.

Open your site in incognito and confirm the banner appears right away, blocking scripts before you’ve chosen anything. Type document.cookie in your console: you shouldn’t see analytics or marketing cookies before clicking “Accept.” Cookies on load mean your banner isn’t stopping tracking scripts.
Step 2: Use Google Tag Assistant to Inspect Consent States
Google Tag Assistant is your best friend here. Go to the Tag Assistant site, enter your URL, let it launch a debug window, then check the left-hand timeline.
Select the first event (usually “Consent” or “Message”) and click “Consent.” You’ll see “On-page Default” and “Current State” columns; defaults should show “Denied” for ad and analytics storage, confirming your default loads early.
Now click “Accept All,” then check the latest event. “Current State” should read “Granted” across the board. If it stays “Denied,” your tags stay muted no matter what visitors click.
Step 3: Analyze the Network Payload
Sometimes Tag Assistant looks fine, but data isn’t arriving in Analytics. Drop to the network level: open Developer Tools (F12), go to “Network,” and type collect?v=2 to isolate GA4 requests.
Reload the page, click a request, and check the Query String Parameters under “Payload.” You want gcs and gcd, the encoded consent signals Google’s servers receive. We’ll decode them next.
Step 4: Check GTM Consent Settings and Triggers
If requests aren’t sending the right signals, the problem may be inside your Tag Manager container. Each tag has a built-in consent setting that must match your tracking needs.
Watch for conflicting triggers (this trips people up): requiring explicit consent but also firing on “All Pages” creates a race condition. Lean on GTM’s built-in consent settings instead of custom triggers, and let Google’s logic do the heavy lifting.
Step 5: Verify Consent State Persistence Across Pages
A common mistake: consent works fine on the landing page but resets once a visitor moves to a second page. Clear your cookies, open Tag Assistant, and accept consent on your homepage.
Then click to another page and watch whether the state resets to “Denied” or remembers “Granted.” Your consent feature should write a local cookie keeping “Granted” on every later page view, without showing the banner again.
“Implementing privacy tools shouldn’t break your analytics or your site design. The key is finding a system that balances developer control with user clarity.”
– Itamar Haim, Web Compliance Specialist
Explaining the GCS and GCD Query Parameters
Let’s decode those cryptic query parameters. Google keeps tracking requests small with compressed strings, straightforward once you know what to look for.
The gcs parameter represents the Google Consent Status: a three-character string starting with G1, then two binary digits, 1 for granted or 0 for denied, ad storage second and analytics storage third.
The gcd parameter goes deeper: a long string of letters and numbers, such as 13p3p3l3p1, controlling Google Consent Developer signals. It shows whether consent was a default or an update, and whether it came from the developer or the user, helping you prove your site acts on user choices.
This table maps the common GCS codes you’ll encounter during testing:
| GCS Code | Ad Storage Status | Analytics Storage Status | Practical Meaning |
|---|---|---|---|
| G100 | Denied | Denied | No consent is given; tags run in anonymous ping mode. |
| G110 | Granted | Denied | Ads tracking is active; analytics tracking is disabled. |
| G101 | Denied | Granted | Ads tracking is disabled; analytics tracking is active. |
| G111 | Granted | Granted | Full tracking is enabled for ads and analytics. |
Choosing the Right Tool for Consent Management
Many compliance platforms push you toward complex software living in an external cloud dashboard. Elementor’s native Cookie Consent capability works inside WordPress instead, keeping your privacy data in one place.

Here’s a neutral look at well-established tools:
- Cookiebot is a cloud-based consent platform with automated site scanning, managed through an external portal.
- CookieYes offers a web-app dashboard with WordPress connection options, simple to deploy, though it adds another script to your load time.
- Complianz focuses on the WordPress ecosystem with a detailed setup wizard, though some developers find its menus quite deep.
- iubenda pairs legal policy generation with consent banners, useful for legal coverage though it can take more effort to brand.
- OneTrust targets large enterprises with deep corporate compliance features, a better fit for teams with dedicated legal staff than typical WordPress sites.
If you’d rather keep your workflow entirely inside WordPress, the Cookie Consent capability within Elementor is often the most practical choice, without extra connections in your admin area.
Here’s what it brings to your workflow:
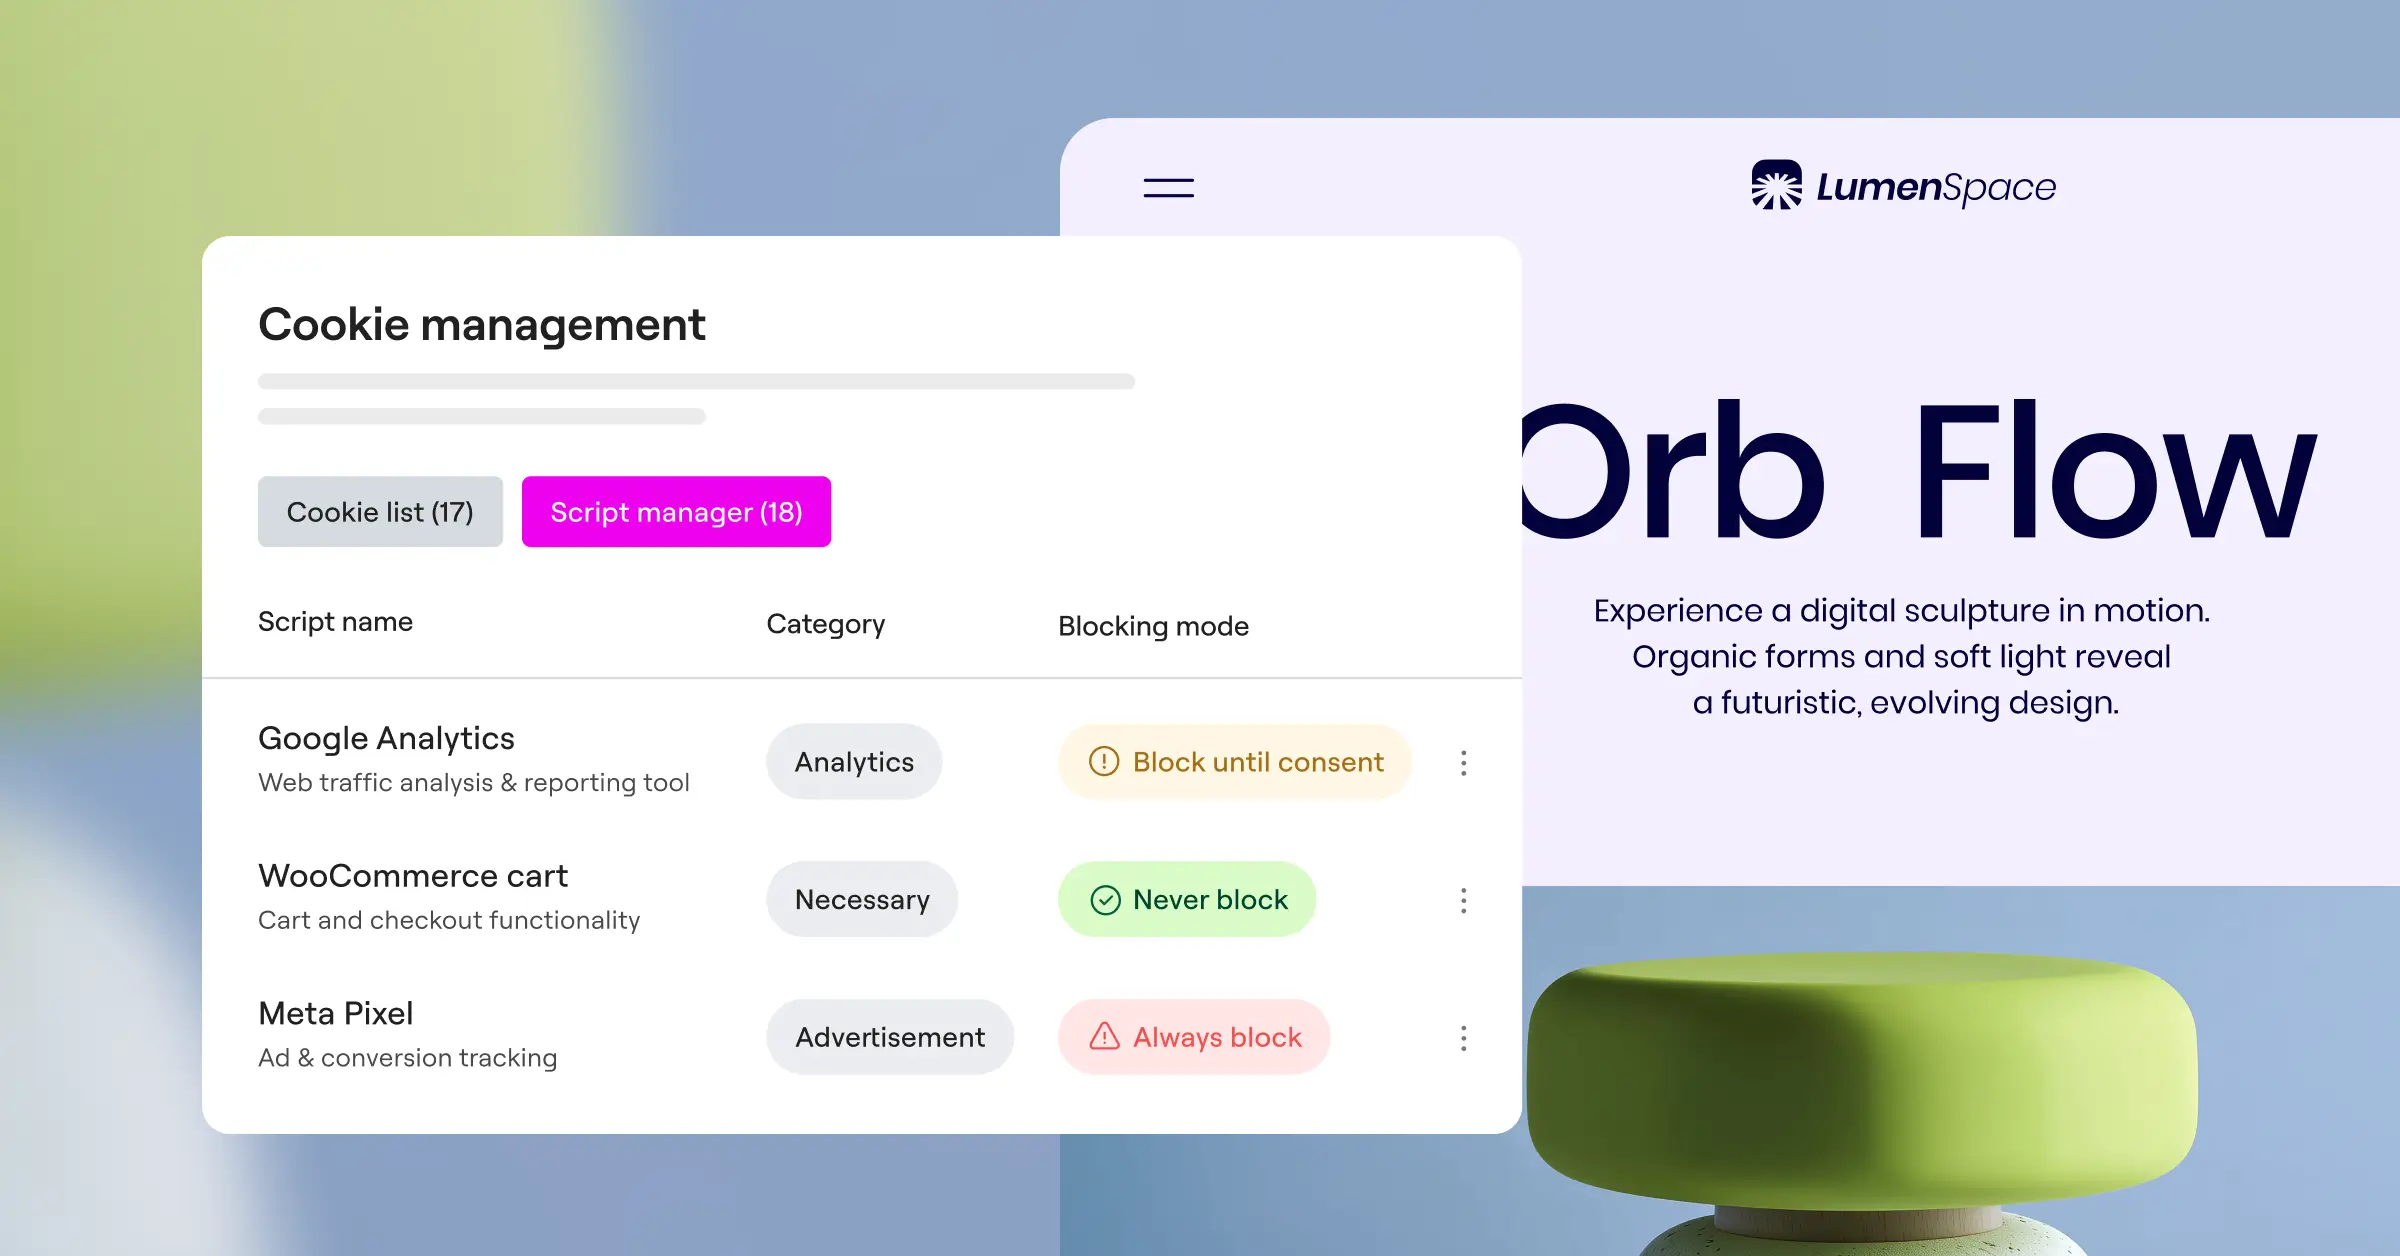
- Simplifies compliance by managing your banner configurations directly inside the WordPress dashboard.
- Scans your website automatically to discover, list, and categorize cookies.
- Saves complete consent logs so you have a solid audit trail for regulatory checks.
- Supports Google Consent Mode v2 and Global Privacy Control out of the box.
- Adapts to different regions through smart geo-targeting features.
- Matches your exact branding through native design customization options.
Troubleshooting Common Google Consent Mode Edge Cases
Even with a solid tool in place, real sites hit unexpected snags: caching, minification, and custom templates can all disrupt your tracking signals.
Solving Caching and Minification Collisions
Heavy caching or minification can load consent scripts in the wrong order. If your optimization plugin bundles the default consent script with your tracking scripts, tracking could fire before the default state registers, a problem that often only shows up later.
To keep things loading in order:
- Excludes your consent management scripts from minification and aggregation tools.
- Purges your website cache whenever you update banner configurations.
- Loads the default consent state script inline, before any external assets load.
- Checks your caching plugin settings for rules that might delay JavaScript execution.
Managing Geo-Targeting Discrepancies
If your site serves visitors from both the EU and the US, you might show the banner only to strict-privacy regions. But slow geo-targeting logic can delay your default state, letting tags fire before they know which rules apply.
Keep your regional targeting accurate:
- Sets regional defaults that apply strict rules only to visitors from specific countries.
- Uses native geo-targeting to detect IP addresses before setting consent levels.
- Configures fallback consent states to protect privacy when IP lookups fail or time out.
- Tests your site using a reliable VPN to view the page from different regions.
Testing Single Page Apps and Dynamic Routing
With dynamic transitions, like custom routing in Elementor templates, the browser skips a full reload between pages, which can stop GTM from re-evaluating consent on new views and quietly break tracking on interior pages.
Keep your dynamic setups synchronized:
- Triggers consent update calls during route changes to capture any state changes.
- Binds event listeners to your custom consent buttons for immediate state updates.
- Listens to dynamic DOM changes to prevent double-firing of tracking scripts.
Step-by-Step Advanced Diagnostics in the Console
When visual tools don’t give a clear answer, the console will. Querying Google’s global variables shows exactly what your scripts are doing behind the scenes, faster than you’d expect.
Follow this sequence to read the internal consent registry:
- Open your browser console by right-clicking your page and choosing “Inspect”.
- Type
google_tag_data.ics.entriesand press enter to view the raw consent registry in memory. - Examine each category to see whether the current state is
true(granted) orfalse(denied).
Undefined variables or missing properties mean your tracking tag loads too late, or not at all. You can also confirm your consent feature writes the correct cookies with a quick storage check.
To inspect the stored cookie values:
- Go to the Application tab inside Chrome Developer Tools.
- Expand the Cookies section on the left side and select your domain name.
- Locate your consent cookie (the one your consent feature generates) and check its value to confirm it’s set correctly.
Best Practices for Long-Term Consent Maintenance
Compliance isn’t one-time. Browser policies, regulations, and ad networks update regularly, so build a simple maintenance routine instead of reacting after problems cost you data.
Add these habits to your quarterly site checkups:
- Audits your tracking setup quarterly to catch stray or undocumented tags before they cause problems.
- Monitors regulatory updates in privacy laws so your banners stay current with requirements.
- Updates your consent tool configurations whenever you launch new ad campaigns or add tracking scripts.
- Reviews your consent opt-in rates to spot design issues that might be discouraging users from accepting.
Staying proactive with built-in capabilities like Elementor’s Cookie Consent makes privacy part of your workflow instead of an afterthought, protecting your business from regulatory risk and keeping your analytics accurate for the long haul.
Frequently Asked Questions
Why is Google Analytics showing a drop in traffic after enabling Google Consent Mode?
Once you enable Consent Mode, Analytics stops cookies for visitors who deny consent. With Basic, they disappear entirely from your reports. With Advanced, Google uses cookieless pings and behavioral modeling to estimate their activity, which takes a little time to catch up.
What is the difference between basic and advanced consent mode?
In Basic, Google’s tags don’t fire on denial, so no data reaches Google at all. In Advanced, tags load regardless; on denial they skip cookies but send cookieless pings for modeling and conversions, giving you more usable data while still respecting the choice.
How do I verify that Google Consent Mode v2 is actually running?
The easiest check is Tag Assistant’s “Consent” tab: defaults should read “Denied” on load, switching to “Granted” once someone accepts your banner. You can also confirm the gcs and gcd parameters show up in your Analytics payloads.
What happens if a user ignores the consent banner instead of accepting or denying?
If a visitor ignores your banner, Consent Mode keeps your default state, always “Denied” for proper compliance. The tags treat them as if they’d clicked “Deny” until they choose explicitly, keeping your site safe while giving them a reason to interact.
Why does my GTM preview mode show “Consent not configured”?
This shows up when a tag runs without registering its required consent parameters. Open its settings in Tag Manager, scroll to Consent Settings, and confirm it’s using built-in checks or has custom rules specified. The warning then disappears.
Do I need to write custom code to run cookie consent on my WordPress site?
No custom code needed. A built-in capability like Elementor’s Cookie Consent lets you set up, categorize, and deploy your banner without writing JavaScript. It works directly with your layout templates and communicates visitor choices to Consent Mode automatically, so you focus on your site, not your scripts.
How does Global Privacy Control interact with consent mode?
Global Privacy Control (GPC) is a browser setting that lets visitors declare their privacy preference once, across every site. A compliant consent feature detects that signal and applies a “Denied” status to Consent Mode automatically, a good sign your tool keeps up with current standards.
Can caching plugins break my cookie consent settings?
Yes. Aggressive caching and minification can load consent scripts out of order, letting tags fire before the default state is set. Exclude your consent banner and Consent Mode scripts from minification, and load them inline at the top of your header so they run first.


