We’ve all been there. You land on a great-looking, fast site, and a giant pop-up blocks the whole screen. It feels pushy, even a little sketchy, and it’s the last thing you want visitors feeling. You want them to trust your brand from the first click, while still meeting the privacy rules you’re required to follow.
Here’s the good news: you don’t have to trade legal safety for a good experience. Get the design right, and your opt-in numbers climb as a natural result. Use a tool built right into your workflow, like Cookie Consent by Elementor, and a compliant, trustworthy site gets a lot easier to build.
Key Takeaways
- Clarity wins: honest, plain language builds trust the moment visitors land.
- Keep it native: manage consent inside WordPress instead of juggling outside dashboards.
- Design for mobile: banners should adapt gracefully and never block key content.
- Respect the standards: support Google Consent Mode v2 and Global Privacy Control automatically.
- Skip dark patterns: sneaky layout tricks invite audits and damage your reputation.
Understanding Cookie Consent UX in 2026
The web’s changed, and so have people’s expectations. Cookie banners used to be an afterthought, plain gray boxes at the bottom of the page that everyone learned to ignore. These days privacy is part of your brand experience, and visitors notice when a site respects their choices instead of working around them.
Regulators from European GDPR authorities to state agencies handling the CCPA are actively reviewing how sites collect data, and a poorly designed banner is now a real compliance risk, not just an eyesore. Bury your opt-out button or lean on a pre-checked box, and you could be breaking the law without realizing it. The good part: clean UX and compliance point the same direction. Make it easy for people to see what you’re collecting and why, and they’ll trust you more for it, while your brand stays sharp and you still gather the data you need.
Core Best Practices for High-Converting Consent Banners
To design a banner people actually want to interact with, start with their experience, not the legal checklist. Most visitors hit “Reject All” because a banner looks suspicious or takes too many steps to get through. Make it quick, honest, and visually comfortable, and your opt-in numbers improve on their own.
Establish a Clear Visual Hierarchy
Your action buttons are the most important part of the banner. Visitors should understand their choices at a glance: accept, preferences, reject, all easy to read and tap on any device. Keep these layout goals in mind:
- Keeps the layout clean and accessible.
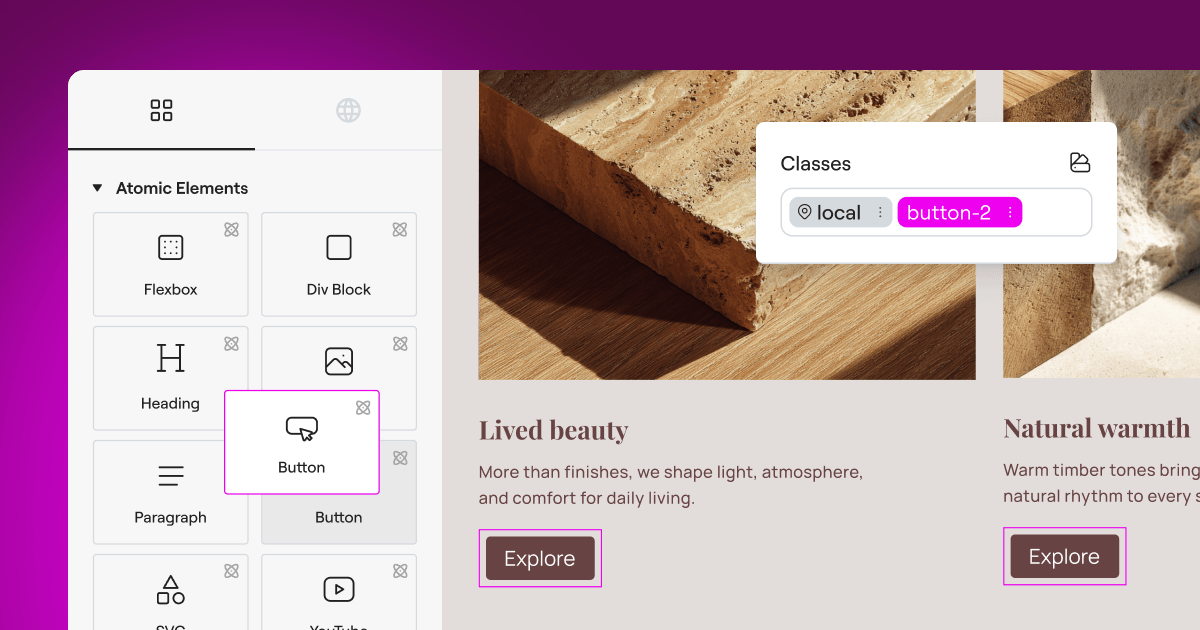
- Matches your current brand styles automatically.
- Separates options logically for quick decisions.
- Supports high-contrast ratios for better readability.
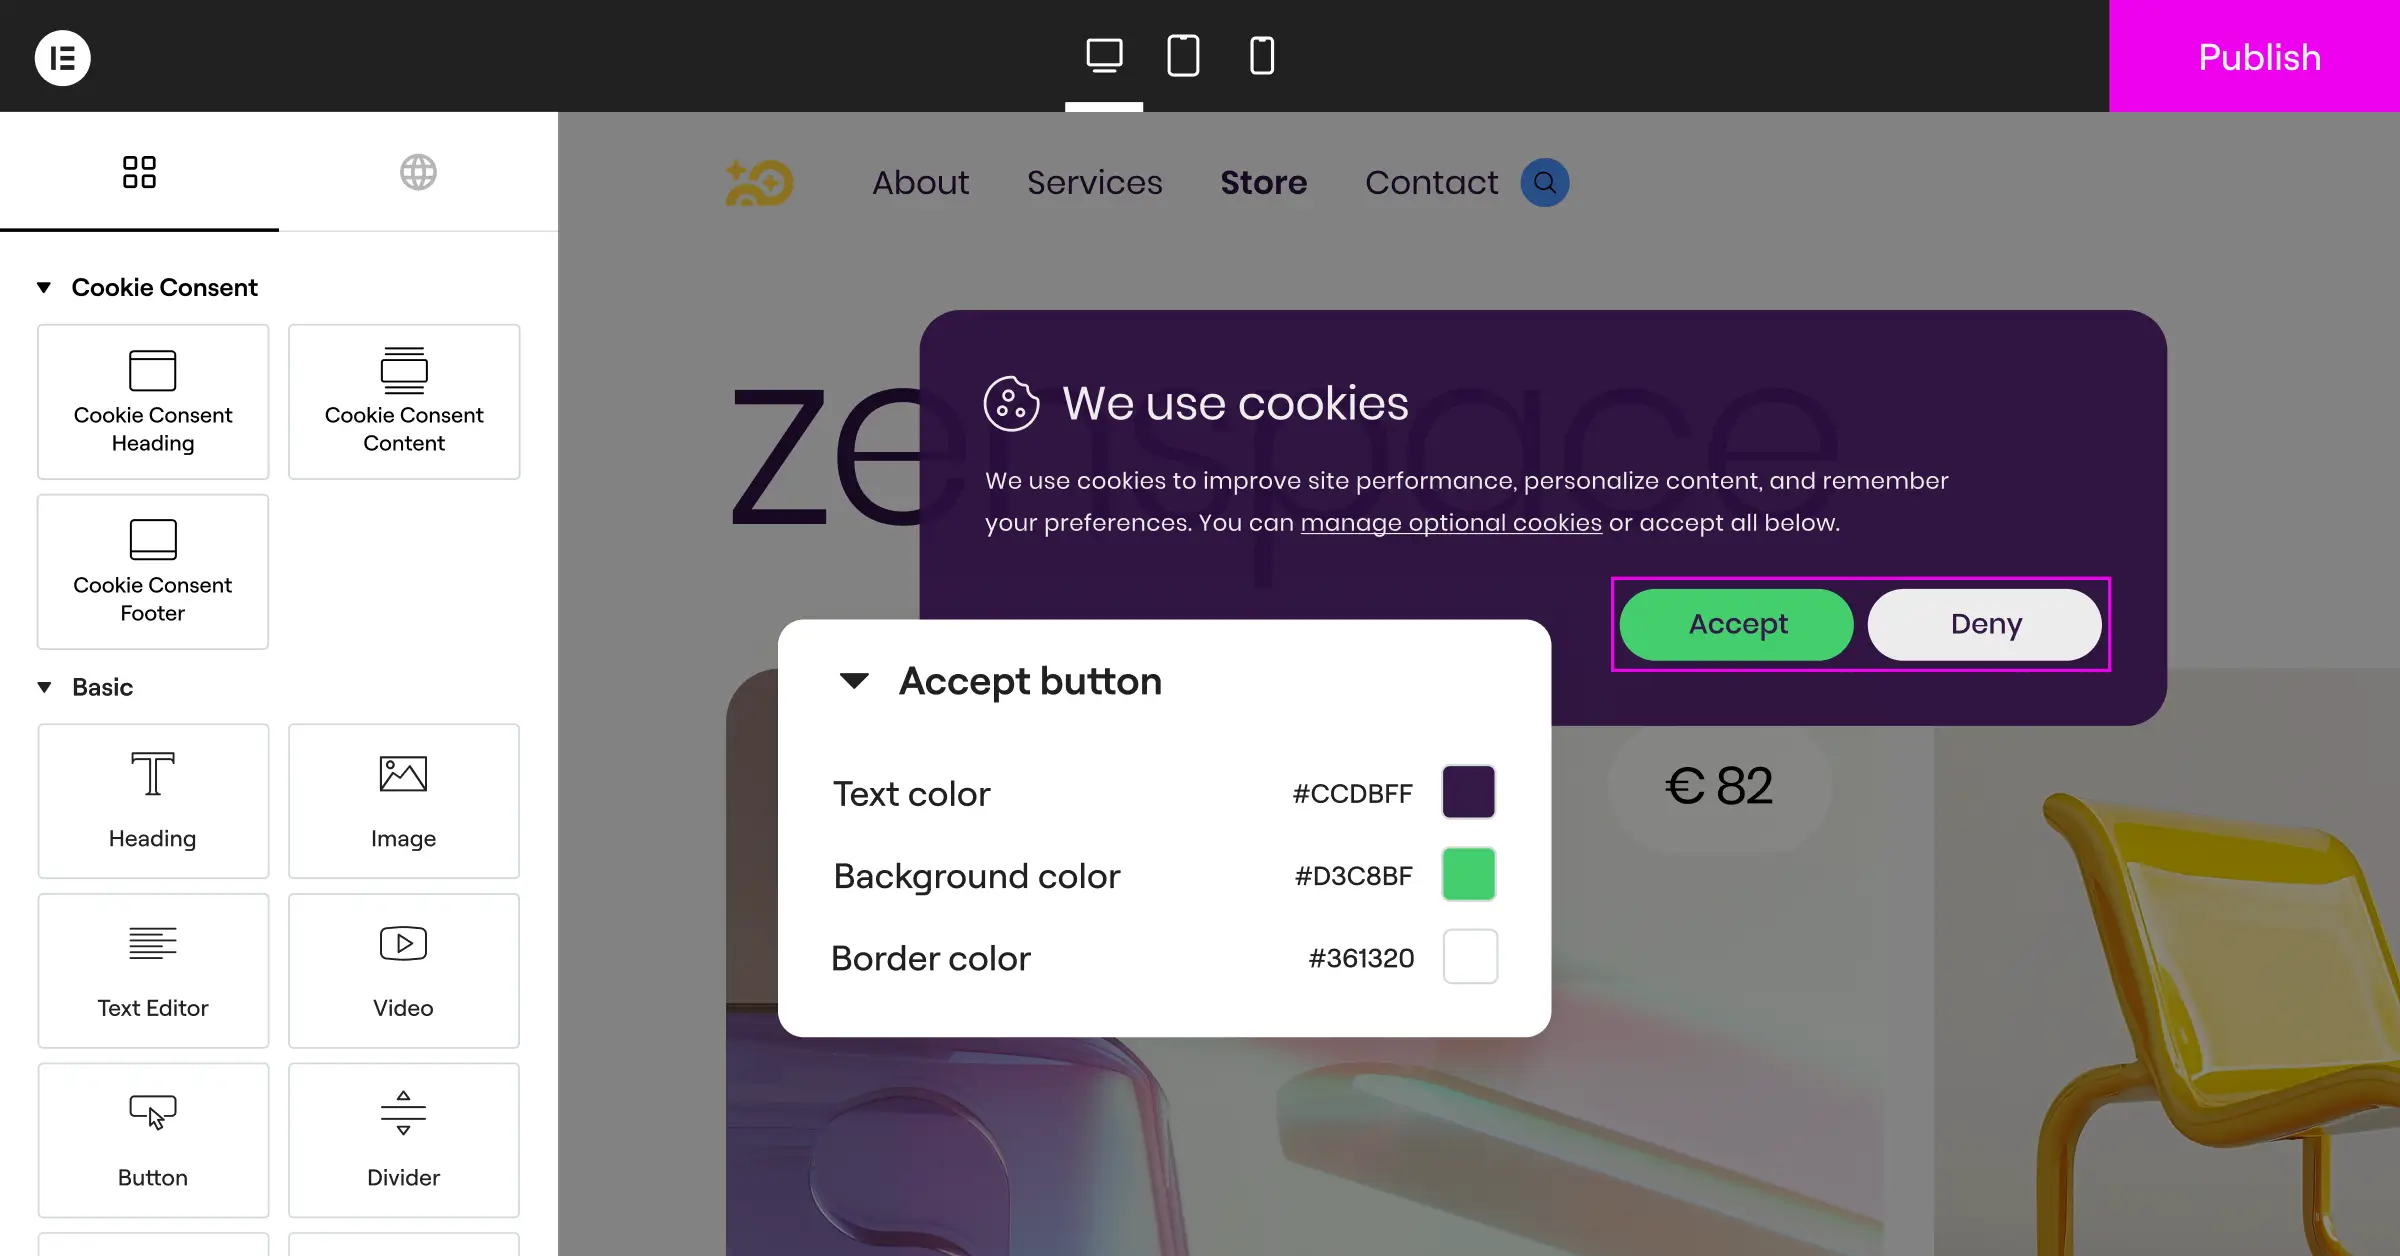
Resist making “Accept” a bold, bright green button while tucking “Reject” into tiny, low-contrast text. That trick hurts trust and can get your site flagged by regulators. Use balanced styling that keeps every option equally clear and reachable, since equal prominence for accept and reject isn’t just good UX, it’s what the regulations require.
Write Clear, Direct Microcopy
Legal jargon is where good user experiences go to die. No one wants to wade through three paragraphs of dense legal text just to get onto a site. Keep your wording friendly and direct, and explain why you use cookies and how it benefits the visitor.
Instead of “We use third-party tracking technologies to optimize platform performance and target marketing campaigns,” try: “We use cookies to remember your preferences, understand our traffic, and show you content that matches your interests.” It’s warm, honest, and readable in under three seconds, which is genuinely reassuring to a guarded visitor.
Avoid Deceptive Design Choices
Dark patterns are design choices meant to push users toward an action they might not otherwise choose: requiring five clicks to opt out, confusing double negatives, or a “Close” button that quietly triggers “Accept All.” These shortcuts might inflate your tracking numbers for a while, but they cost you in low-quality data, frustrated visitors, and legal exposure. Watch out for:
- Hidden or buried opt-out links.
- A reject button that’s hard to find or read.
- Pre-checked consent boxes.
- Confusing double-negative microcopy.
Real improvements, like clear value messaging and on-brand design, are what move opt-in rates. Consent should feel easy to give because the experience is trustworthy, not because refusing is a hassle.
The Technical Essentials of Cookie Consent
A beautiful consent banner is only as good as the technology behind it. Your site needs to identify every cookie on your domain, sort them into the right categories, and block them from loading until a visitor gives permission. This is where a lot of web professionals get stuck: a great-looking template, but no easy way to wire up the code that controls the tracking scripts.
That’s where a native tool like the Cookie Consent capability built for WordPress comes in. Instead of juggling third-party script integrations, you manage banner styling, cookie categorization, and script blocking from your WordPress dashboard. It lives inside your Elementor workflow, so you don’t bounce between platforms for a small change, and your compliance process stays fast and stress-free. Check that your setup handles these key tasks:
- Scans your entire site automatically to identify tracking scripts.
- Categorizes cookies into essential, marketing, and analytical groups.
- Logs user consent records to keep compliance audit trails clear.
- Displays geo-targeted banners based on the visitor’s location.
- Blocks scripts automatically until the visitor grants consent.
- Updates banner copy dynamically for multilingual translation support.

Another major piece is support for modern consent protocols like Google Consent Mode v2, which asks sites to send explicit consent signals to Google Analytics and Google Ads before any tags fire. Skip that support, and your marketing metrics can quietly break for European traffic. A modern cookie consent capability handles this automatically, protecting your compliance and data quality.
“An effective cookie banner doesn’t try to trick the visitor. Transparency in layout and visual hierarchy is what actually builds long-term brand equity and keeps you compliant.”
– Itamar Haim, Web Compliance Specialist
Comparing Popular Consent Management Options
When you’re deciding how to handle compliance, it helps to see how different tools approach the same problem. Some options are heavy enterprise systems; others fit right into your WordPress dashboard. Here’s a neutral look at how the leading options compare.
| Consent Solution | Native Dashboard Integration | Main Positioning & Focus | Key Advantage |
|---|---|---|---|
| Cookie Consent | Yes, fully native | Built-in compliance within your page design tools. | Setup takes under 5 minutes with zero external platforms needed. |
| Cookiebot | No, cloud-hosted | Cloud-based tracking scan and external management dashboard. | Strong automatic cookie scanning for large domains. |
| CookieYes | No, cloud-hosted | Multi-CMS platform with cloud logging systems. | Simple integration via a lightweight connector. |
| Complianz | Yes, localized | Dedicated compliance setup wizard for WordPress users. | Highly detailed local configuration paths for legal regions. |
| iubenda | No, cloud-hosted | All-in-one generator for legal terms and cookie policies. | Good option for sites needing multi-document policy creation. |
| OneTrust | No, cloud-hosted | Large enterprise privacy and data governance platform. | Extensive customization options for complex corporate structures. |
As you weigh these options, think about your day-to-day workflow. If you’d rather skip another external platform, managing cookie consent natively is a genuine advantage: your logs, styling, and script rules all stay in one editor, saving time and cutting points of failure.
Designing for Trust: Visual Best Practices for Designers
Let’s look at the details that turn a standard cookie alert into something that builds trust. When you style your banner, think about how it fits your brand: it should look like the same person who built the rest of your site designed it too, not like a pop-up bolted on at the last minute.
Pick the Right Banner Placement
Where you place your banner affects opt-in rates and user experience. The three common layouts are the full-screen modal, the bottom bar, and the slide-out card, each with trade-offs, so let your site goals and audience decide. Here’s a sensible planning sequence:
- Identify the regions your audience visits from to establish your compliance rules.
- Map the exact trackers running on your site pages to prepare your cookie categories.
- Choose a banner layout that doesn’t cover critical user actions or key content.
For most informational and brand sites, a slide-out card in a bottom corner is a solid choice: visible and clear, without blocking your headlines or menus. Running an e-commerce site where checkout buttons live at the bottom of the screen? A clean bar at the top might be the safer call. Choose whatever layout actually fits how your site works.
Refine Your Typography and Color Palette
Keep your banner styling aligned with your master style sheet: same brand fonts, button roundness, and colors as your navigation and landing pages. That consistency makes it feel familiar and safe. A banner that looks totally different from the rest of the site can read as an ad or security warning, sending people straight to “Reject All.”
Build with accessibility in mind too. Your text should contrast clearly with the background for visitors with visual impairments; light button text or a too-small font can fail accessibility audits. Pairing Elementor’s Web Accessibility tools with your banner design keeps everything aligned with privacy law and visual standards. Check your layout with these:
- Tests touch targets on small mobile screens to prevent accidental clicks.
- Verifies keyboard navigation for accessibility tools and screen readers.
- Applies clear color distinctions between choice buttons.
- Adjusts overlay opacity to prevent screen blockages on key pages.
Step-by-Step Implementation of a Friendly Consent Banner
Ready to build your banner? Here’s how to set up a clean, high-performing design with native WordPress tools. It’s a straightforward process you can get through in a single sitting.
Step 1: Run Your Cookie Scan
Before you design anything, find out what you’re tracking. Run a quick scan from your compliance dashboard: it locates tracking scripts from social networks, analytics engines, and ad networks dropping cookies on your visitors’ browsers. Once it finishes, sort the results into simple categories: Necessary, Analytics, and Marketing are the standard three.
Step 2: Brand Your Banner Layout
Now comes the part most designers actually enjoy. Open your compliance tool inside the WordPress editor and pick a layout, a subtle bottom bar or a friendly corner card both work well. Match colors to your theme, adjust button padding, set your typography, and write friendly microcopy that explains the benefit of opting in.
Step 3: Test and Audit Your Settings
Before pushing your banner live, make sure everything works correctly behind the scenes. Run through this quick checklist on both desktop and mobile:
- Open your browser in an incognito session to reset active tracking and see the banner fresh.
- Inspect the developer console to see which cookies drop before you take any action.
- Click each choice button and confirm that only the approved categories load on the page.
Once you’ve confirmed the behavior checks out and scripts are blocked correctly, save your settings. Your site’s now secure, compliant, and ready to greet visitors with a trustworthy first impression.
Advanced Tactics for Growth-Minded Web Teams
Managing multiple client sites or running high-traffic campaigns? You can push your compliance UX further with approaches that hold onto solid opt-in rates while honoring local privacy rules for every visitor, wherever they’re browsing from.
Implement Smart Geo-Targeting
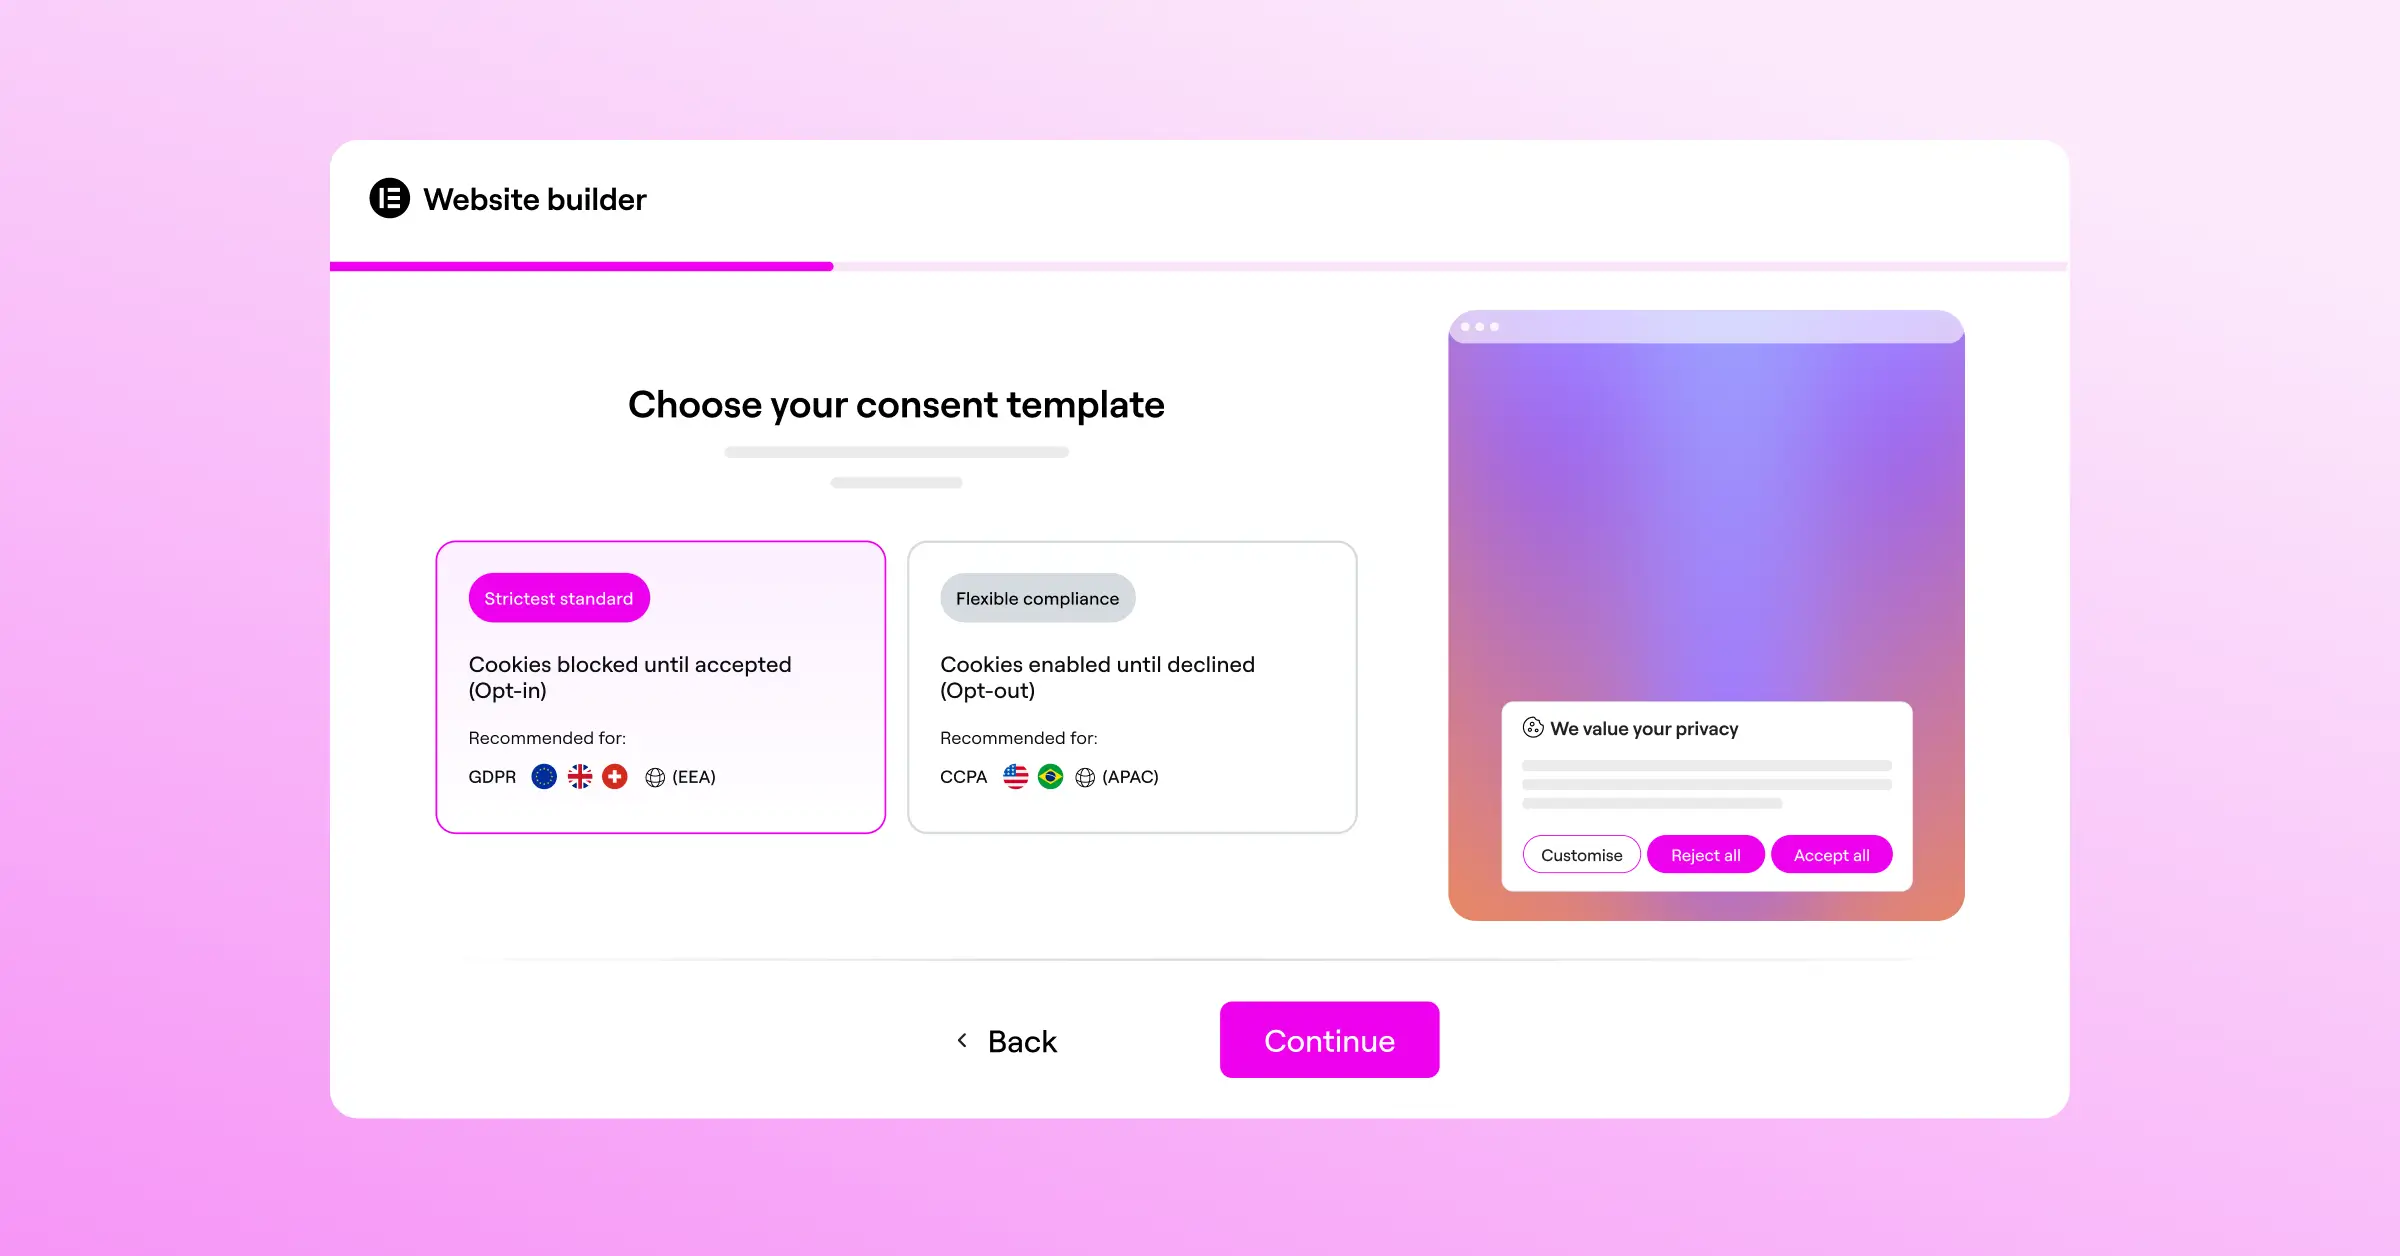
One of the most practical ways to lift your global opt-in rate is geo-targeting. Privacy laws vary a lot by where your visitors live: EU visitors need an explicit opt-in banner before any non-essential cookies load, while visitors elsewhere may only need a simple disclosure, or sometimes no banner at all.
A cookie consent tool with built-in geo-targeting shows the right banner automatically based on each visitor’s location: European visitors get the higher-security layout they expect, and visitors from regions with lighter rules browse without an unnecessary interruption. It’s a genuinely effective way to improve the experience without cutting compliance corners.
Use Global Privacy Control (GPC)
Global Privacy Control is a browser-level setting that lets people declare their privacy preferences once, instead of configuring a new banner on every site they visit. Modern rules require sites to recognize and honor these signals automatically: when your system detects a GPC signal, it should set the user’s preferences to opt-out right away, with no disruptive pop-up. Supporting GPC tells tech-savvy visitors you take their choices seriously, and that trust is hard to earn back once lost.

To keep these pieces running smoothly, look for tools built to work directly inside WordPress. Pairing Elementor’s Cookie Consent capability with the rest of your page design and performance tools keeps everything coordinated: no conflicts, no context switching, no separate platforms to juggle. Your site stays fast, your team stays focused, and your compliance stays solid.
Frequently Asked Questions
Why is cookie consent UX so important?
Your consent banner is often the first thing a visitor sees. If it’s ugly, intrusive, or confusing, it creates friction and can push people to leave before they’ve seen anything else you’ve built. A clean, thoughtful design builds trust and comfort with your brand.
How does Cookie Consent handle Google Consent Mode v2?
The Cookie Consent capability fully supports Google Consent Mode v2 out of the box, translating a visitor’s banner selections into consent signals passed directly to your Google tags, keeping analytics accurate while staying compliant.
Do I need an external dashboard to manage my cookie consent logs?
Not at all. A WordPress-native capability like Cookie Consent lets you handle everything from your dashboard: view logs, update styling, and adjust script rules, all in one place.
Can I customize the look of my consent banner?
Absolutely. You get full creative control over layout, color palette, typography, button styles, and microcopy, so your notification looks like a purposeful part of your branding.
Is there an entry-level plan for Cookie Consent?
Yes. Cookie Consent comes with a capable free tier covering essential compliance needs. Advanced features like geo-targeting, premium cloud templates, and extended log storage are included in Elementor One.
What are dark patterns in cookie design?
Dark patterns are deceptive choices meant to push visitors into consent, like pre-checked opt-in boxes, a hidden opt-out button, or confusing double-negative copy. Avoiding them keeps visitor trust and keeps you on the right side of consumer protection law.
How does geo-targeting help my opt-in rates?
Geo-targeting shows different banners depending on where a visitor is browsing from. EU visitors see the full opt-in banner they’re legally required to see, while visitors elsewhere get a lighter, less disruptive experience.
Does a cookie banner slow down my website load times?
It can, if you rely on heavy third-party scripts needing external server lookups. A native WordPress tool stays lightweight, loading optimized CSS and JavaScript directly, so your page speed scores stay healthy.


