Getting visitors to accept your cookie banner isn’t just a compliance box to check, it’s a real lever for your marketing team. Decline it and your analytics go dark, your ad campaigns lose tracking power, and you’re left guessing. So how do you design a banner people actually agree to without crossing privacy lines? A/B testing is the answer: test styles, wording, and layouts until you land on the sweet spot between consent and compliance.
Key Takeaways
- Consent optimization directly impacts your marketing analytics and ad campaign accuracy.
- Small changes in layout, button colors, and friendly copy can significantly boost your acceptance rates.
- You must avoid dark patterns, as regulatory rules require giving users an honest, clear choice.
- Using a native WordPress capability makes template setup and consent management much easier.
- Google Consent Mode v2 keeps your conversion tracking active even when users decline cookies.
Why Cookie Banner Optimization is Critical for Conversions in 2026
The privacy landscape has shifted fast. Browsers keep phasing out third-party cookies and rules keep getting stricter, so your site now leans on first-party data more than ever. Decline your banner and you lose the ability to track visitor journeys, measure ad performance, or run retargeting campaigns. (Analytics feel automatic, but without consent you’re flying blind.)
Improve your banner’s acceptance rate and your marketing data improves with it: better attribution, smarter ad spend, and a clearer picture of how people use your site. A solid testing setup secures that data while building real trust with your visitors. Here’s what a well-optimized cookie consent setup does for your business:
- Tracks user consent preferences transparently without slowing down page load times.
- Builds clean, verifiable consent logs for privacy audits so you can stay worry-free.
- Connects with advertising tags only after the visitor gives clear, legal approval.
- Pulls localized banners based on where your visitors live to keep your site legal across borders.
- Shields your business from regulatory fines by avoiding compliance traps.
- Saves marketing data by presenting choices in a clear, friendly way.
Plenty of site owners treat compliance like a barrier to growth, but it doesn’t have to be. Approach your banner design with a testing mindset, and compliance becomes part of your conversion funnel, getting you the most usable data while keeping your site legal and friendly.
The Core Elements of a Cookie Banner You Can Test
Before you launch a test, get clear on which elements you can change. You’ll always need to stay within legal limits, but there’s plenty of room to experiment with design and messaging. Testing one change at a time shows what resonates.
1. Banner Layout and Screen Placement
Where your banner shows up has a real impact on how people respond. Some layouts grab attention right away, others stay subtle. Test different positions to find the balance between strong opt-in rates and a pleasant visitor experience.
- The Bottom Bar: A classic bar stretching across the bottom of the screen. It’s polite, doesn’t block content, but can sometimes get overlooked.
- The Corner Slide-In: A small box that slides into the bottom-left or bottom-right corner. It feels conversational, almost like a chat widget.
- The Centered Modal: A box in the middle of the screen that demands attention before the user interacts with the page. This gets strong interaction rates but can feel intrusive if it’s not designed carefully.
2. Button Hierarchies and Visual Weight
You can’t hide the decline option, but you can test how visual weight shapes choices. Button outlines, background colors, and font weights guide visitors’ eyes toward your primary call to action. Try pairing a solid brand color for “Accept All” with an outlined “Decline” or “Preferences” button, a small tweak that often makes a difference.
3. Copywriting and Tone of Voice
The words you choose matter more than you’d think. Legal jargon often scares people off or makes them suspicious, while a warm, conversational tone helps visitors feel safe and understood. (Simpler than it sounds.) Try plain language, something like “helps us improve your browsing experience,” against a standard legal template, and see which one wins.
Setting Up Your Testing Environment with Native WordPress Tools
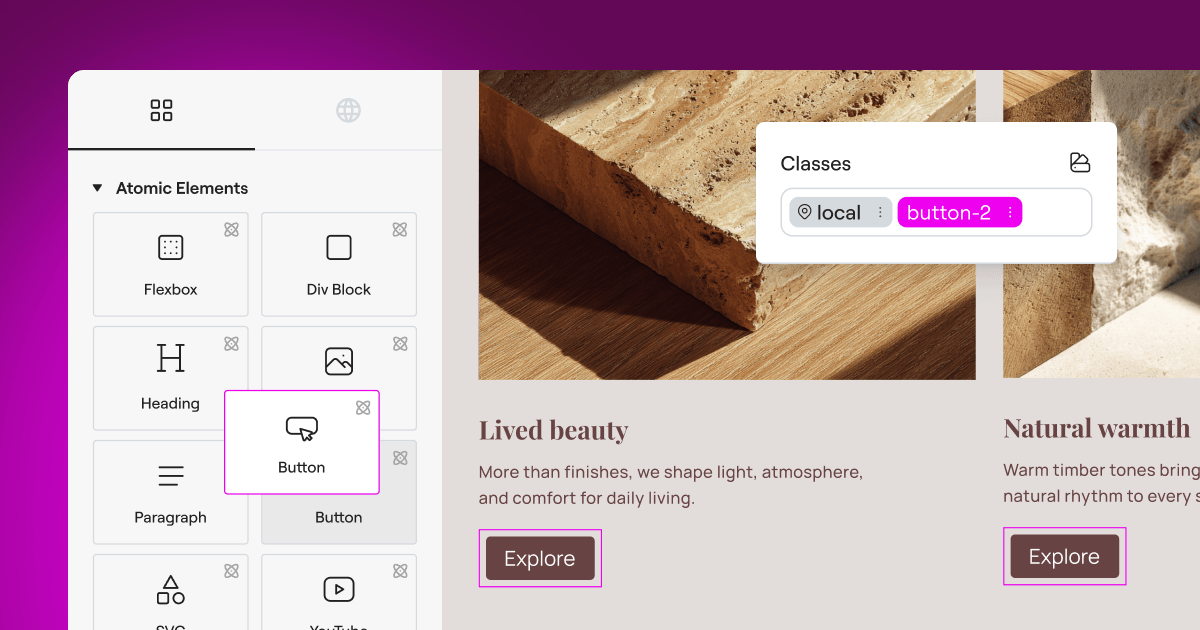
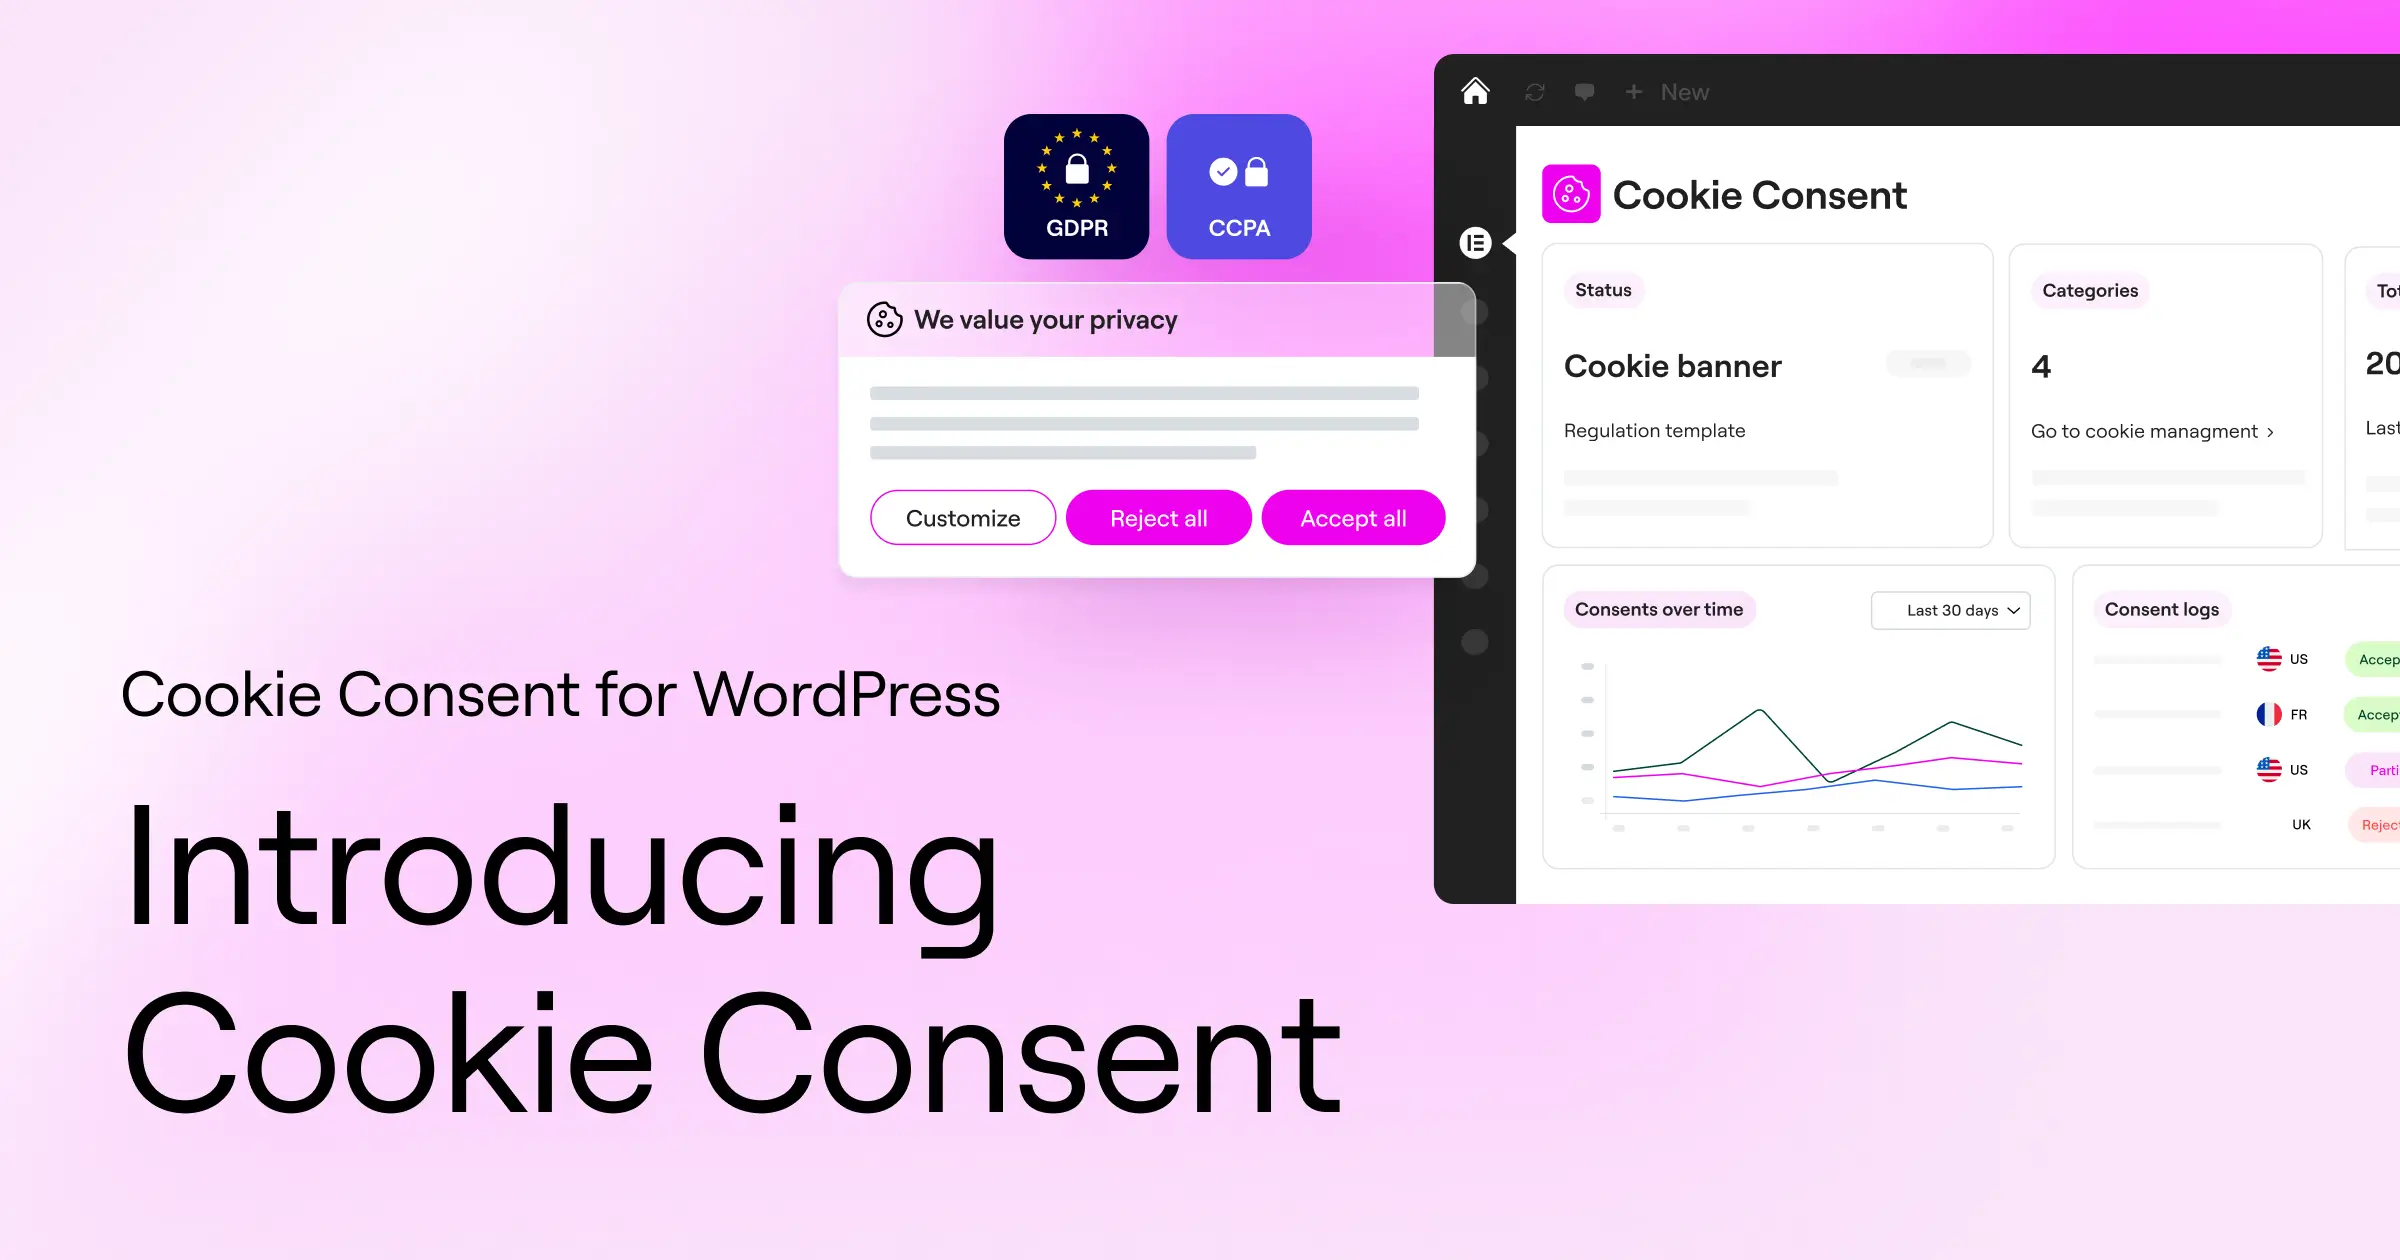
To run effective tests on WordPress, you want a tool that lives right inside your dashboard, since a separate cloud platform adds extra steps to your workflow. That’s where Elementor and its built-in Cookie Consent capability come in, letting you design banners, organize cookie scripts, and manage user preferences without extra third-party software.

Because Cookie Consent is native to the Elementor environment, you use the same familiar editor to style your banners how you want, no custom CSS needed. Colors, borders, typography, and button states adjust right from your dashboard, so your banner reads as a natural, trusted part of your site, not a random pop-up.
Keeping consent management native also means your site loads faster: external scripts can block the main thread of your page, dragging down Core Web Vitals scores. A native capability loads banners instantly, keeping your experience strong and bounce rates low, and it supports standards like Google Consent Mode v2 and Global Privacy Control (GPC), so you collect data legally from day one.
Comparing Cookie Consent with Other Privacy Solutions
When choosing a consent management tool for testing, you’ve got several options. External platforms typically manage banners from a separate dashboard, adding a step to your A/B testing workflow.
Here’s a factual look at how different compliance solutions compare, so you can choose the best fit for your site.
| Privacy Tool | Platform Type | Setup Speed | Dashboard Location | Key Advantage for Web Creators |
|---|---|---|---|---|
| Cookie Consent | WordPress Native | Under 5 minutes | Inside WordPress Dashboard | Native design styling and zero external platform dependencies. Included in Elementor One. |
| Cookiebot | Cloud Platform | Moderate | External Cloud Portal | Automated cookie scanning and monthly reporting. |
| CookieYes | Cloud Platform | Moderate | External Cloud Portal | Multilingual banner support with simple cloud integrations. |
| Complianz | WordPress Plugin | Moderate | Inside WordPress Dashboard | Generates localized privacy policies and legal documents. |
| OneTrust | Enterprise Platform | Complex | External Enterprise Portal | Deep corporate governance features and compliance risk scoring. |
Cloud-based tools such as Cookiebot, CookieYes, and OneTrust keep your data and banner designs in an external portal. The native Cookie Consent capability ties directly into your design templates, lives inside WordPress, and gives you full control over your styles while keeping your site lightweight.
Step-by-Step Guide to Running Your First Cookie Banner A/B Test
Ready to run your first test? You don’t need a background in data science to get this right, just a simple approach that collects clean data while respecting your visitors’ privacy.
Step 1: Establish Your Baseline Metrics
Before you change anything, find out how your current banner performs. Keep it running at least two weeks to gather reliable baseline data, then calculate your opt-in rate by dividing accepted sessions by total unique site sessions. That number is your control, the benchmark everything else gets measured against.
Step 2: Choose One Specific Variable to Test
To get clear results, test only one element at a time. Change the background color and button text together, and you won’t know which one drove the difference. Pick one element instead, say a friendly, conversational message against your standard compliance text. (This one trips people up, keep it simple and your data stays clean.)
Step 3: Create Your Banner Variation
Using your native cookie consent tool, duplicate your baseline banner template, then apply your single change. Keep every other style, dimension, and trigger the same, and match your cookie categories, scripts, and logging in both versions so the legal setup stays stable.
Step 4: Set Up Your Split Testing Tool
Use a split-testing tool or tag manager to distribute traffic evenly, fifty percent seeing the control banner and fifty percent seeing your new variation. Once a visitor sees a banner, a local browser cookie should remember their variant, so they don’t get a different style on another page.
Step 5: Run the Test and Analyze Your Results
Let the test run until you’ve got a statistically significant sample size, usually two to four weeks for most mid-sized sites. Did the new design lift opt-in rate without raising bounce rate? If your variant won, roll it out permanently and plan your next test.
Keep these three best practices in mind to stay organized along the way:
- Test during steady traffic periods: Avoid running tests during big seasonal sales, as holiday traffic behaviors can skew your data.
- Keep an eye on user engagement: Make sure your new banner layout doesn’t cover vital navigation elements on mobile screens.
- Keep your logs updated: Make sure both variations write clear consent logs so you stay audit-ready at all times.
Compliance Guardrails: What You Cannot Legally Test
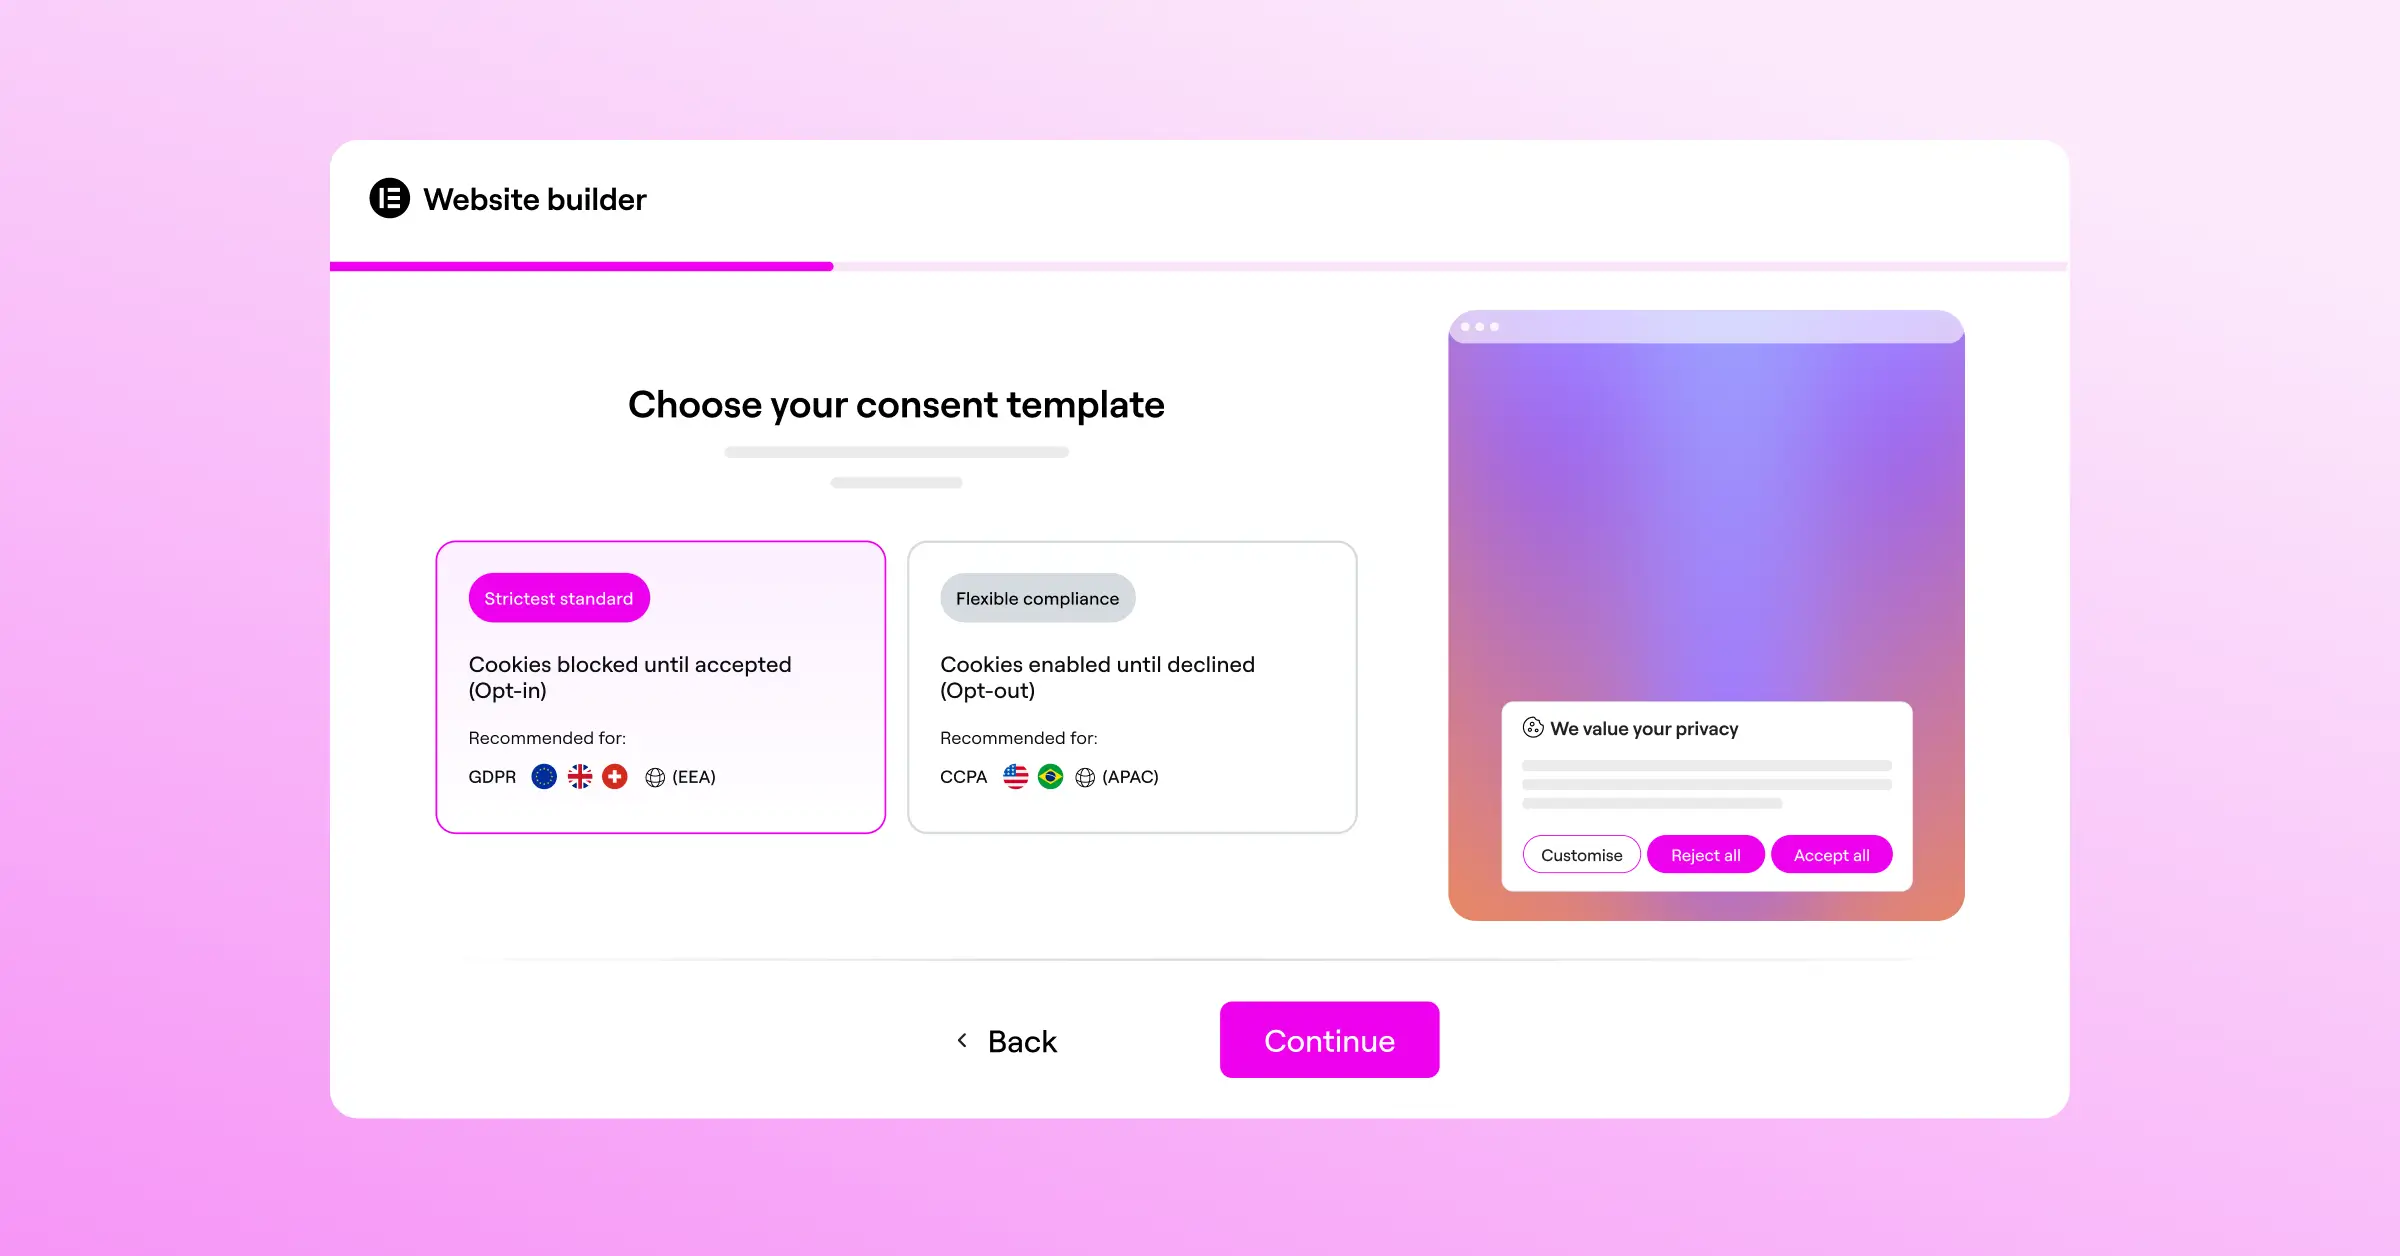
A/B testing helps you improve conversions, but never let conversion rates come before legal compliance. Regulators under GDPR and CCPA define fair, legal consent strictly, and tests that trick users into agreeing aren’t just unethical, they can bring serious legal penalties.
Some design choices are completely off-limits. You can’t pre-tick cookie category checkboxes in your preference centers. Under GDPR, consent must be an active, positive action from the user, so pre-ticking boxes like “Marketing” or “Analytics” makes any consent you gain legally invalid.
“While testing banner copy and color variations is highly effective for improving opt-in rates, you must never compromise on transparency. Trying to trick users into accepting cookies through unfair design layouts will violate global privacy regulations and damage customer trust.”
– Itamar Haim, Web Compliance Specialist
You’ll also want to avoid deceptive color designs, known as dark patterns, any layout that makes it intentionally hard for a user to make a free choice. Making “Accept All” bright green while shrinking “Decline” to a tiny, near-invisible grey link breaks the rules. Both options need to stay clearly visible and equally easy to click. Keep your tests focused on honest elements: friendly language, fair placement, and on-brand colors.
To help you stay on the right side of compliance, here’s a quick checklist of common mistakes to avoid during your tests:
- Hiding the decline button inside a secondary “Settings” menu while keeping “Accept” on the main banner.
- Preventing users from reading your content unless they click the “Accept” button.
- Using confusing double negatives in your cookie description text to trick users into opting in.
- Failing to provide an easy way for users to change their minds and withdraw consent later.
- Loading marketing tracking scripts before the user has clicked the accept button.
How to Analyze Your Banner Test Results for Marketing Success
Once your test wraps up, it’s time to look at the data, but don’t stop at opt-in rates alone. To understand the real impact, see how your consent rates interact with your overall marketing performance.
When your consent rate climbs, analytics tracking gets far more accurate: expect a drop in “direct” traffic and a rise in organic, paid, and referral attribution, since your tags are finally free to fire correctly and identify where visitors came from. Keep an eye on these metrics to measure success:
- Consent Opt-In Rate: The percentage of total site visitors who choose to accept your cookies.
- Attribution Accuracy: A drop in unclassified traffic source data, meaning your UTM parameters are tracking properly.
- Paid Ad Conversion Volume: An increase in recorded ad conversions, which helps ad platforms optimize your bids.
- Mobile Cart Abandonment: Keeping an eye on whether banners on mobile screens block the checkout flow or key buttons.

Modern compliance standards like Google Consent Mode v2 help you bridge the gap when users decline consent. The system sends anonymous, non-identifying pings so Google Analytics and Google Ads can estimate conversions with machine learning, keeping ad campaigns optimized even when part of your audience opts out. Pair optimized banner designs with backend tools like this, and marketing stays strong and compliant.
Frequently Asked Questions
Is A/B testing a cookie banner legal?
Yes, A/B testing your cookie banner is completely legal as long as all the variations you test remain fully compliant with privacy laws like GDPR and CCPA. You can test colors, text, layouts, and button placements, but you can’t test illegal designs like hiding the decline button, pre-checking consent categories, or using dark patterns to trick your visitors.
What is a good opt-in rate for a cookie consent banner?
Average opt-in rates vary quite a bit depending on your industry and where your visitors live. For most sites, a healthy consent opt-in rate falls somewhere between 40% and 70%. If your rate is lower than 40%, it’s worth running A/B tests to improve your layout, make your copy friendlier, and optimize your visual hierarchy.
Can I make my “Accept All” button larger than my “Decline” button?
No, you shouldn’t do this. European privacy regulators have made it very clear that accepting and declining cookies must be equally easy actions. Making the “Accept” button very large and the “Decline” button tiny is considered a dark pattern, which can result in warnings or fines from compliance auditors.
How does Google Consent Mode v2 affect my conversion rates?
Google Consent Mode v2 doesn’t directly change how many people click your banner, but it does recover lost conversion data. When a visitor declines cookies, it sends secure, cookieless pings to Google. That lets analytics platforms model conversion data, helping you recover a significant portion of lost ad attribution while still respecting user privacy.
Does running a cookie banner slow down my site’s page loading speed?
It can, if you use heavy, external cloud-based consent platforms that load large JavaScript files before your content appears. But using a native WordPress capability like Elementor‘s Cookie Consent keeps your site lightweight because everything runs directly from your server without blocking your page rendering.
Do I need to show my cookie banner to every visitor globally?
Not necessarily. While some site owners show one banner to everyone for simplicity, you can use geo-targeting to show banners only to visitors from regions with strict privacy laws, like the EU, the UK, or California. That keeps your experience clean and uninterrupted for visitors who don’t require cookie prompts.
What is Global Privacy Control (GPC) and should my banner support it?
Global Privacy Control is a browser setting that lets users tell websites their privacy preferences automatically. Modern privacy regulations require websites to honor these signals. Good cookie consent tools detect GPC signals and opt those users out of tracking without even needing to show them a banner, it’s the kind of detail that signals you take privacy seriously.
Can I use my page builder to design and style my consent banners?
Yes, absolutely. If you’re using Elementor, the native Cookie Consent capability lets you design and manage your banners using the exact same interface you use for the rest of your site. No custom code, no external dashboards, just your familiar editor and your brand’s design system.


