
Running a website today means taking visitor privacy seriously. If you get traffic from California, you’ve probably heard of the California Consumer Privacy Act (CCPA) and its update, the California Privacy Rights Act (CPRA). Meeting these requirements can feel overwhelming, but it’s more manageable than it looks.
Key Takeaways
- CCPA and CPRA affect many businesses that collect data from California residents, even if your business is based elsewhere.
- Global Privacy Control (GPC) support is mandatory in 2026, meaning your website must respect browser-level opt-out signals.
- A native WordPress tool like Cookie Consent makes managing scripts and user choices simple without relying on slow external dashboards.
- Consent logs are essential for proving compliance if your business ever faces a regulatory audit.
- Clear links for “Do Not Sell or Share My Personal Information” must be easy for your visitors to find and use.
Understanding California Privacy Laws (CCPA and CPRA)
California kicked off the wave of US privacy law with the CCPA in 2018, and the CPRA amendment pushed those protections further. By 2026, the California Privacy Protection Agency (CPPA) actively enforces these rules.
Personal data under California law covers more than social security numbers or credit card details. It includes IP addresses, browsing history, geolocation data, and unique cookie identifiers. So if your site runs analytics, social pixels, or ad scripts, you’re collecting personal data, and you need to tell visitors what you track and let them opt out easily. The rules lean on transparency and choice, and “sharing” includes ad targeting based on behavior across sites, which is how most ad networks work.
Who Exactly Needs to Comply with California Privacy Laws?
A common myth is that these laws only apply if your business is based in California. That’s not true: the law protects California residents, so if your site attracts visitors from there, the rules can apply no matter where you’re located.
Your business must comply with the CCPA and CPRA if you do business in California and meet at least one of these three thresholds:
- Your business had a gross annual revenue above a specified threshold in the preceding calendar year.
- Your business annually buys, sells, or shares the personal information of 100,000 or more California residents, households, or devices.
- Your business derives 50% or more of its annual revenues from selling or sharing personal information.
Even if you’re not there yet, building a compliant website is still worth it. Many smaller businesses follow these guidelines anyway, to build trust and stay ready as other states roll out similar bills.
Key Compliance Requirements for 2026
The privacy landscape shifts fast, and 2026 brings specific areas website owners can’t ignore. Your site needs to cover several core areas of compliance.
The Right to Opt Out of Sale or Sharing
California residents have the right to stop websites from selling or sharing their personal data. Your site needs a clear footer link, reading “Do Not Sell or Share My Personal Information” or “Your Privacy Choices,” with a specific opt-out icon that stops tracking scripts instantly when clicked.
Support for Global Privacy Control (GPC)
One of the biggest 2026 updates is that recognizing Global Privacy Control (GPC) is now mandatory. GPC is a browser setting that lets people set their privacy preference once, at the browser level, and your website must automatically detect that signal and treat it as a valid opt-out, no extra click required.
Data Minimization and Purpose Limitation
Only collect the data you actually need. If you gather email addresses for a newsletter, don’t reuse them for unrelated ads without explicit consent. Keeping data collection minimal keeps you compliant and lowers your liability if a security issue comes up.
Managing privacy compliance directly where your website lives is the most reliable way to avoid data leaks. When you use a native solution, you keep full control over your scripts without relying on third-party platforms that can fail or slow down your page speeds.
– Itamar Haim, Web Compliance Specialist
An Updated Privacy Policy
Your privacy policy must be easy to read, updated at least once every 12 months, and cover specific disclosures: what data you collect, where it comes from, why, and which third parties you share it with.
Setting Up Your Compliance Strategy on WordPress
Now that you know what the law requires, here’s how to put it into practice on WordPress, without hurting your design or visitor engagement.
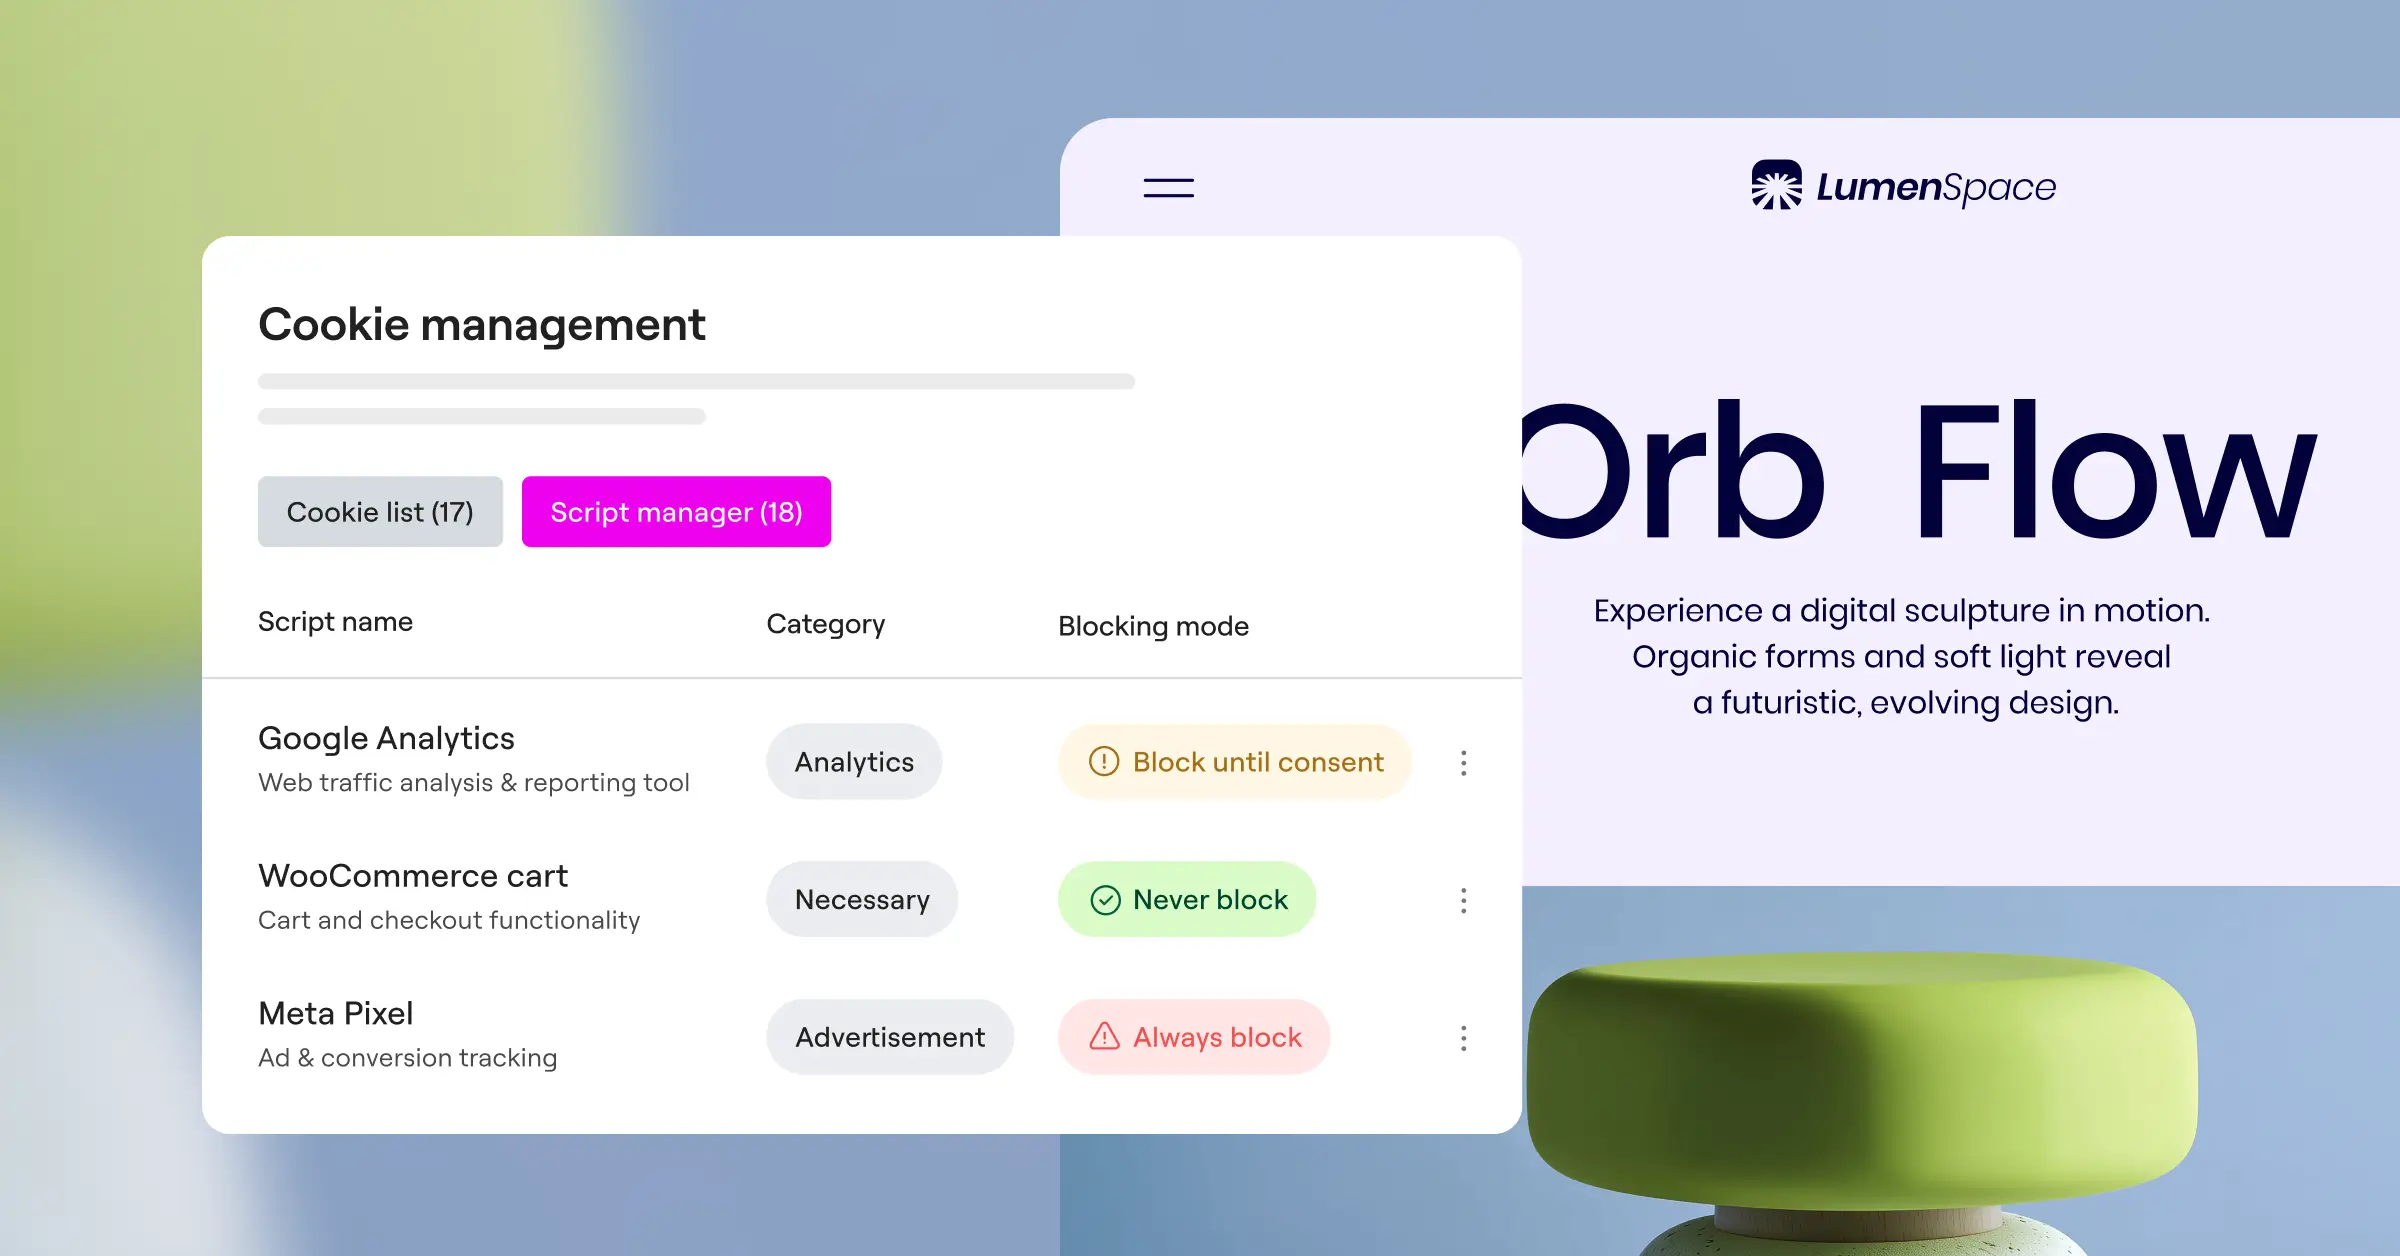
Step 1: Conduct a Cookie and Script Audit
Before you can tell visitors what cookies you use, you need to know yourself. Plenty of WordPress themes, marketing tools, and analytics scripts drop cookies without you realizing it. Run a scanner, list every active cookie, then sort them into necessary, analytical, functional, and marketing categories.

Review this list regularly, and rerun the audit whenever you add a new marketing tool or social sharing option.
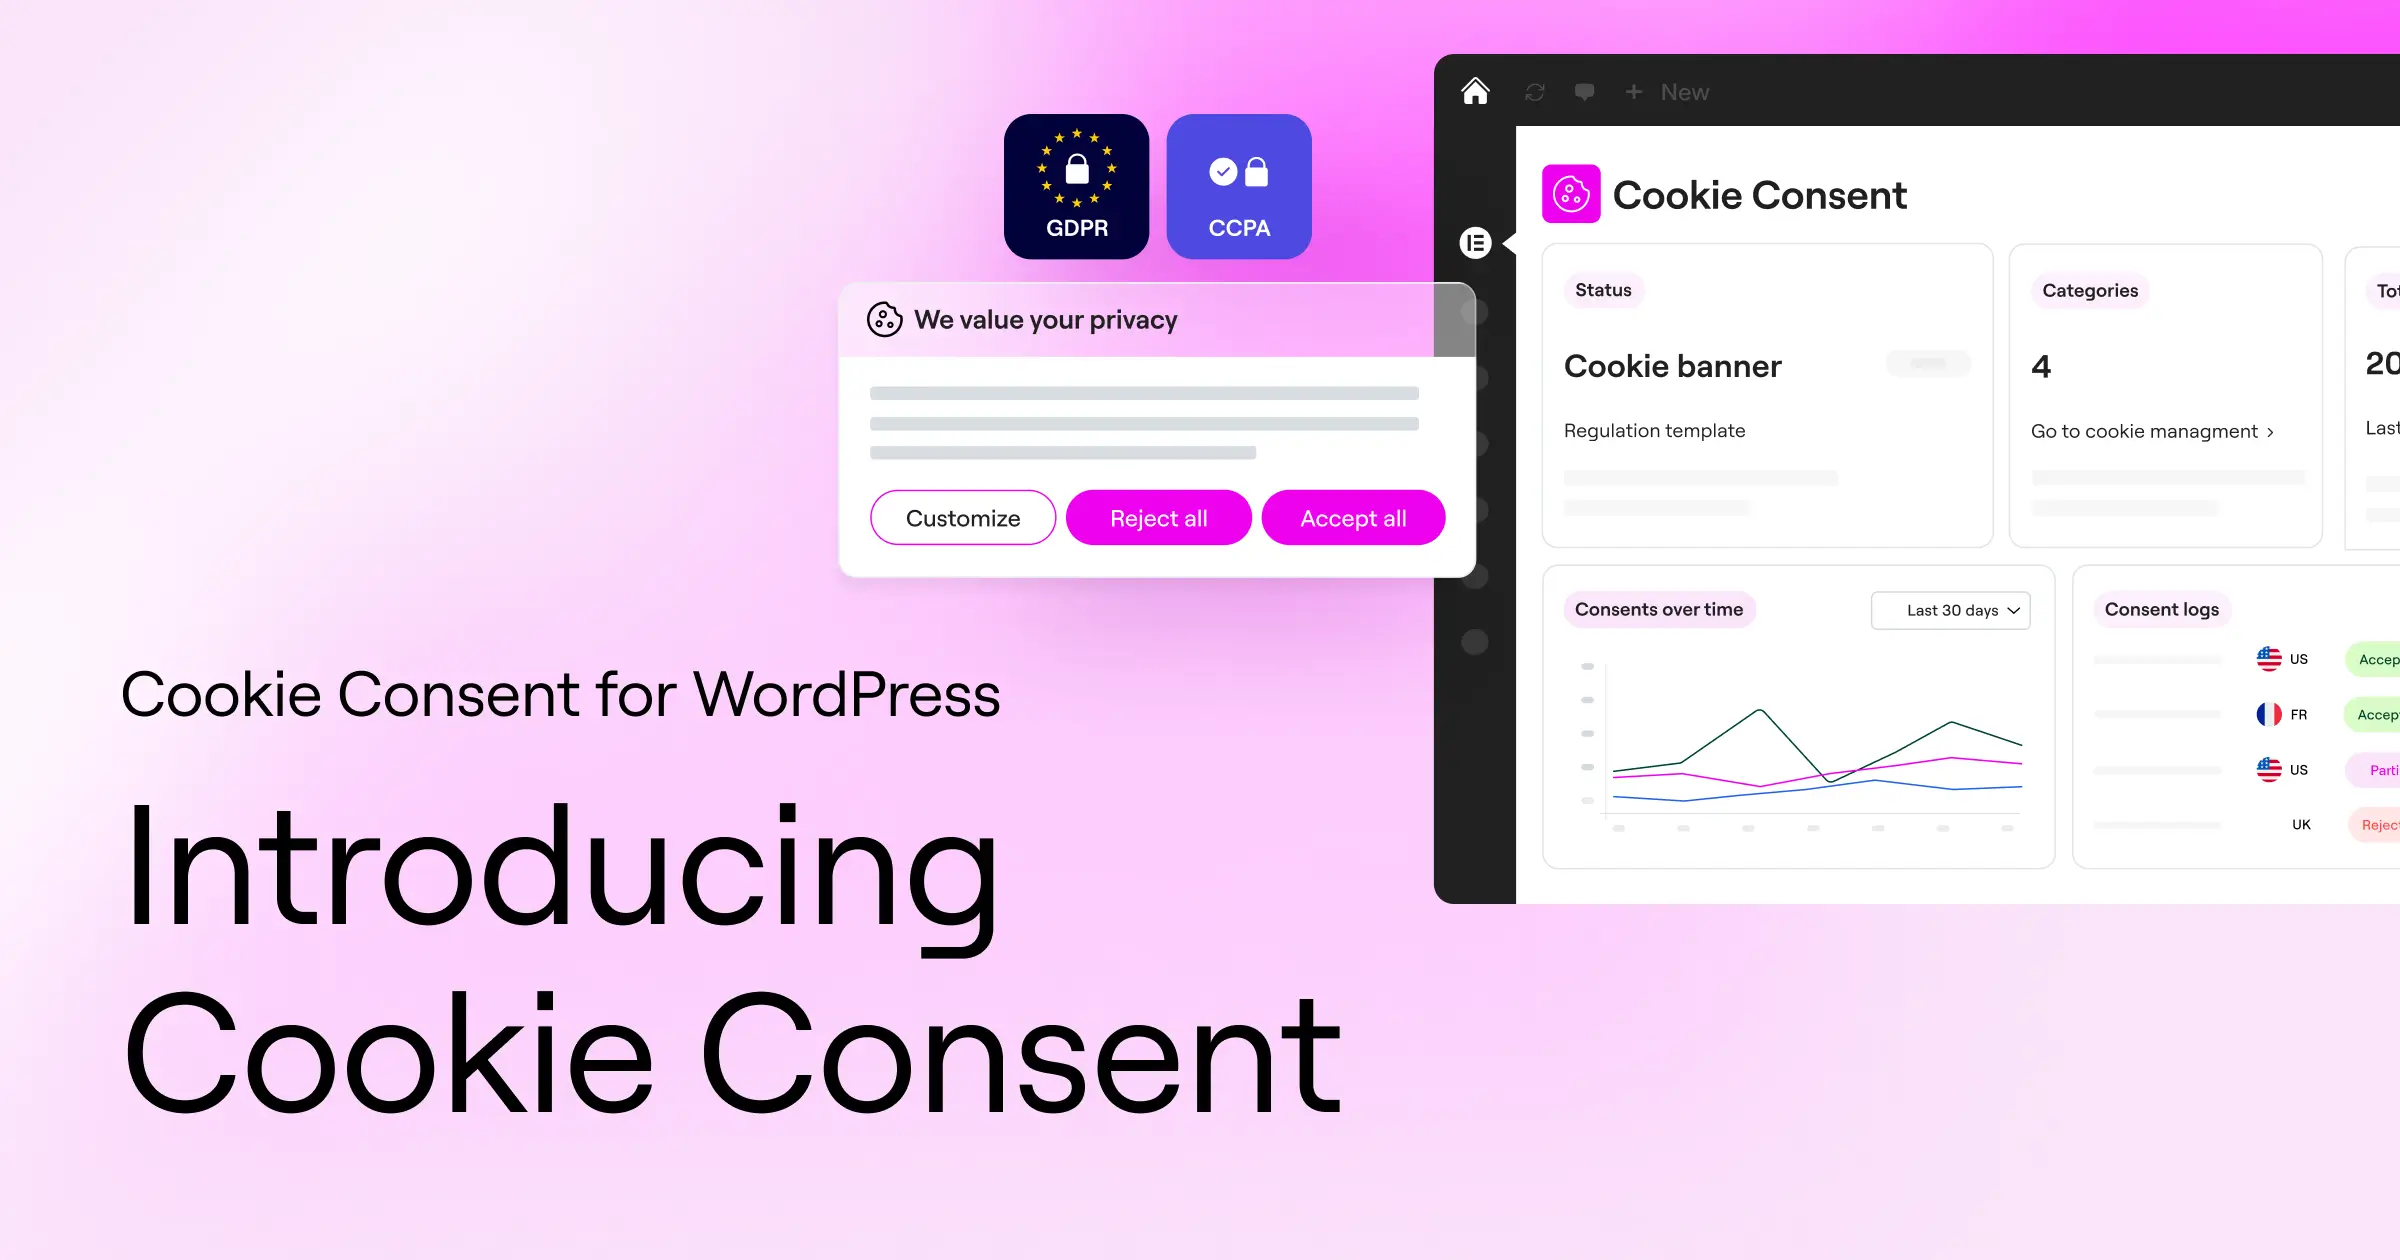
Step 2: Install a Native Consent Tool
For WordPress site owners, a native tool makes this simpler. The Elementor ecosystem includes Cookie Consent, a built-in capability made to manage privacy directly inside WordPress. Because it’s native, you skip external dashboards, API keys, and separate logins, and you can customize the banner to match your design.

Step 3: Configure Your Consent Banner
Your banner needs to be clear, honest, and easy to use. Under CCPA and CPRA guidelines, it shouldn’t cover the entire screen unless necessary, and it must offer clear choices. You can show it to all visitors or target people from California or the EU using geo-targeting.
To set up an effective banner, follow these design practices:
- Use plain language that explains why you collect data (for example, “We use cookies to improve your experience and show relevant ads”).
- Provide equal choices, giving users a clear way to accept or decline cookies with similar button sizes and visual weight.
- Avoid pre-checked boxes for non-essential cookies; consent must be an active choice by the visitor.
- Include a link directly to your complete privacy policy inside the banner text.
- Keep it mobile-friendly so visitors on phones can easily tap their preferred option.
Step 4: Integrate Global Privacy Control (GPC)
Your site also needs to respect browser-level privacy signals. When a visitor has GPC turned on, Cookie Consent detects the signal, blocks marketing scripts right away, and confirms to the user that their preference was honored, keeping you safe from scrutiny without extra effort from visitors.
Step 5: Create a Consent Log
If a regulator ever asks for proof of compliance, you need to show that users actually gave consent before you tracked them. A good consent management system creates secure, anonymous records of when someone consented, which categories they accepted, and what settings were active, giving you an audit trail that keeps your business protected.
Store these logs securely and keep them easy to export. Native WordPress tools keep this data in your own database, so you retain full ownership of your records.
Comparing Top Consent Management Tools for 2026
Choosing the right tool makes a real difference in your daily workflow. Here’s a look at some popular options for WordPress site owners.
| Feature / Capability | Cookie Consent (Elementor) | Cookiebot | CookieYes | Complianz | iubenda | OneTrust |
|---|---|---|---|---|---|---|
| WordPress-Native Dashboard | Yes (No external accounts) | No | No | Yes | No | No |
| Setup Time | Under 5 Minutes | Moderate | Moderate | Moderate | Complex | Complex |
| GPC Support Built-In | Yes | Yes | Yes | Yes | Yes | Yes |
| Consent Logging | Yes | Yes | Yes | Yes | Yes | Yes |
| Geo-Targeting | Yes | Yes | Yes | Yes (Premium) | Yes | Yes |
| Brand Customization | Deep Native Editor | Limited | Limited | Moderate | Limited | Enterprise |
Cookiebot, CookieYes, iubenda, and OneTrust are established tools with solid compliance options. They’re managed through an external website, so you’d switch between your WordPress dashboard and another platform to check logs. Complianz runs inside WordPress too, with a more involved setup for some users.
The Cookie Consent capability keeps everything inside your familiar WordPress workspace, with no separate service to register for and no embed codes to paste into your theme files.
A Closer Look at the Cookie Consent Feature
If you want your compliance workflow simple, the Cookie Consent capability from Elementor One is worth a close look. This built-in feature lets you manage privacy rules without leaving your WordPress dashboard.
Here are some of the key capabilities that make this tool a solid fit for your compliance strategy:
- Runs a three-step setup that gets your consent banner active, customized, and live in under five minutes.
- Scans your site automatically to identify and categorize active cookies so you don’t have to do it by hand.
- Supports Global Privacy Control signals out of the box, helping you meet strict 2026 California standards automatically.
- Adds Google Consent Mode v2 support, keeping your Google Analytics and Ads measurement working properly while respecting user choices.
- Targets banners by geography, letting you show specific consent experiences to visitors from California, the EU, or other regions.
- Integrates directly with the WordPress editor, so you can style banners using your existing brand colors, typography, and button styles.
Using this capability means you don’t have to worry about conflicts, code injections, or your layout breaking during updates. It’s built to work with your site from day one, so compliance runs quietly in the background.
Best Practices for Writing Your Privacy Policy
Your cookie consent banner is only half the compliance picture. The other half is your formal privacy policy: clear, thorough, and written in plain language anyone can understand. Skip dense legal jargon, and keep the document easy to find (a footer link works well).
To make sure your privacy policy meets CCPA and CPRA expectations, include these sections:
- Information We Collect – A clear list of every category of personal information your site gathers, such as contact form submissions, analytical data, or payment details.
- How We Use Your Data – The specific business reasons you collect this information, whether it’s to fulfill orders, send promotional emails, or run retargeting ads.
- Third-Party Sharing – A list of the types of partners you share data with, including payment processors, analytics providers, and ad networks.
- Your California Privacy Rights – An explanation of the rights California residents have, including the right to know what data you hold, the right to delete it, and the right to opt out of its sale or sharing.
- How to Exercise Your Rights – Clear instructions on how a visitor can submit a request to view or delete their data, such as a secure contact form or a dedicated email address.
Many modern compliance systems include a built-in policy generator, which walks you through questions about your site and produces a customized draft that helps you avoid missing important disclosures.
How to Test Your California Privacy Compliance
Once your cookie banner is live and your privacy policy is updated, take the time to test everything. Regular testing protects you from technical glitches that could create compliance gaps.
Start by opening your site in a private or incognito window and checking whether your cookie banner appears right away. Before clicking anything, open your developer tools and check the cookies stored on your device. Only essential cookies should be present. If you see Google Analytics or Facebook Pixel cookies running before you’ve clicked “Accept,” your scripts aren’t being blocked properly.
Next, click “Decline” or use your “Do Not Sell or Share My Personal Information” link, then check your developer tools again to confirm no marketing cookies were saved. You can also test GPC support with a browser that sends the signal natively, like Brave, or an extension that activates it. With GPC active, the banner should reflect your opt-out automatically.
Maintaining Long-Term Compliance on Your Website
Compliance isn’t a one-time project you check off and forget. As your business grows, you’ll add marketing tools, try different Elementor features, and update your design, any of which can introduce new cookies or change how data flows.
Set a reminder to review your privacy settings every few months. Run a quick cookie scan, check that your opt-out links still work, and verify that your consent logs are saving correctly. These small steps keep you protected and compliant through 2026 and beyond.
Frequently Asked Questions
What is the difference between CCPA and CPRA?
The CCPA was the original California consumer privacy law, passed in 2018. The CPRA is an amendment adding stronger protections, the “sensitive personal information” category, and the California Privacy Protection Agency (CPPA) to enforce it.
Do I really need a cookie banner for California visitors?
Yes. California law requires websites to give visitors a clear way to opt out of having their information sold or shared. Since tracking cookies share data with ad networks, you need a consent banner or an equivalent mechanism.
What is Global Privacy Control (GPC)?
Global Privacy Control is a browser setting that signals to websites that a user wants to opt out of data sharing and selling. California regulators require sites to recognize it automatically, without a click or form.
Can I just block California visitors to avoid compliance?
You can use geo-targeting to block visitors from California, but it’s rarely practical. California is a massive market, and blocking its residents can meaningfully hurt your traffic and revenue. A native cookie consent system is the better path.
What happens if my website does not comply with California privacy laws?
Non-compliance can lead to significant financial penalties. The California Privacy Protection Agency can issue fines for intentional violations, and those add up fast across repeated non-compliant interactions. A reliable consent tool is a cost-effective way to protect your business.
Is Cookie Consent difficult to set up on WordPress?
Not at all. With a native capability like Cookie Consent, your banner can be running in under five minutes: no custom code, no external accounts, no slow third-party platform. Everything is controlled from your WordPress dashboard.
Do I need to keep logs of user consent?
Yes. Keeping secure, anonymous logs of user consent choices is essential for proving compliance. If a regulatory body ever audits your business, these logs show you obtained proper consent before running tracking or marketing scripts.


