Managing user privacy might feel like a chore, but it really doesn’t have to be a headache. With changing regulations like GDPR and CCPA, keeping your site compliant matters more than ever. If you’re looking for the right way to handle cookies without slowing down your site or turning your WordPress dashboard into a chaotic mess, you’re in the right place. Let’s walk through the best options available so you can pick the one that fits your workflow perfectly. Don’t worry, we’ll break everything down step by step.
Key Takeaways
- Dashboard integration saves significant time by keeping compliance management inside WordPress.
- Google Consent Mode v2 support is essential for anyone using Google Ads or Google Analytics in Europe.
- Automatic scanning keeps rogue trackers from sneaking past your privacy setup.
- Visual customization lets you maintain a consistent brand experience instead of relying on generic legal banners.
- Consent logging gives you a secure paper trail for audit readiness and regulatory peace of mind.
Why You Need a Reliable Compliance Solution in 2026
The digital privacy landscape moves quickly. What worked a couple of years ago might not protect your business today. With major updates to global privacy guidelines, simply showing a text box that says “We use cookies” is no longer enough to meet legal standards. Visitors expect real control over their personal data, and regulators are actively enforcing these rules.
One of the biggest shifts recently is the widespread requirement for Google Consent Mode v2. If your site serves visitors in the European Union or the United Kingdom and you use Google tools like Google Analytics or Google Ads, you must send verified consent signals back to Google. Without this, your tracking data won’t flow properly, which can hurt your marketing campaigns and reporting accuracy. Choosing a modern compliance tool keeps your data clean and your legal bases covered.
Beyond legal compliance, a smooth privacy banner builds immediate trust with your visitors. When someone lands on your site, a clean, professional banner shows that you respect their privacy and that you’re running a thoughtful, modern operation. A clunky, broken consent prompt that slows down your page load can push visitors away before they even read a word of your content.
What to Look For in a WordPress Privacy Solution
When you’re evaluating different options for your site, it’s easy to get overwhelmed by technical jargon. To simplify things, focus on a handful of non-negotiable features. Here’s what to look for before activating any compliance tool on your site:
- Automated script blocking: A quality cookie banner must do more than just display a message. It needs to actively stop tracking scripts from running until the visitor clicks “Accept.” (This part trips people up with many basic tools.)
- Deep customization controls: Your privacy banner needs to match your color scheme, typography, and brand voice. A mismatched banner looks off and can lower opt-in rates.
- Geo-targeting capability: This feature lets you show specific banners to European visitors while keeping a lighter approach for visitors from regions with fewer privacy requirements.
- Consent logs and audit trails: In the event of a privacy inquiry, you need to be able to prove when and how a specific visitor gave their consent.
By focusing on these core elements, you’ll steer clear of heavy tools that drag down server performance. You’ll build a solid foundation that keeps your site fast, legal, and professional.
Complete Comparison of Cookie Consent Alternatives
To help you see how the leading options stack up at a glance, here’s a straightforward comparison table covering dashboard integration, core support features, and the best use case for each tool.
| Tool Name | Native WordPress Dashboard | Consent Mode v2 Support | Best Suited For |
|---|---|---|---|
| Cookie Consent | Yes (Built-in) | Yes | WordPress users wanting complete dashboard-native compliance |
| Cookiebot | No (External Cloud) | Yes | Large multi-platform networks and corporate sites |
| CookieYes | No (External Cloud) | Yes | Websites needing simple cross-platform management |
| Complianz | Yes (Built-in) | Yes | Users looking for a detailed legal wizard process |
| iubenda | No (External Cloud) | Yes | Teams needing full privacy policy document generation |
| OneTrust | No (External Cloud) | Yes | Enterprise-level organizations with complex compliance teams |
The Best Cookie Consent Alternatives for WordPress
Now that we’ve covered the basics, let’s look at each option in detail. We’ll explore how they work, highlight their features, and walk through their strengths so you can make a confident, informed choice.
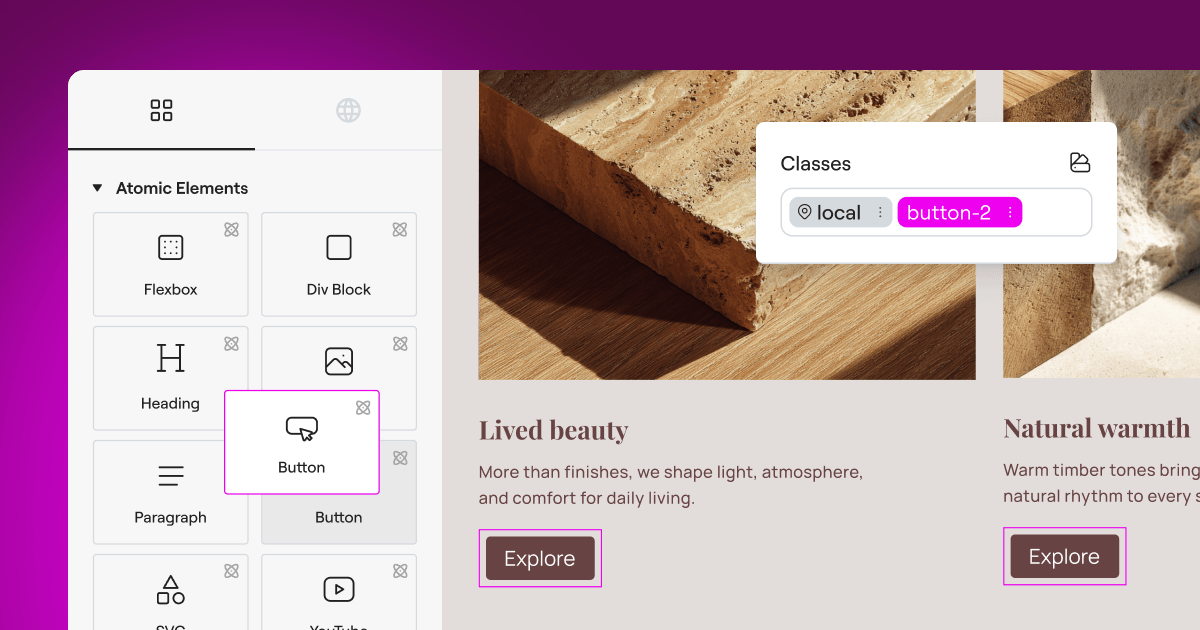
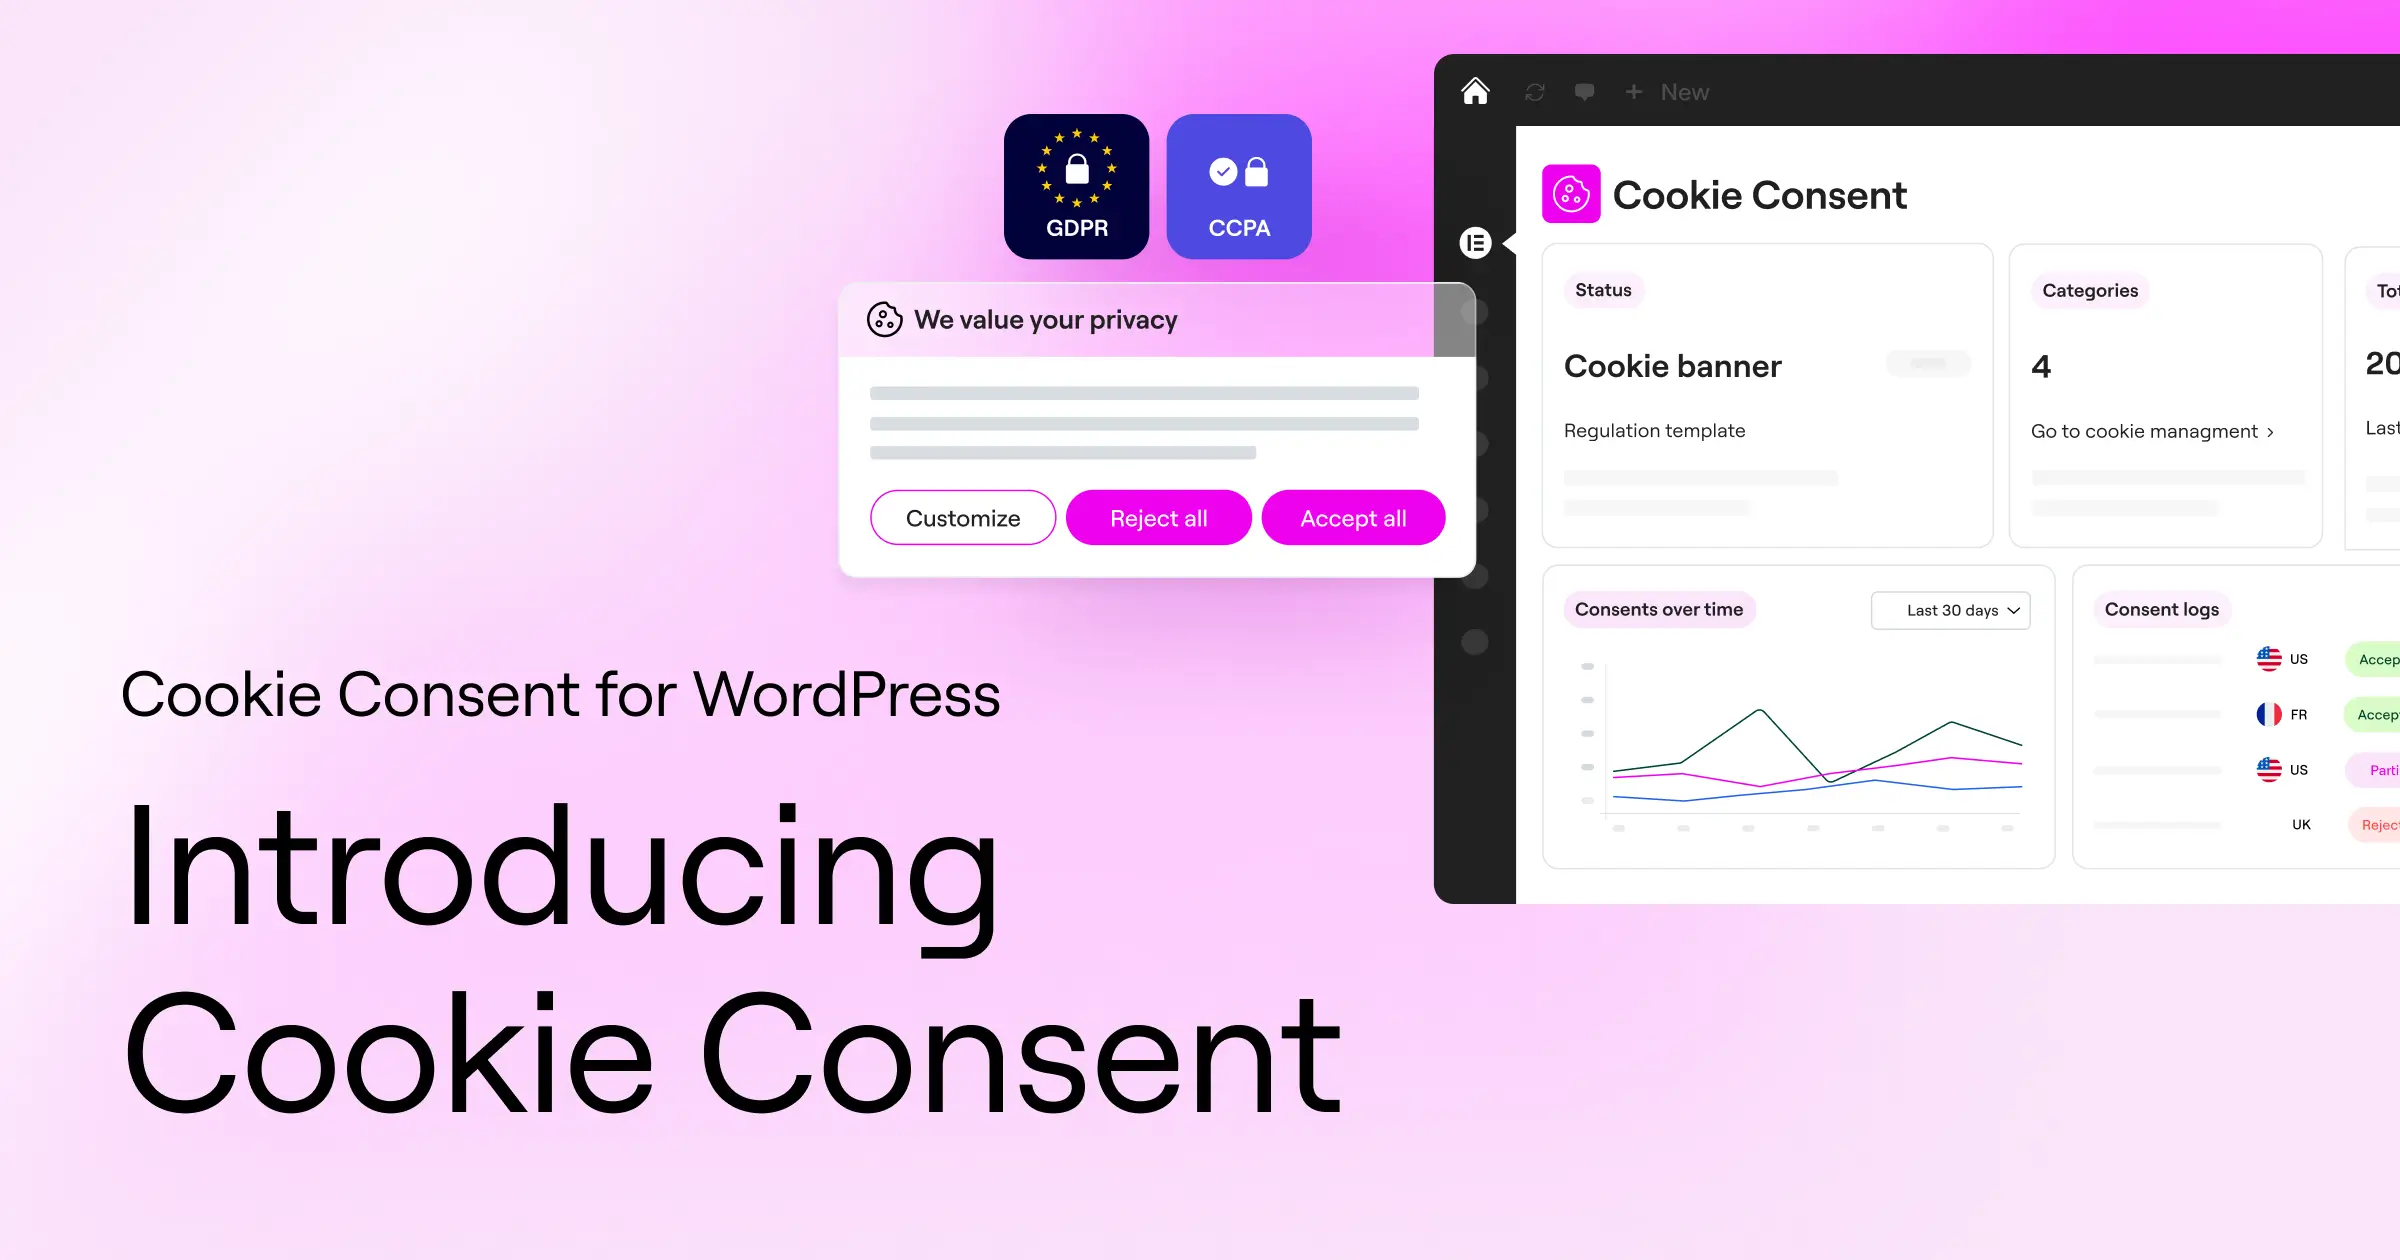
Cookie Consent
The first option on this list is Cookie Consent, a native compliance capability developed by the creators of Elementor. Instead of logging into an external website to manage your privacy settings, this tool runs entirely from your WordPress dashboard. That dashboard-native design keeps your workflow simple and fast, which is a genuine relief when you’re juggling everything else that goes into running a site.
Getting your cookie consent setup running takes under five minutes, making it a great fit for busy site creators who don’t have time to wade through a lengthy configuration process. It integrates smoothly with your site’s design, letting you match colors and styles without writing a single line of custom code. (It’s simpler than it sounds, honestly.) If you want a built-in compliance capability without the weight of an external SaaS platform, this is a strong place to start.

- Builds custom banners using your existing theme styles and typography, so your site stays on-brand.
- Scans your site for active cookies and categorizes them automatically.
- Records secure consent logs directly inside your WordPress database for easy auditing.
- Supports Google Consent Mode v2 natively to keep your tracking data accurate.
- Targets specific geographic regions so visitors only see banners when legally required.
- Simplifies compliance through a clean 3-step setup wizard that runs in under five minutes.

Because it’s built directly into the WordPress ecosystem, Cookie Consent avoids the performance lag that often comes with loading third-party cloud scripts. If you want a straightforward, reliable, integrated way to handle user privacy without leaving your editor, this capability is genuinely hard to beat. It’s included as part of the Elementor compliance toolkit alongside other essential site tools like Web Accessibility.
Cookiebot
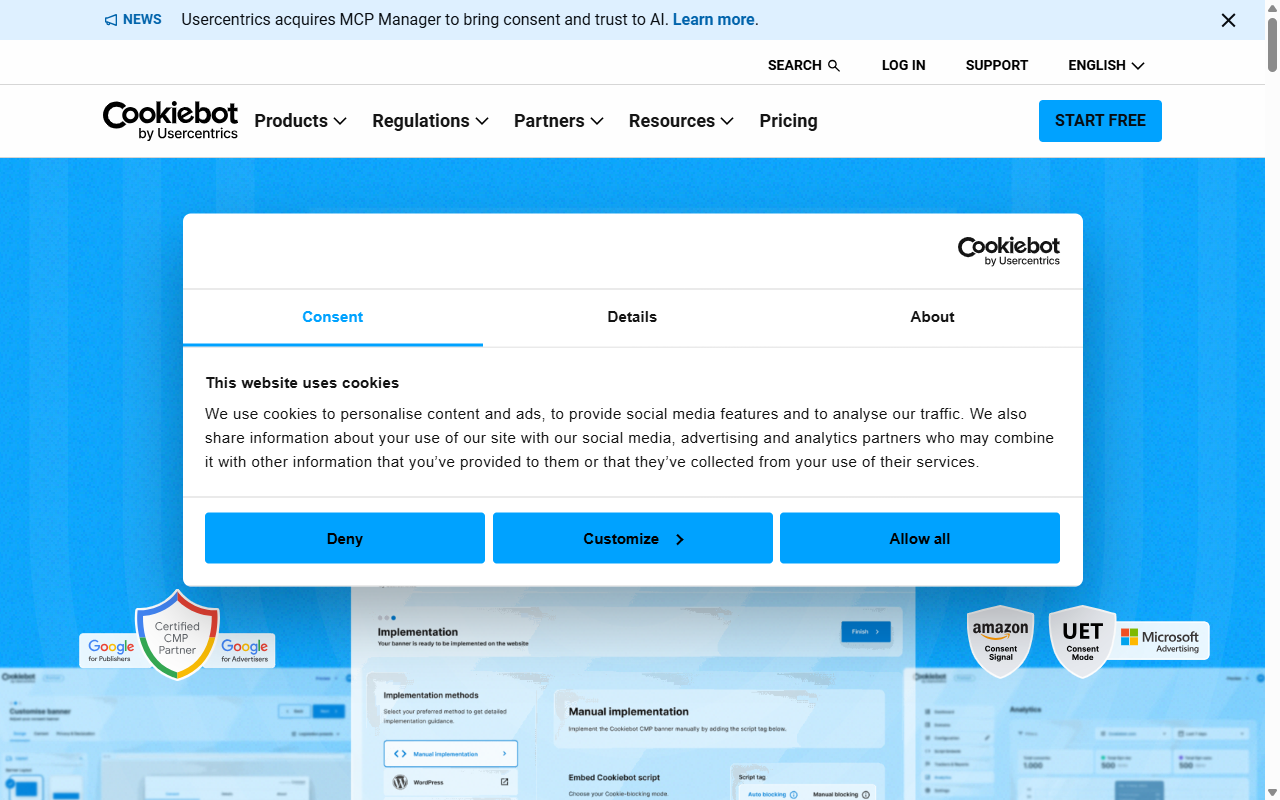
Cookiebot is an established, cloud-based consent management platform that works across many different web platforms, including WordPress. It’s well regarded for its deep scanning technology, which finds even well-hidden tracking scripts. Because it’s an external service, you’ll manage your settings and view your compliance logs through the Cookiebot cloud dashboard rather than your WordPress admin area.
- Automates monthly cookie scans to detect and categorize new tracking scripts on your site.
- Blocks third-party cookies and trackers automatically until the visitor gives explicit consent.
- Stores user consent data securely in the cloud for up to twelve months.
- Generates a dynamic cookie declaration page you can embed into your privacy policy.
- Translates your compliance banners into dozens of languages automatically based on visitor location.
- Supports Google Consent Mode v2 to keep your analytics running properly.
For large networks or corporate sites running multiple properties across different platforms like WordPress, Shopify, and custom HTML, Cookiebot is a dependable option. If you’d prefer to keep all your site management under one login, the external interface does add an extra step to your daily workflow.
CookieYes
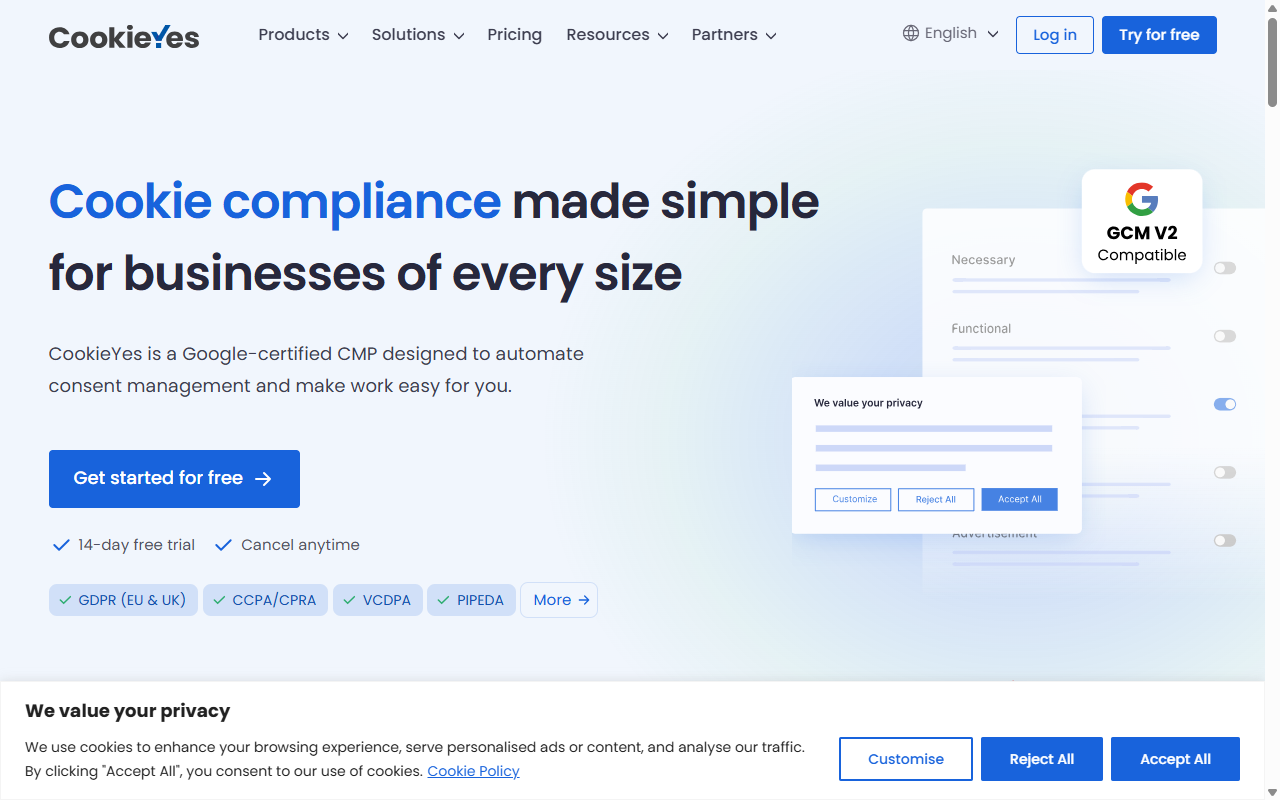
CookieYes is a popular cloud-based tool that makes compliance straightforward for site owners of all experience levels. It has an intuitive interface and a quick setup process. Like other external systems, CookieYes connects your WordPress site to its cloud app via a lightweight connector script, so you control your banners from their central web portal.
- Tracks user consent records in a clean, web-based cloud dashboard.
- Connects with major content management systems using a single unified interface.
- Customizes the layout, colors, and behavior of your banners with simple toggle options.
- Scans your site code to flag tracking cookies and scripts automatically.
- Respects Global Privacy Control signals sent by privacy-focused browsers.
- Generates custom cookie policies with a built-in legal policy generator.
CookieYes is known for its customer support and clean visual design. It offers a solid entry-level plan for smaller sites, making it accessible for most users. For agencies managing several client sites across different web hosts, the centralized cloud panel can be genuinely helpful, though it doesn’t have the same tight integration as a native WordPress tool.
Complianz

Complianz is a dedicated privacy tool built specifically for the WordPress ecosystem. It takes a methodical approach to legal compliance, guiding you through a detailed questionnaire about your business practices, target audience, and data collection habits. Based on your answers, the tool configures your site settings to match specific regional laws like GDPR, CCPA, or DSGVO.
- Guides you through a step-by-step configuration wizard to assess your exact legal needs.
- Blocks scripts from social media networks and third-party embeds before consent is given.
- Generates customized legal documents that automatically update when laws change.
- Detects regional privacy requirements automatically using dynamic visitor IP detection.
- Records anonymous user consent statistics to help you monitor opt-in rates.
- Integrates with popular WordPress form builders and e-commerce checkout systems.
Complianz is thorough, which makes it popular among web developers who need to meet strict legal guidelines across different countries. The setup process can be lengthy because of the legal wizard, but it gives you confidence that you’ve addressed every compliance requirement for your specific situation.
iubenda
iubenda is a complete online compliance suite covering cookie banners, privacy policies, and terms of service documents. Rather than just blocking scripts, iubenda focuses heavily on the legal documents themselves. Their service keeps your legal pages hosted on secure servers and updates them automatically whenever global privacy laws are modified.
- Generates complete, auto-updating privacy policies and terms of service documents.
- Stores verified legal consent records to meet GDPR and CCPA audit requirements.
- Blocks tracking codes automatically before obtaining explicit visitor consent.
- Customizes the styling of compliance notices to fit any website layout.
- Handles complex international frameworks using a single cloud-based interface.
- Exports legal documents in multiple languages to support international audiences.
If you need more than just a cookie banner, iubenda is a solid choice for teams that want a complete legal-focused service. It can feel complex for users who only want a quick, simple cookie notice without managing full legal agreements, so it’s worth thinking through your actual needs before committing.
OneTrust
OneTrust is an enterprise privacy management platform designed for large companies, online stores, and global brands that have dedicated legal departments. It’s a powerful platform and comes with a more involved setup process compared to the other options on this list.
- Manages vast compliance workflows across thousands of websites and mobile applications.
- Scans complex web applications for hidden tracking pixels and security vulnerabilities.
- Builds advanced preference centers so visitors can choose exactly which data to share.
- Customizes cookie consent banners based on detailed, state-by-state regional laws.
- Tracks compliance scores and audit readiness using visual reports and charts.
- Integrates with enterprise tag managers and customer relationship management software.
For standard WordPress sites or small businesses, OneTrust is typically more tool than you need day to day. But if you’re running a large-scale enterprise site with strict corporate compliance guidelines, its depth makes it a recognized standard in that space.
Step-by-Step Guide to Transitioning Your Privacy Setup
If you’re planning to switch from your old privacy setup to a cleaner option, take it step by step. Making the transition without breaking your tracking scripts is easier than it looks when you follow a logical path.
- Audit your current cookies: Run a scan to see which tracking scripts are active on your site before making any changes. (It’s simpler than it sounds.)
- Deactivate conflicting tools: Turn off any old consent banners or header scripts. Running two compliance tools at the same time will cause errors and mess up your page layout.
- Configure your new tool: Activate your chosen tool, set up the visual banner to match your site’s branding, and turn on the automatic cookie categorization feature.
- Enable consent logging: Verify that your new setup is saving user opt-in records so you have a clear, reliable history for your own peace of mind.
- Test your site in incognito mode: Open a fresh private browsing window, visit your site, and confirm that no marketing scripts load before you click “Accept” on your new banner.

Best Practices for Maintaining Privacy Compliance
Setting up your cookie banner is a big milestone, but compliance is an ongoing process. To keep your site running safely and smoothly, it helps to build a few simple habits into your routine:
- Perform regular scans: Every time you install a new social media widget, video player, or analytics script, you might be adding new cookies. A monthly scan keeps your cookie list accurate.
- Review regional updates: Keep an eye on changes in regional laws. If you start getting traffic from a new country, double-check that your tool is configured to support their privacy standards.
- Keep your banners user-friendly: Avoid confusing layouts or design choices that obscure user options. Modern privacy regulators pay close attention to these patterns, and keeping things clear builds better trust with your visitors.
“Maintaining compliance isn’t just about showing a banner; it’s about respecting user choices while keeping your site functioning beautifully. A native solution that lets you manage your settings without bouncing between external dashboards is a real time-saver for busy creators.”
– Itamar Haim, Web Compliance Specialist
Frequently Asked Questions
Do I really need a cookie consent banner on my WordPress site?
Yes, if your site collects any data from visitors located in regions with active privacy laws, such as the European Union (GDPR) or California (CCPA). This includes using standard tools like Google Analytics, Facebook pixels, or even basic contact forms that track user data.
How does Google Consent Mode v2 impact my website?
Google Consent Mode v2 is a system that communicates your visitors’ consent choices directly to Google services. If you serve visitors in the EU or UK and don’t have this configured, Google will limit your ability to measure ad conversions and collect audience data in your analytics reports.
What is the difference between a cloud-based tool and a native WordPress tool?
Cloud-based tools host your settings, cookie lists, and consent logs on external servers, requiring you to use an external dashboard. Native WordPress tools like Cookie Consent run entirely inside your WordPress admin dashboard, keeping your workflow unified and avoiding third-party script lag.
Can I customize the cookie banner to match my site design?
Yes. The best compliance tools let you adjust colors, fonts, button styles, and positions so the banner looks like a natural extension of your brand instead of a generic pop-up.
Do these compliance tools slow down my WordPress site?
Some external tools that load heavy scripts from remote servers can cause minor loading delays. Choosing a native capability that integrates with Elementor helps keep your page speed in good shape by using your existing site framework.
What happens if I do not keep a consent log?
If a privacy regulator audits your site, you may be asked to prove that your visitors actively consented to tracking. Without a secure, time-stamped consent log, it’s difficult to demonstrate legal compliance, which can leave you vulnerable to warnings or fines.
Is there an entry-level plan for these cookie consent tools?
Yes, many options offer an entry-level plan that works well for small blogs or local business sites. Premium plans are typically needed if you run a large e-commerce store, have high traffic volumes, or need advanced geo-targeting features.
How often should I scan my site for new cookies?
Scanning at least once a month is a good habit, or whenever you install a new marketing tool, social share button, or embedded media player. This keeps your user disclosure documentation accurate and up to date.


