Let’s be honest—creating a website from scratch can be daunting. You’ve got to think about design, content, layout, code, and more. It’s a lot. You’re not in this for the endless hours and headaches, are you? You’re here to create, to bring your vision to life, and to do it efficiently. That’s where Elementor AI steps in, making your web creation journey not just easier, but genuinely enjoyable.
It can feel a bit like baking a cake: you need the right ingredients and a simple recipe to follow. Whether you’re a seasoned web creator or just starting out, Elementor AI is here to help you craft a beautiful, functional website efficiently.
Meet Elementor AI: Your new best friend in web design
Imagine having a smart assistant or sous-chef who not only understands your vision but also helps you make it happen for your website with minimal effort. That’s Elementor AI. It’s like having a seasoned web designer and developer at your fingertips, ready to assist you with everything from generating unique layouts to writing high-quality text and even coding custom CSS—all within the Elementor drag-and-drop Editor.
Boosting Your Productivity with AI Tools
Why use Elementor AI? Let’s talk about the many tools that boost your productivity. For instance, tedious tasks like removing backgrounds from images, which once required hours of work and advanced skills, are now reduced to a simple click. Whether you’re a professional or a beginner, AI makes it effortless to achieve seamless, professional results in seconds.
Ready to start? Let’s go through the steps!
Your Elementor AI Recipe for Success
Step 1: Start with a blank canvas
We recommend downloading the Hello Theme—it’s a lightweight, minimalist WordPress theme built specifically to work seamlessly with Elementor. With over 1 million active installs, it’s a tried-and-true favorite among web creators. The Hello Theme offers consistent compatibility with Elementor, ensuring a smooth experience from the start. Its feather-light design means faster site load times, better SEO, and no unnecessary code to slow you down. Perfect for landing pages and customizable to fit your unique vision— oh ya, and did I mention it’s completely free forever?
Step 2: Set your global fonts, colors and background color
Consistency is key. Set your global colors and fonts to ensure your website maintains a cohesive look and feel. To set your global fonts and colors, start by navigating to the hamburger menu in the upper left of the panel and selecting Site Settings. From there, click on Global Fonts and locate the font labeled Primary. Select the pencil icon to edit, then adjust the attributes in the Typography menu to your liking. At this stage, I’m also going to add my background color. Once you’re satisfied with the changes, close the menu and continue to apply settings for the other text types.
Now, whenever you’re creating new components, simply select the relevant preset global style—no need to worry about remembering the exact size or weight for each type of text.
Step 3: Add AI Context
To get the most out of Elementor AI, set up the AI context. This information helps the AI generate relevant suggestions based on the specific needs of your website. Read here if you need help on how to set your AI context. I highly suggest you do this as it’s been proven, you will get much better results!
Step 4: Get a Layout in Seconds
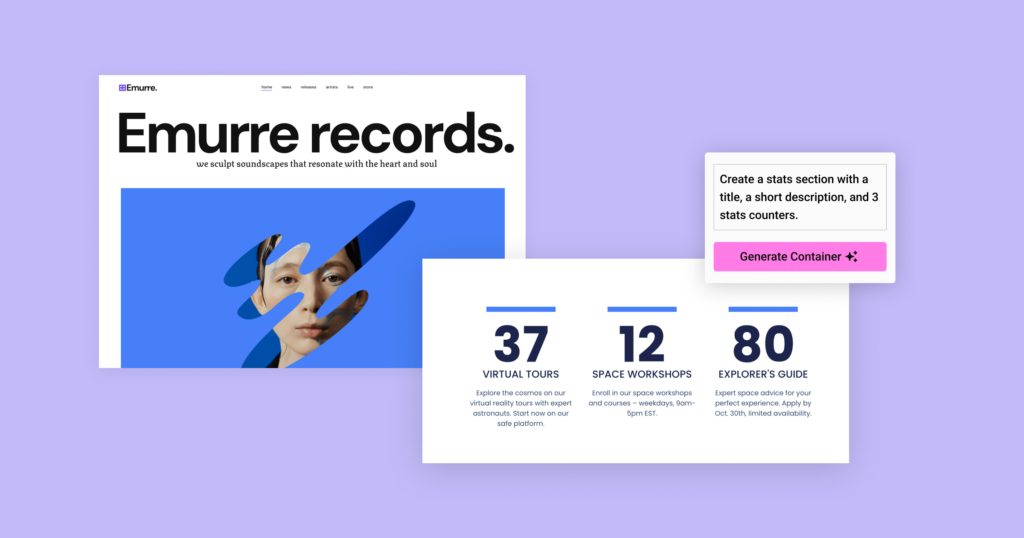
Start by creating your first hero section. Want to improve your basic wireframe? You don’t need to spend hours. With Elementor AI, you can click on the Elementor AI button in the container and describe the layout you want in plain English in the prompt bar! Multiple layout options appear, tailored to your needs. Whether it’s a sleek hero section, an engaging CTA, or a compelling testimonial layout, Elementor AI has you covered.
Step 5: Use AI Copilot for a section
Let AI Copilot assist you in creating a section, or all the rest of your sections down the entire page, speeding up your workflow significantly. Whether it’s a hero banner or a testimonials block, AI Copilot suggests layouts and content based on your input, speeding up the design process.
Step 6: Upload or Generate Images
With a basic wireframe in place, we can move onto fine-tuning. Need images? You have options. Either upload your own images into the gallery or use Elementor AI to generate them. You can also remove backgrounds with a single click or clean up any imperfections using the AI Cleanup tool (coming very soon!). This helps create visually appealing content for your site.
Step 7: Generate Text with AI (or even translate it)
Need more content? Use AI to generate high-quality text in seconds. It can generate product descriptions, help you with messaging, titles and more. It’s the perfect tool, especially if the website is content-heavy. If your website needs to be multilingual, you can easily translate your content into other languages.
Step 8: Customize Buttons with AI CSS
Want to add some unique touches to your site? Use AI to generate custom CSS for buttons. This step helps enhance the visual appeal of your website. Here’s a fun tutorial-style video on how you can combine image editing with Custom CSS using Elementor AI.
Step 9: Preview in Desktop vs. Mobile Mode
Finally, switch between desktop and mobile-friendly modes to ensure your site looks great on any device. This step ensures that your website is responsive and user-friendly across all platforms. All that’s left to do is to click publish.
Ready to Boost Your Efficiency?
(Spoiler: You Should Be)
Time is money. And with Elementor AI, you’re saving both. Can you really afford to stick with time-consuming methods when a better, faster way is right at your fingertips?
With Elementor AI, creating a website is straightforward and efficient. Each step is designed to simplify your workflow, enhance your creativity, and ensure a polished final product. There’s a free trial available with a generous amount of credits per feature to get you started before committing.
Are you ready to get started? Follow these steps for a website that’s both functional and visually impressive.


